Before using the CFS Lite, you can read CFS Lite Main Modules and Functions Overview to help you become familiar with the system.
¶ Operation Video
SPARKX i7: Connect i7 + load filament +print local files
¶ Required Accessories
The following accessories are required when using the CFS Lite. All necessary accessories are included in the package. Please check that all items are present. If anything is missing, contact our after-sales or customer support team (mail: cs@creality.com).
CFS Lite ×1
485 Connection Cable ×1
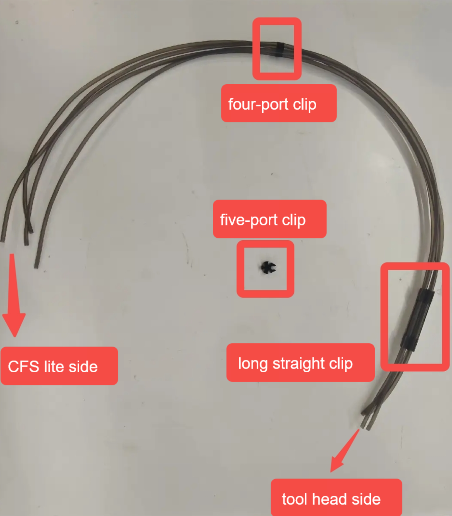
CFS Lite PTFE Tube Bundle ×1 (includes 98 mm PTFE Tubes ×4, 4-Port Hub ×1, 4-Port Hub (Long) ×1, 5-Port Hub ×1)
¶ Printer Placement
To ensure an optimal printing experience, please pay attention to the placement of the printer when using the CFS Lite. For detailed placement methods and precautions, please refer to CFS Lite Filament Tube Installation and Placement Guidelines
¶ Installation Steps
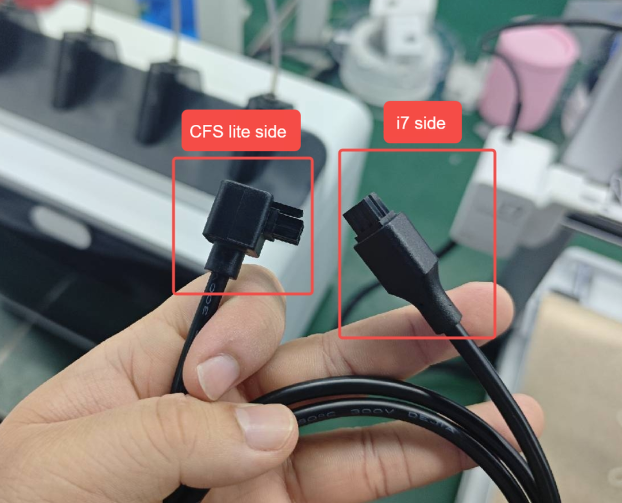
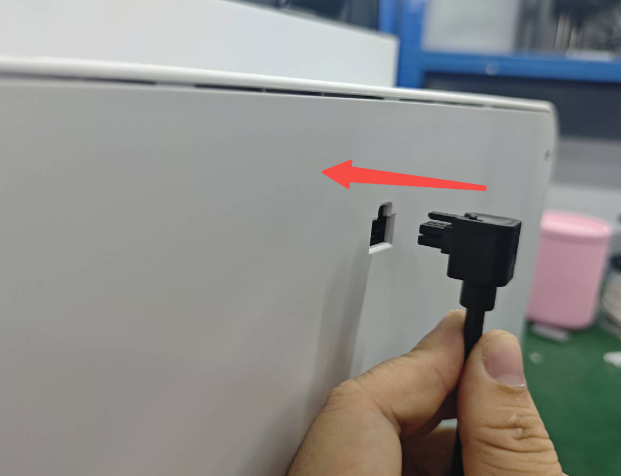
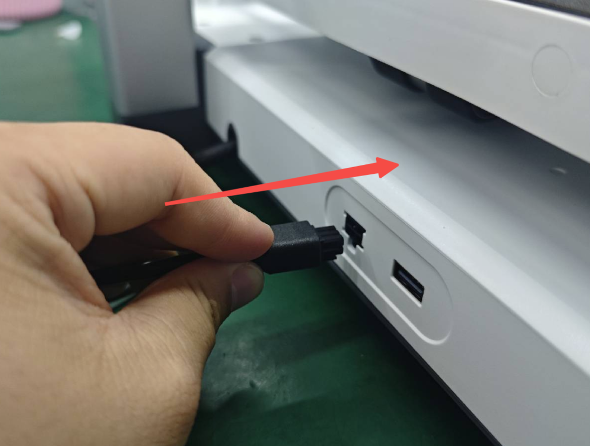
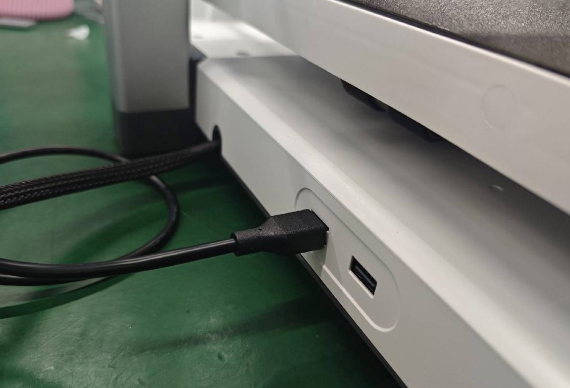
Place the CFS Lite and the printer properly, then connect the 485 communication cable. Note: The right-angle end of the communication cable must be connected to the CFS Lite.
 |
 |
 |
 |
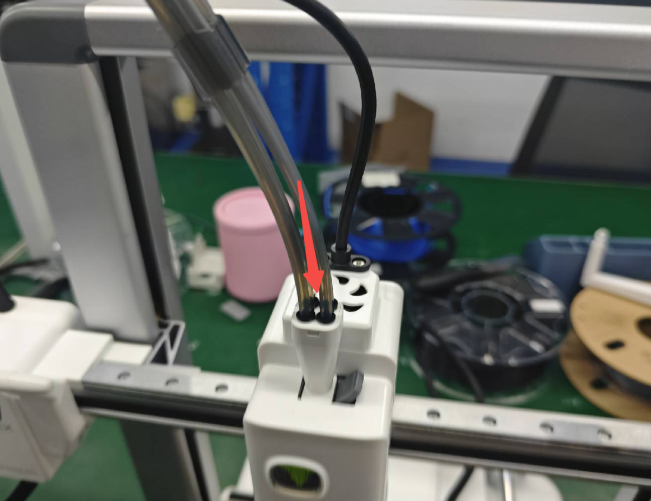
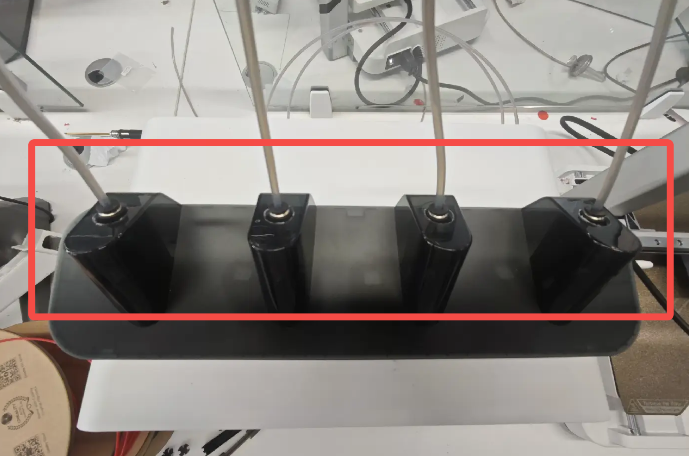
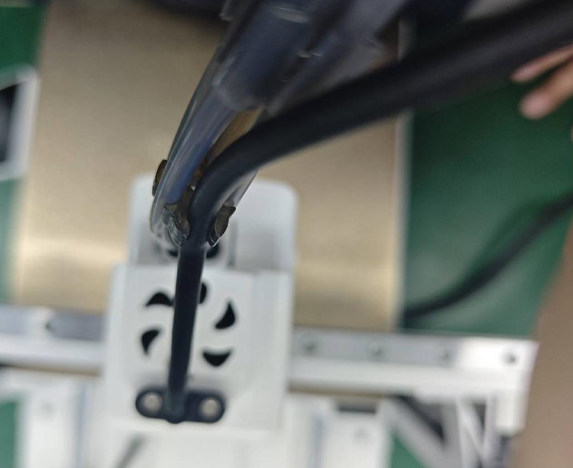
Connect the PTFE tube bundle. Install the end with the 4-Port Hub (Long) onto the Toolhead Manifold, and connect the other end to the four channels on the top of the CFS Lite.
Note: When inserting the PTFE tubes into the pneumatic fittings, make sure they are fully inserted. Gently pull up on the tubes to check that they are securely fixed.
 |
 |
 |
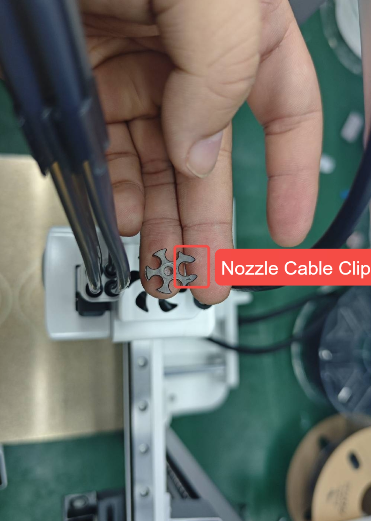
Install the 5-Port Hub. Observe the hub and orient it so that the longer clip faces backward. Install PTFE tubes into the other four ports, and secure the toolhead cable into the longer clip.
 |
 |
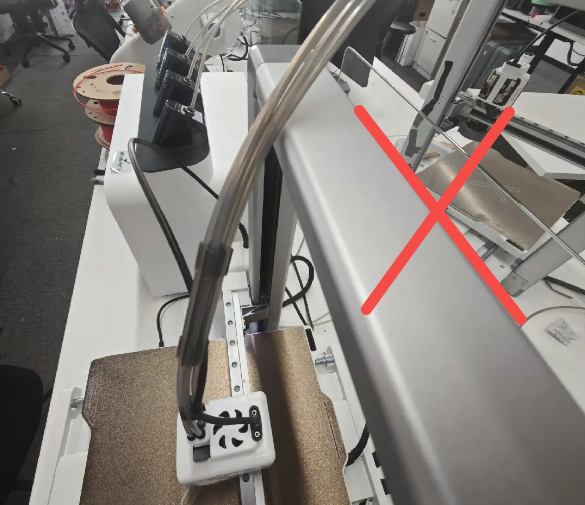
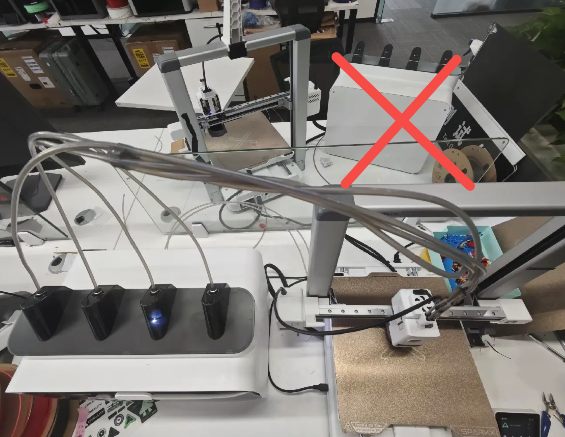
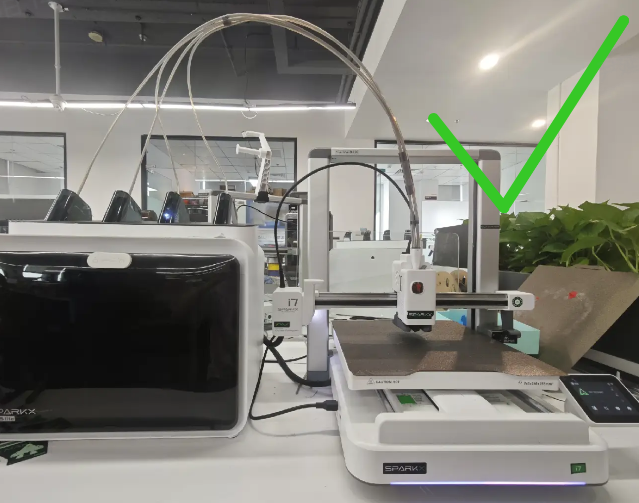
Arrange the PTFE tubes to prevent them from tangling with each other or tipping backward and coming into contact with the gantry.
 |
 |
 |
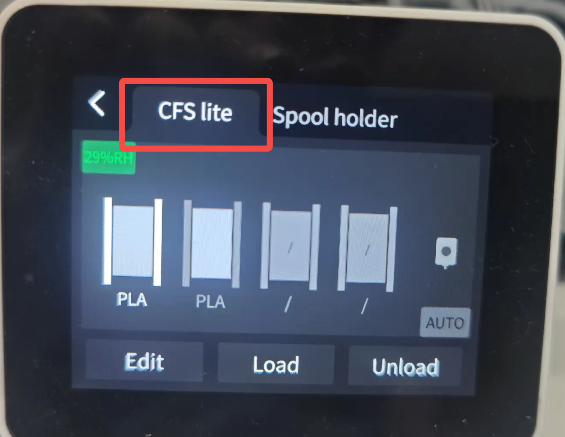
Power on the printer and open the Filament Management page to confirm that the CFS Lite is properly connected. Once confirmed, the connection between the CFS Lite and the i7 is complete. You can then continue by referring to i7 First Print Guide (Using CFS Lite) to start printing.