¶ Fine-Tune the Camera for Improved Positioning Accuracy
If camera positioning is not accurate enough, we recommend using the factory camera parameters built into the device firmware first, and fine-tuning the camera to improve positioning accuracy.
If the results still do not meet your requirements after fine-tuning, or if the camera position has changed, calibrate the camera as needed.
¶ 1. Check the Camera Calibration Status
When you connect the laser engraver to Falcon Design Space for the first time, the software automatically reads the camera parameters built into the device firmware to calibrate the camera.
- Turn on the laser engraver and connect it to Falcon Design Space on your PC.
- In the Falcon Design Space workspace, click the down arrow next to the camera icon in the upper-right corner, then select "Camera Control" from the drop-down menu to check the calibration status.
¶ 2. Read the Factory Camera Parameters to Calibrate the Camera
In the Falcon Design Space workspace, click the down arrow next to the camera icon in the upper-right corner, then select "Camera Calibration" from the drop-down menu.
Select "Read Firmware" and follow the on-screen instructions.
¶ 3. Fine-Tune Camera Positioning
If the captured image shows a slight positioning offset, fine-tune the camera first.
Distortion may occur around the edges of the image, and the positioning accuracy limit is approximately 0.3–1 mm. Positioning accuracy is highest at the center of the canvas, and fine-tuning can further improve accuracy in this area.
1. After calibrating the camera, enter the correct processing height and click the camera icon in the upper-right corner of the workspace. The captured image will be overlaid on the canvas.
If the grid lines make the image difficult to view, turn off "Show Grid" in "Camera Control".
Note: The camera automatically calculates alignment based on the processing height. Make sure the processing height is correct, or use the accurate measurement obtained after autofocusing.
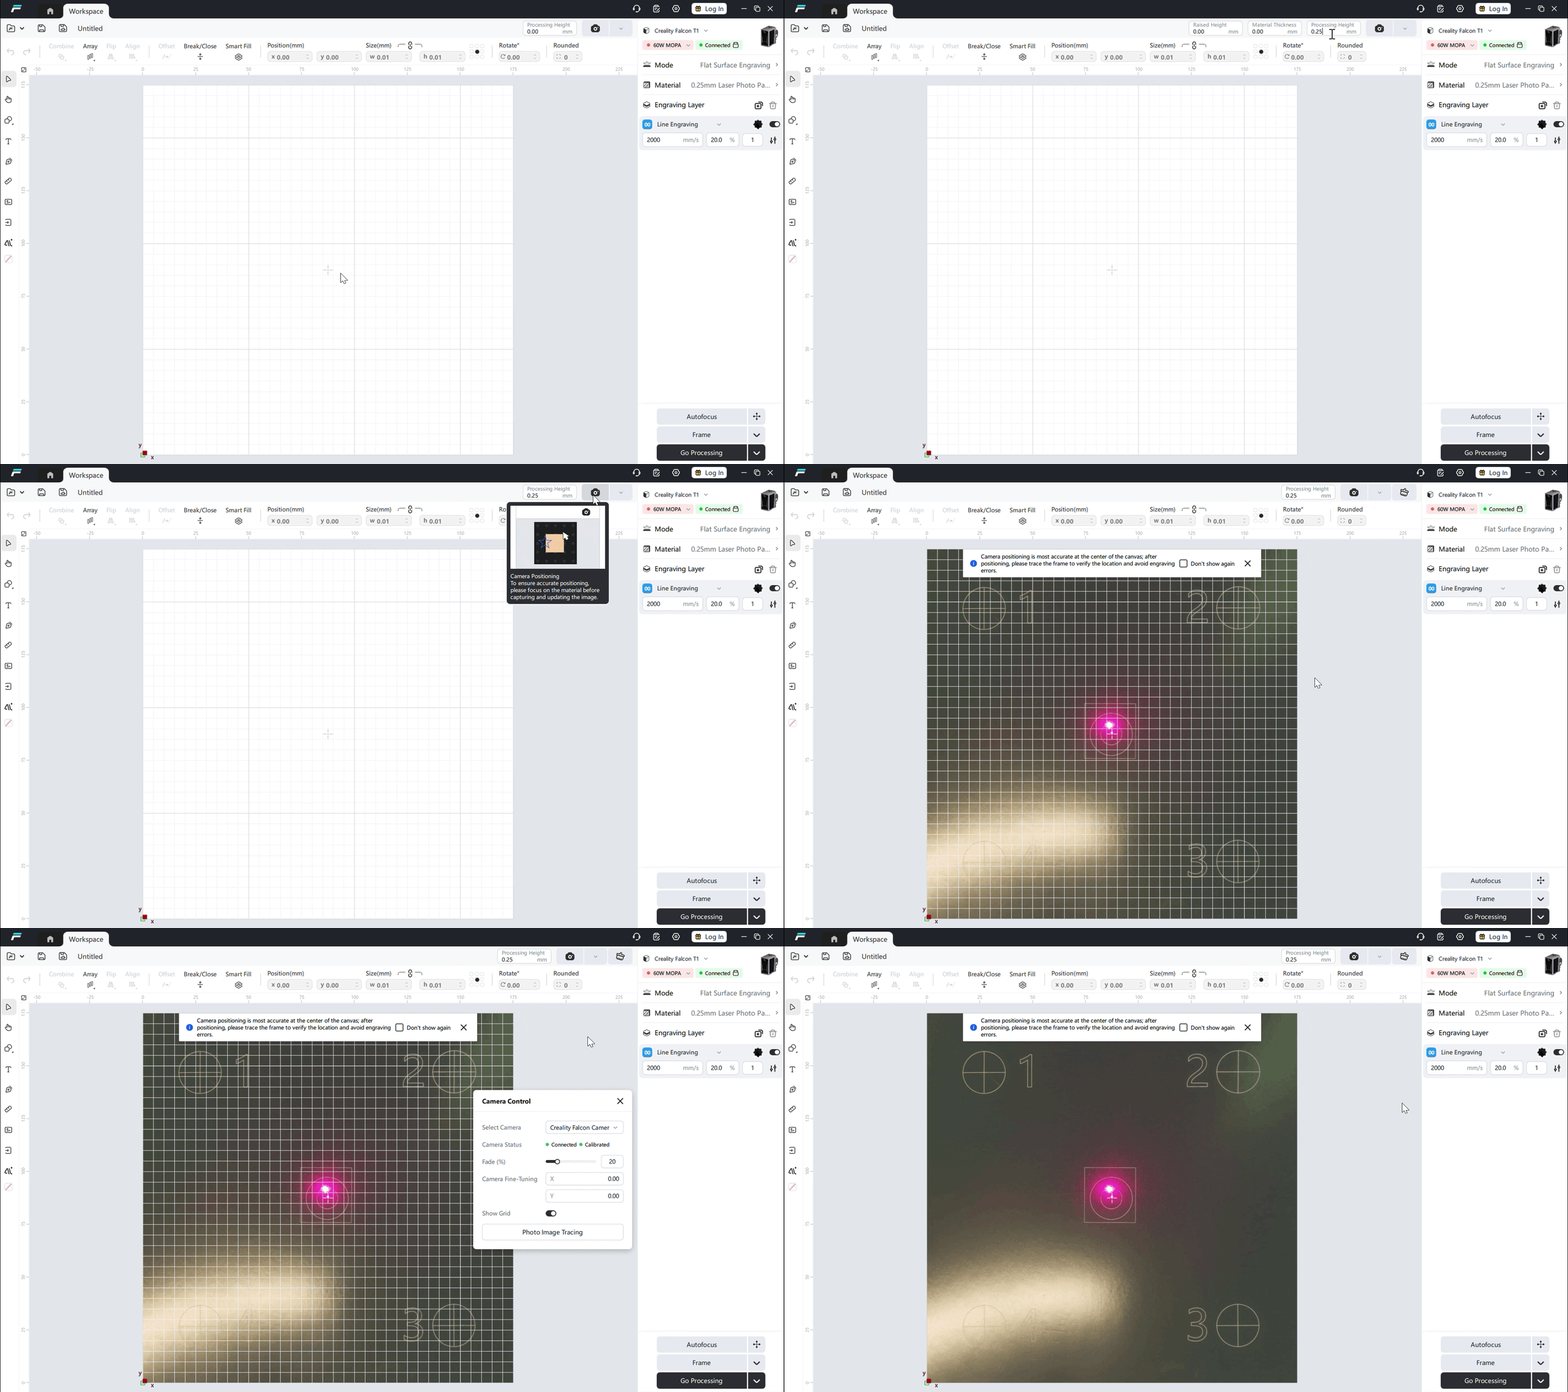
2. Set the start position to "Absolute Coordinates", then draw a rectangle near the center of the canvas.
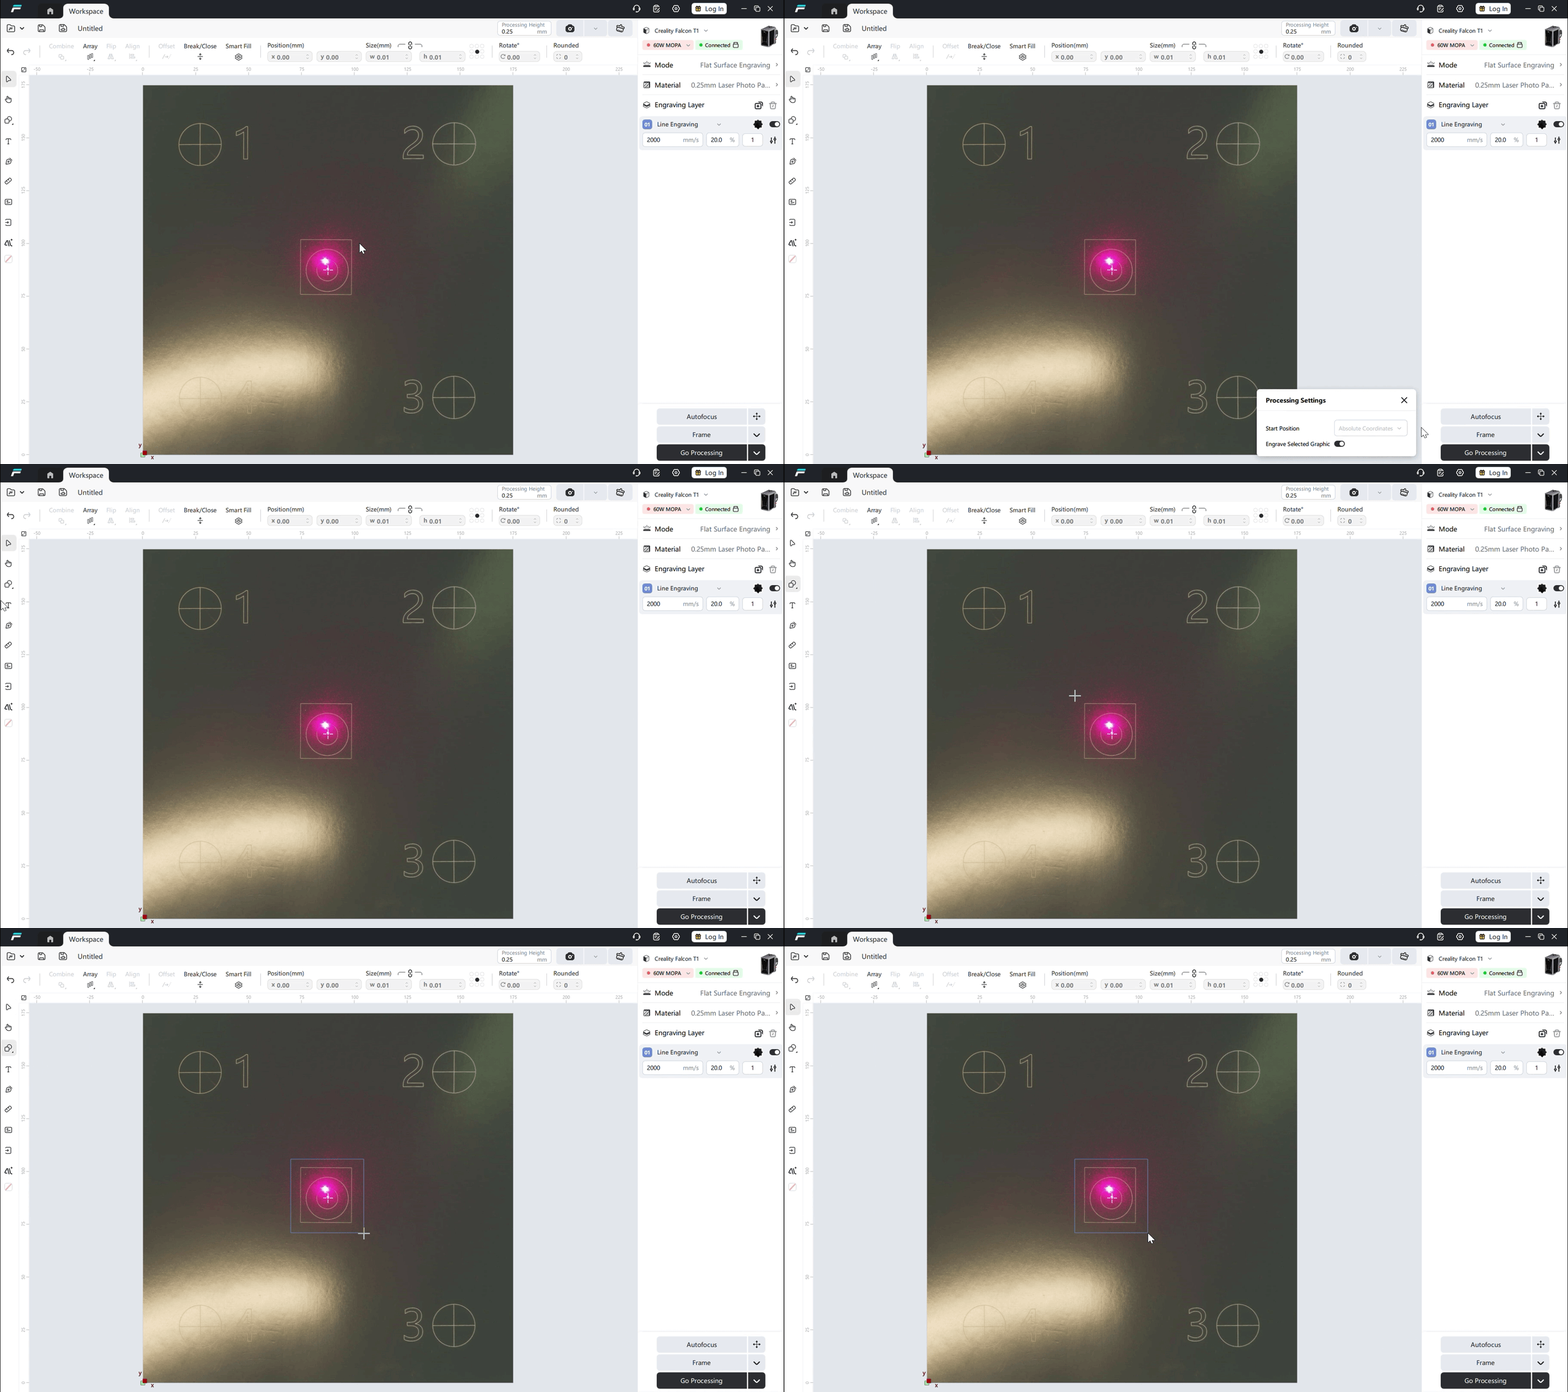
3. Engrave the rectangle. After engraving is complete, click the camera icon again to capture another image.
4. If the rectangle does not align with the actual engraved position, click the down arrow next to the camera icon and select "Camera Control".
Adjust the X and Y coordinates separately, and click an empty area; then the rectangle will move as you adjust the coordinates. Continue adjusting until the rectangle in the captured image aligns exactly with the actual engraved position.
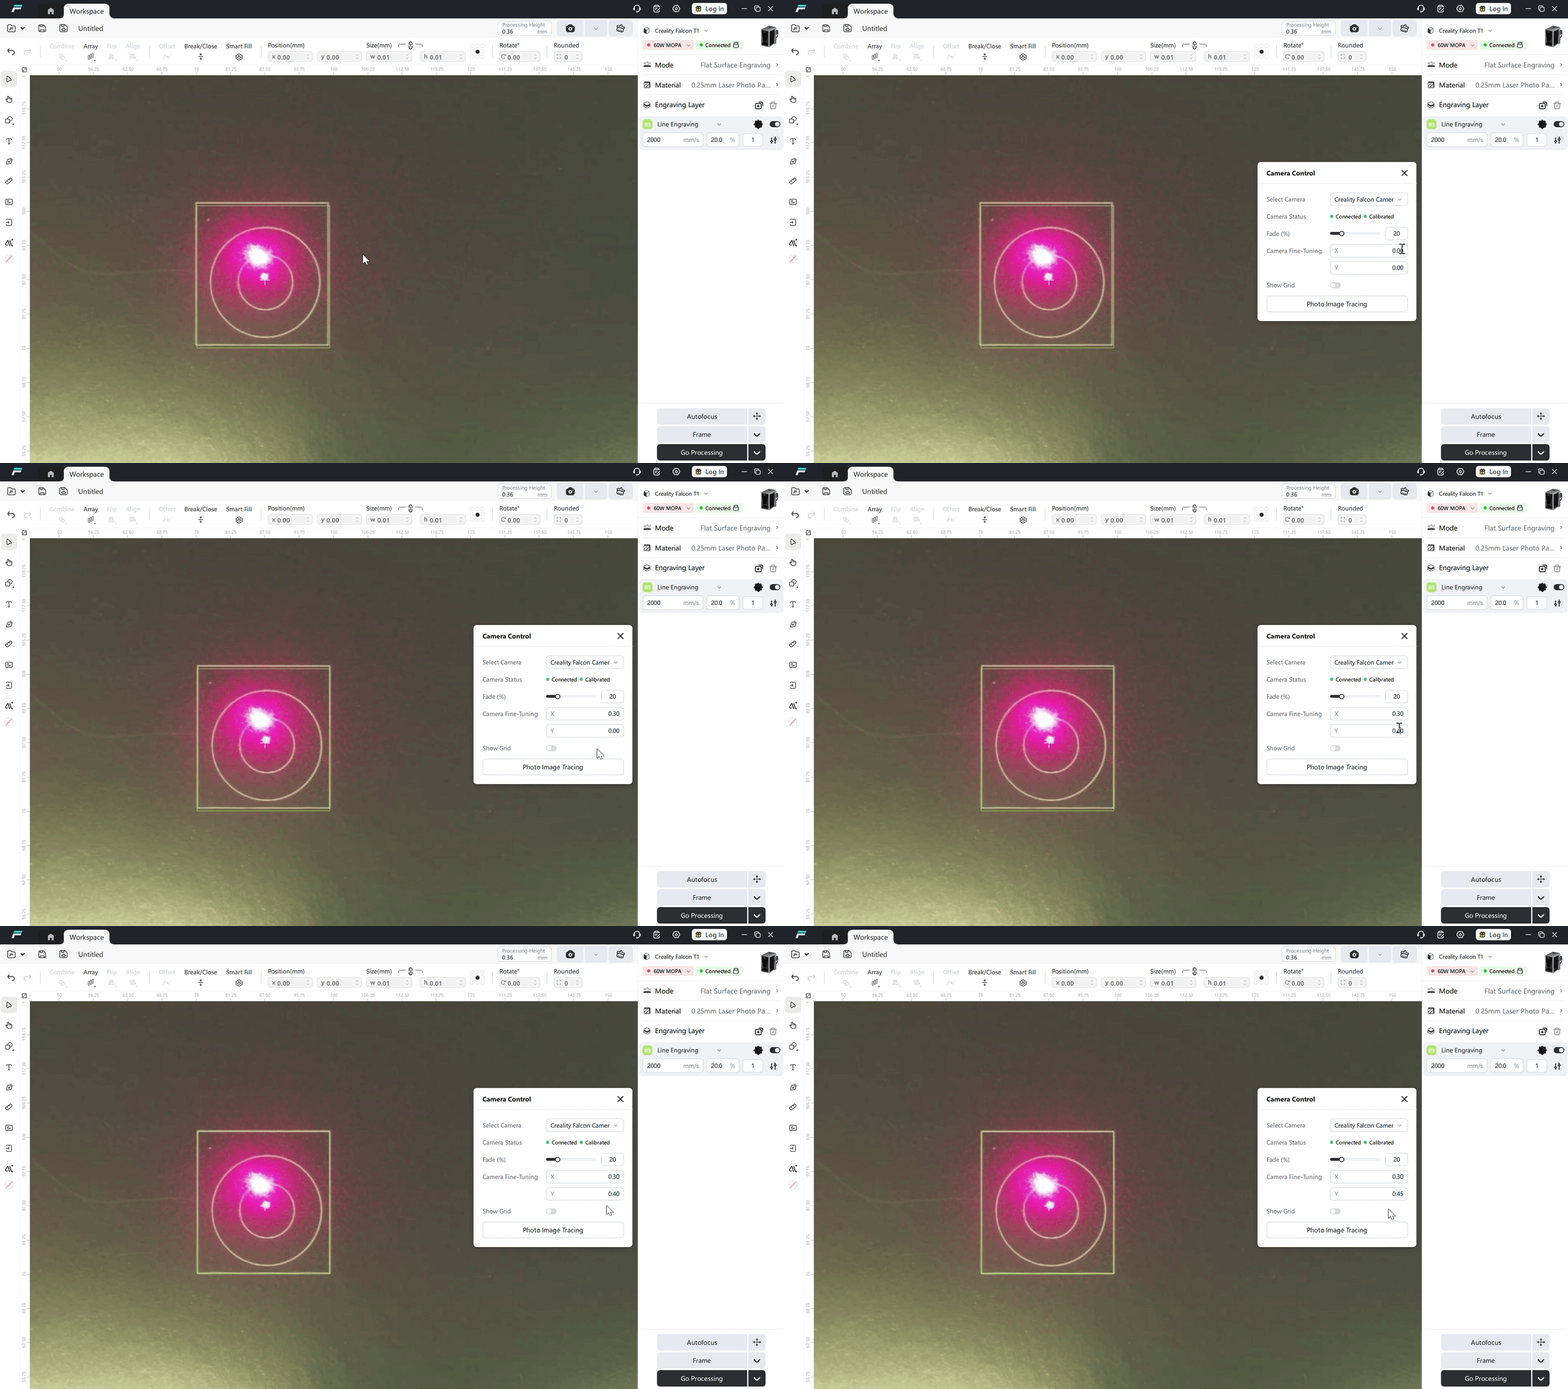
Notes:
- Before taking a photo, ensure the processing height is set correctly so the algorithm can calculate the camera alignment height accurately. For the A1C, complete autofocus first.
- Due to the limitations of visual algorithms, camera positioning cannot be 100% accurate. After the initial camera positioning, we recommend running a frame check to physically verify the engraving area.
- If the positioning error in the center of the work area exceeds 0.5mm after fine-tuning, recalibrate the camera using the Camera Calibration Guide.