¶ 1. Tools
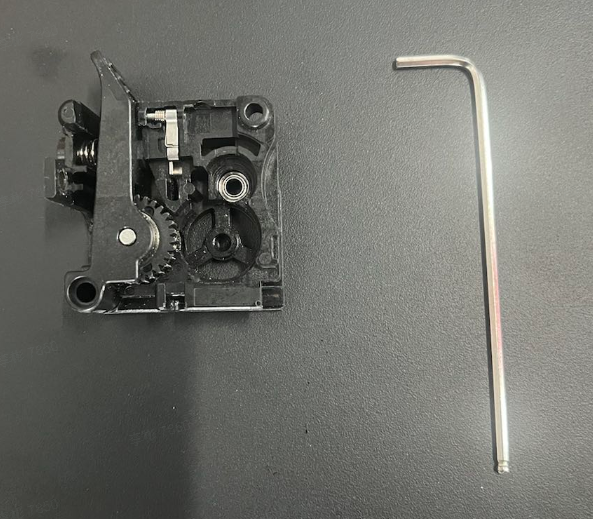
Extruder front cover assembly x1
L-shaped wrench x1
¶ 2. Operating steps:
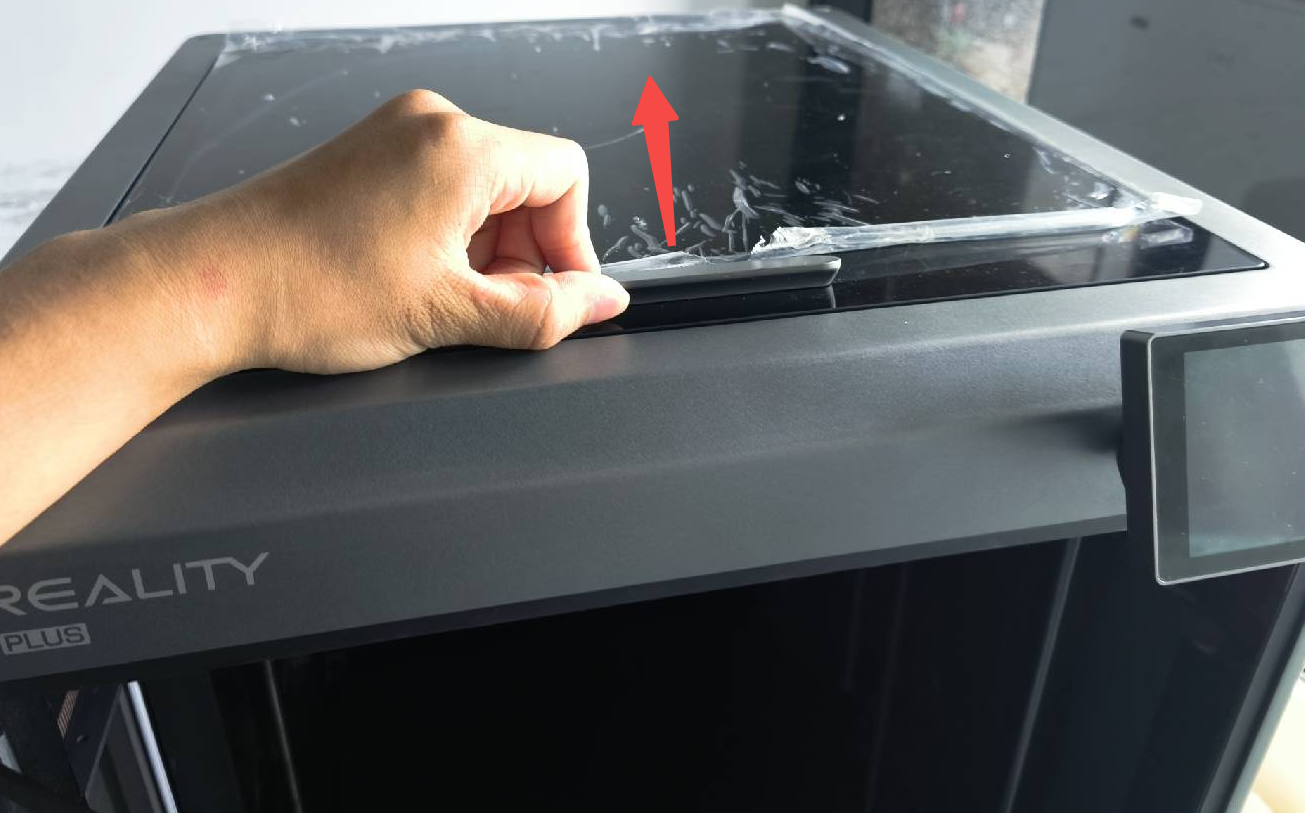
¶ 2.1 Remove the top cover.
For easier operation, you can first remove the glass top cover of the machine.
¶ 2.2 Remove the hotend cover
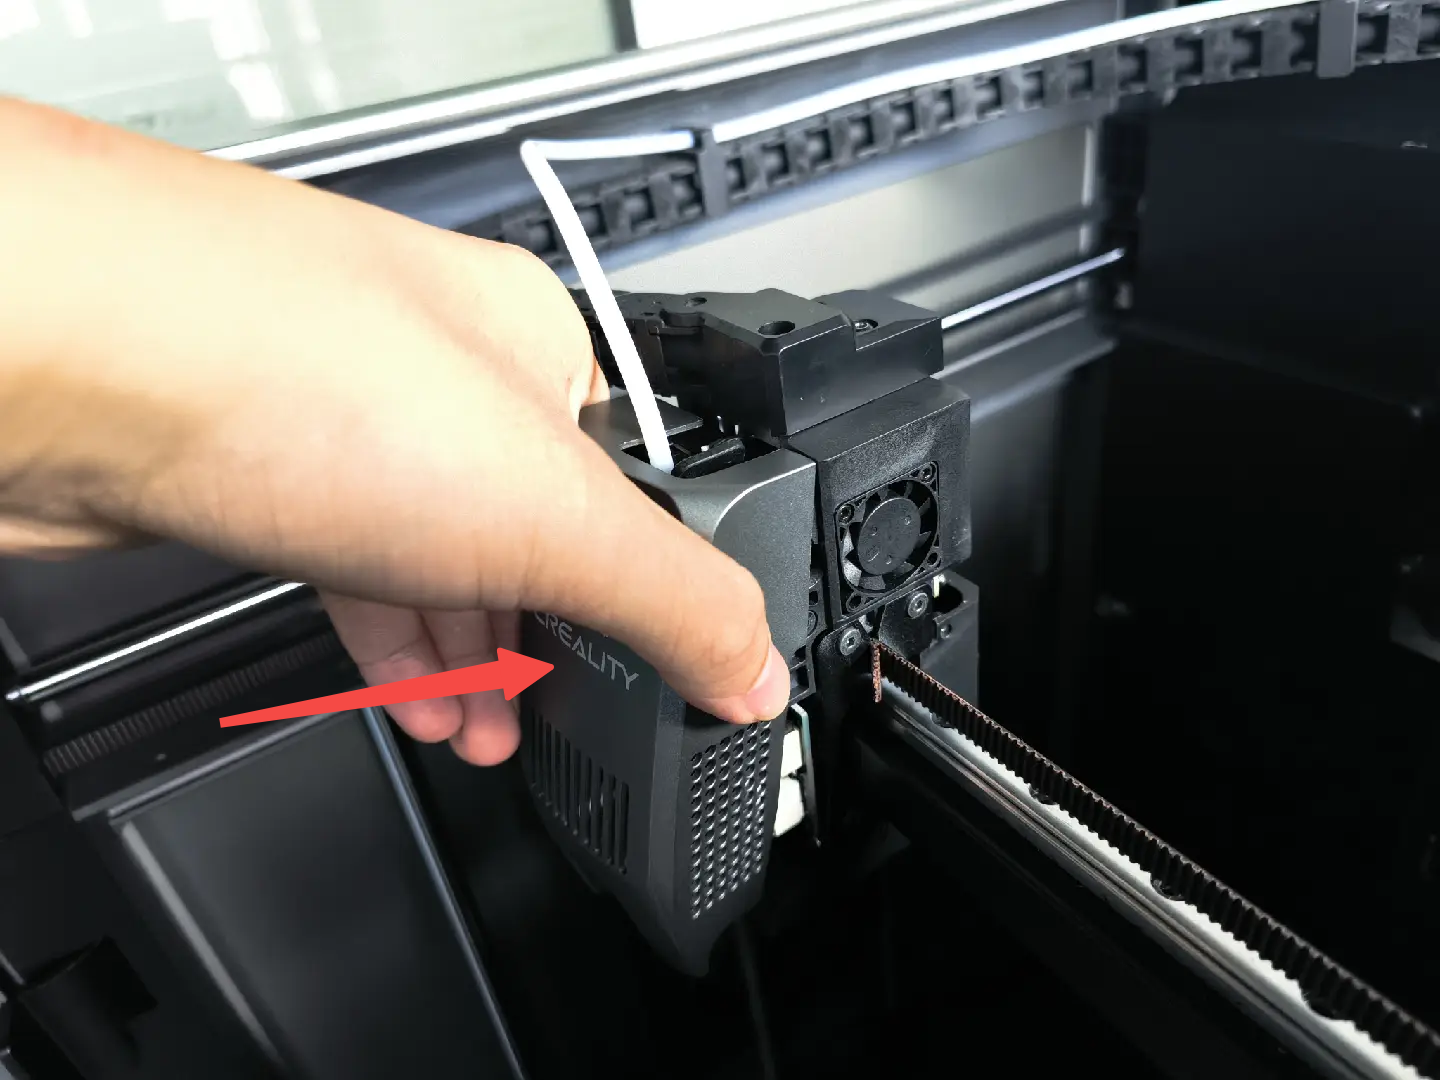
Remove the hotend cover of the machine by hand diagonally upward. Note that the cover is magnetically attached without screws.
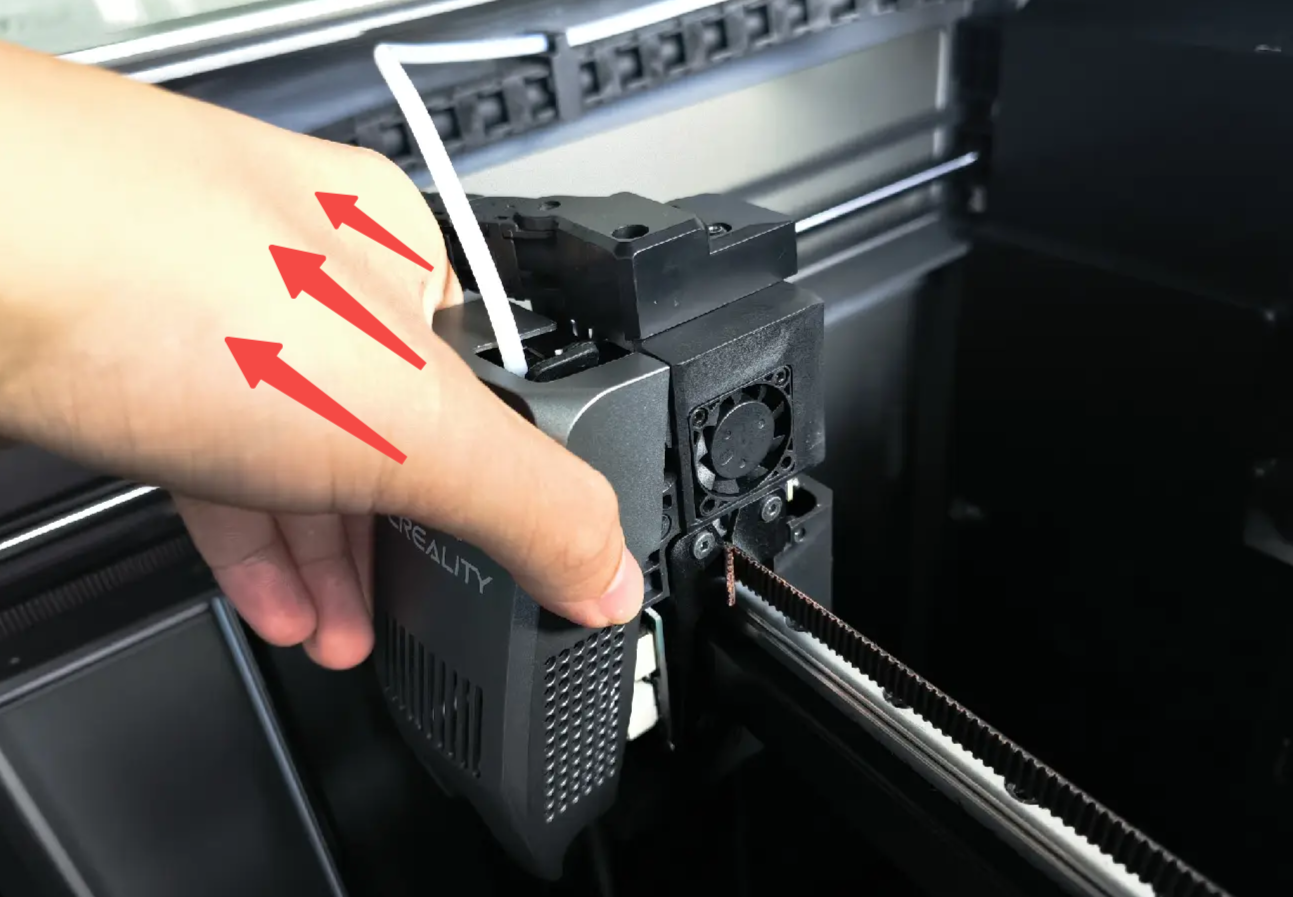
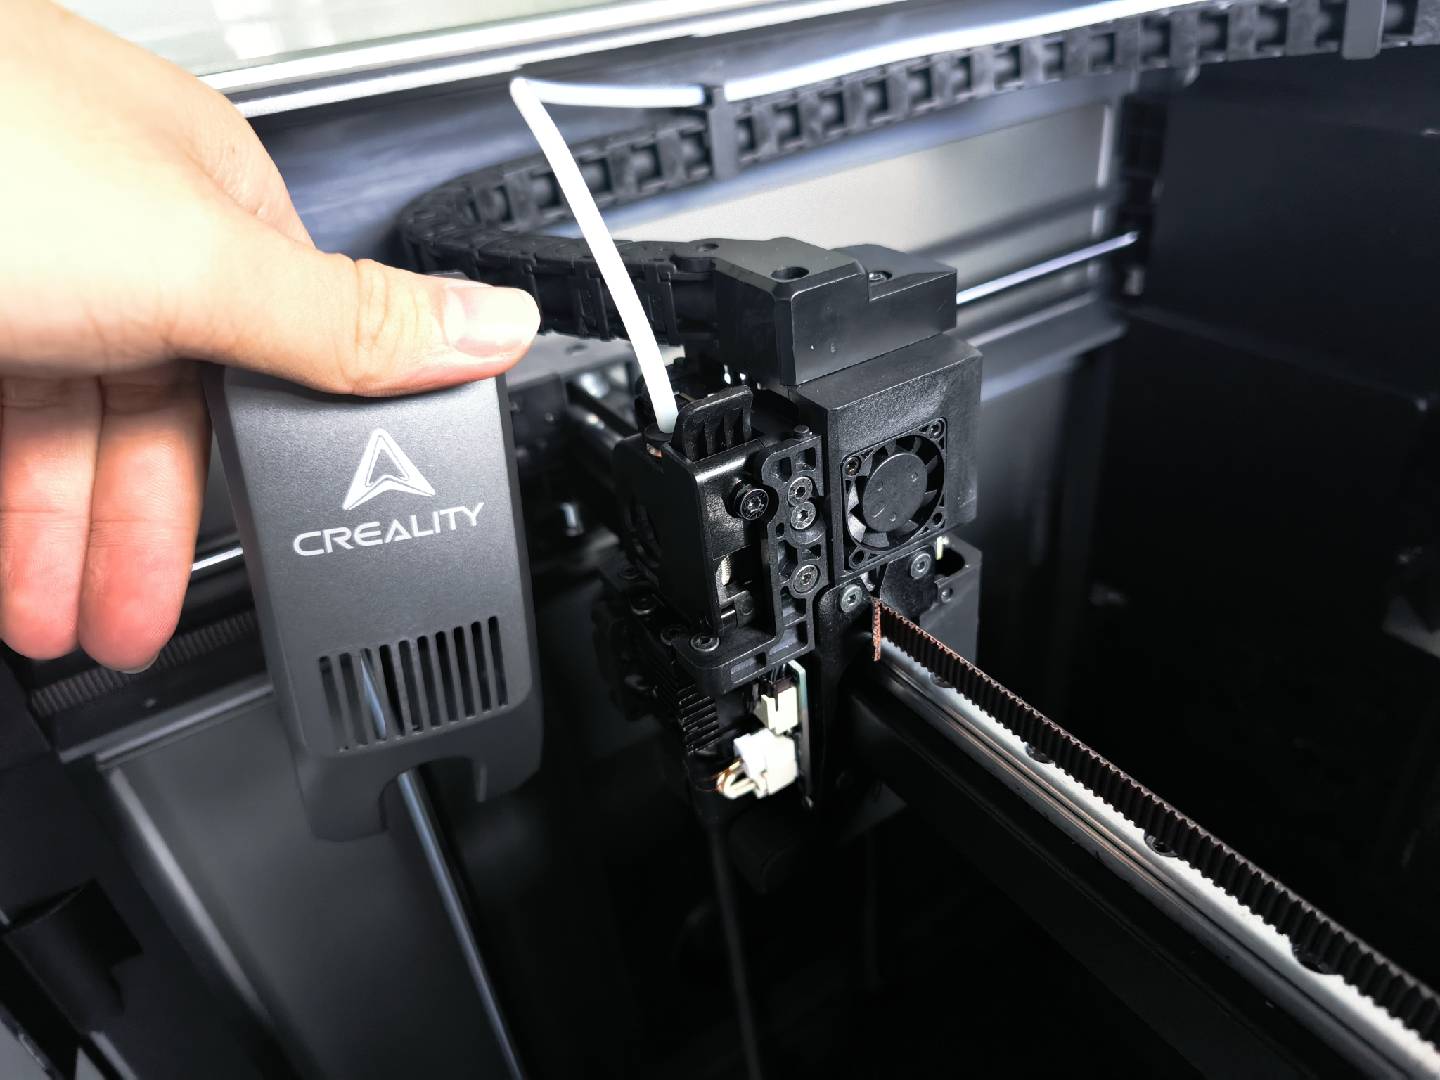
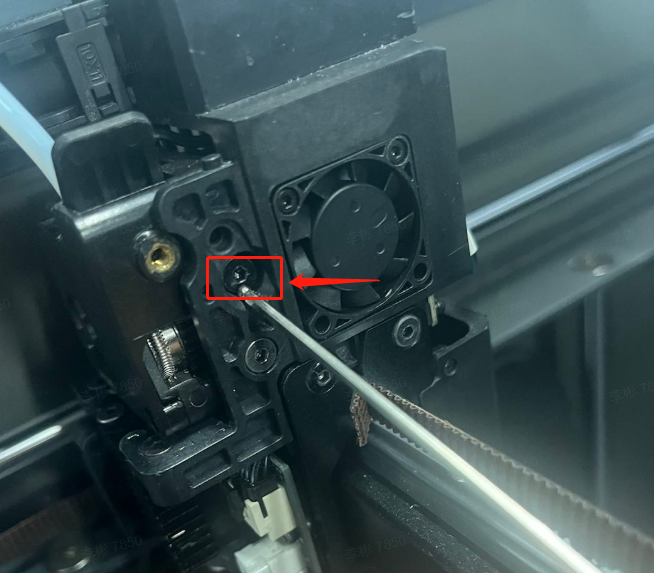
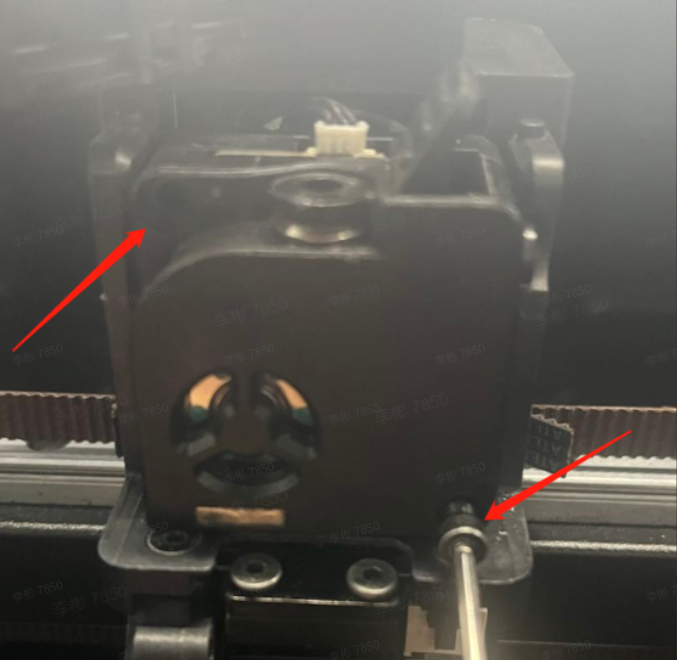
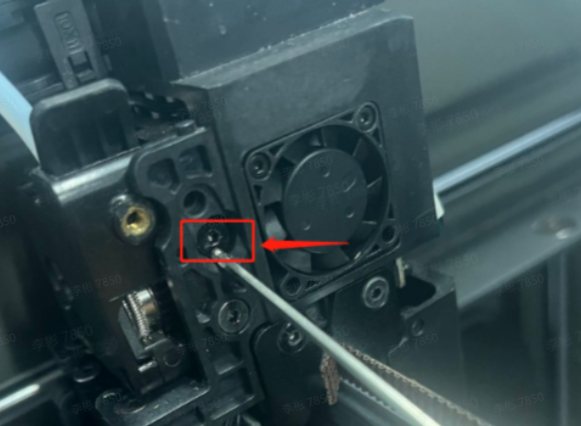
¶ 2.3 Remove one fixing screw on the right side of the extruder
Move the hotend to the leftmost of the X-axis, use the L-shaped wrench to unscrew one fixing screw to the left
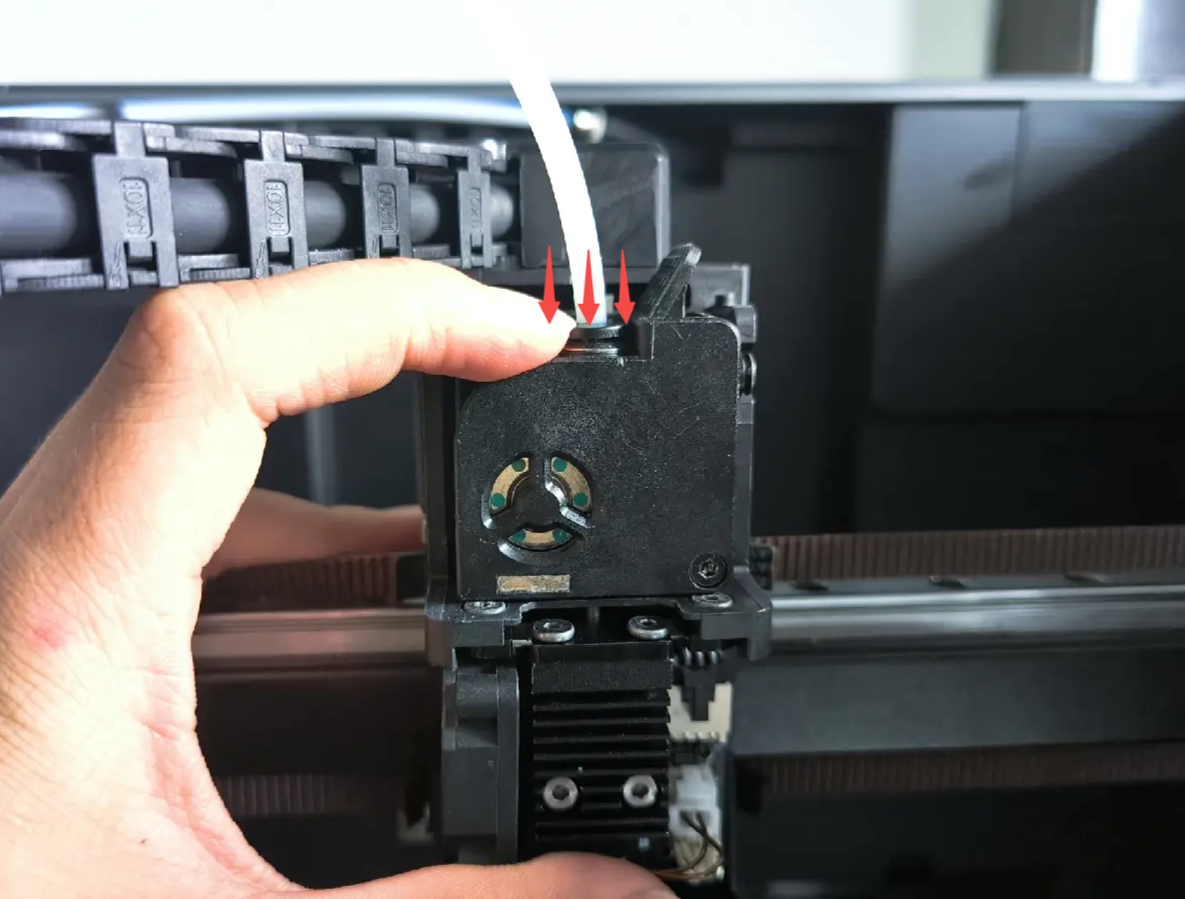
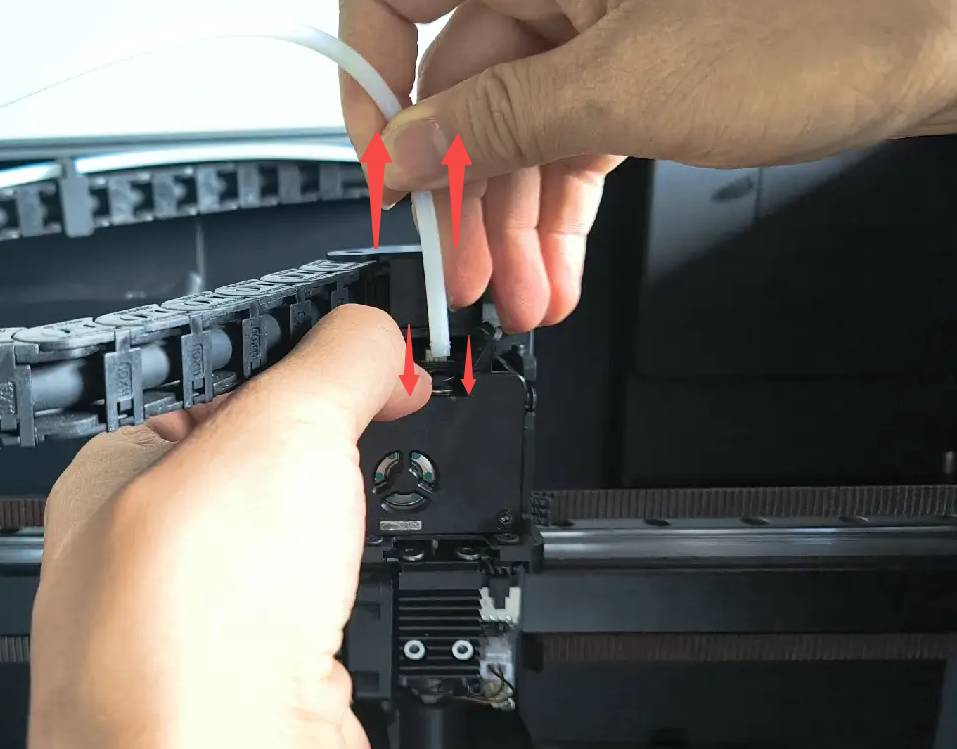
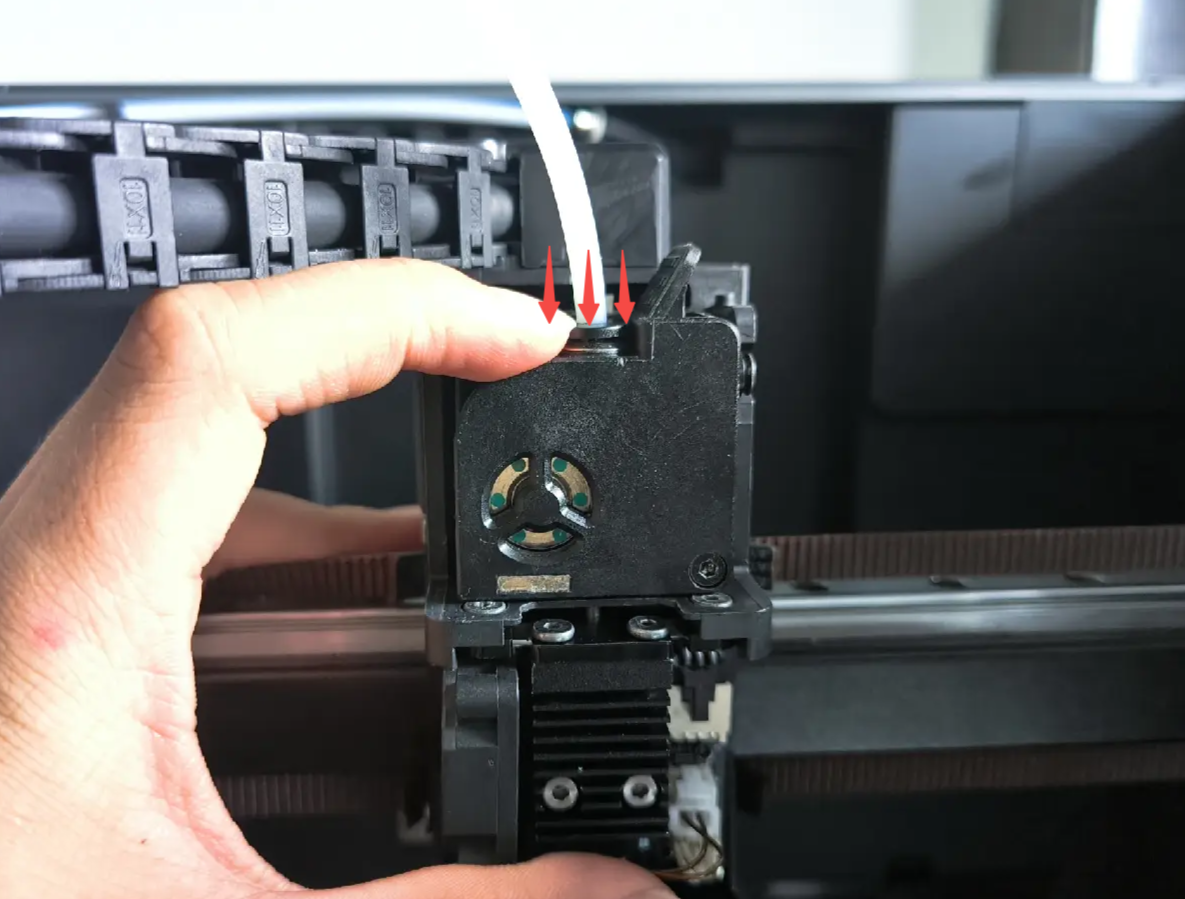
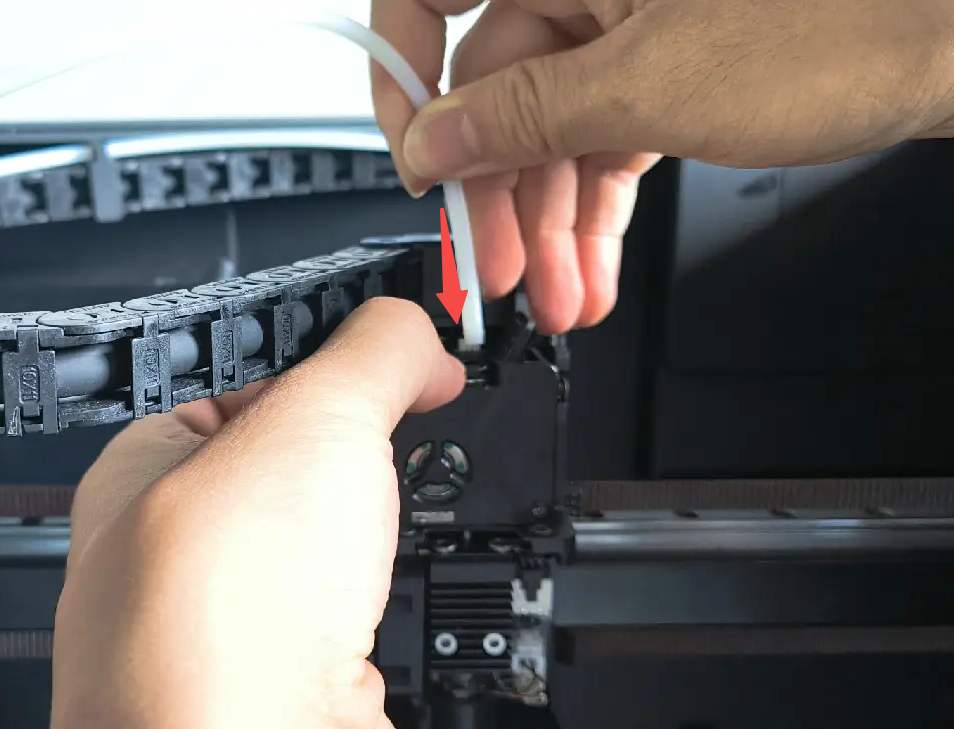
¶ 2.4 Unplug the PTFE tube from the extruder assembly
Press the plug of the pneumatic connector, then pull out the PTFE tube.
¶ 2.5 Remove the two fixing screws on the front of the extruder
Use the hex wrench to unscrew the two fixing screws on the front of the extrusion front cover. Then remove the extruder front cover assembly.
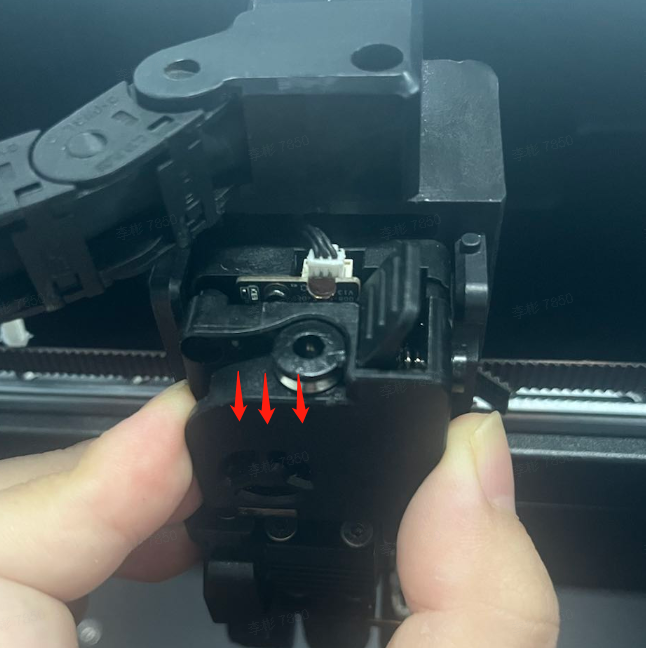
¶ 2.6 Replace the extruder front cover assembly
Remove the cutter from the old front cover assembly and install it on the new extruder front cover assembly. Note that the cutter installation has a direction, please do not install it incorrectly. For details, refer to Replace K2 Plus Cutter. After replacing the cutter, install the new extruder front cover.
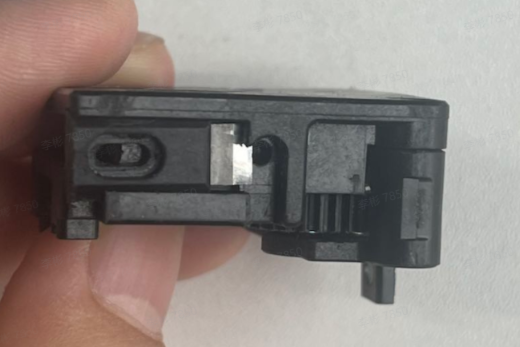
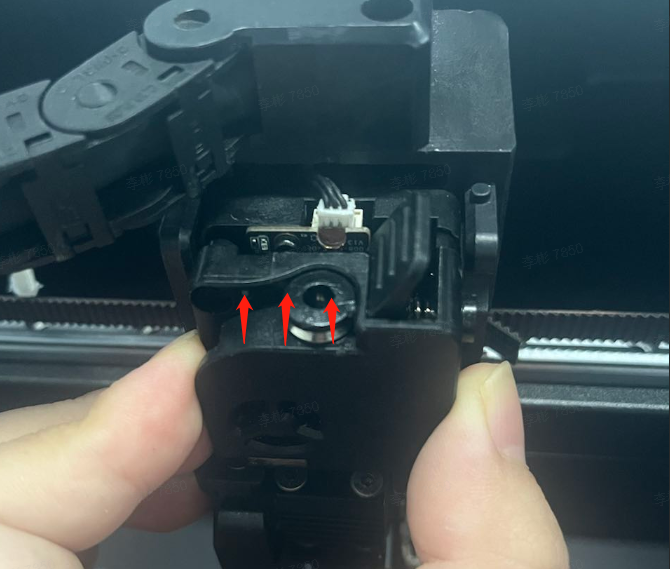
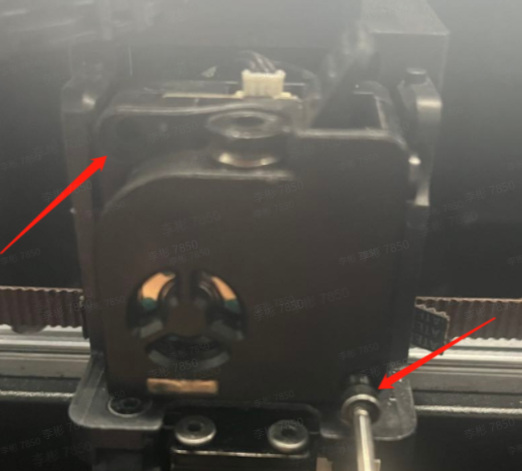
¶ 2.7 Install the fixing screws for the (new) extruder front cover assembly
Install the two fixing screws on the front of the extruder front cover and one fixing screw on the right side.
¶ 2.8 Install the PTFE tube
Keep pressing the plug of the pneumatic connector, then insert the PTFE tube.
¶ 2.9 Install the hotend cover
