¶ Tools
Lint-free cloth
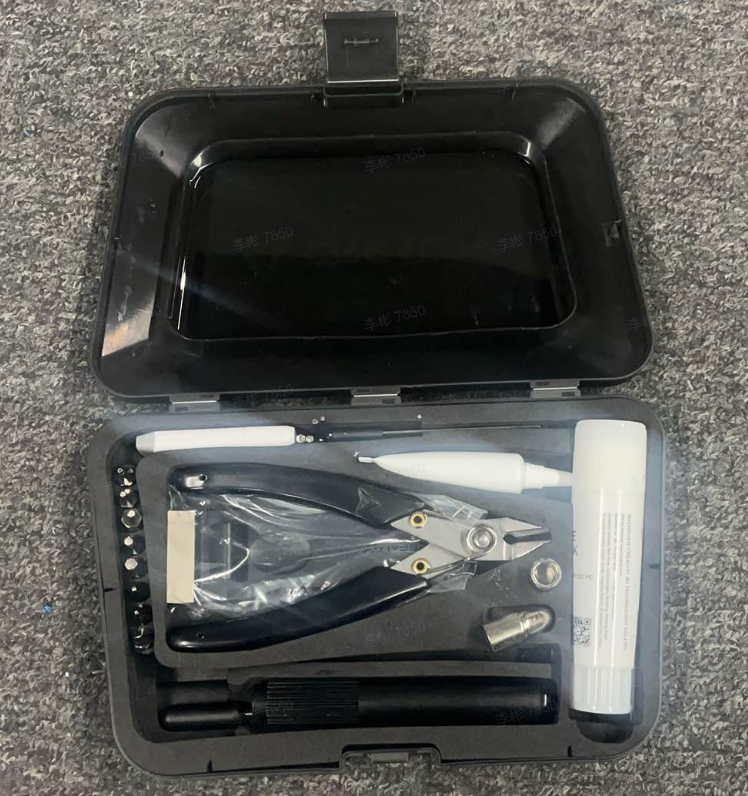
K2 Plus tool box kit
Lead screw cleaning tool Downloads (You need two pieces of lead screw cleaning tool)
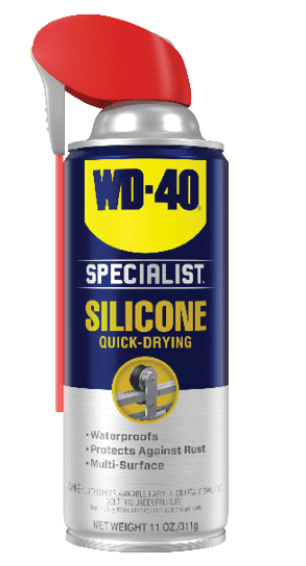
WD-40 Specialist® Silicone (For more information about WD-40 Specialist® Silicone, please click here.)

|
|

|
|
¶ Operation Steps
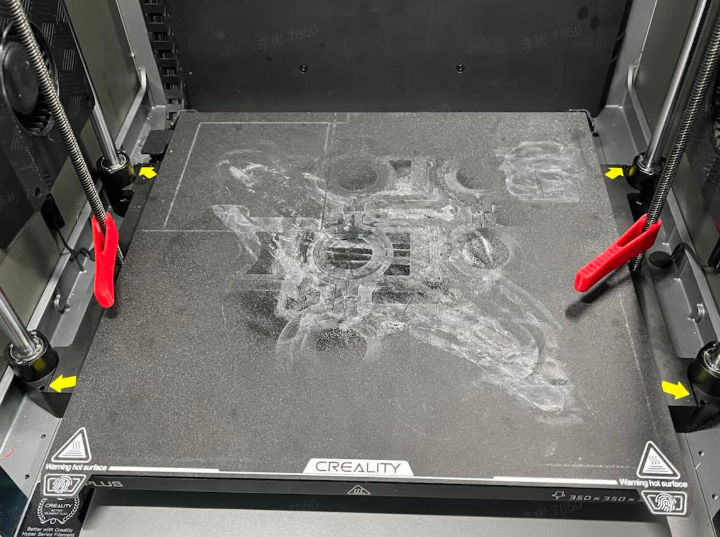
Operate the printer's Z-axis homing. After homing is completed, control the Z-axis movement to lower the Z-axis hot bed platform to the bottom.


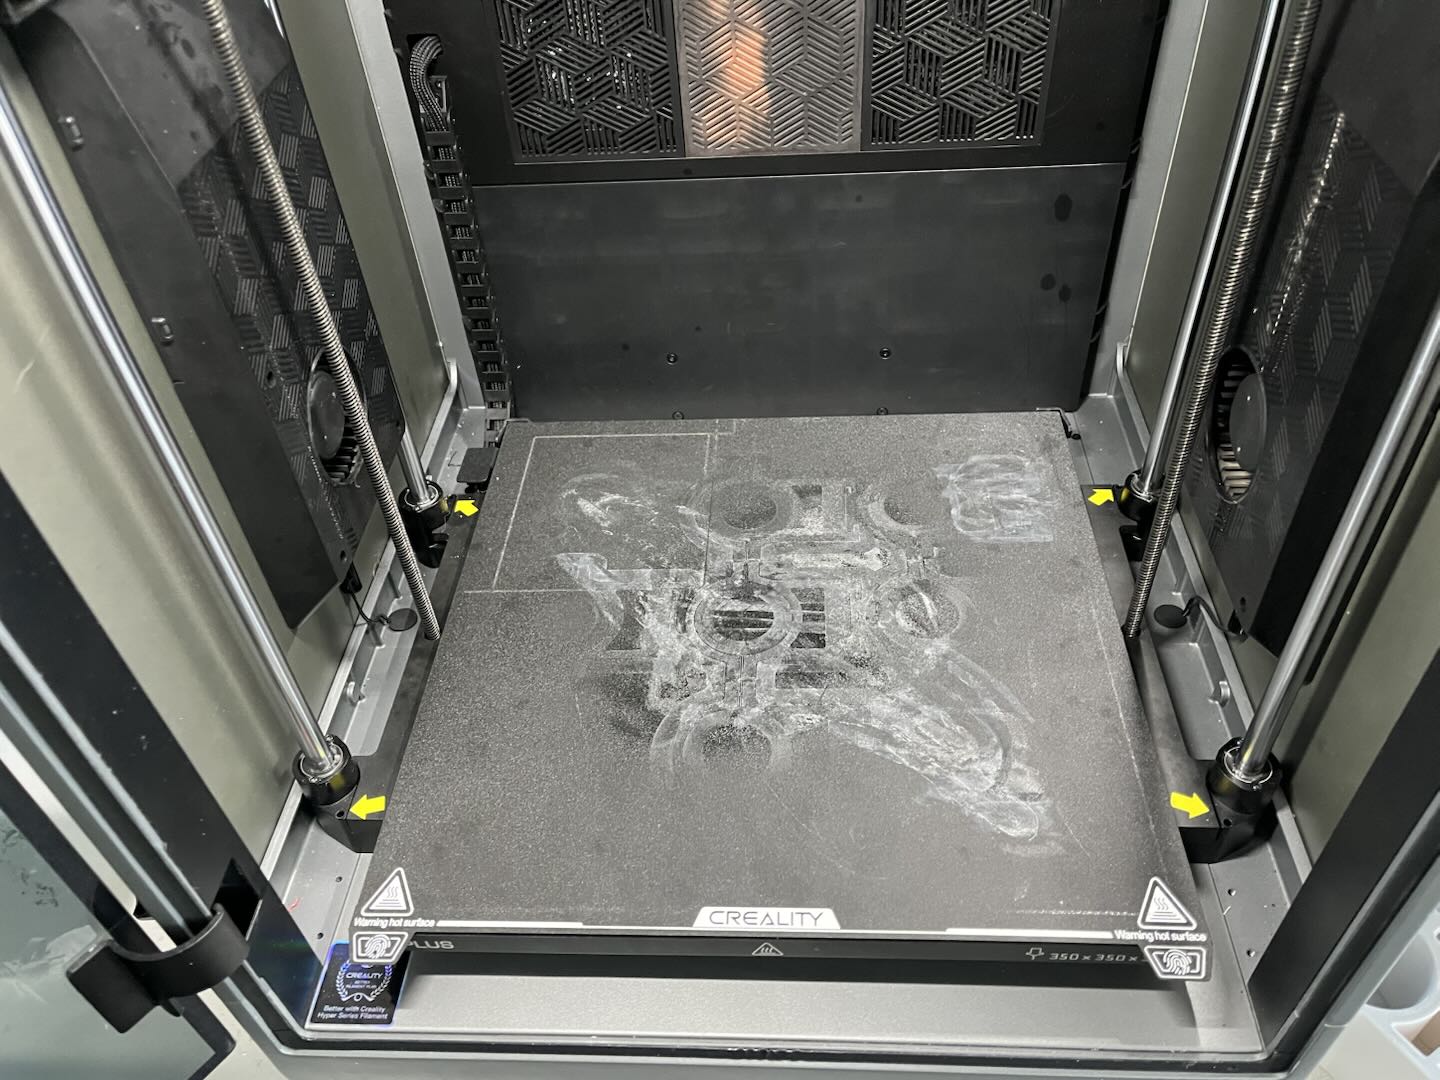
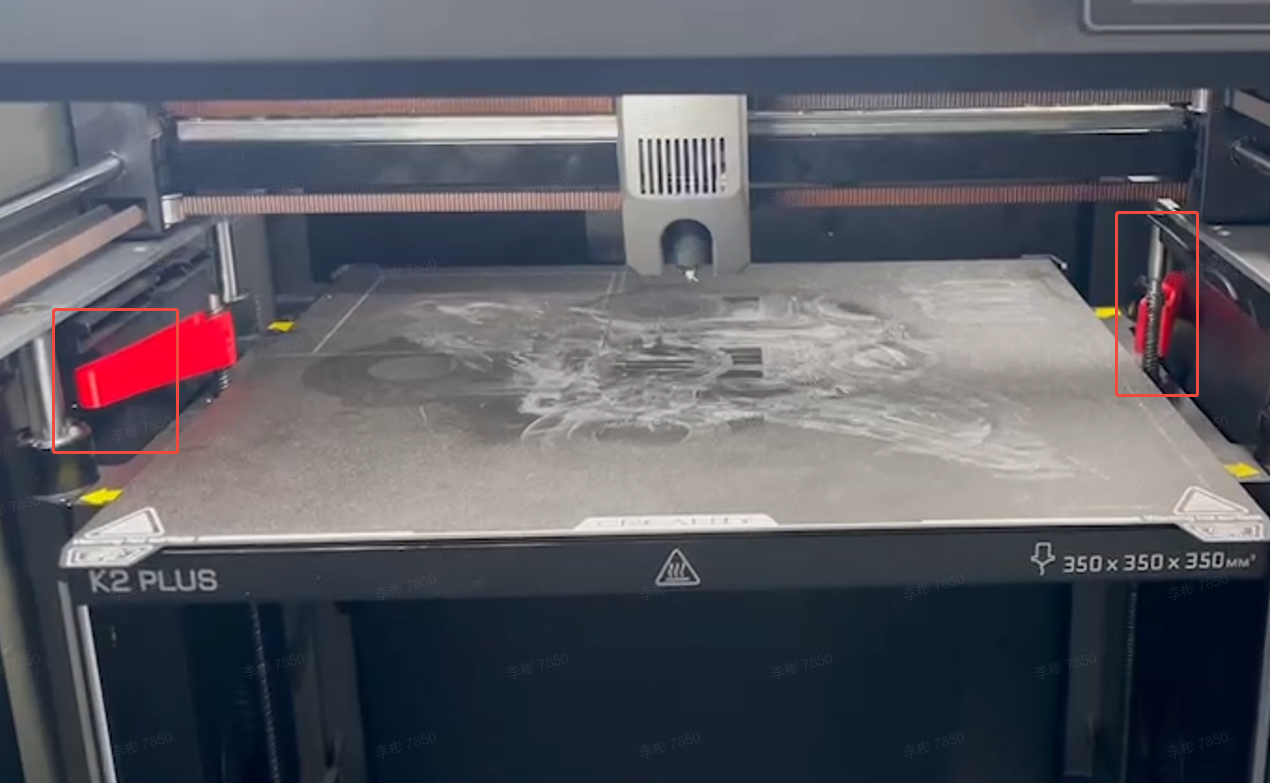
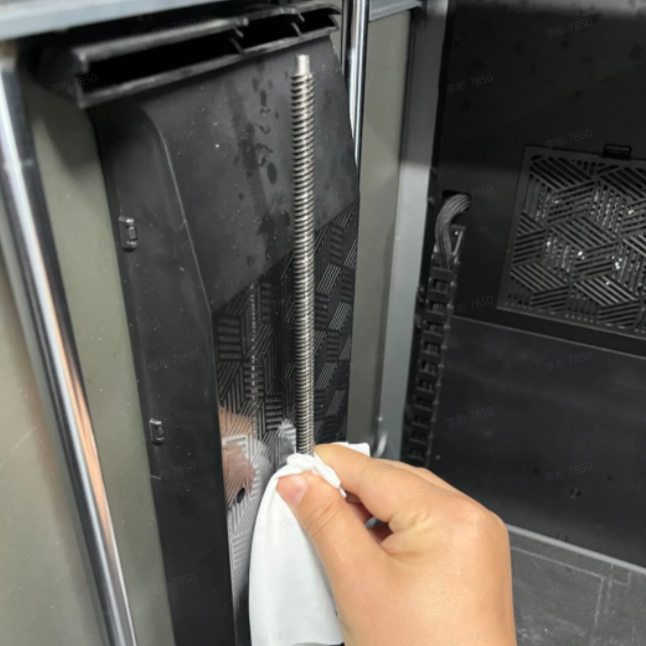
Remove the Z-axis lead screw cover at the top using a screwdriver. Then place the lead screw cleaning tools at the bottom of the lead screws. Each side with one lead screw.
 |
 |
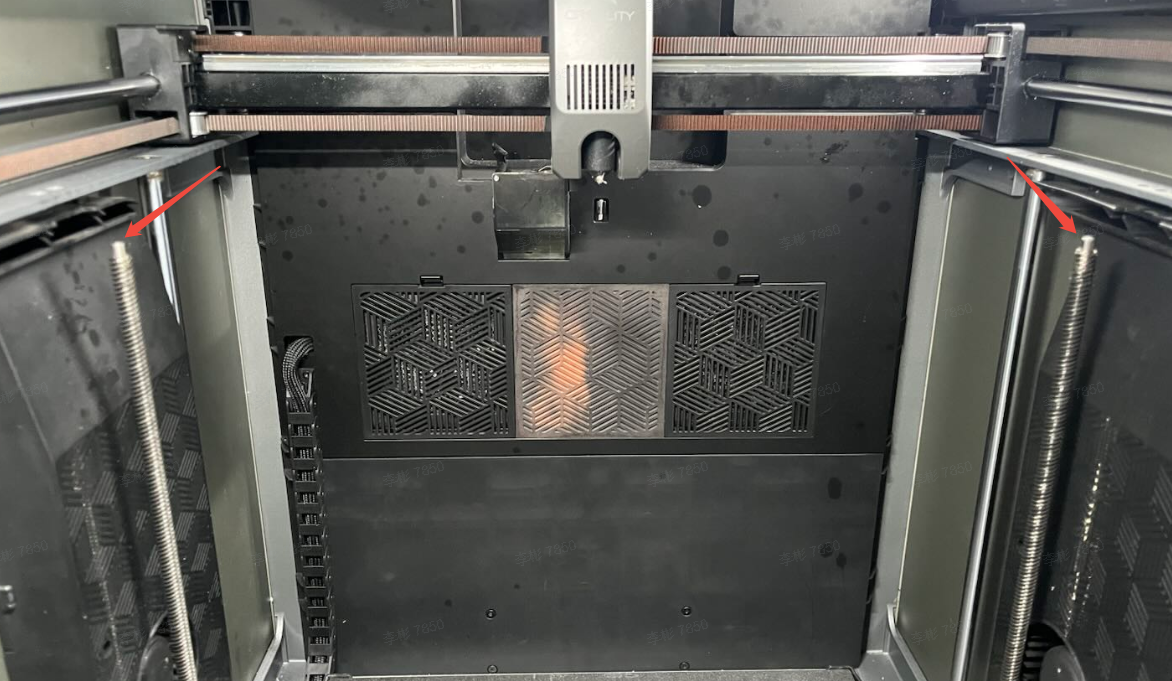
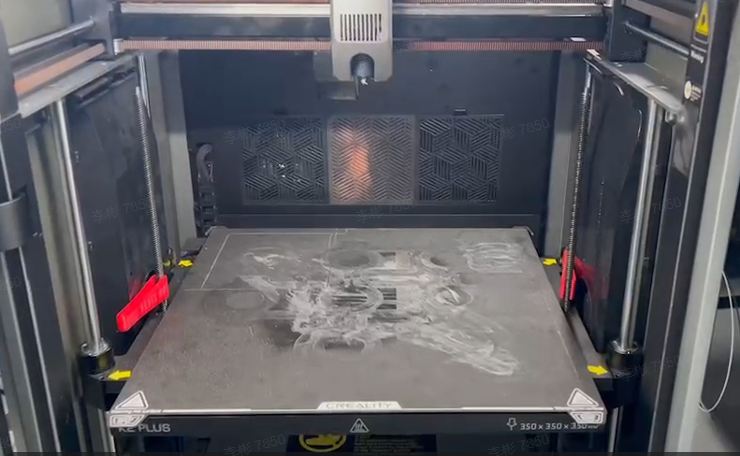
Click the screen “Z-axis ⇡” . As the machine rises, the lead screw cleaning tools will also rise, capturing and carrying the black, thread-like sticky substance on the lead screws. Stop the upward movement when approaching the end of the lead screws to prevent collision between the tools and the auxiliary fan duct which could cause damage. Manually remove the cleaning tools from the top of the lead screws.

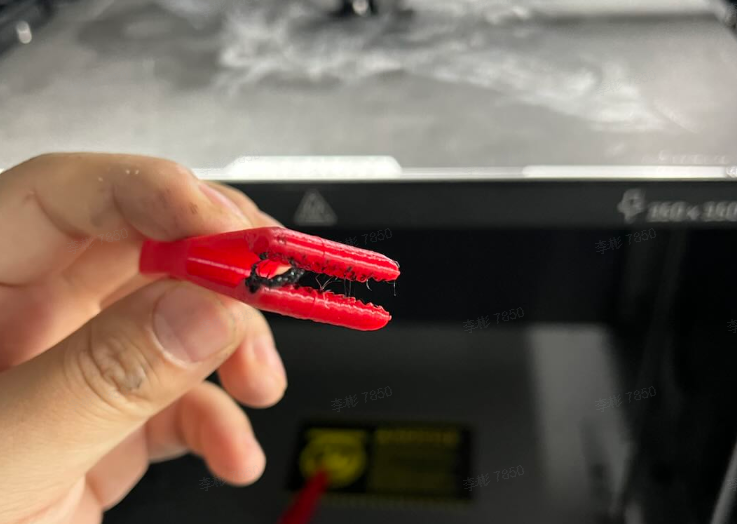
If sticky substances remain, repeat the cleaning process by lowering the hot bed again until thoroughly clean. Use the lint-free cloth to wipe off the black substance from both ends of the lead screws.
 |
 |
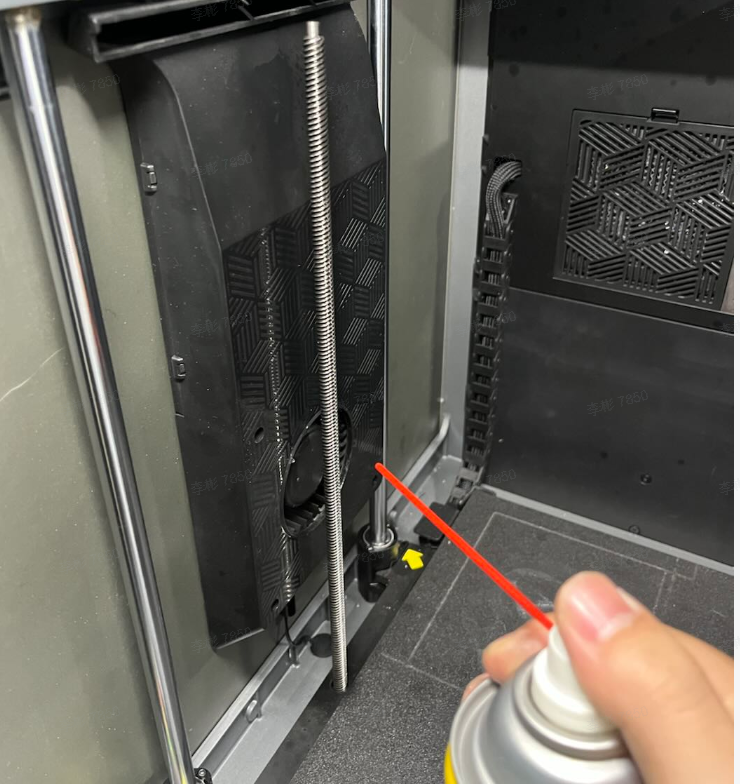
After cleaning, shake the WD-40 Specialist® Silicone well and spray it on the lead screws, ensuring the lubricant covers the entire length. Let it sit for about 5 minutes. During this time, reinstall the Z-axis lead screw cover. After installation, manually click the screen “Z-axis homing” and move the platform up and down to distribute the lubricant evenly.
 |
 |
|
¶ Maintenance Cycle Recommendation
Frequent use: Lubricate once per week
Infrequent use: Lubricate once every two weeks
For maintenance suggestions, refer to the Wiki Page: K2 Plus Periodic Maintenance Tips