This guide explains how to perform calibration for the Ferret Series scanner. Please note that the Ferret calibration board is not included as a standard accessory. It is an optional precision enhancement accessory, designed primarily for high-accuracy calibration and professional precision optimization scenarios.
The scanner can perform all standard scans without the calibration board, and its default functions are fully unaffected. The calibration board serves only to improve scanning accuracy.
If you experience issues such as poor scan quality, frequent tracking loss, or slow processing, these problems are usually not caused by the absence of the calibration board. They are more likely related to the scanning environment, the surface material of the object, or the scanning technique. For optimization guidance, please refer to the following tutorials:
CR-Scan Ferret Related Tutorial
Software Manual on Creality CR-Scan Ferret Series 3D Scanner
Creality Wiki - Ferret Series tutorial
¶ Calibration Instructions
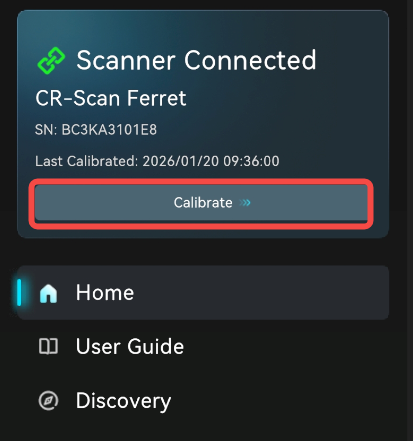
After the device is connected, open the calibration function via the "Calibrate" button in the left infobox on the homepage.
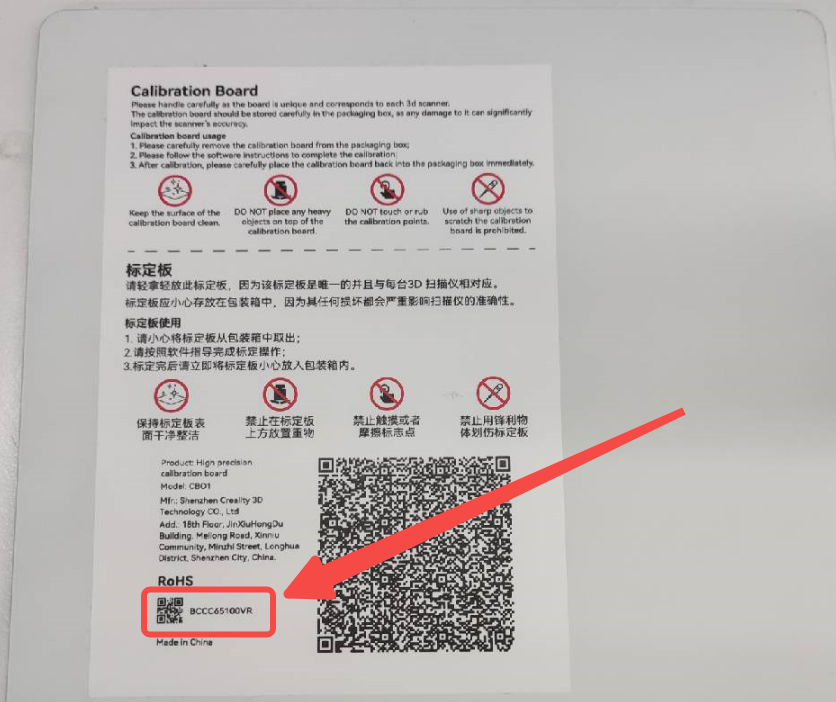
For first-time use, check the SN on the back of the calibration board and manually enter it in the software.
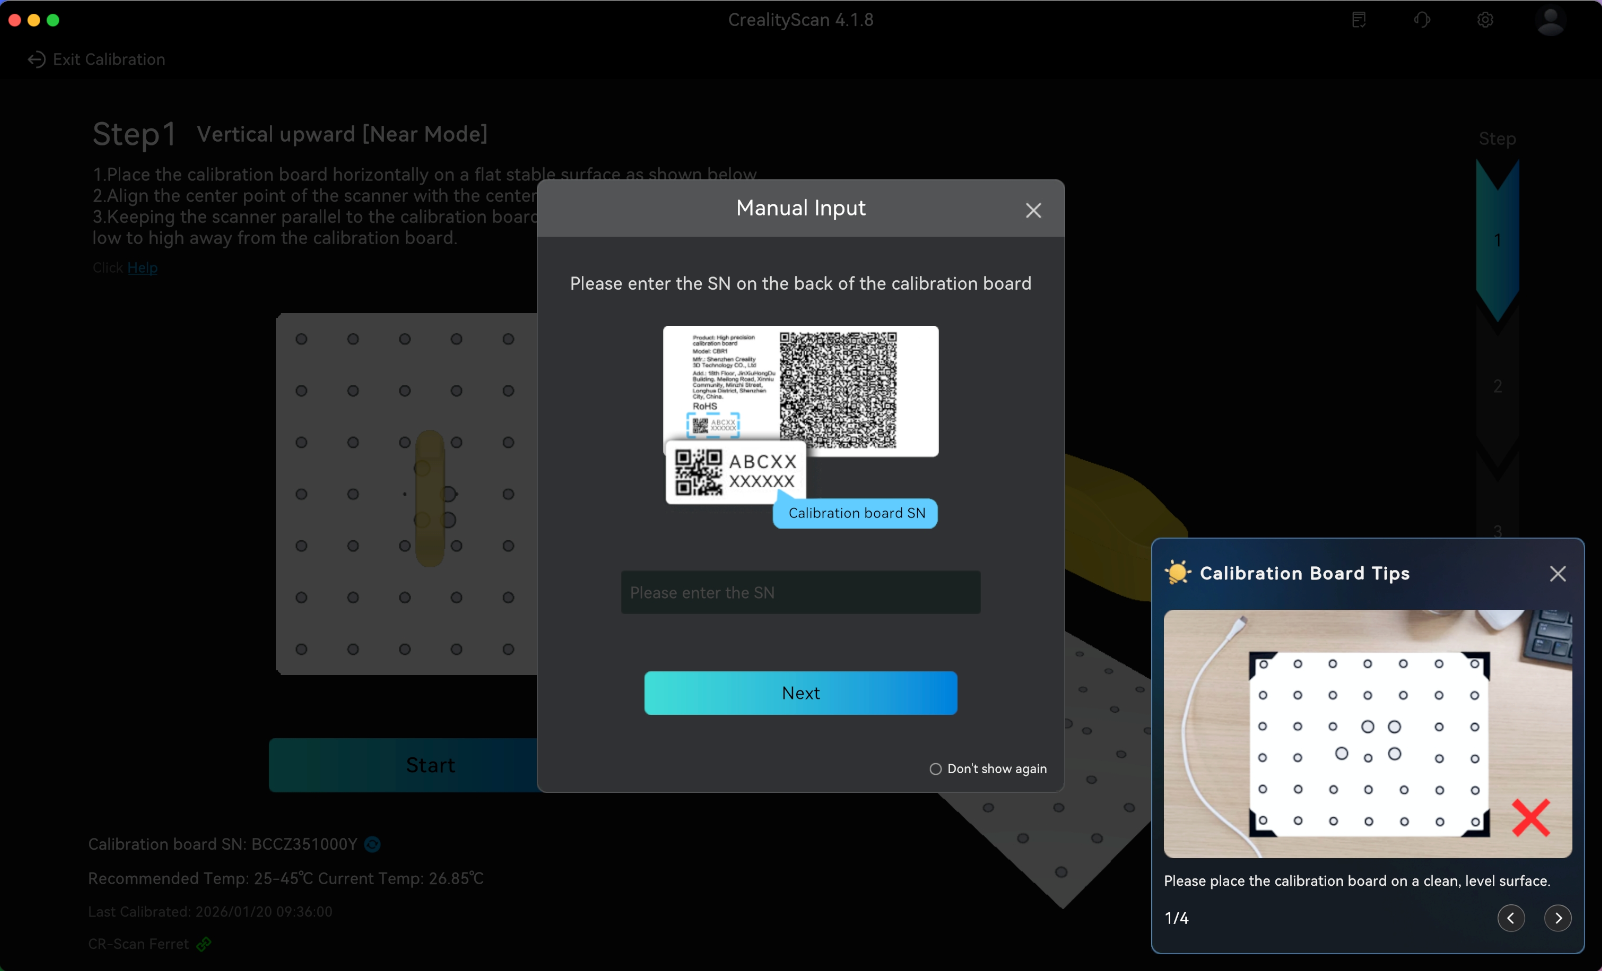
Click "Start" to begin the calibration. After entering the acquisition process, point the scanner at the front of the calibration board and move the scanner according to the guidance.

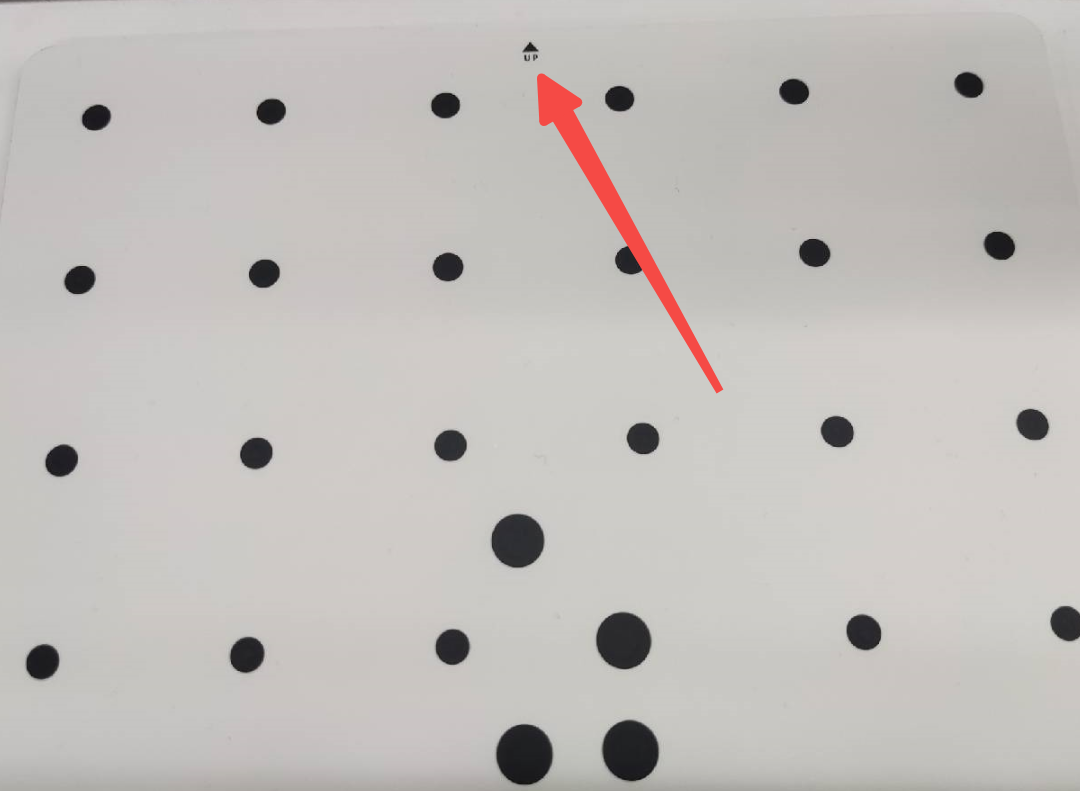
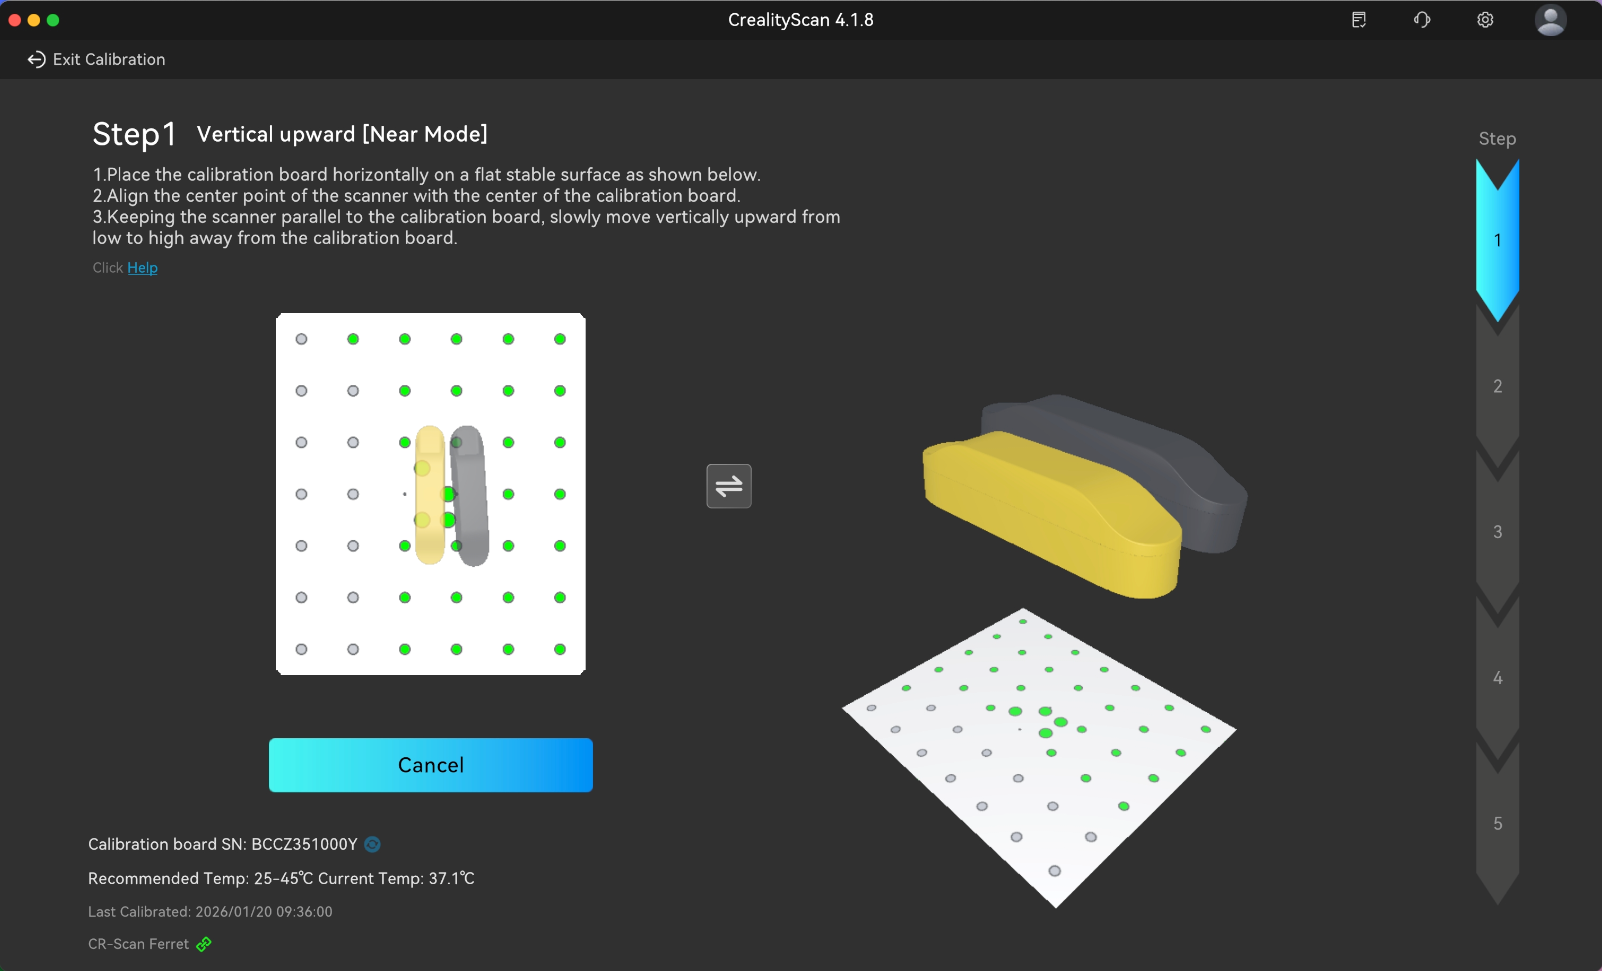
The left and right sides are process guidance areas, showing the pose and angle requirements for the current acquisition. Make sure the scanner and calibration board orientation matches the diagrams. When placing the calibration board on the table, make sure the arrow is facing upwards.
The bottom left shows the calibration board number and scanner temperature. Please make sure to perform calibration within the appropriate temperature range. The right-most side indicates the current step.
The guidance areas are used to guide the scanner's pose in real time. As pose acquisition is completed, the corresponding step on the right side updates.
1. The left guidance area primarily directs the scanner's forward, backward, left, and right movements.
2. The right guidance area primarily guides the scanner's height adjustment.
Move the scanner to the target position according to the guidance, ensuring that the two scanner models overlap to complete pose acquisition, as shown in the figure below.
After completing one pose, the system will automatically move to the next pose. Please follow the instructions to move the scanner repeatedly to complete the acquisition of all positions in the entire process. After the acquisition is completed, it will automatically enter the calibration process. Please wait patiently for the calibration results. After successful calibration, you can start scanning to achieve high-quality results.