¶ TP-01 Timelapse Photography Module
The TP-01 Timelapse Photography Module is specially designed for the SPARKX i7 series 3D printers, providing a more professional control solution for external photography devices. By capturing still images during each printing layer and combining them into a video, it enables timelapse photography effects.
¶ Working Principle
The printer sends shutter trigger signals to activate the external photography device. By capturing still images during each layer of the printing process and combining them into a video, the module creates a timelapse photography effect.
¶ Supported Photography Devices
Using a Smartphone for Photography
|
Mobile Operating System
|
Required Version
|
|
Android
|
Android 12 or later
|
|
iOS
|
iOS 16 or later
|
|
HarmonyOS
|
HarmonyOS 4.2.0 or later
|
Using a Camera for Photography
|
Camera Brand
|
Supported Models
|
| SONY | a7C2/a7M4/a7R5/FX30/a6700 |
| Canon | EOS R7/ EOS R6/EOS R50 |
| Nikon | Z30/Z6II |
¶ Package Contents
TP-01 Timelapse Photography Mainboard ×1
Type-C Cable (0.5 m) ×1
Mounting Screws (M3×6, 4 pcs)
Instruction Manual ×1
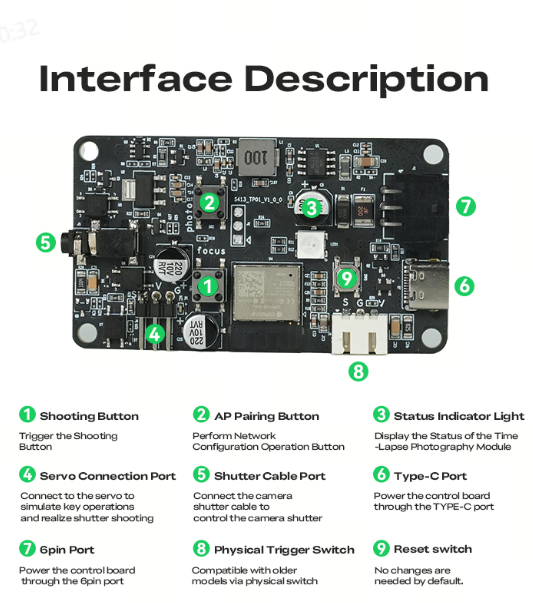
Ports and Button Overview:
¶ Housing Assembly Guide
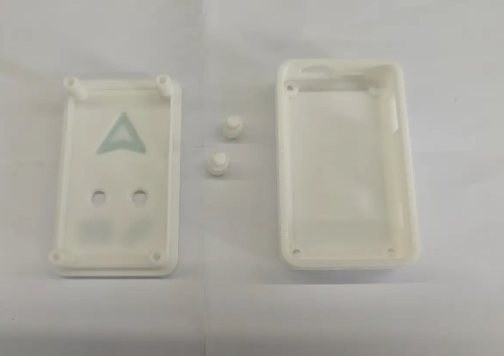
The housing needs to be printed and assembled by yourself. To download the housing model files and assembly tutorial, please scan the QR code or visit crealitycloud.com. You may also contact customer service to obtain the model link.
The printed housing is shown below:
 |
 |
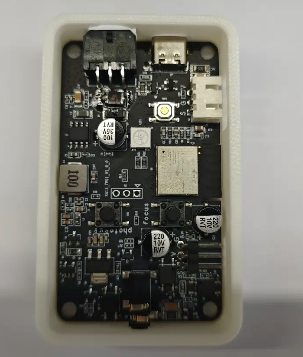
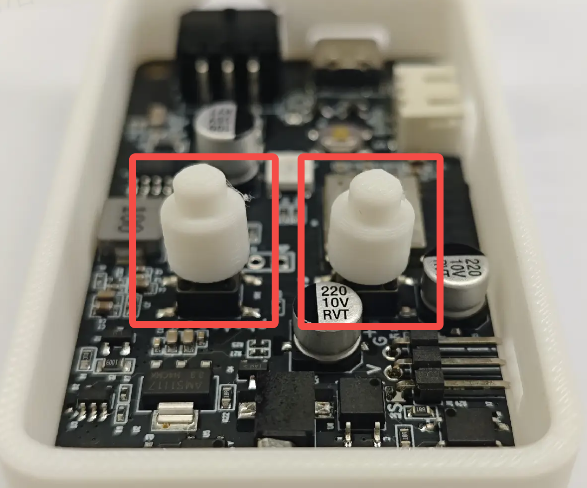
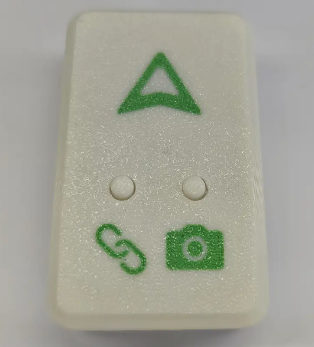
Place the Timelapse Photography Module into the housing and check whether all interfaces are aligned with the reserved openings. Install the buttons onto the corresponding button positions on the PCB board.
 |
 |
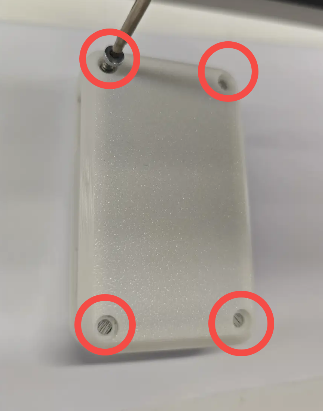
Close the cover, ensuring the buttons are properly aligned with the reserved openings. Flip the device over, insert the four screws into the corresponding holes on the back, and tighten them securely.
 |
 |
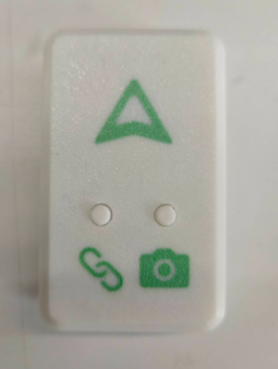
Final assembled appearance after housing installation:
¶ Using Guide
¶ Printer Setup & Connection
¶ Timelapse Module Network Setup
Press and hold the left button to enter AP pairing mode. On your phone’s Wi-Fi list, find and connect to:
WiFi: Creality_Time_Lapse
Password: 12345678
Then open a browser and visit 192.168.236.1 to enter the pairing page.
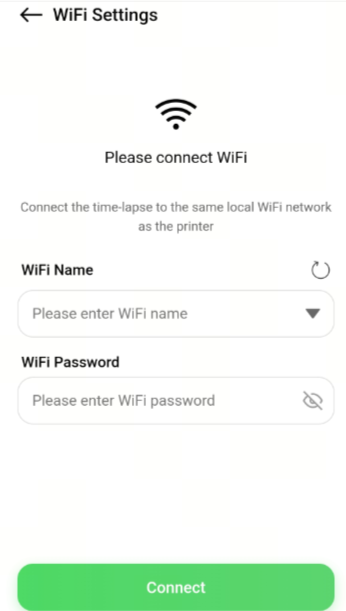
On the Wi-Fi connection page, select a Wi-Fi network that is on the same local network as the printer.
¶ Printer Pairing
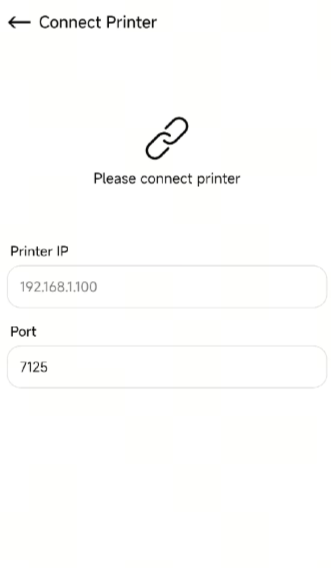
Enter the printer’s IP address within the same local network. (The printer IP address can be found via Settings → WLAN). Once entered, connect to complete pairing.
 |
 |
¶ Slicer Software Setup
Open the slicer software
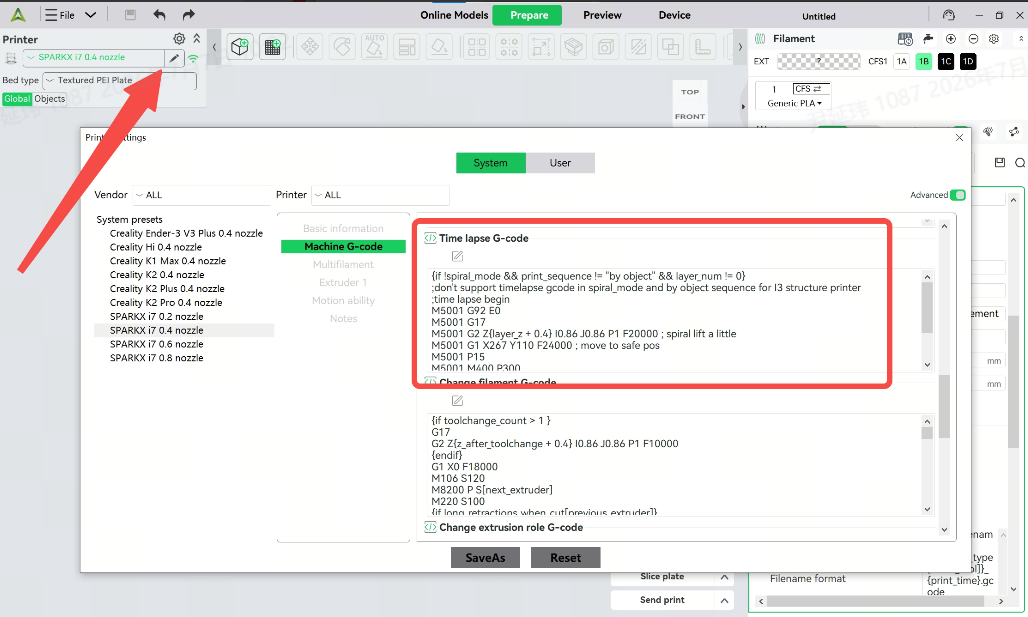
Modify the timelapse G-code Copy and replace the following code into the “Timelapse G-code” field:
{if !spiral_mode && print_sequence != "by object" && layer_num != 0}
;don't support timelapse gcode in spiral_mode and by object sequence for I3 structure printer
;time lapse begin
M5001 G92 E0
M5001 G17
M5001 G2 Z{layer_z + 0.4} I0.86 J0.86 P1 F20000 ; spiral lift a little
M5001 G1 X267 Y110 F24000 ; move to safe pos
M5001 P15
M5001 M400 P4000
M5001 G92 E0
;time lapse end
{endif}
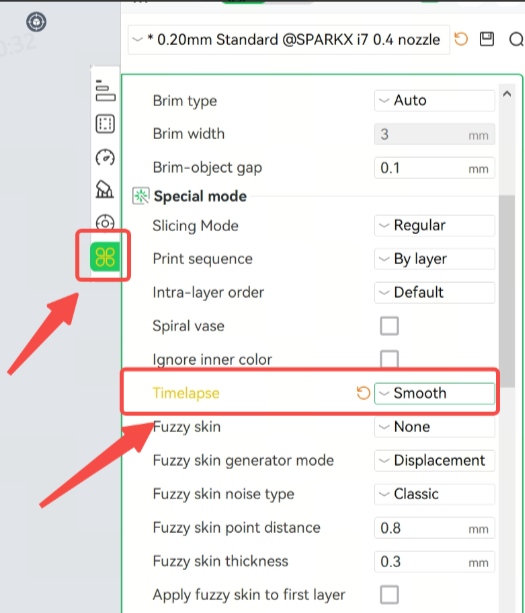
Enable Timelapse – Smooth Mode
¶ Camera Connection
¶ Wired Shutter Cable Connection
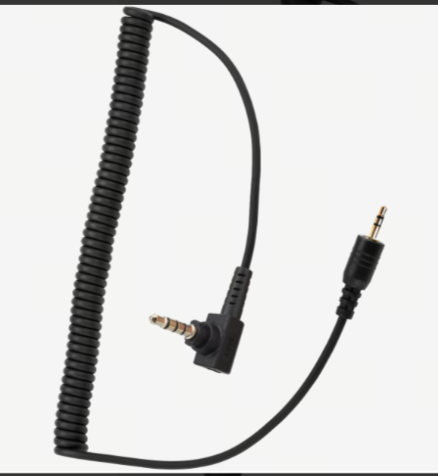
Use a 2.5 mm analog shutter cable to connect the camera to capture photos.
¶ Wireless Bluetooth Shooting Connection
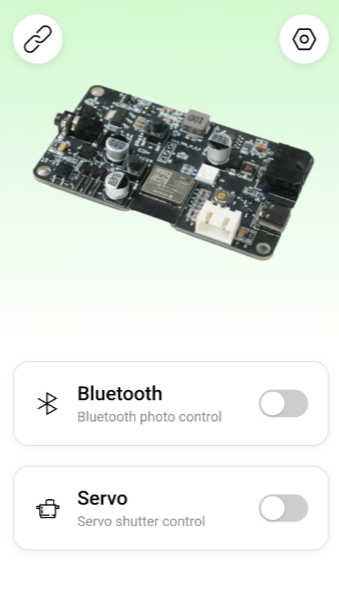
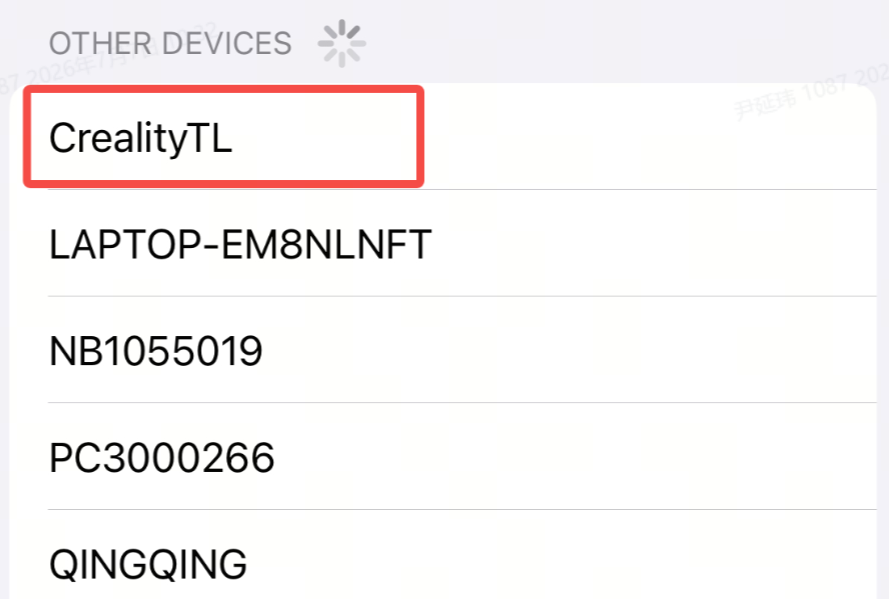
On your phone’s Bluetooth settings page, search for the device “CrealityTL” and tap to pair and connect.
¶ Servo Camera Connection
Connect a 9G servo to control the mechanical rocker arm and trigger the shutter (servo and printed parts must be provided by yourself)
¶ Video Composition
After capturing multiple photos using the Timelapse Photography Module, you can use video editing software with image-to-video composition functionality (mobile apps or desktop software) to combine the photos into a timelapse video.
¶ Status Indicator Light Description
|
Light Status
|
Meaning
|
Solution
|
| Green breathing light | Device is idle and operating normally | No action required |
| White breathing light | Device captures images | No action required |
| Red solid light | Communication with the printer is lost | Check Wi-Fi connection and verify communication between TP-01 and the printer |