¶ Operation Guide
i7 Series Touchscreen Replacement Guide
¶ i7 Touchscreen
The Touchscreen is the primary user interface component of the i7, allowing users to access and control printer functions directly through the display.
¶ Required Tools
SPARKX i7 Touchscreen
H2.0 Hex Wrench
Tweezers
¶ Procedure
¶ Safety Preparation
For your personal safety and to prevent damage to the printer, power off the machine and unplug the power cord before starting. Do not perform this procedure while the printer is powered on.
Before proceeding, ensure that the Heated Bed and Hotend have completely cooled down to avoid burns.
¶ Remove the Old Touchscreen
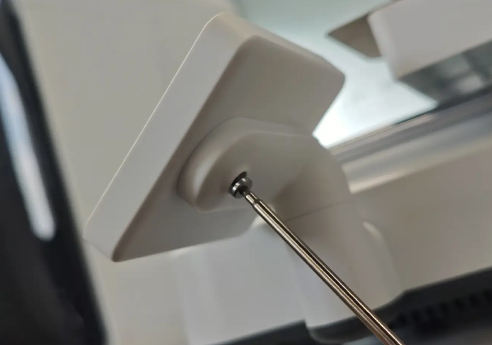
Rotate the touchscreen to the front of the printer. Use an H2.0 hex wrench to remove the screw located on the back of the touchscreen.
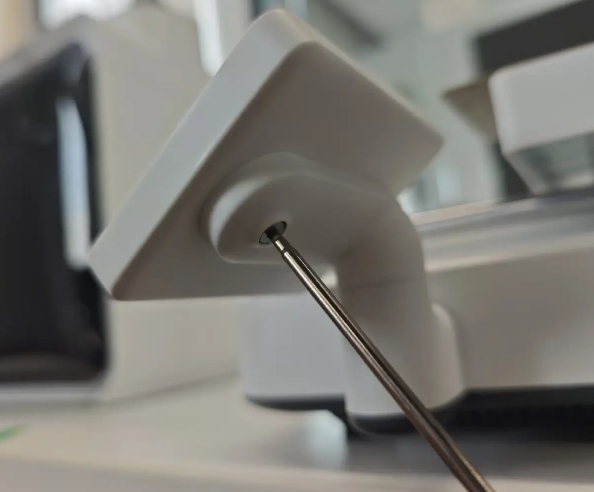
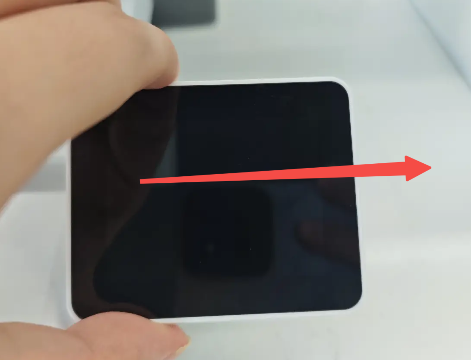
Slide the touchscreen to the right to release it from the mounting clip.
Note: Do not remove the touchscreen immediately, as this may damage the ribbon cable.

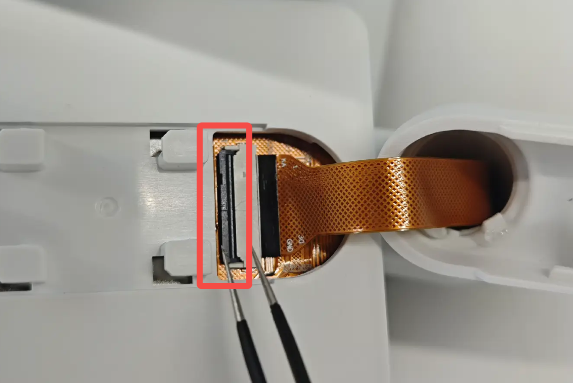
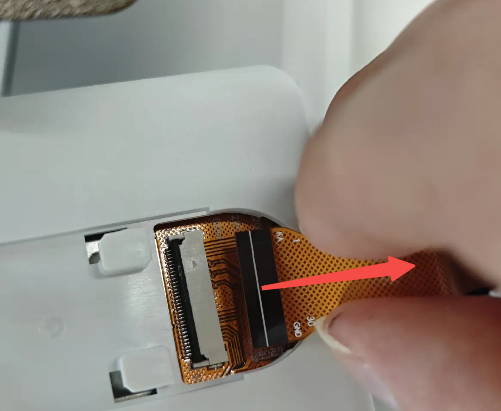
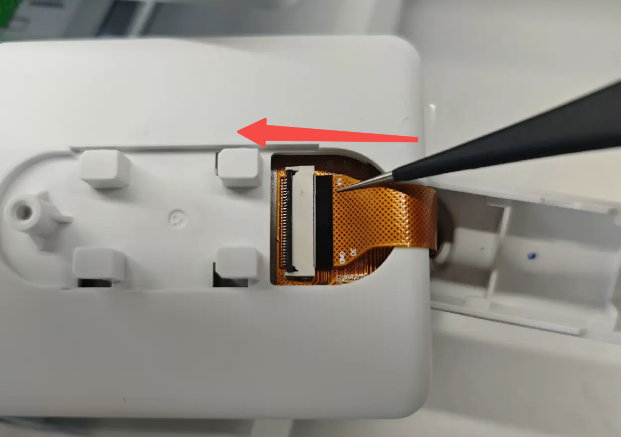
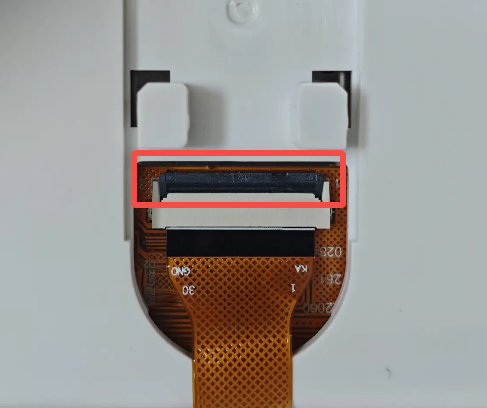
Unlock and disconnect the ribbon cable from the back of the screen. Tweezers may be used to assist with this step. Remove the touchscreen.
 |
 |
¶ Install the New Touchscreen
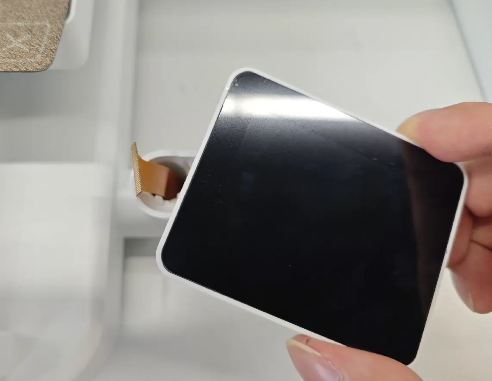
Prepare the new touchscreen assembly.
 |
 |
 |
Insert the ribbon cable into the connector on the back of the screen and press down the locking latch. Attach the screen assembly to the mount and slide it to the right until it locks into place.
Use an H2.0 hex wrench to tighten the rear mounting screw.
Power on the printer and verify that:
- The screen powers on normally.
- The touchscreen responds correctly to touch input.