¶ i7 Toolhead Cable
The toolhead cable connects the printer’s mainboard to the toolhead board. It supplies power and carries control signals and sensor data, enabling the extruder, hotend heating assembly, temperature sensor, and fans to operate properly.
¶ Tools and Parts Required
New toolhead cable
H2.0 hex key
Tweezers
¶ Procedure
Turn off the printer and unplug the power cord before proceeding!
¶ Removing the Old Toolhead Cable
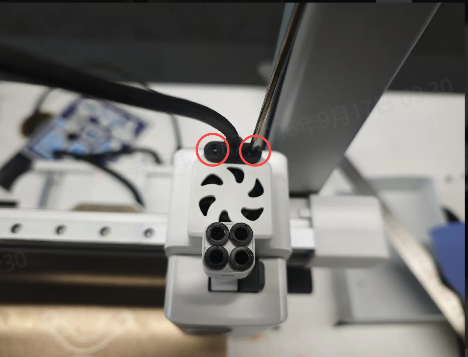
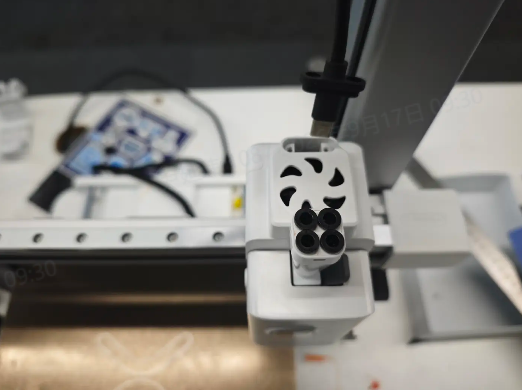
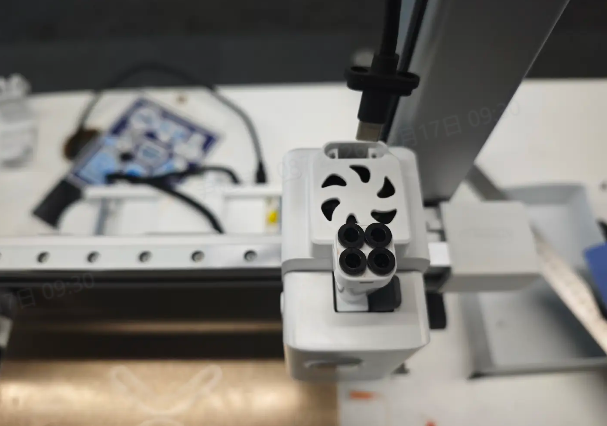
Use an H2.0 hex key to remove the USB-C cable from the top of the toolhead.
 |
 |
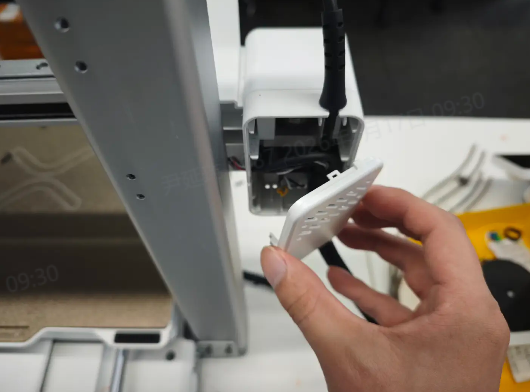
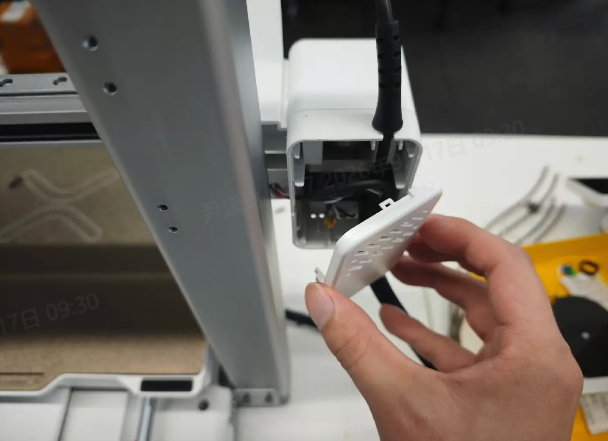
Remove the cover at the rear of the motor housing on the left side of the X-axis to expose the connectors.
 |
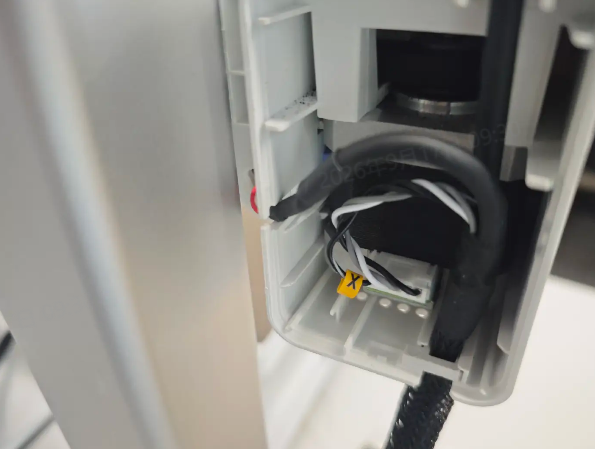 |
Disconnect the motor and camera connectors. Use tweezers if needed. Remove the cable clip and take out the cable.
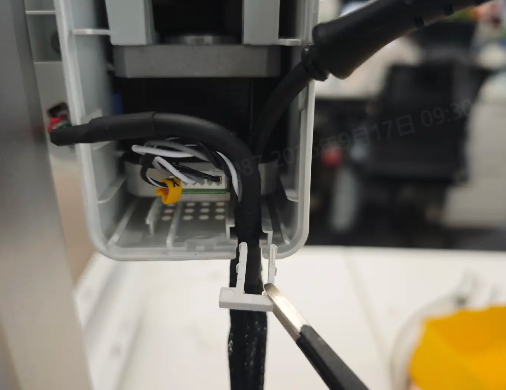 |
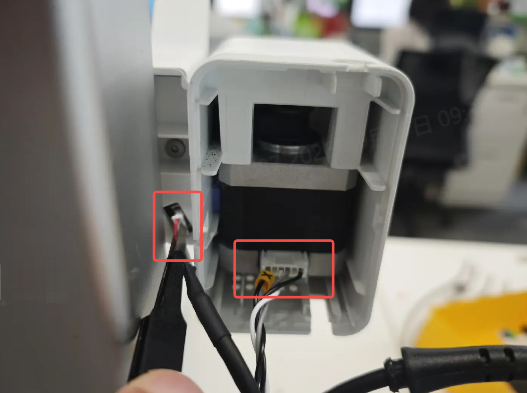 |
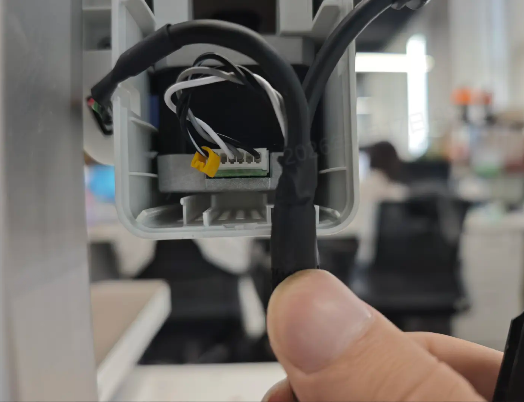 |
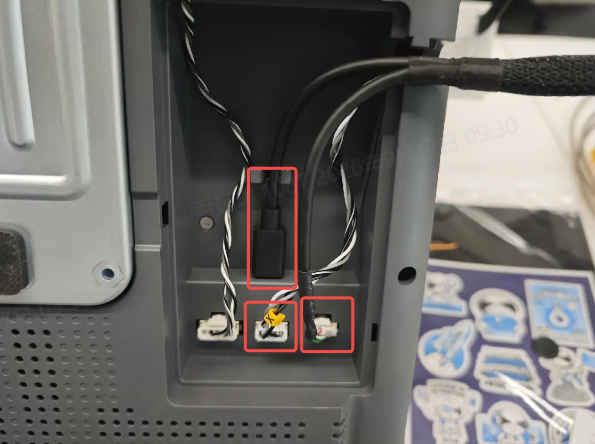
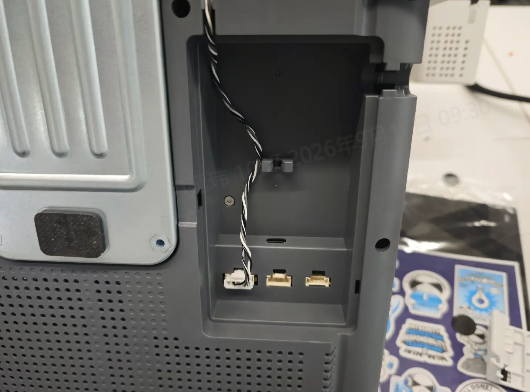
Lay the printer on its side (take care not to put pressure on the screen!). Remove the bottom cover to expose the connectors and wiring. Disconnect the connectors and the USB-C cable to complete removal.
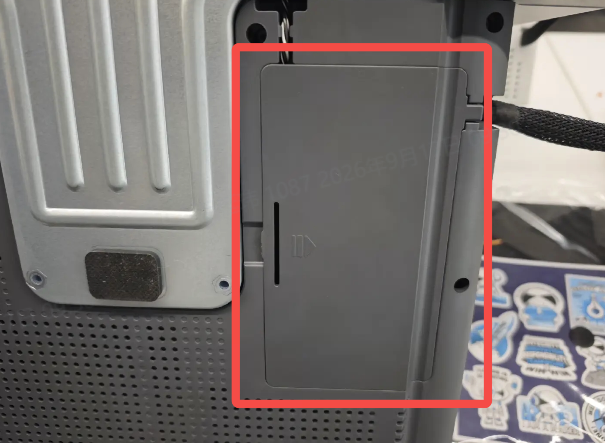 |
 |
 |
¶ Installing the New Toolhead Cable
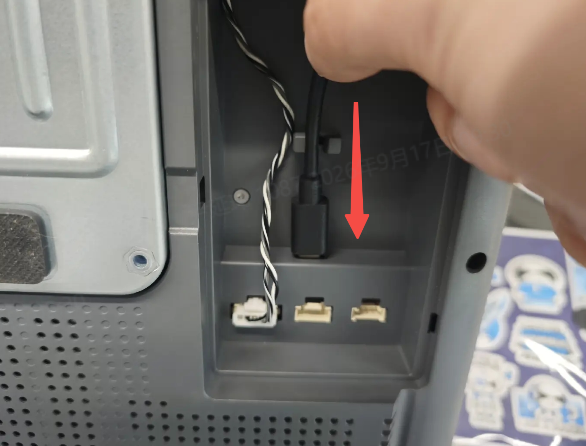
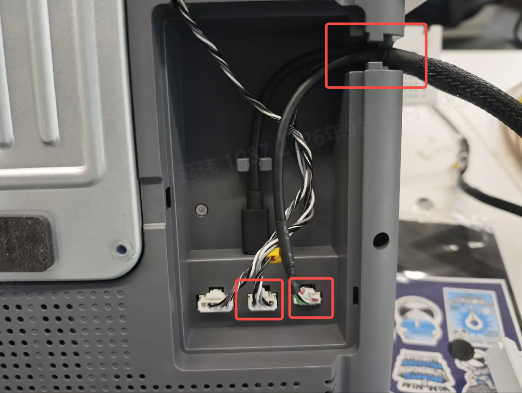
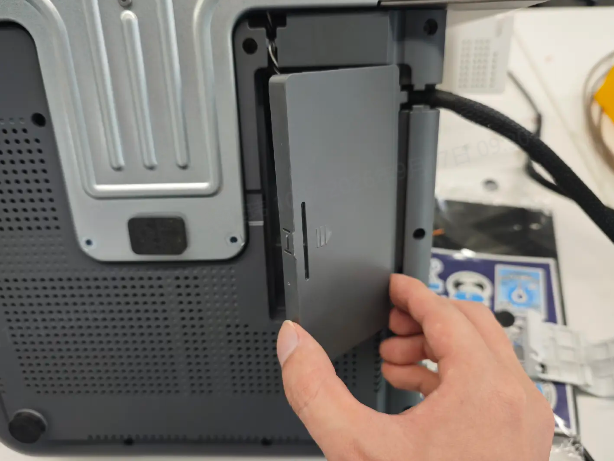
Take out the new cable and connect the connectors and USB-C cable at the bottom of the printer. Fit the cable into the routing slots, reinstall the bottom cover, and return the printer to its upright position.
 |
 |
 |
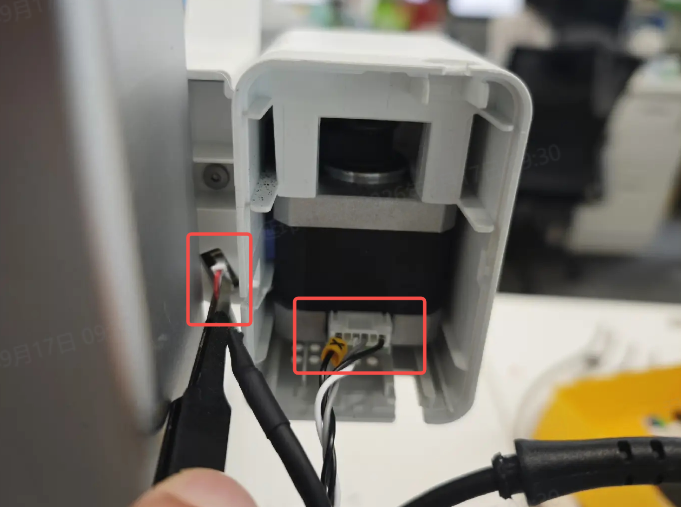
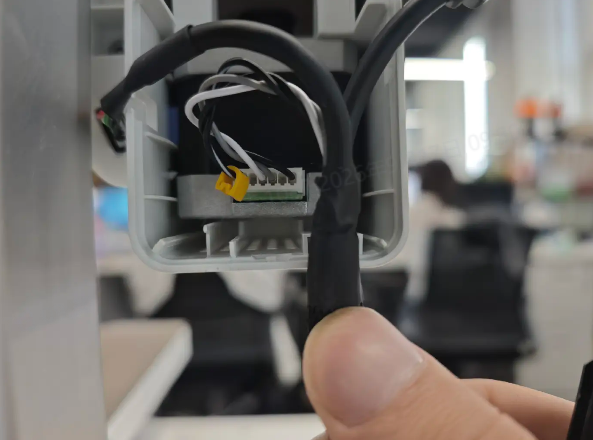
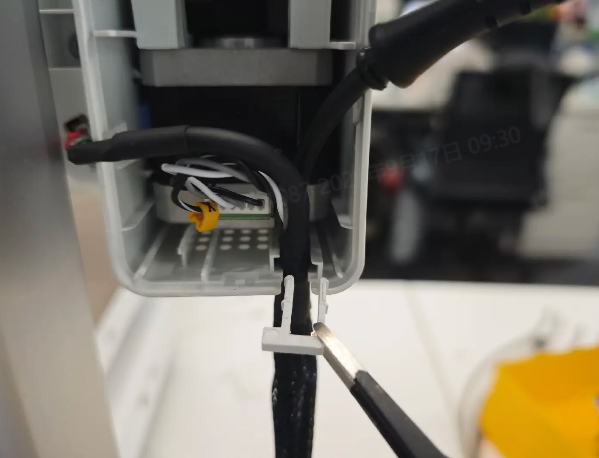
Connect the connectors at the other end of the cable to the motor and camera. Fit the cable into the corresponding positions in the housing, secure the cable clip, and reinstall the cover.
 |
 |
 |
 |
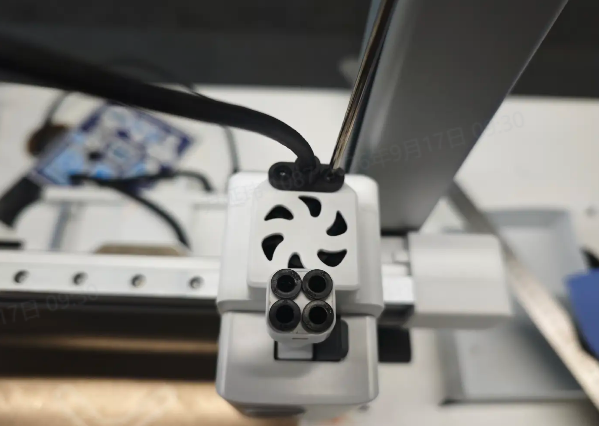
Plug the USB-C connector at the other end into the toolhead and tighten the two mounting screws.
 |
 |