¶ Operation Video
¶ Purge Wiper
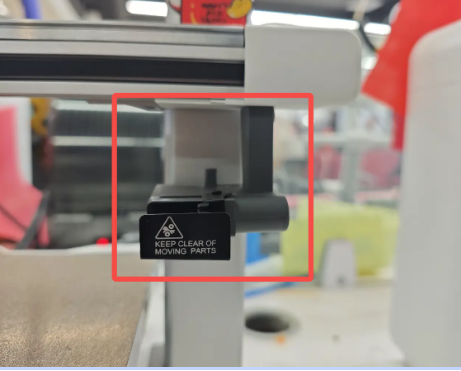
The Purge Wiper is located at the far-right side of the i7 series printer’s X-axis. Its function is to remove waste filament ejected from the printer, effectively clearing residual strands around the Hotend and ensuring smooth printing operations. This guide explains how to replace the Purge Wiper on i7 series printers.
¶ Replacement Timing
This guide applies when the Purge Wiper shows visible damage. Over time, the device may become worn or bent, and its metal plate may be scratched or deformed. Common situations requiring replacement include:
Inadequate cleaning of waste filament before starting a print;
Filament residue attached to the Purge Wiper deflector;
Obvious damage or wear on the Purge Wiper;
Replacement recommended by the Creality after-sales team.
¶ Required Tools
New Purge Wiper (purchase link recommended)
H2.0 Hex Wrench
¶ Safety Preparation
Turn off the printer and unplug the power cable.
¶ Procedure
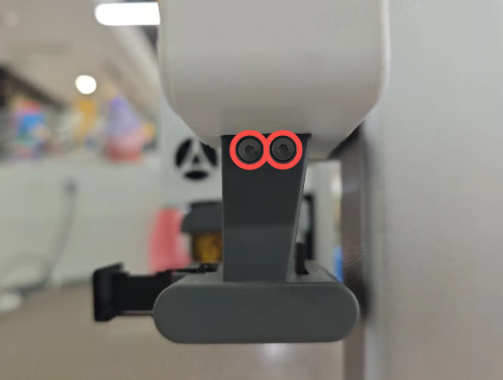
Using the H2.0 Hex Wrench, remove the two screws located on the right side of the Purge Wiper.
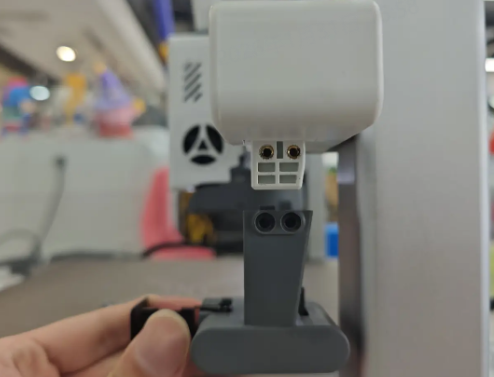
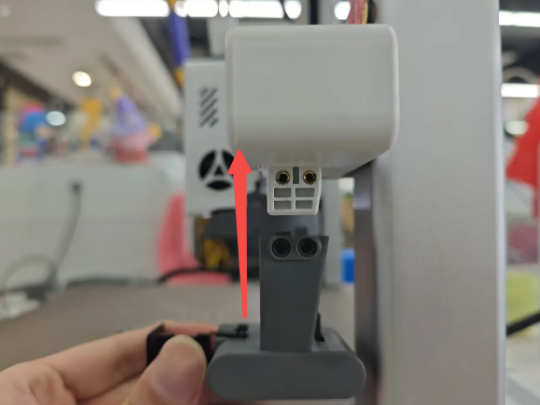
After removing the screws, lift the old Purge Wiper off the bracket following the direction shown in the diagram.
 |
 |
Install the new Purge Wiper onto the bracket, ensuring the correct orientation.
 |
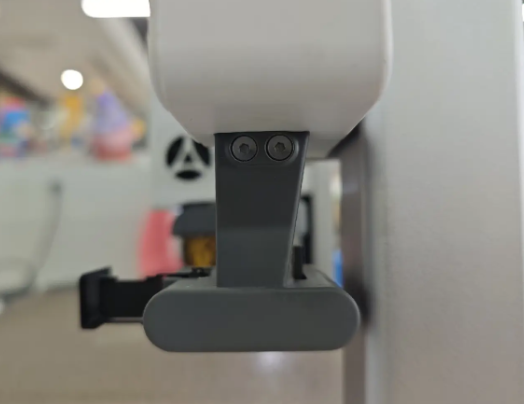 |
Insert the screws back into their original positions and tighten them securely. If your old screws are lost, replacement screws are included in the accessory kit.
Note: Do not overtighten the screws, as this may cause damage or strip the threads.