¶ Required Tools
H2.0 Hex Wrench
Mainboard Cooling Fan
¶ Procedure
Before starting, power off the printer and unplug the power cable.
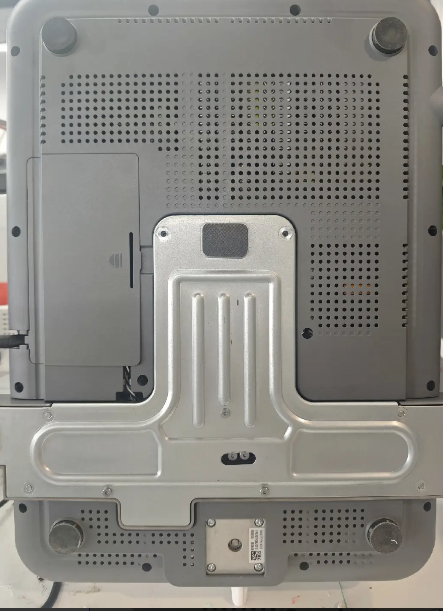
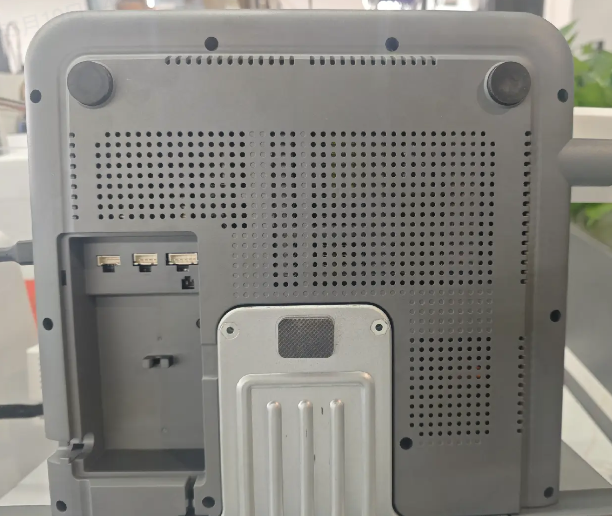
Carefully lay the printer on its back to expose the bottom cover.
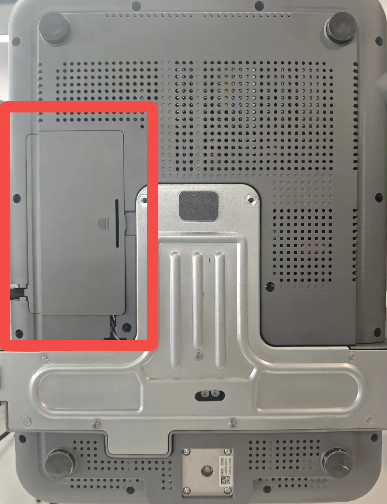
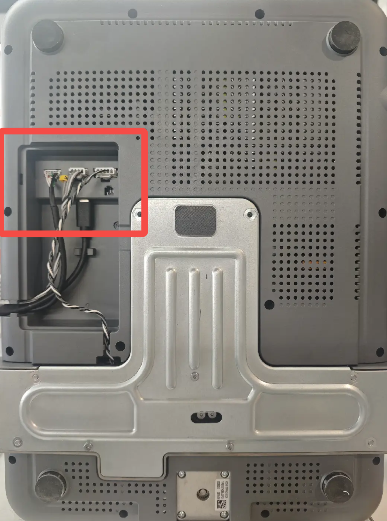
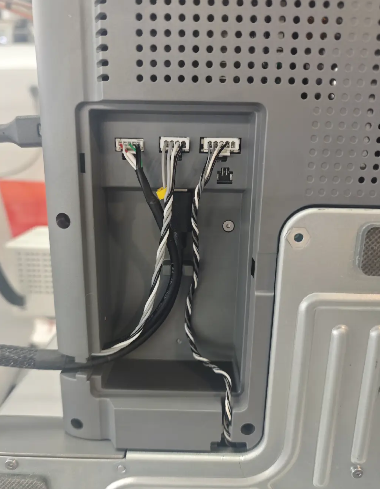
Remove the small cover on the bottom housing to access the internal wiring and screws.
 |
 |
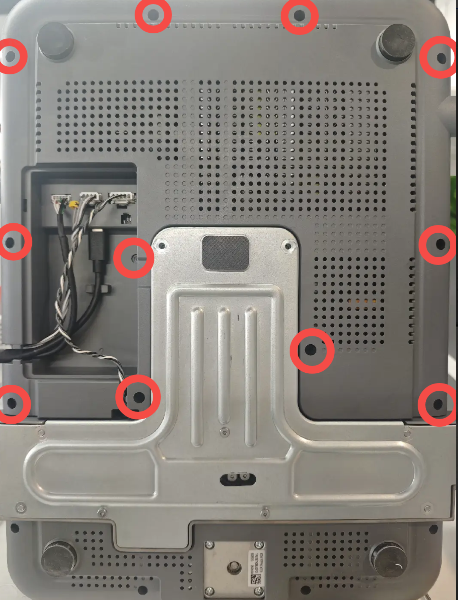
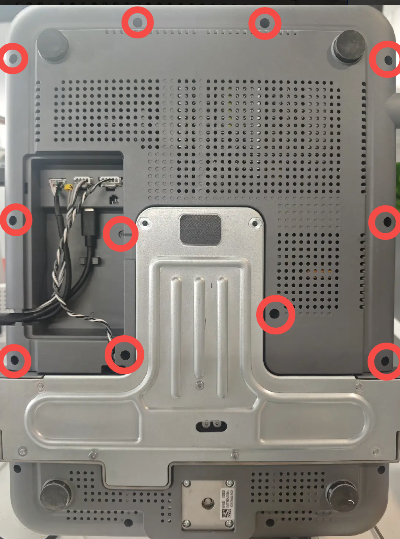
Use an H2.0 hex wrench to remove the screws on the bottom cover (11 screws in total).
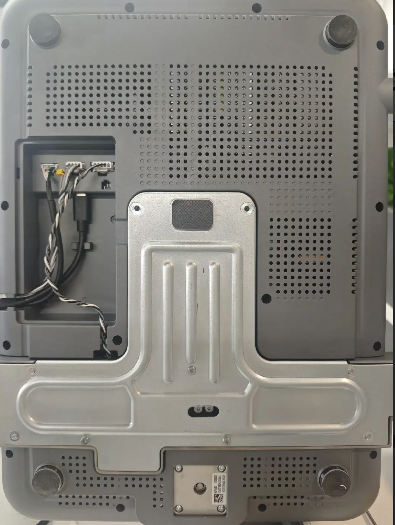
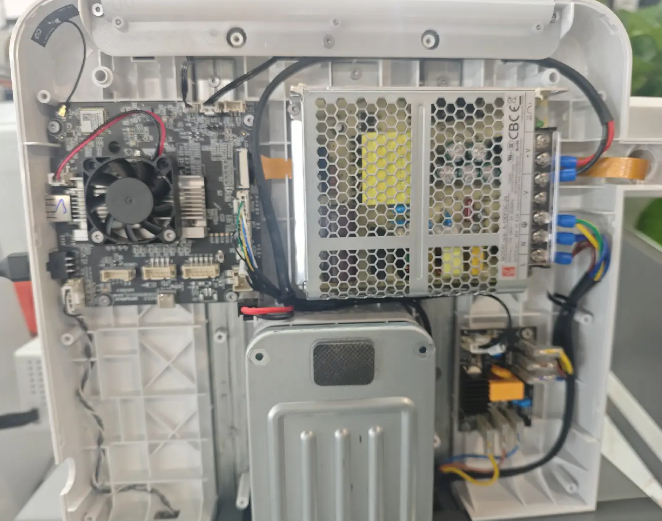
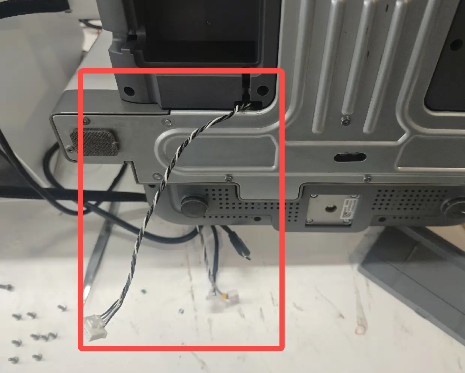
Disconnect all cables from the cable slots.
Remove the bottom cover. You may use a prying tool to assist from the edges if needed.
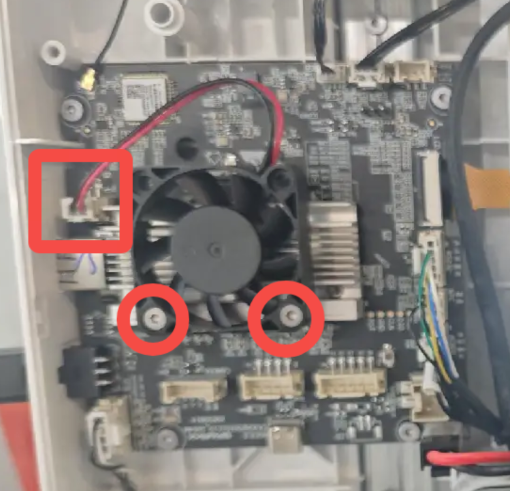
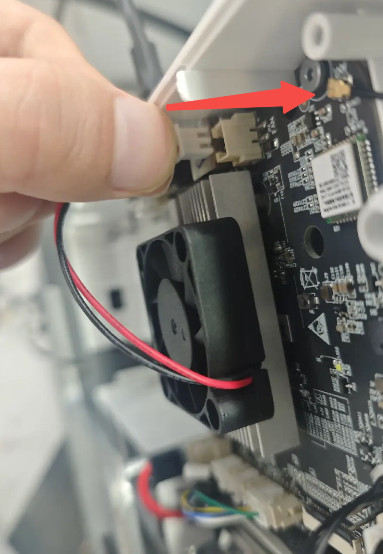
Use the H2.0 hex wrench to remove the two screws securing the fan, then disconnect the fan cable to remove the fan.
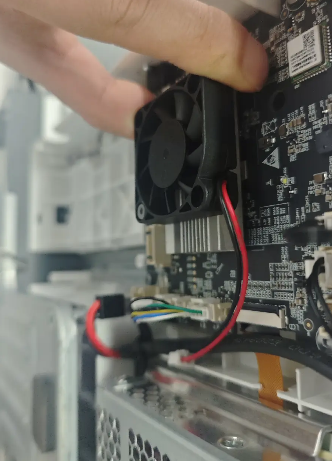
Prepare the new fan. Install it onto the heatsink in the correct orientation as shown, align the screw holes, tighten the screws, and reconnect the fan cable.
 |
 |
Reinstall the bottom cover, ensuring that no cables are pinched.
 |
 |
Reinstall the 11 screws and reconnect all cable connectors. The connectors are keyed by length and orientation—do not force them into place.
 |
 |
Snap the cover back into place. Return the printer to its upright position, then reconnect power and resume use.