¶ Operation Video
i7 Series Hotend Cooling Fan (Heat Break Fan) Replacement
¶ i7 Hotend Cooling Fan
Cools the heatsink of the Hotend to prevent nozzle clogging.
¶ Required Tools
Hex wrench (H2.0)
¶ Procedure
¶ Safety Preparation
For your personal safety and to avoid machine damage, please turn off the power and unplug the Power cable before starting the replacement. Do not operate while powered on.
Before operation, please make sure the Heated Bed and Hotend have completely cooled down to avoid burns.
¶ Remove the Old Hotend Cooling Fan
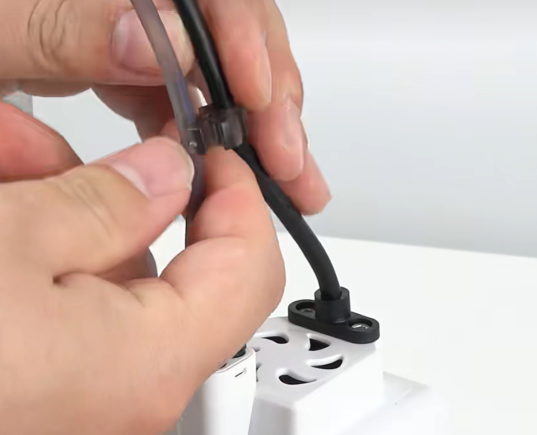
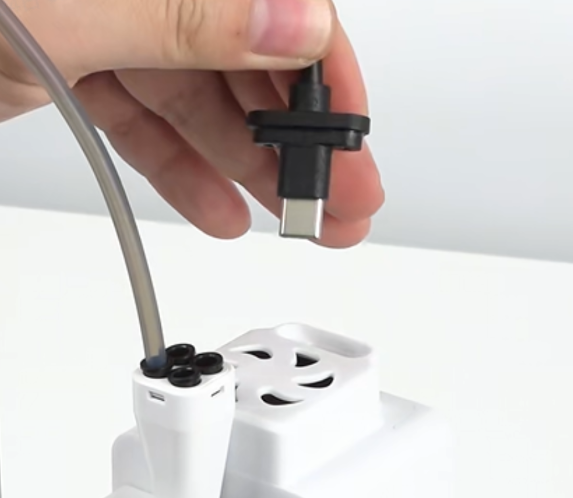
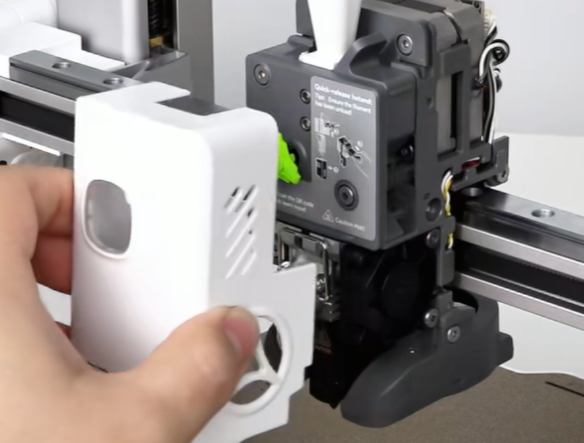
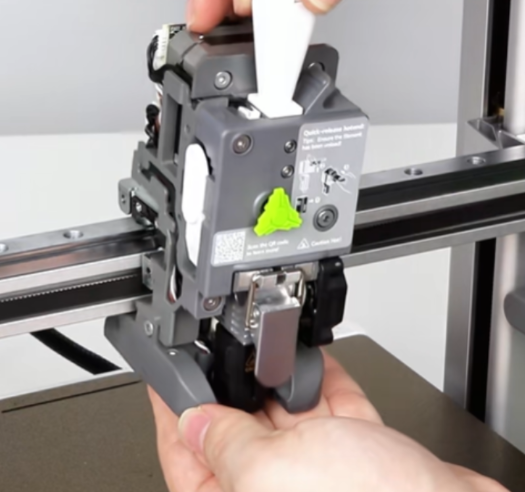
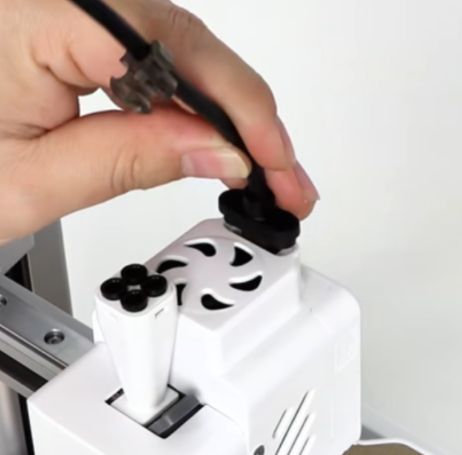
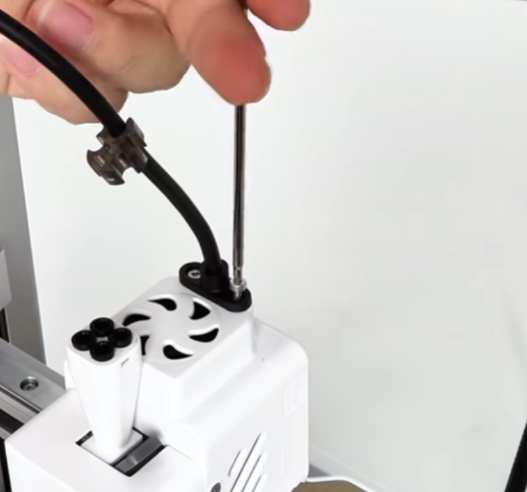
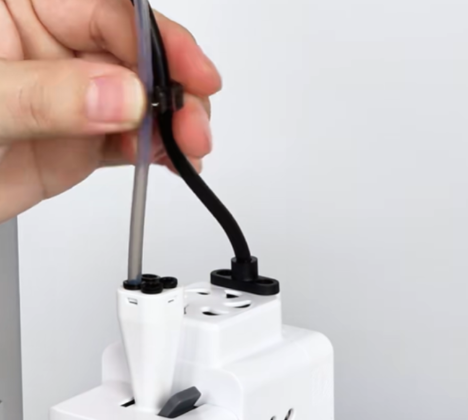
¶ Remove the Toolhead Cable
Remove the clip securing the PTFE tube and Toolhead Cable. Use the Hex wrench to remove the two fixing screws of the Toolhead Cable, then unplug the cable.
 |
 |
 |
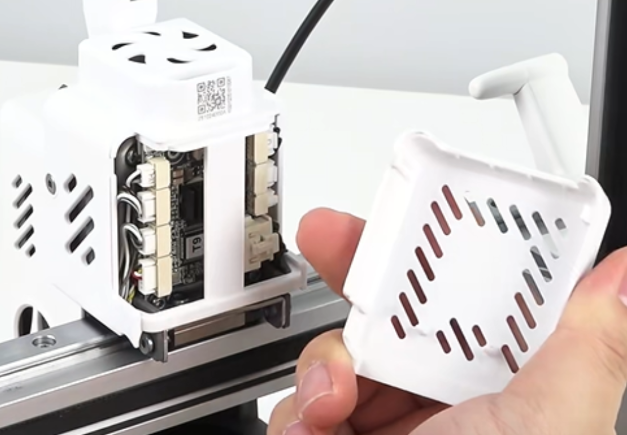
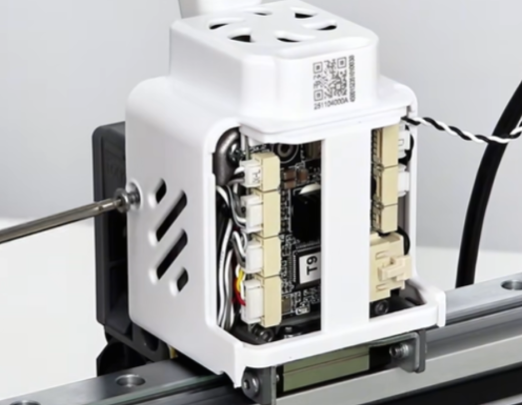
¶ Remove the Extruder Cooling Fan
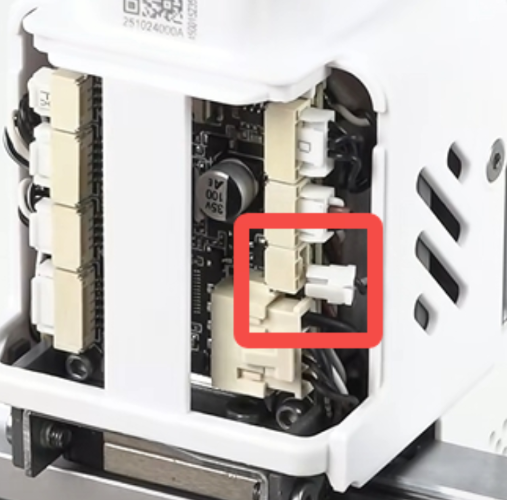
Remove the i7 Toolhead Back Cover, then unplug the Extruder Cooling Fan connector. Tweezers can be used for assistance.
 |
 |
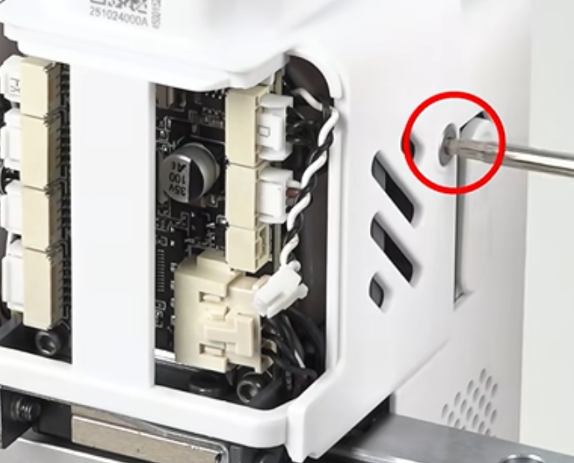
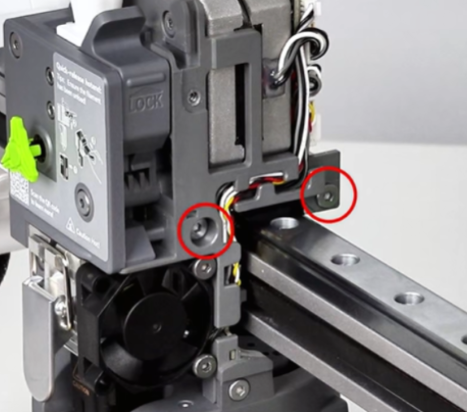
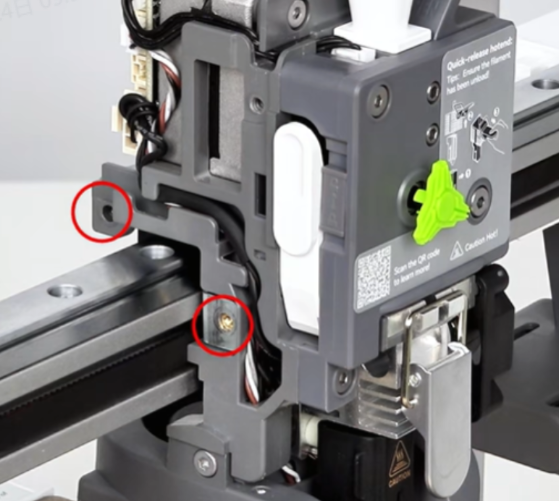
Unscrew the left and right screws securing the rear extruder housing, then remove the rear housing.
 |
 |
 |
¶ Remove the Old Hotend Cooling Fan
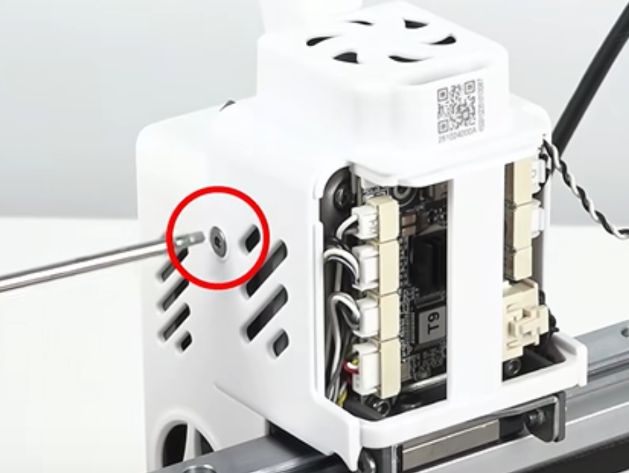
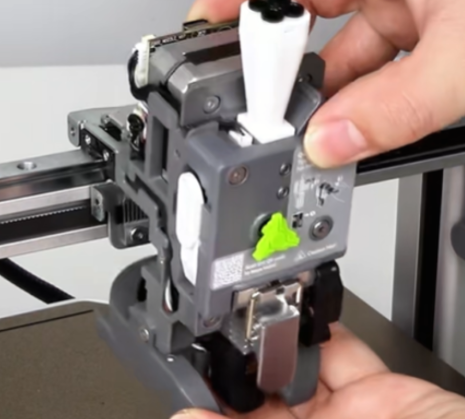
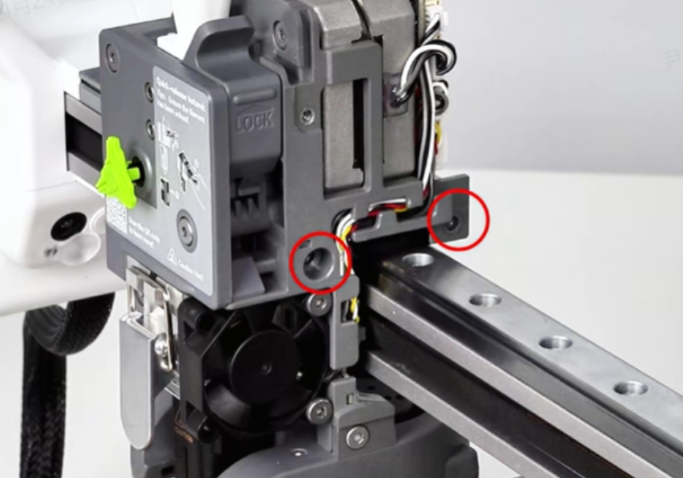
Remove the Toolhead front cover, remove the four screws securing the Toolhead, then remove the Toolhead.
 |
 |
 |
 |
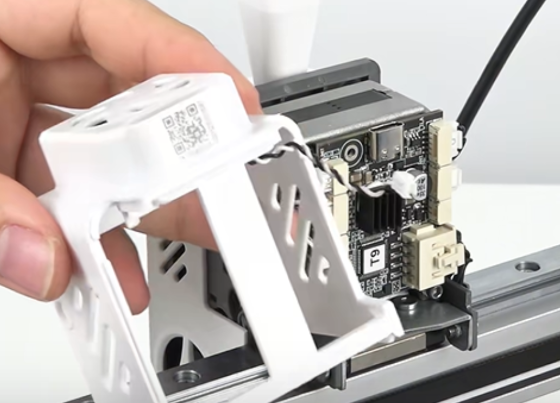
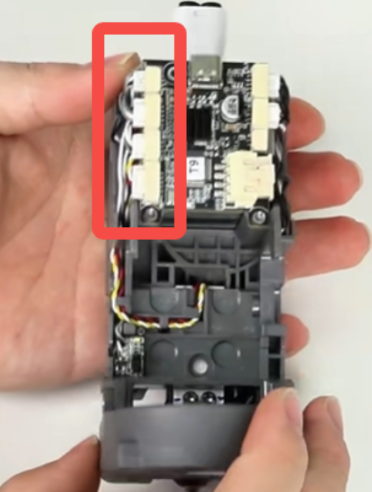
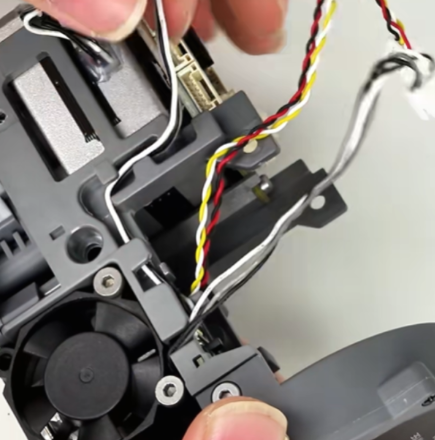
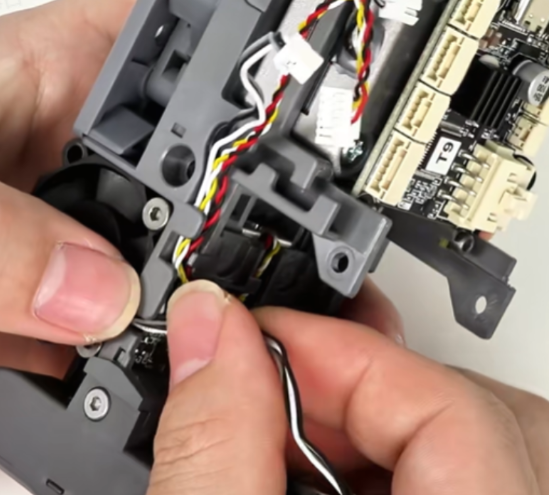
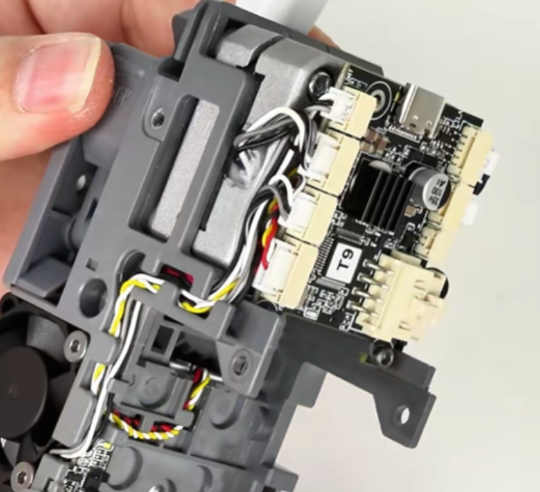
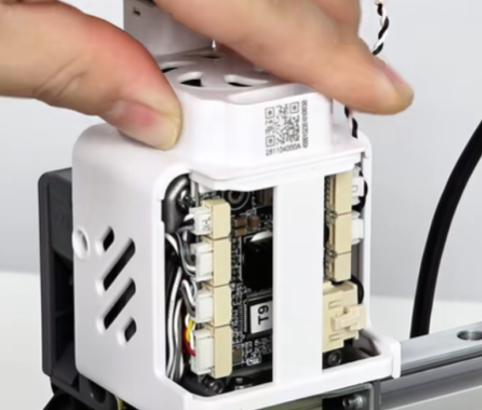
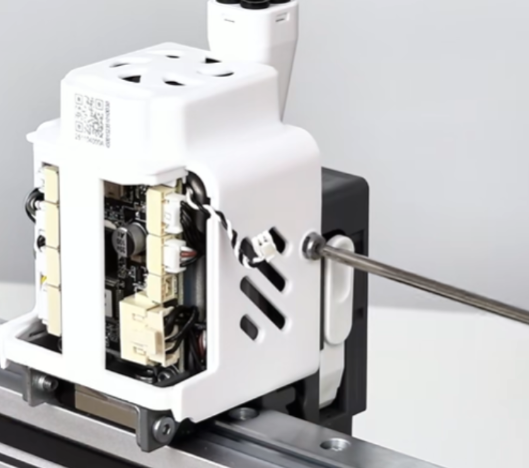
Face the i7 Toolhead Board toward yourself, unplug the connector on the left side, and remove the cable from the cable routing slot.
 |
 |
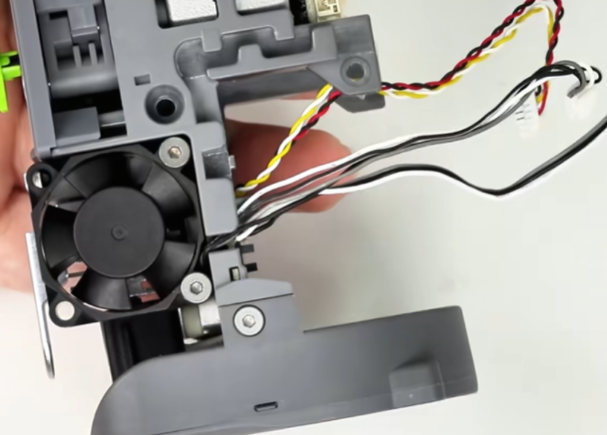 |
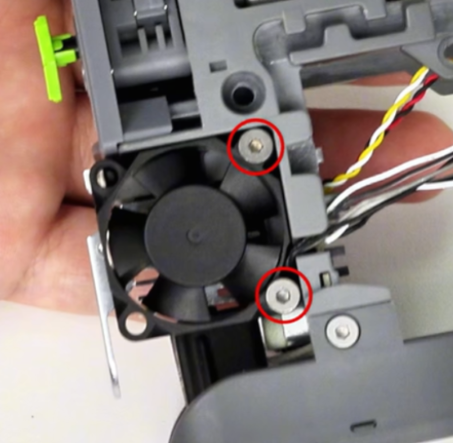
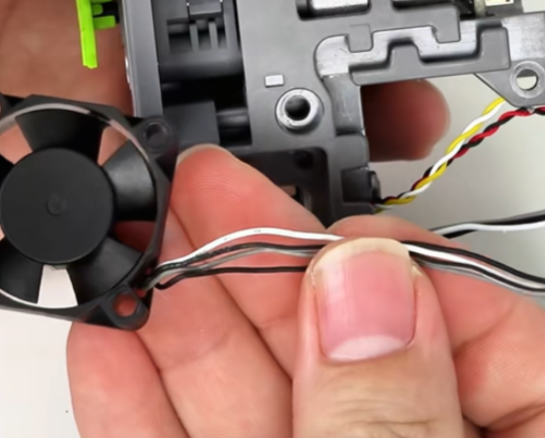
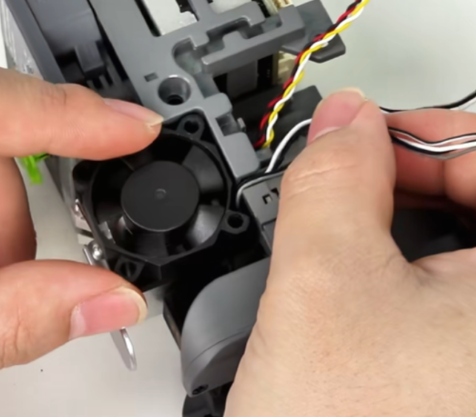
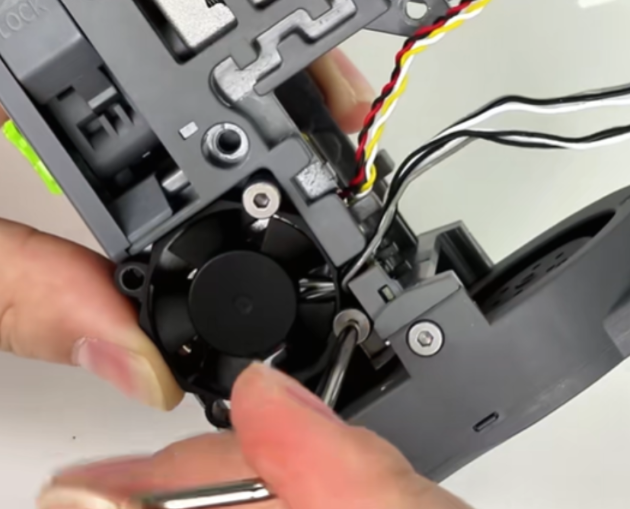
Use the Hex wrench (H2.0) to remove the two screws securing the i7 Hotend Cooling Fan, then remove the fan.
 |
 |
¶ Install the New Hotend Cooling Fan
Install the new i7 Hotend Cooling Fan and tighten the two fixing screws.
 |
 |
Route the cable neatly into the cable slot and reconnect the terminal.
 |
 |
 |
Reinstall the Toolhead onto the X-axis Assembly slider and tighten the four fixing screws.
 |
 |
 |
Reinstall the rear extruder housing, tighten the two fixing screws, reconnect the terminal, and install the rear housing.
 |
 |
 |
 |
 |
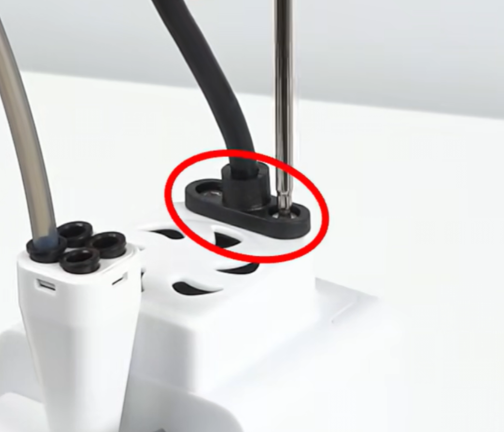
Reconnect the Toolhead Cable, tighten the fixing screws, and reinstall the PTFE tube and cable clip.
 |
 |
 |