¶ Operation Video
Replace i7 Toolhead filament cutter
¶ i7 Toolhead Filament Cutter
The filament cutter is installed on the left side of the Extrusion Assembly. When the Toolhead moves to the far left, the Cutter Arm is actuated by a lever mechanism, driving the internal cutter blade to cut the Filament. After cutting, the cutter automatically returns to its original position under the magnetic force of the built-in magnet.
This guide explains how to replace the i7 Series Toolhead Filament Cutter.
¶ When to Replace
The cutter is damaged or becomes dull;
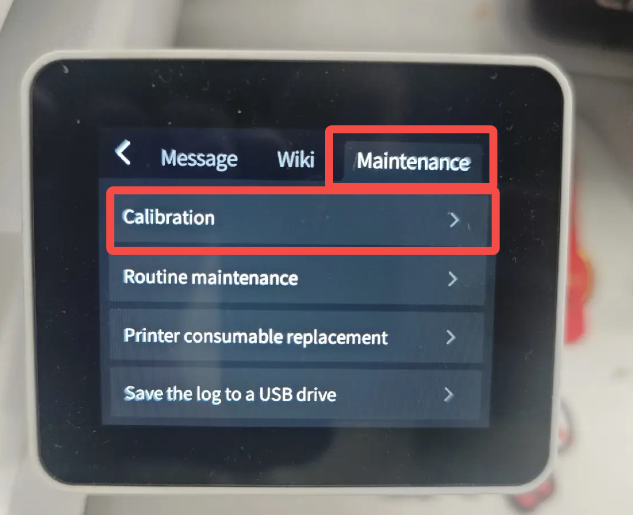
Abnormal filament cutting occurs (it is recommended to run Cutter Detection first);
Replacement is recommended after more than six months of use.
¶ Required Tools
New i7 Toolhead Filament Cutter (purchase link);
Tweezers or any Hex Wrench.
¶ Safety Preparation
Power off the printer and unplug the Power Cable;
Before operation, make sure the Hotend and Heated Bed have cooled down to avoid accidental contact with hot components.
¶ Replacement Steps
¶ Remove the Old Cutter
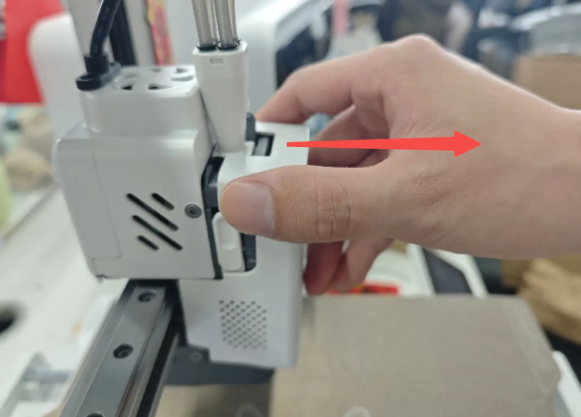
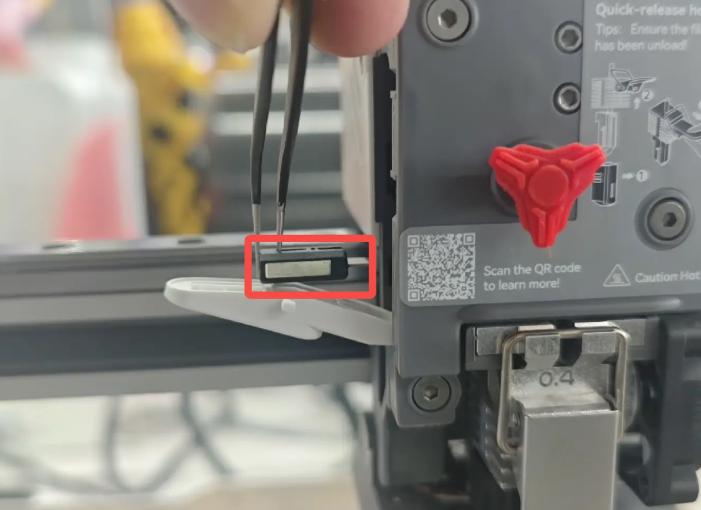
Remove the Toolhead Front Cover to expose the Toolhead Assembly;
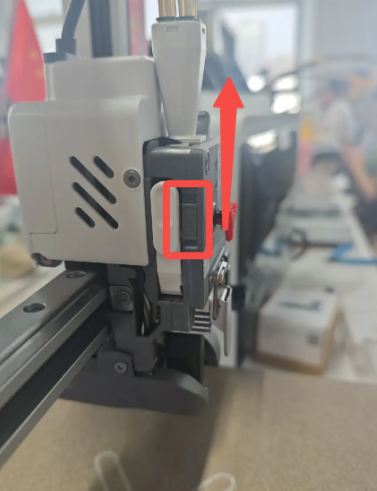
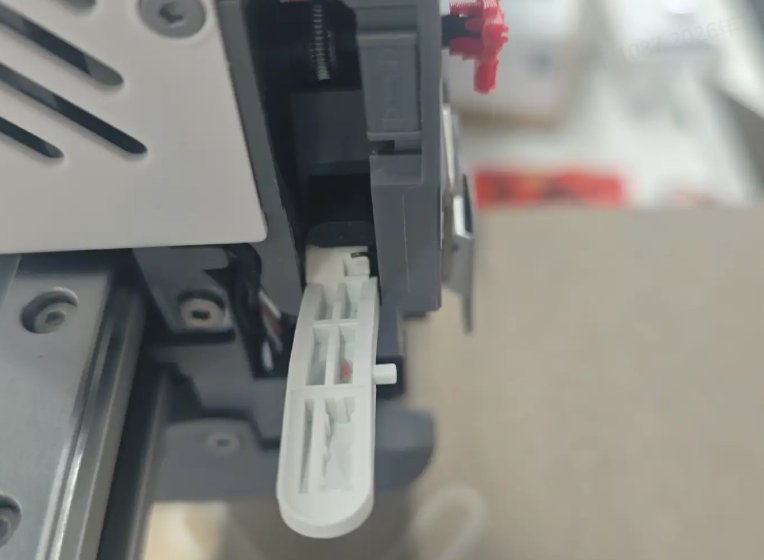
Locate the latch in front of the Cutter Arm on the left side. Push the latch upward; the cutter arm will automatically spring open;
 |
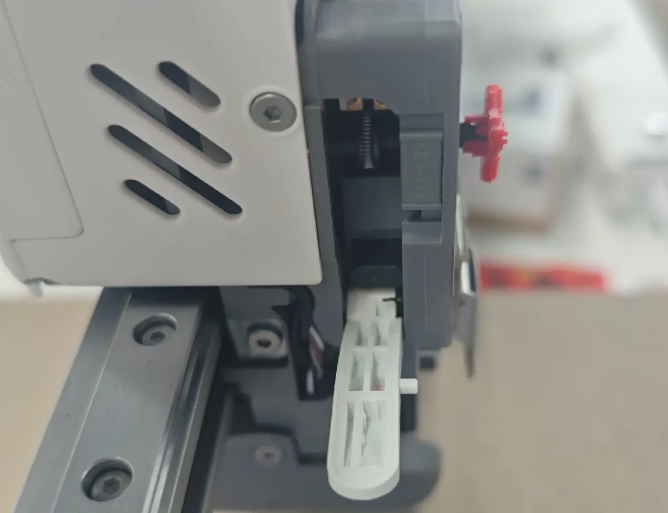 |
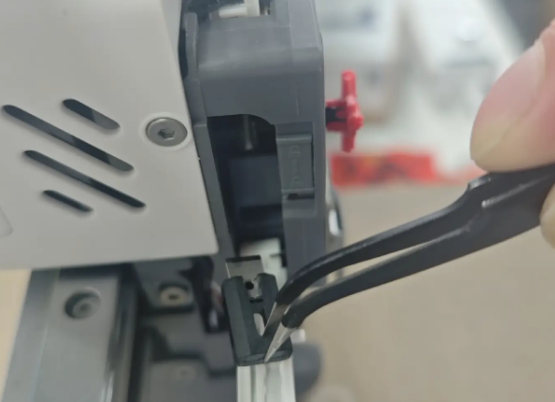
Using tweezers or a hex wrench, slide the cutter out from the rear toward the left side; Warning: The blade is sharp. Handle with care to avoid injury.
 |
 |
¶ Install the New Cutter
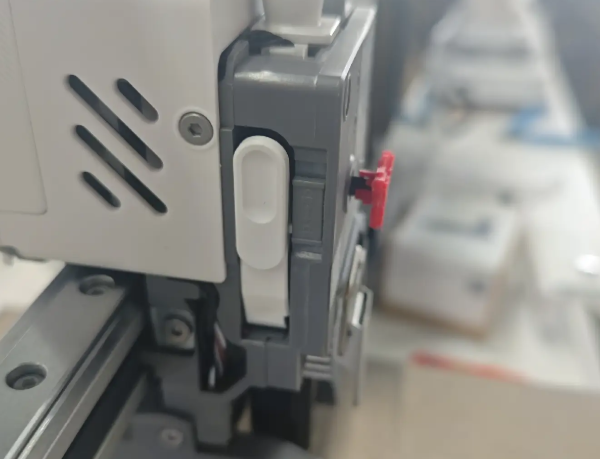
Prepare the new cutter and make sure the magnet side faces forward;
Insert the cutter into its original position. The cutter will be pulled into place by magnetic force;
Push the cutter arm latch upward, swing the Cutter Arm back into position, then release the latch to ensure it is securely locked;
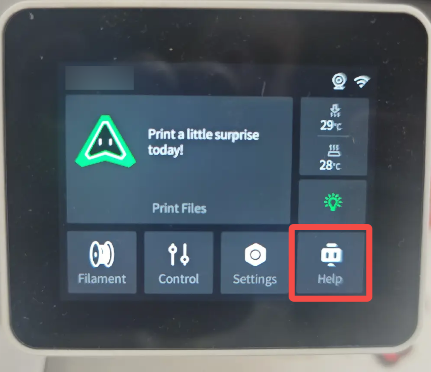
It is recommended to run Cutter Detection to ensure the cutter is in the optimal position.
 |
 |
 |