¶ Operation Video
SPARKX i7 Color Combo CFS Lite Unbox & Setup
¶ Unboxing Overview
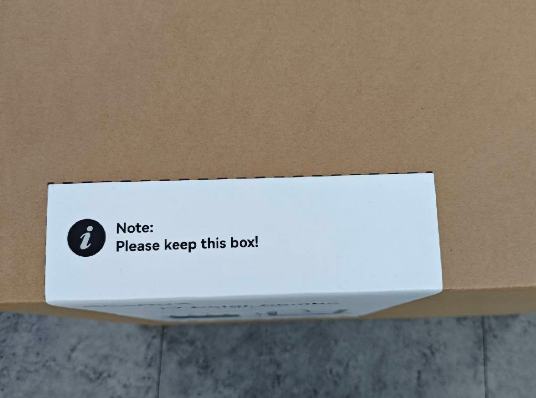
Keep the outer box and all internal packaging materials for future use.
Scissors or side cutters are required for unboxing.
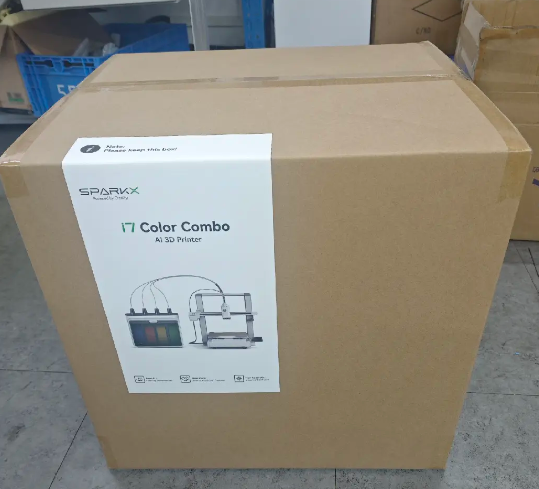
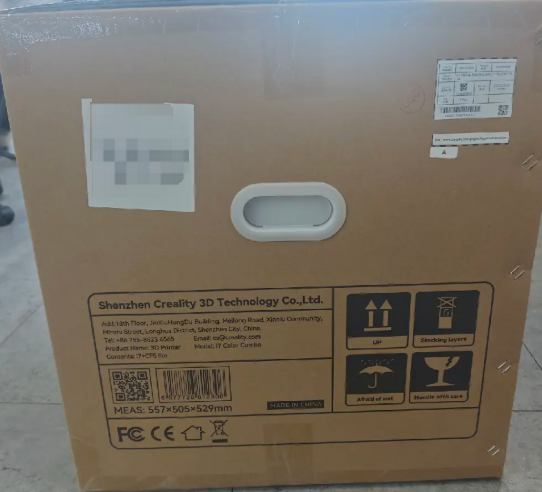
¶ Outer Packaging Overview
 |
 |
 |
 |
¶ Unboxing Steps
¶ Unboxing and Removing the CFS Lite and Other Accessories
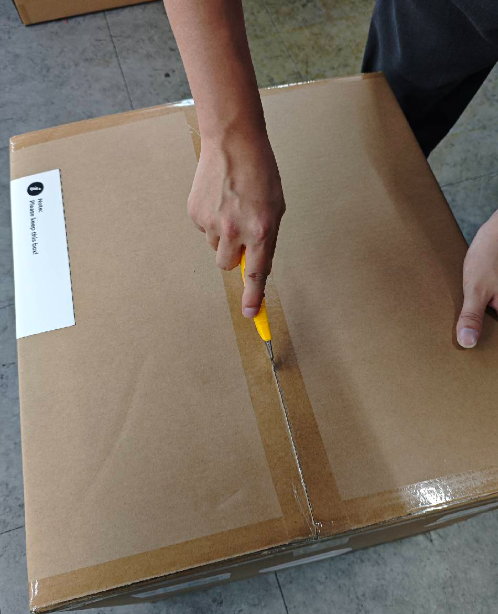
Open the outer carton
Use scissors or appropriate tools to cut the top sealing tape and open the carton.
 |
 |
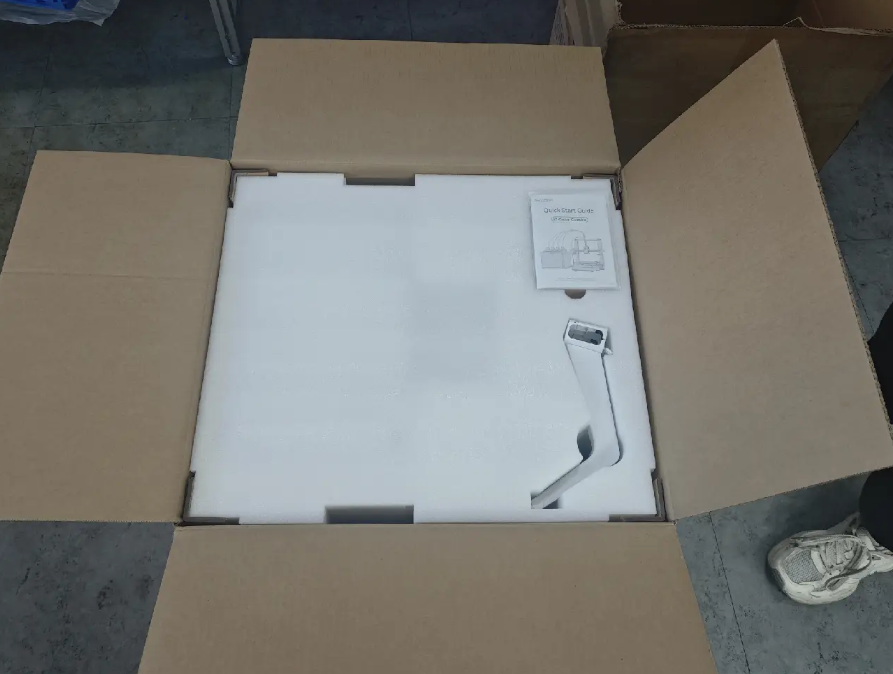
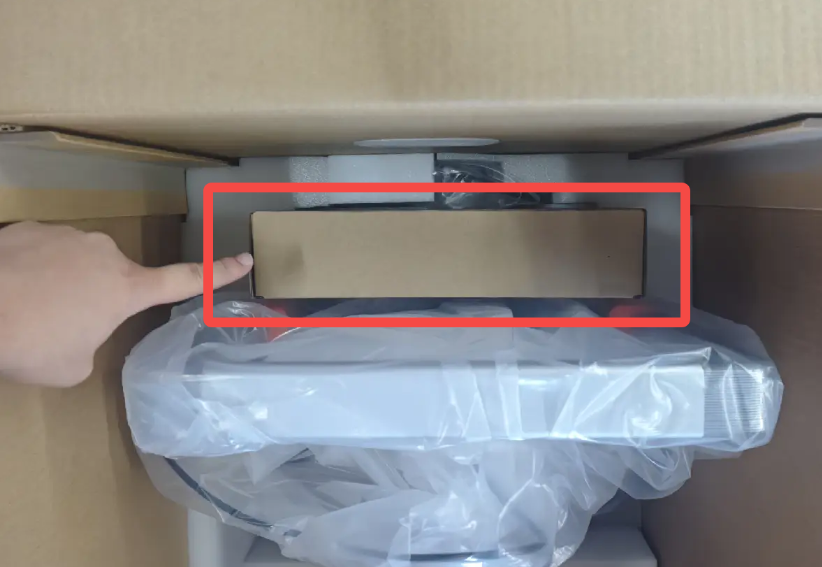
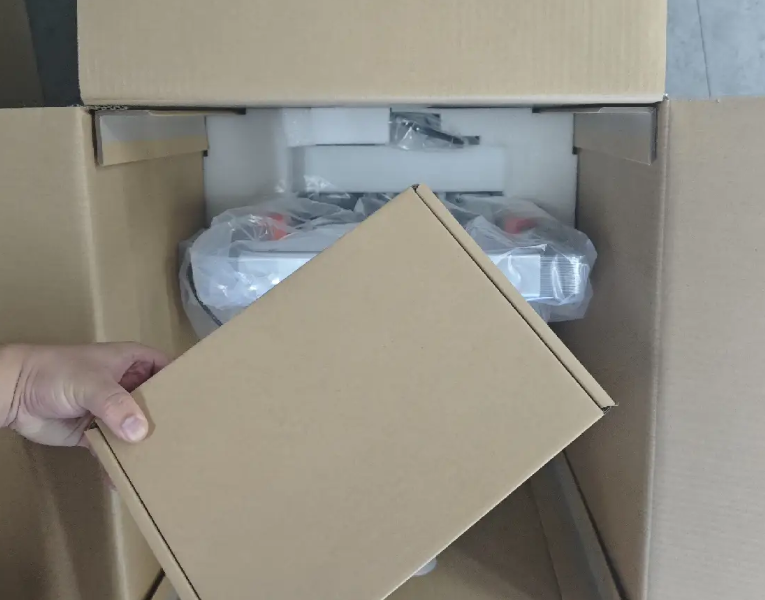
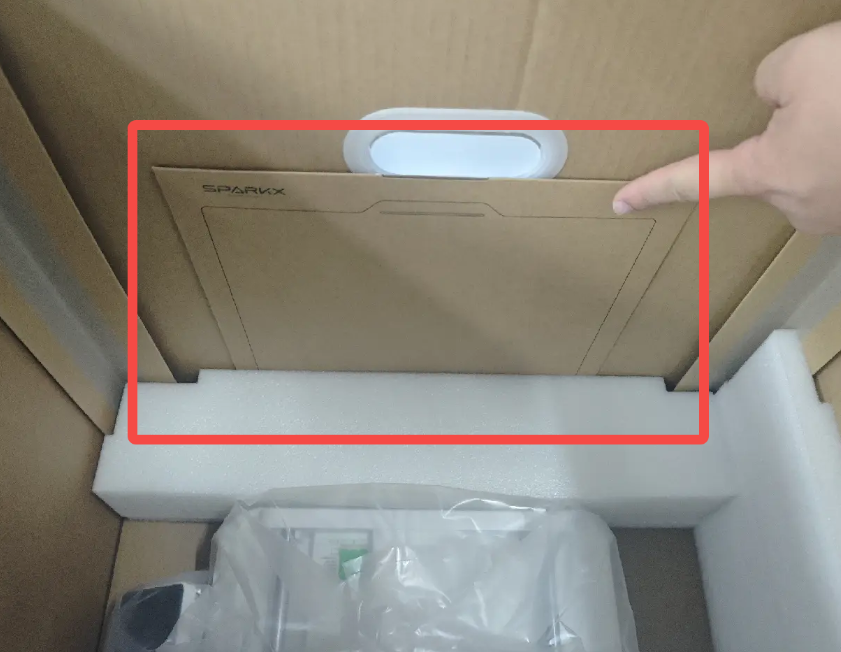
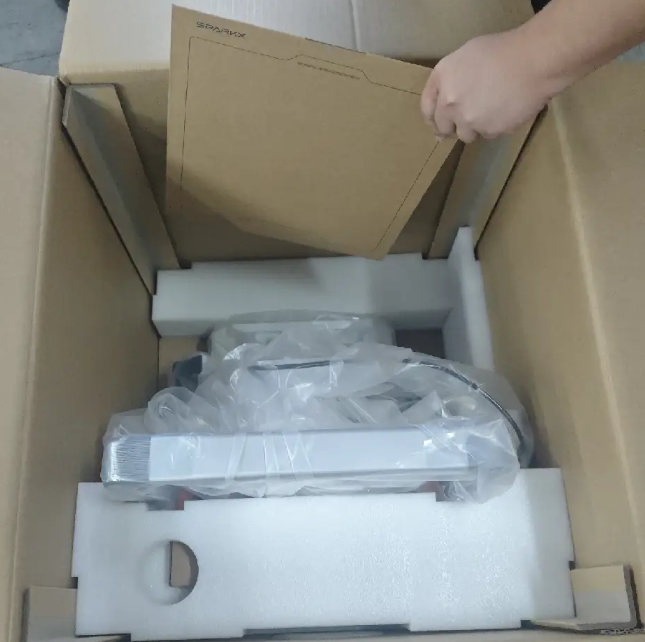
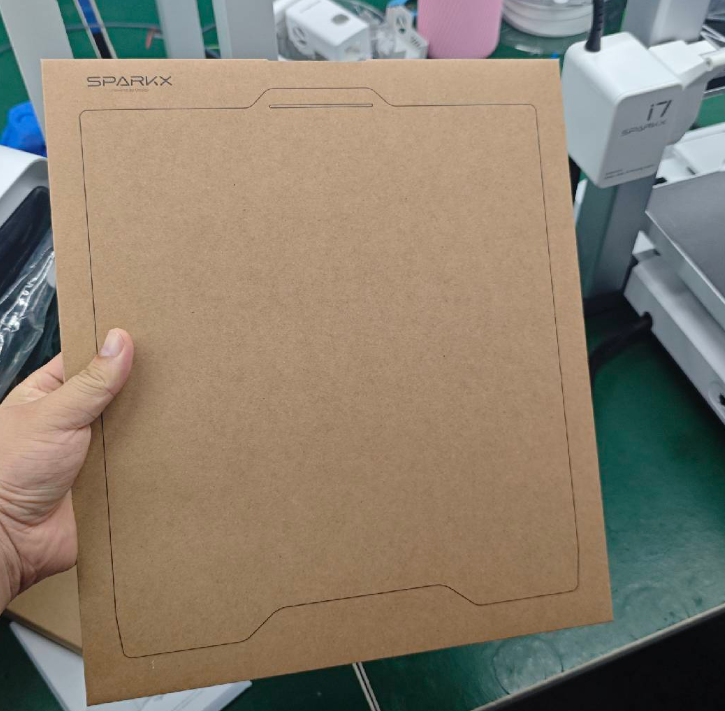
Remove the top cardboard insert and unpack the Spool Holder, Quick Start Guide, and accessory box.
For an improved unboxing experience, we recommend reviewing the Quick Start Guide first.
 |
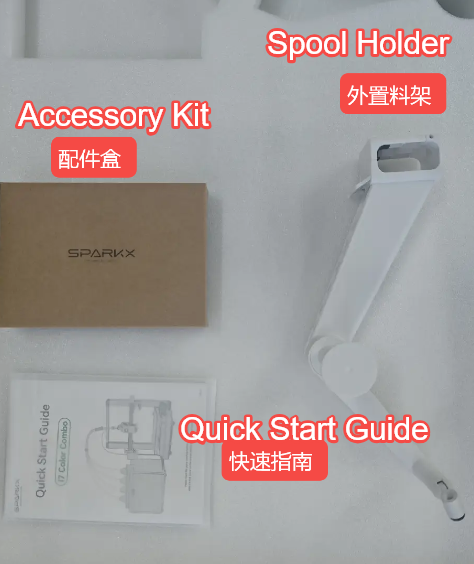 |
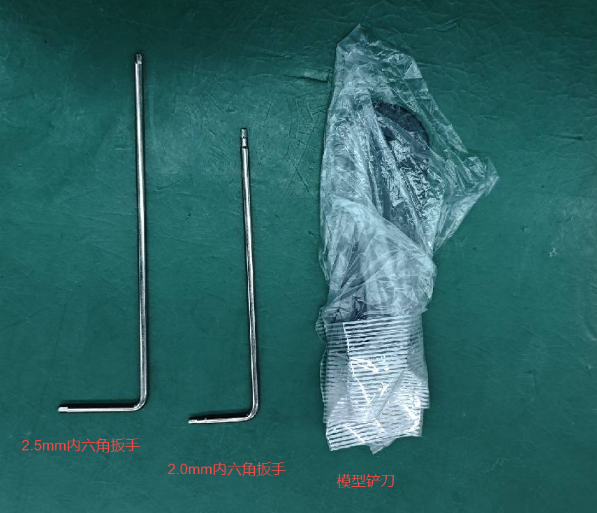
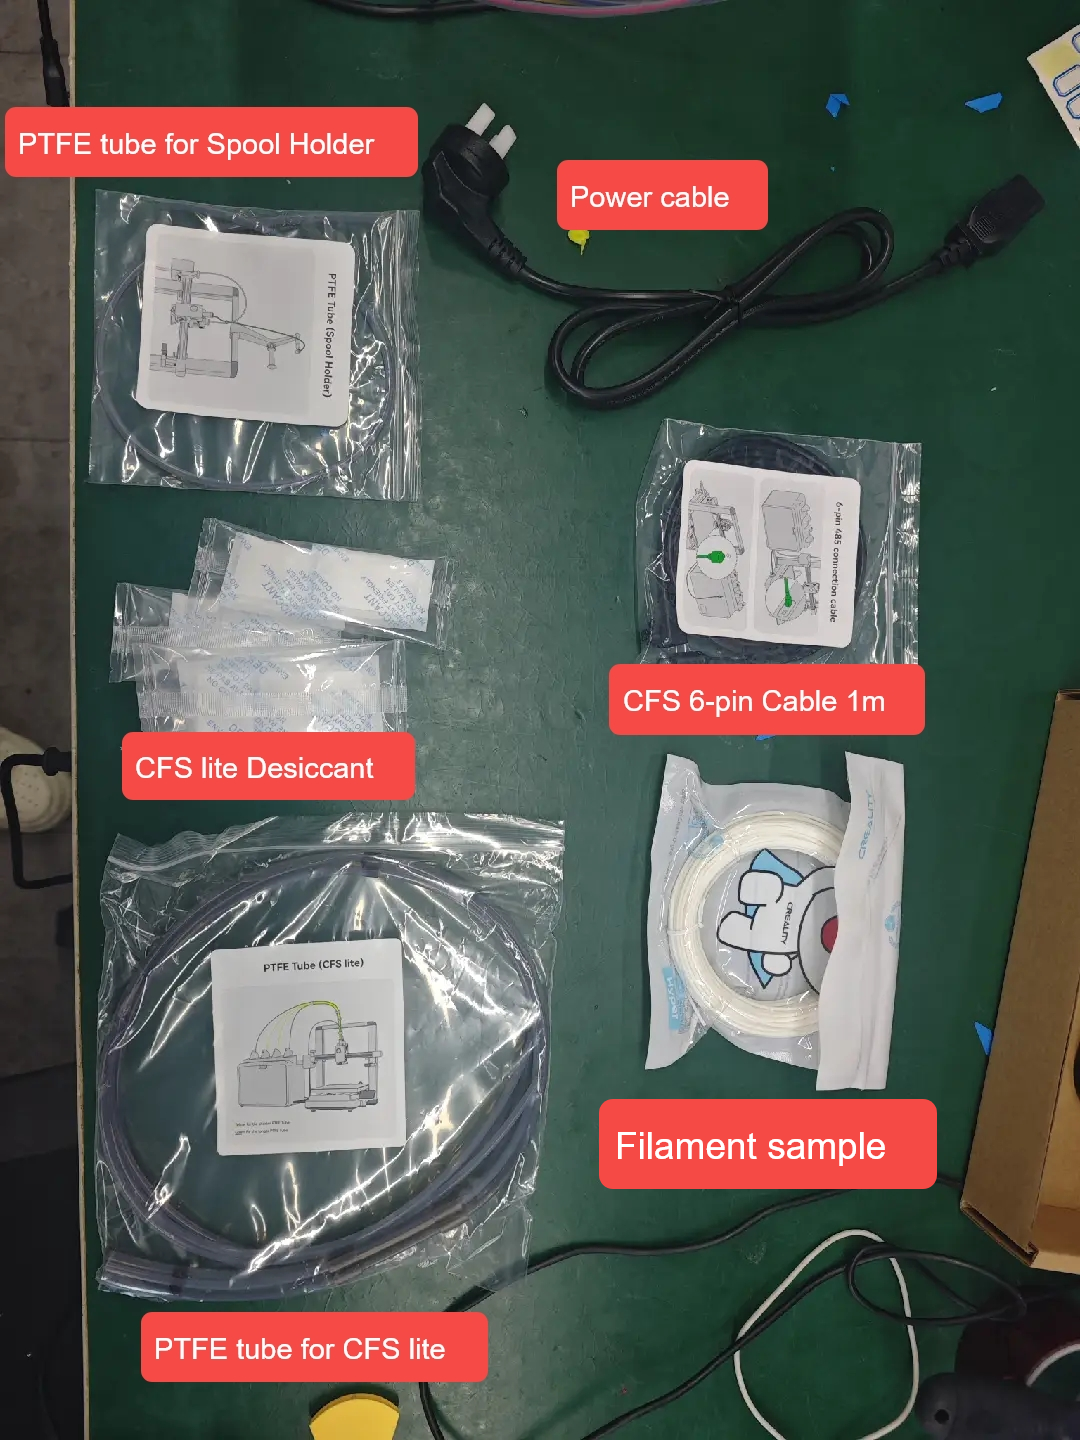
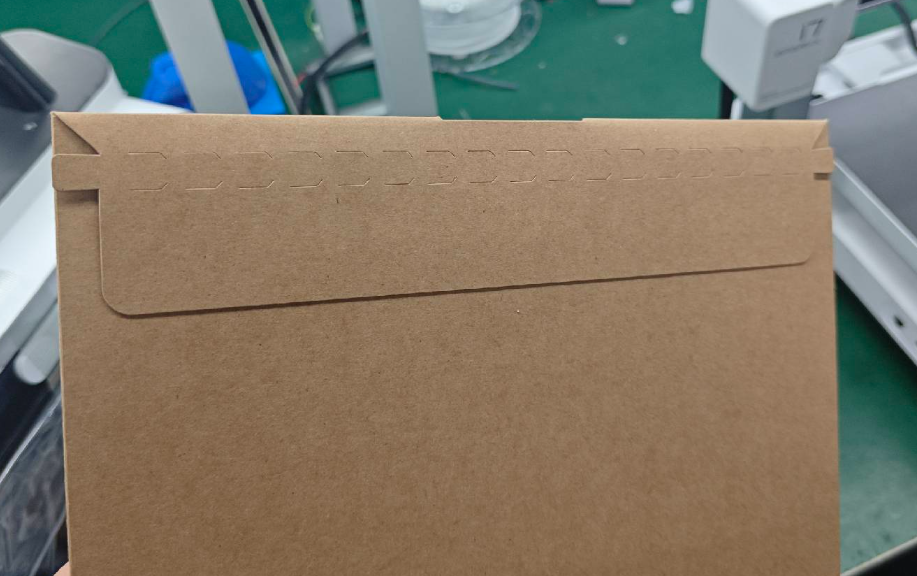
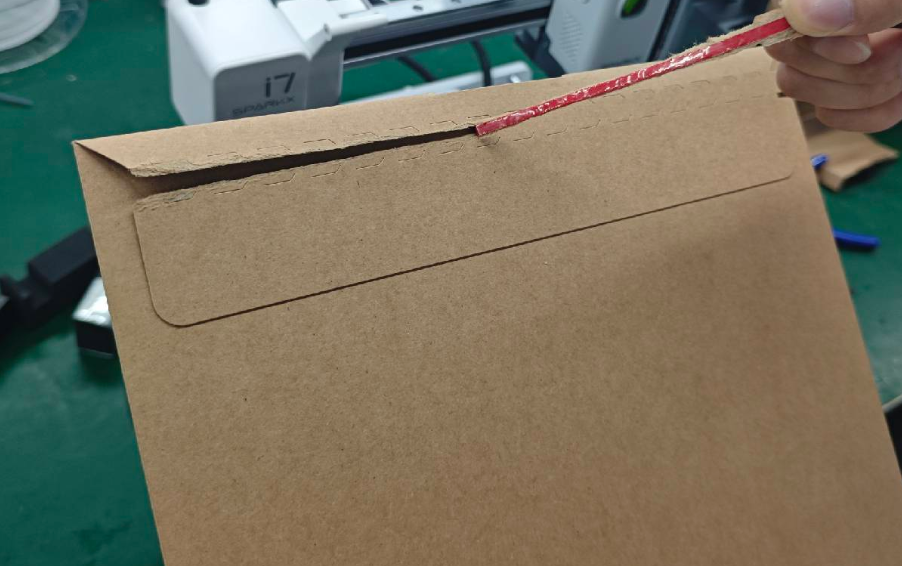
Accessory Box Contents:
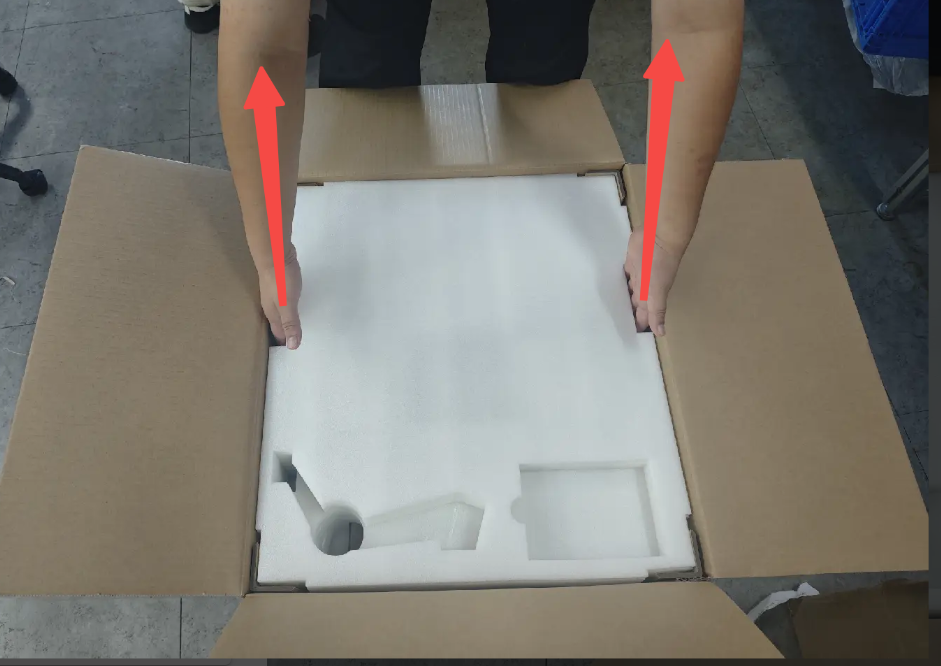
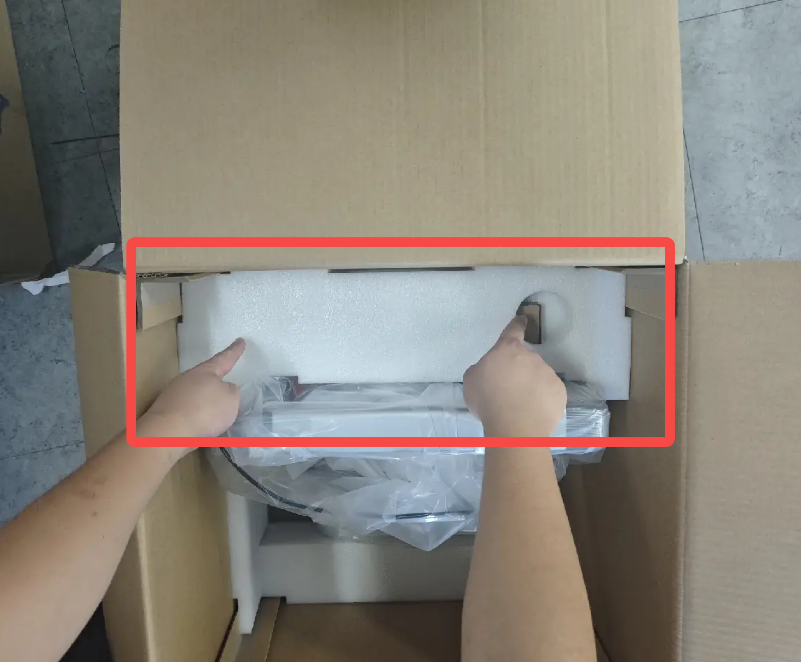
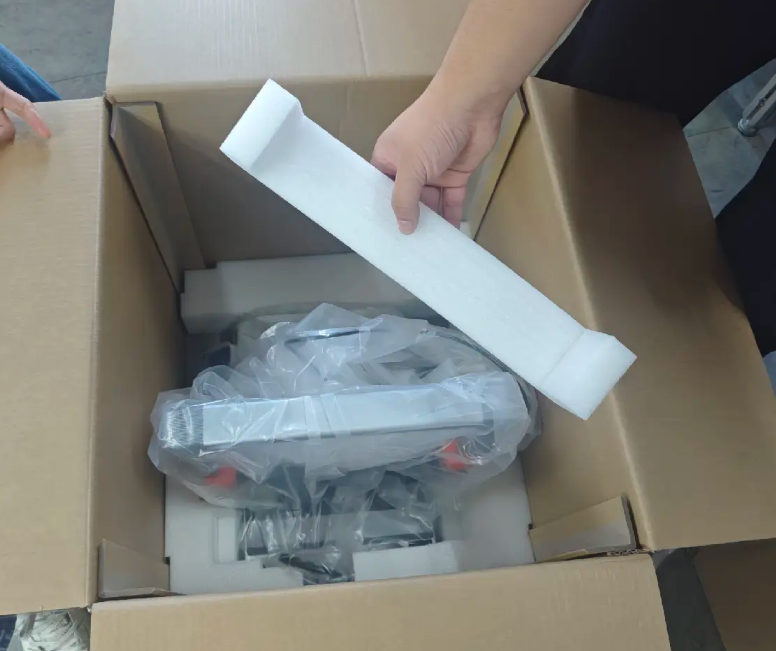
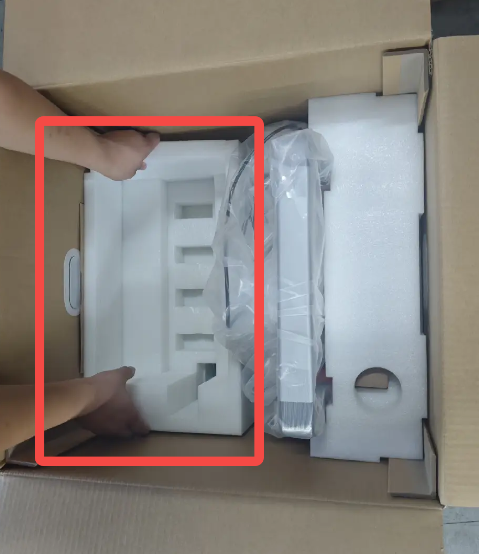
Remove the top foam insert
Hold the foam handles with both hands and lift the foam upward.
 |
 |
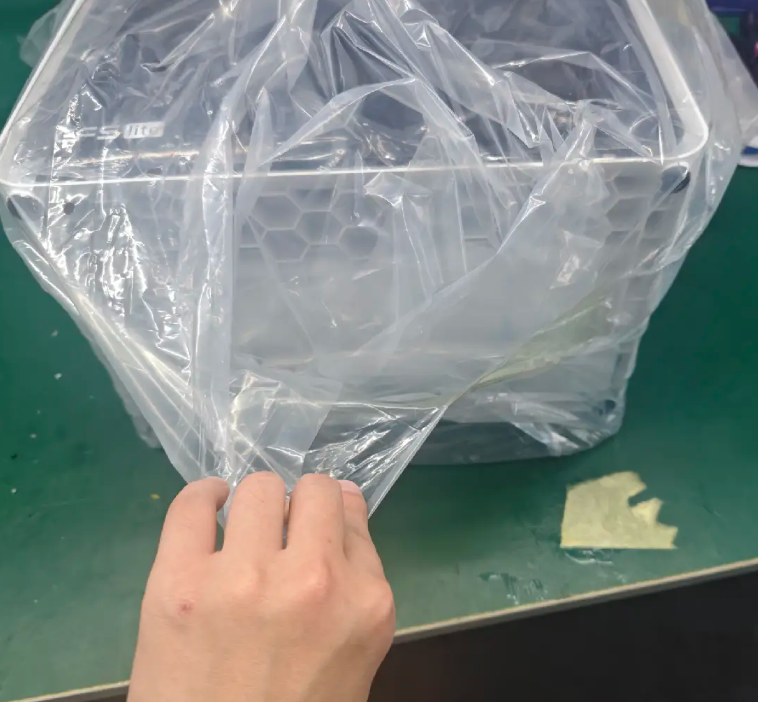
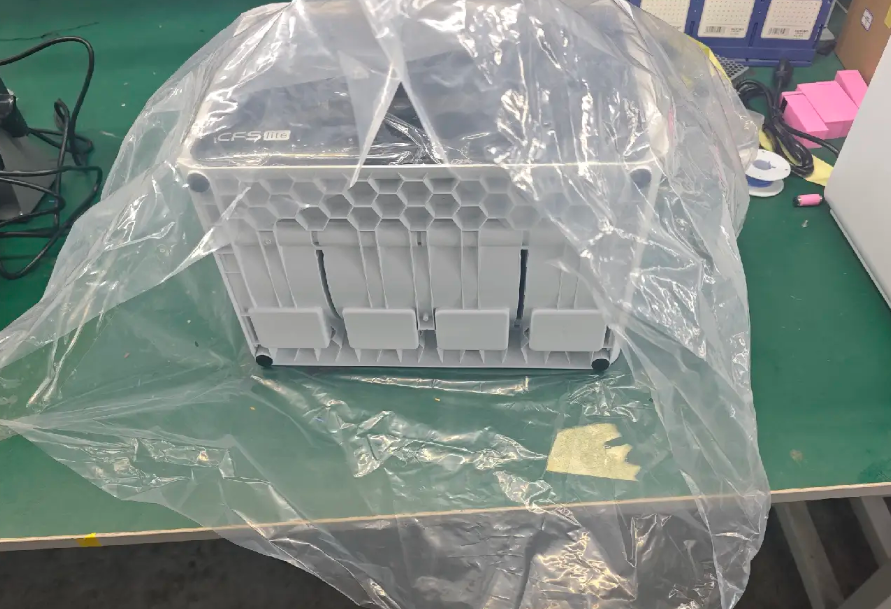
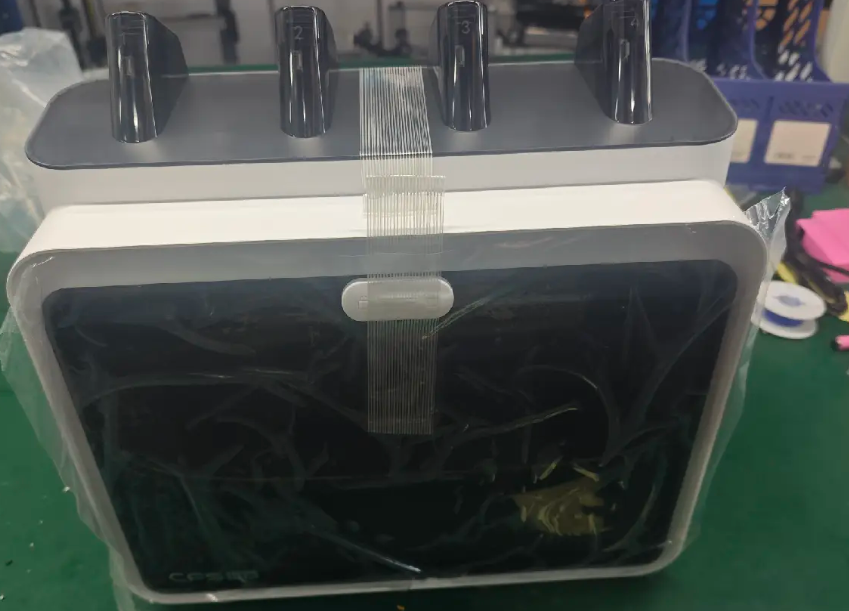
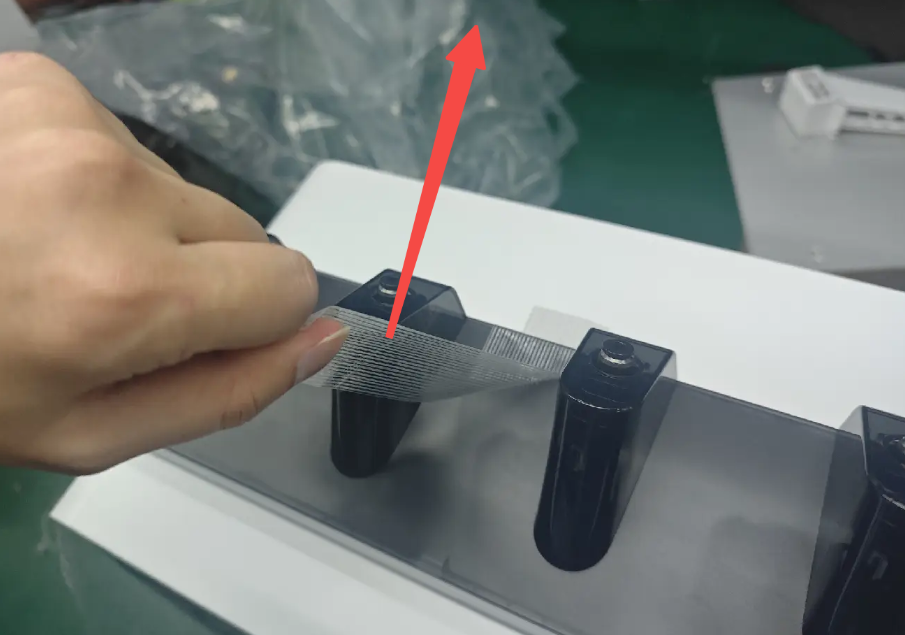
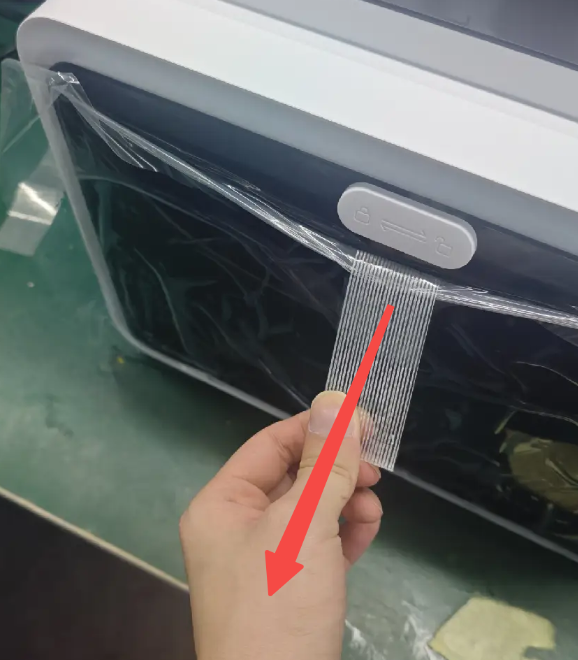
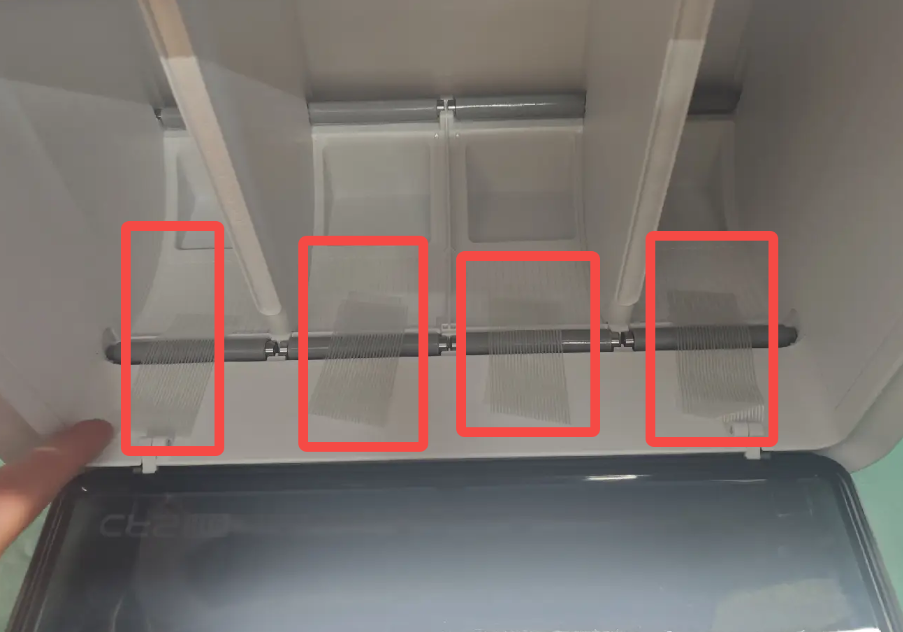
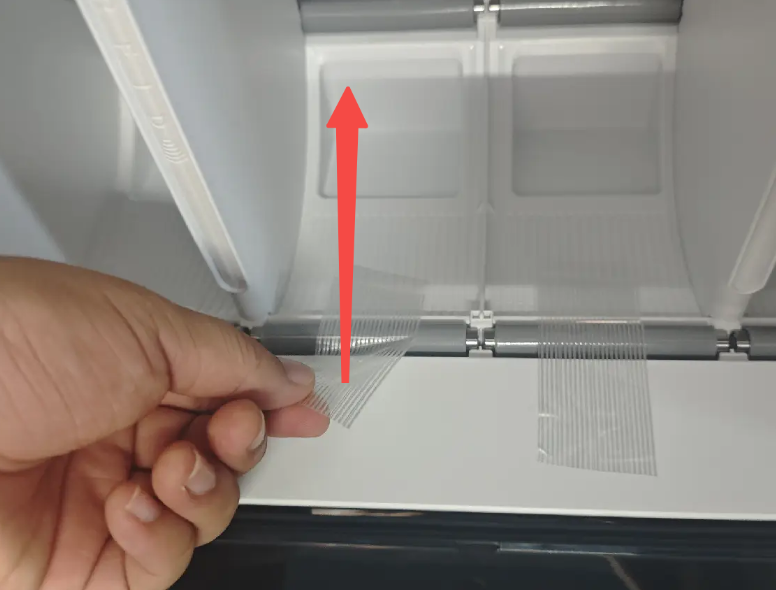
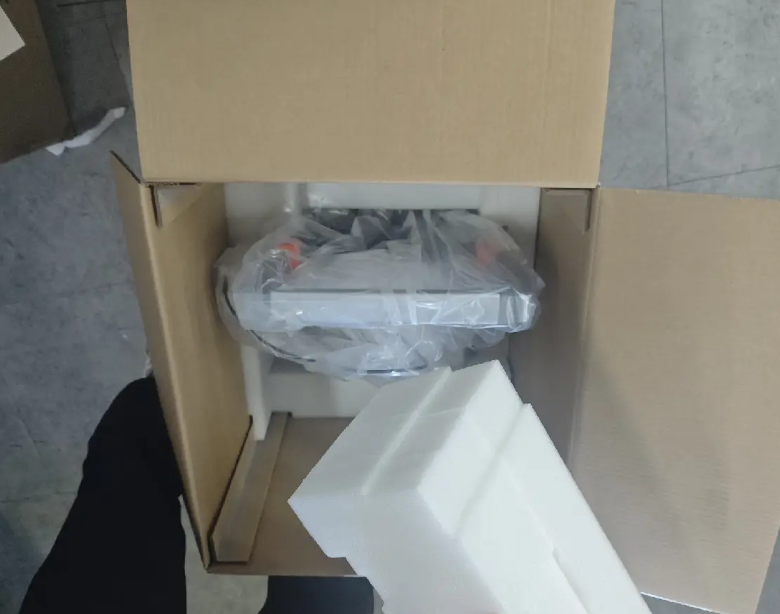
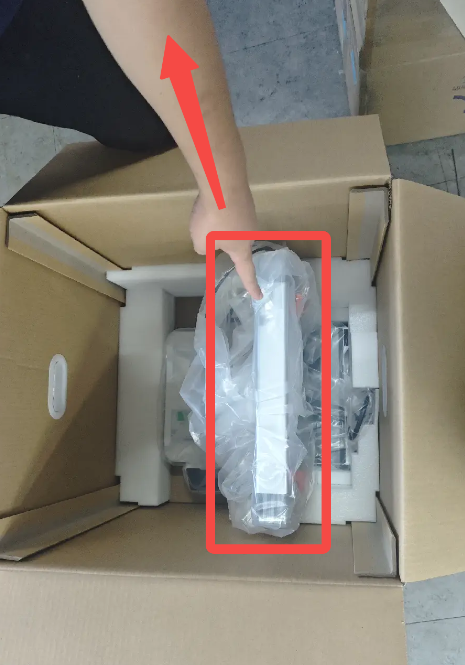
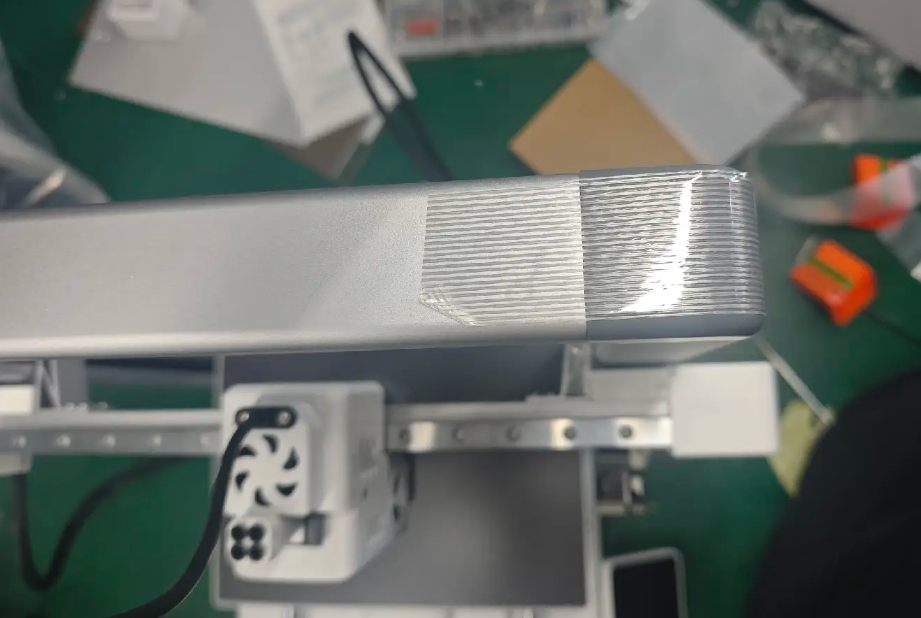
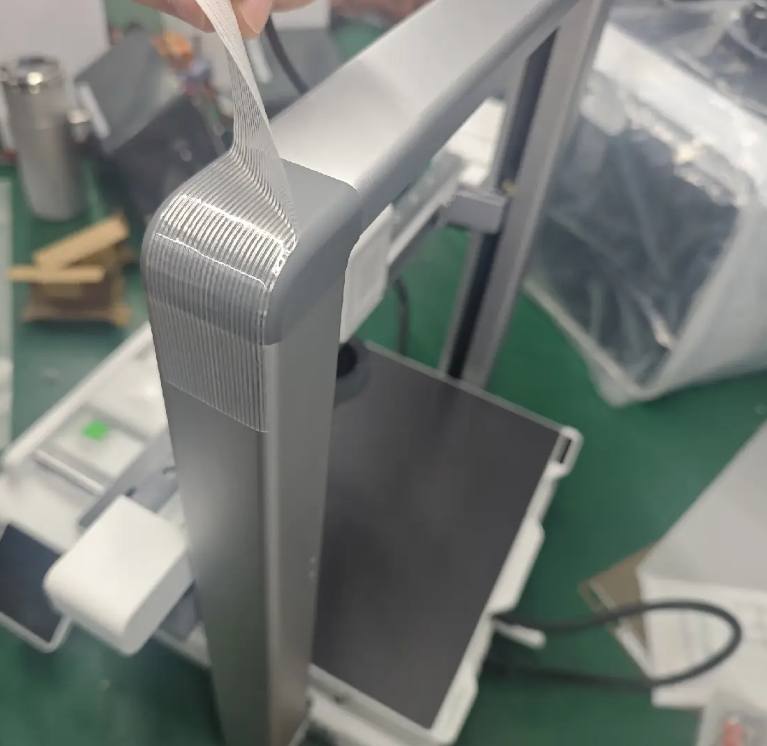
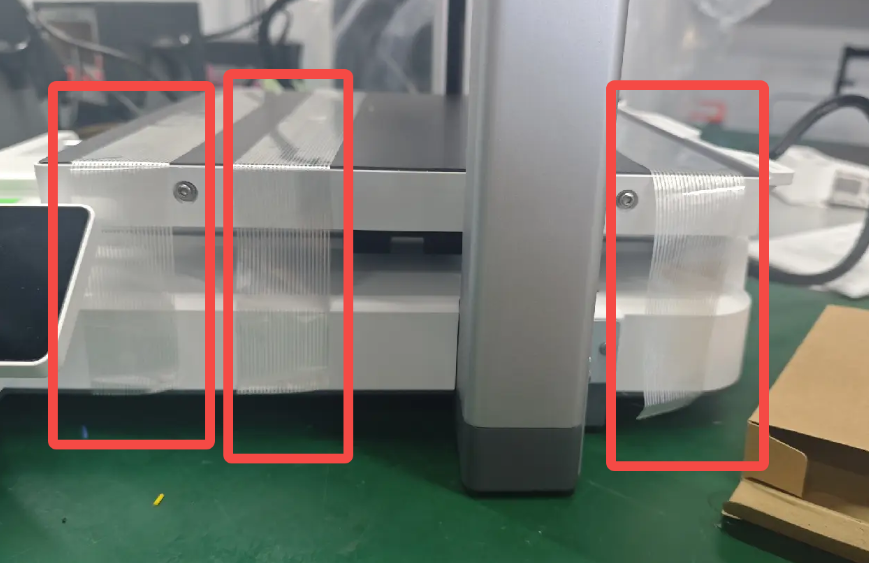
Take out the CFS Lite, open the bottom of the moisture-proof bag and remove the front door film, foam, top shell tape, and internal tapes.
 |
 |
 |
 |
 |
 |
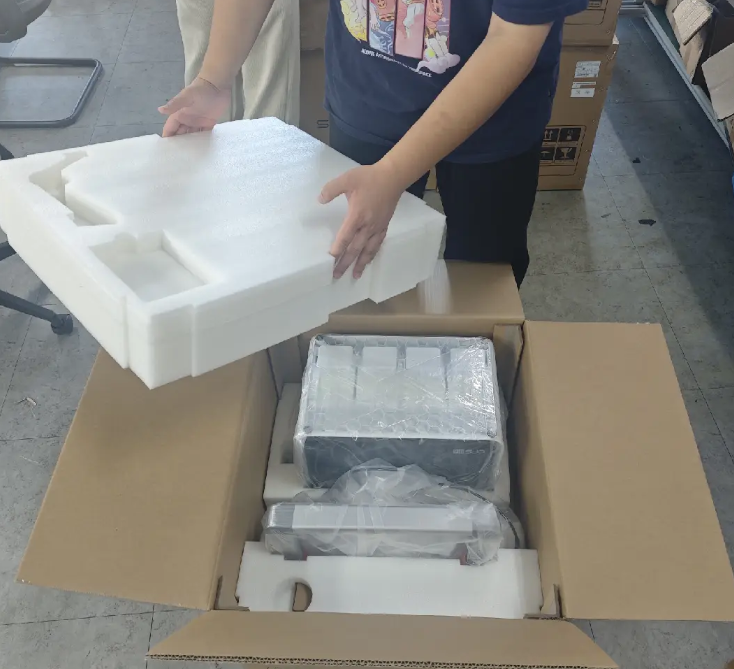
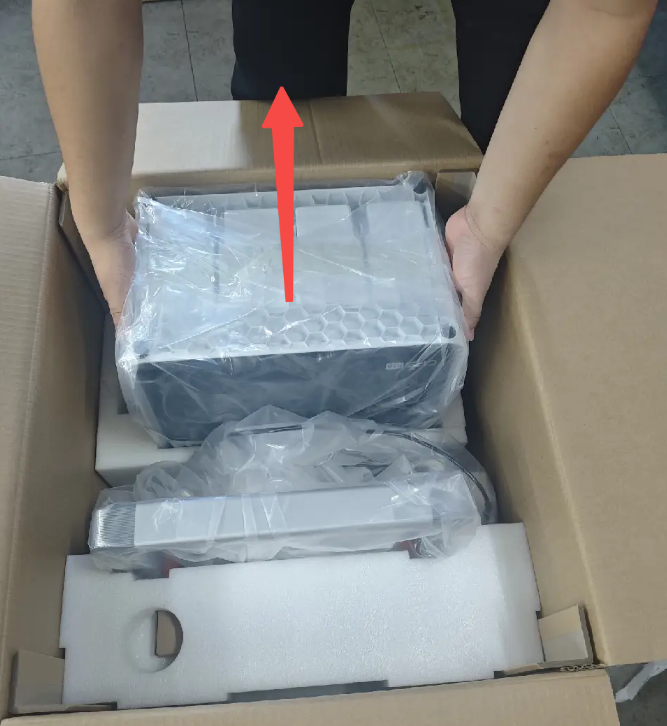
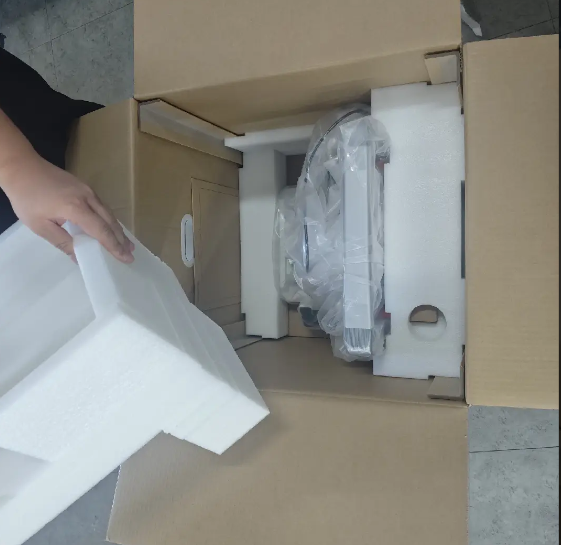
Remove the rear foam and unpack the filament box and its securing foam.

Filament Box and Contents Overview:
 |
 |
¶ Removing the Printer Securing Components
Remove the foam from the Heated Bed
 |
 |
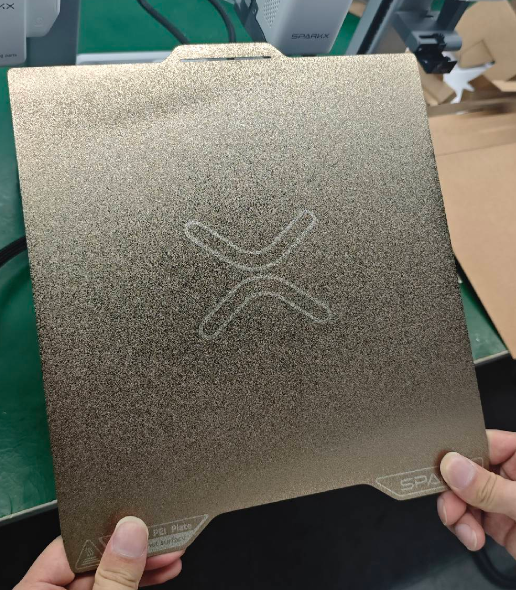
Remove the PEI Plate placed on the side
 |
 |
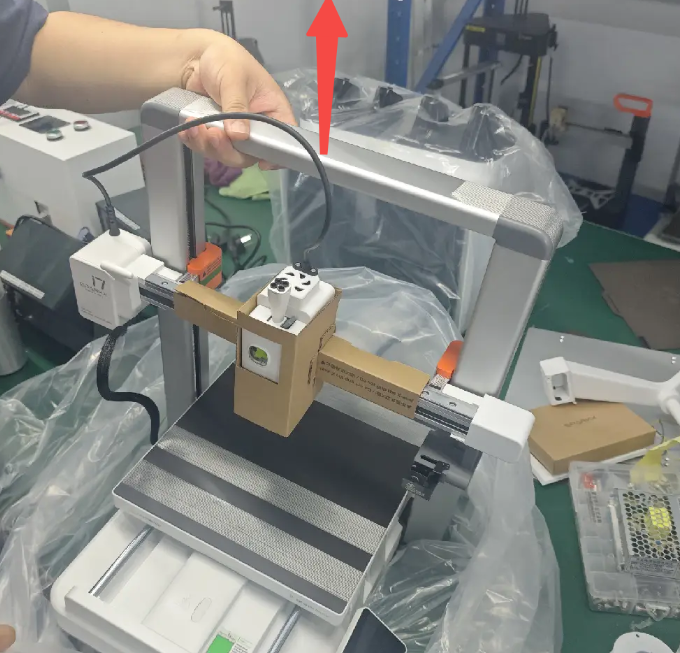
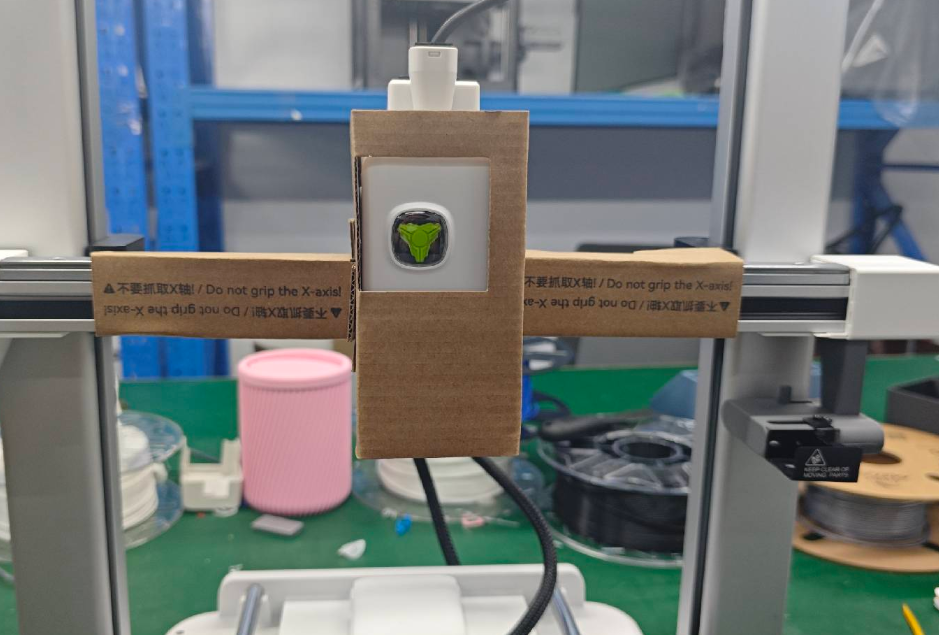
Grasp the top of the Printer Frame and lift straight up to remove the main unit.
Do not lift the machine by holding the X-axis rails!
 |
 |
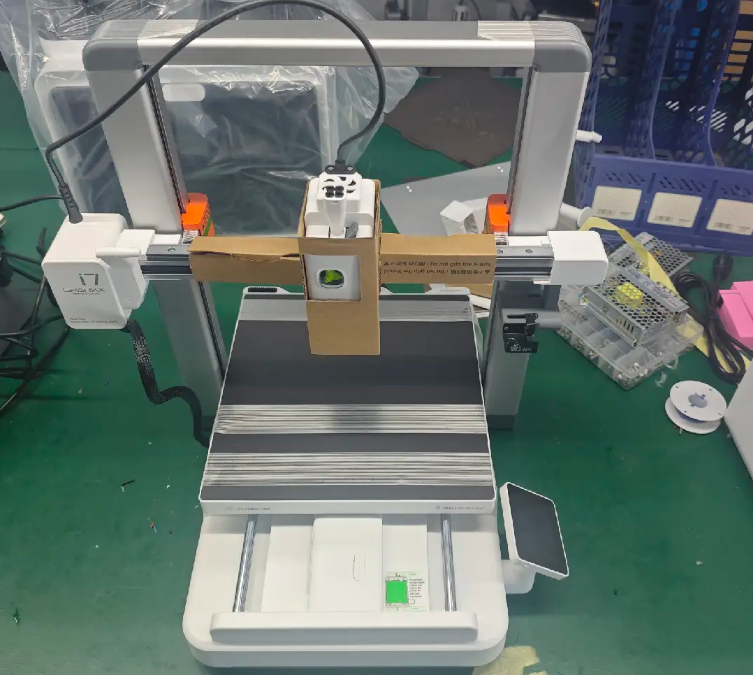
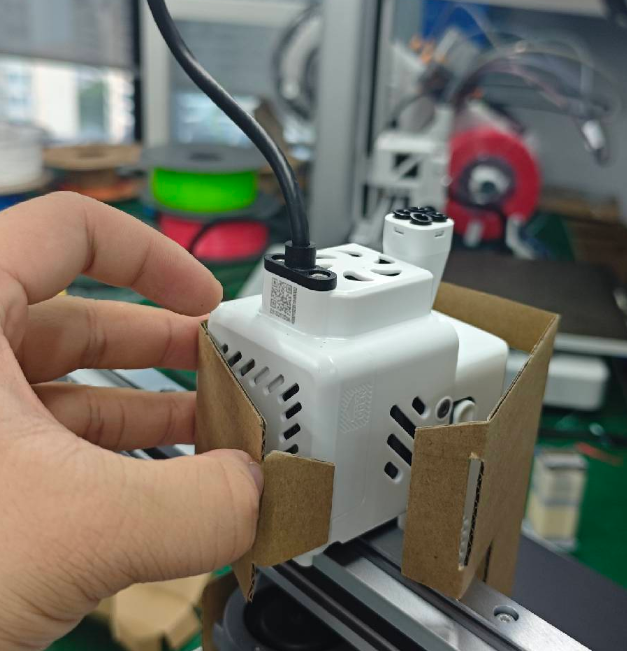
Take the machine out of the moisture-proof bag, remove the Z-axis top tape, and remove the tool head securing cardboard.
 |
 |
 |
 |
 |
 |
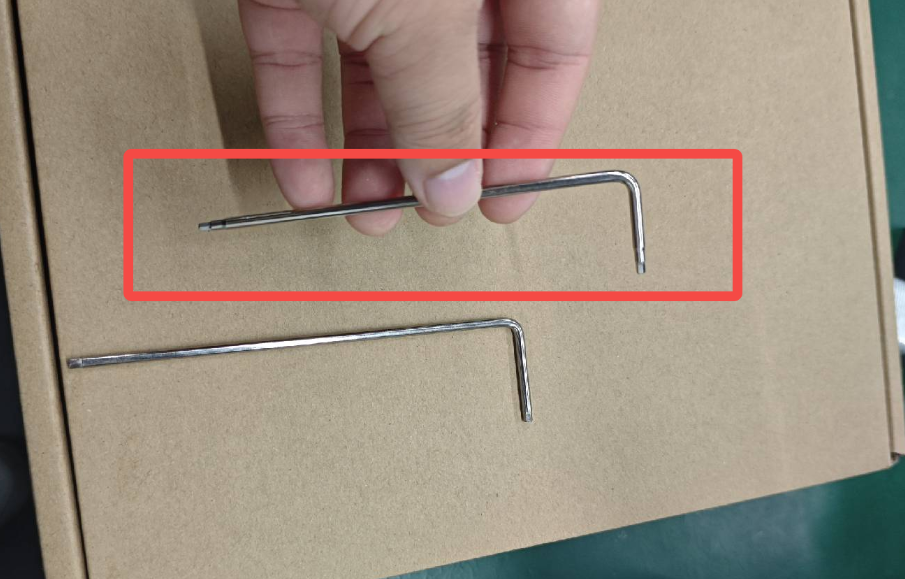
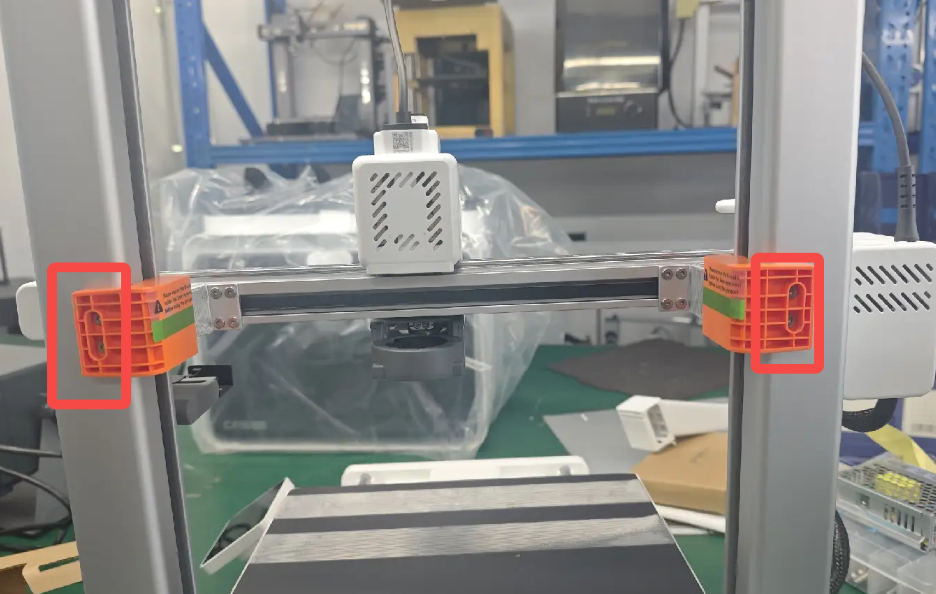
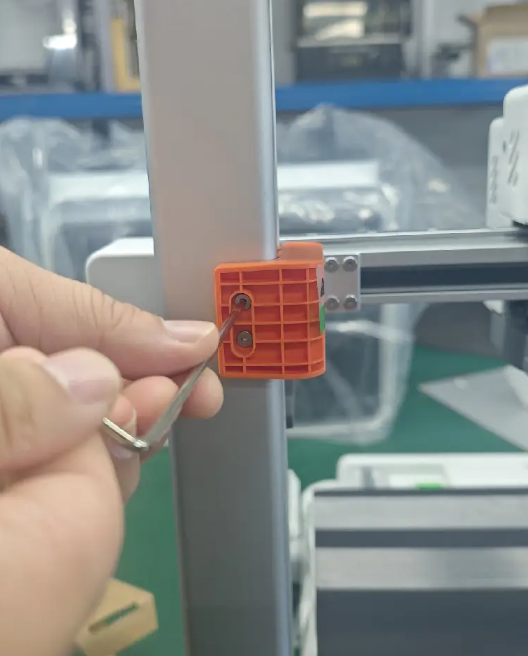
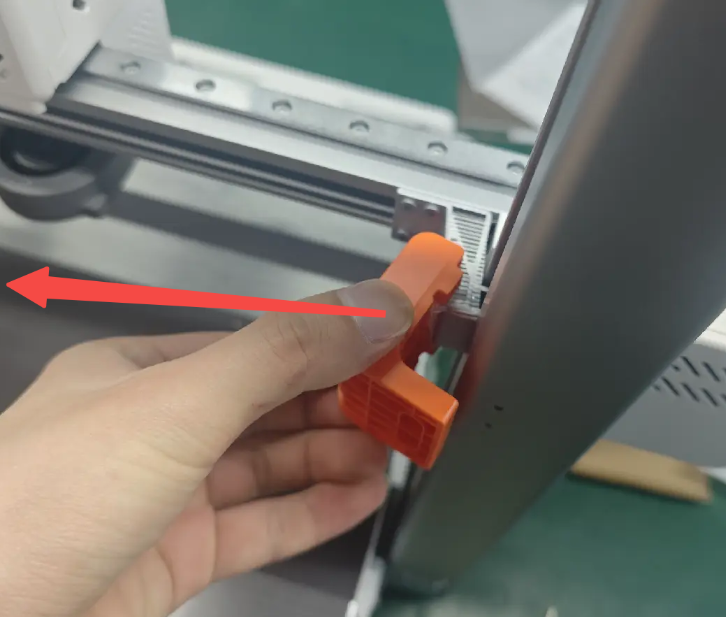
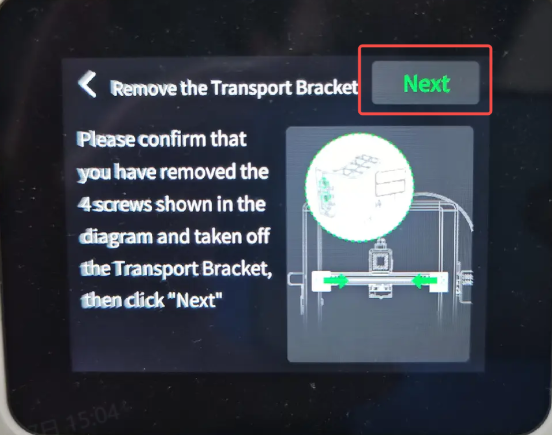
Using the H2 hex key from the accessory box, remove the four X-axis limit screws and the two rear X-axis mounts.
 |
 |
 |
 |
Remove the three tapes holding the heated bed in place.
 |
 |
¶ Install the Printer and CFS Lite Accessories
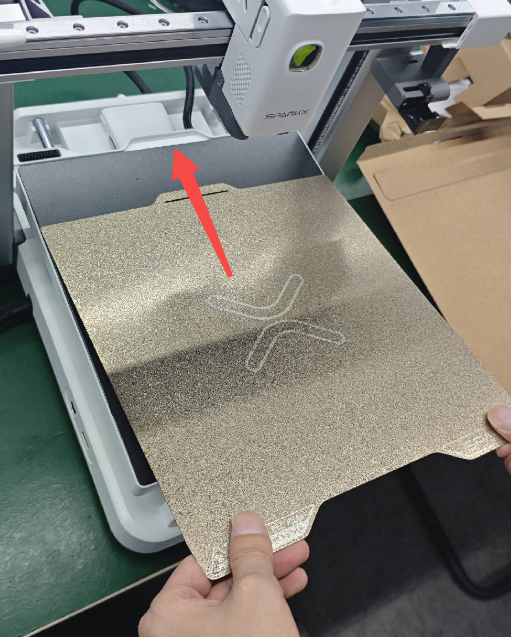
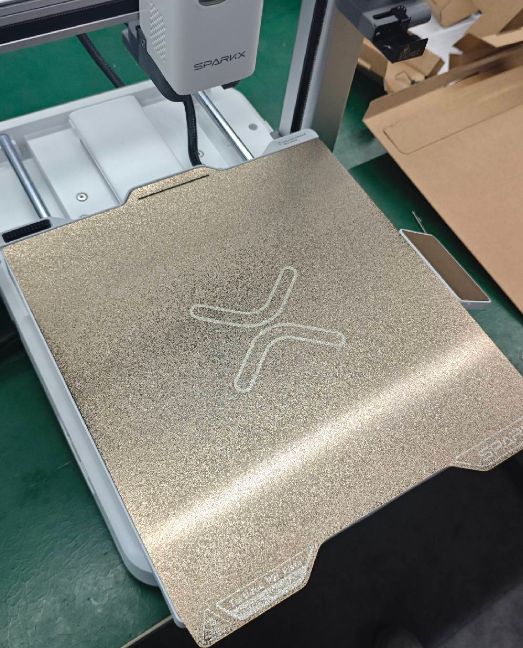
Open the platform plate packaging and install the platform on the print bed.
 |
 |
 |
 |
Slide the platform plate into the heated bed stop following the illustration, ensuring it remains level.
 |
 |
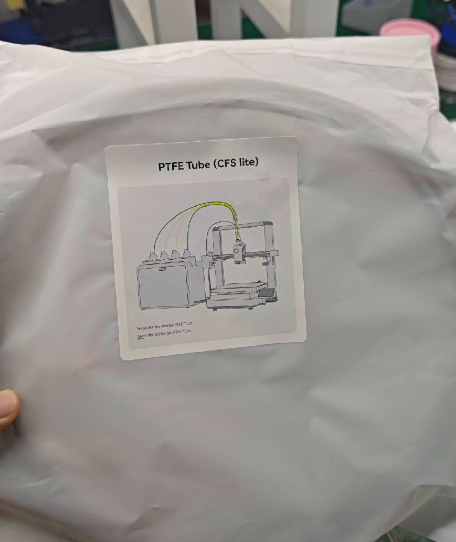
¶ Install the PTFE tube
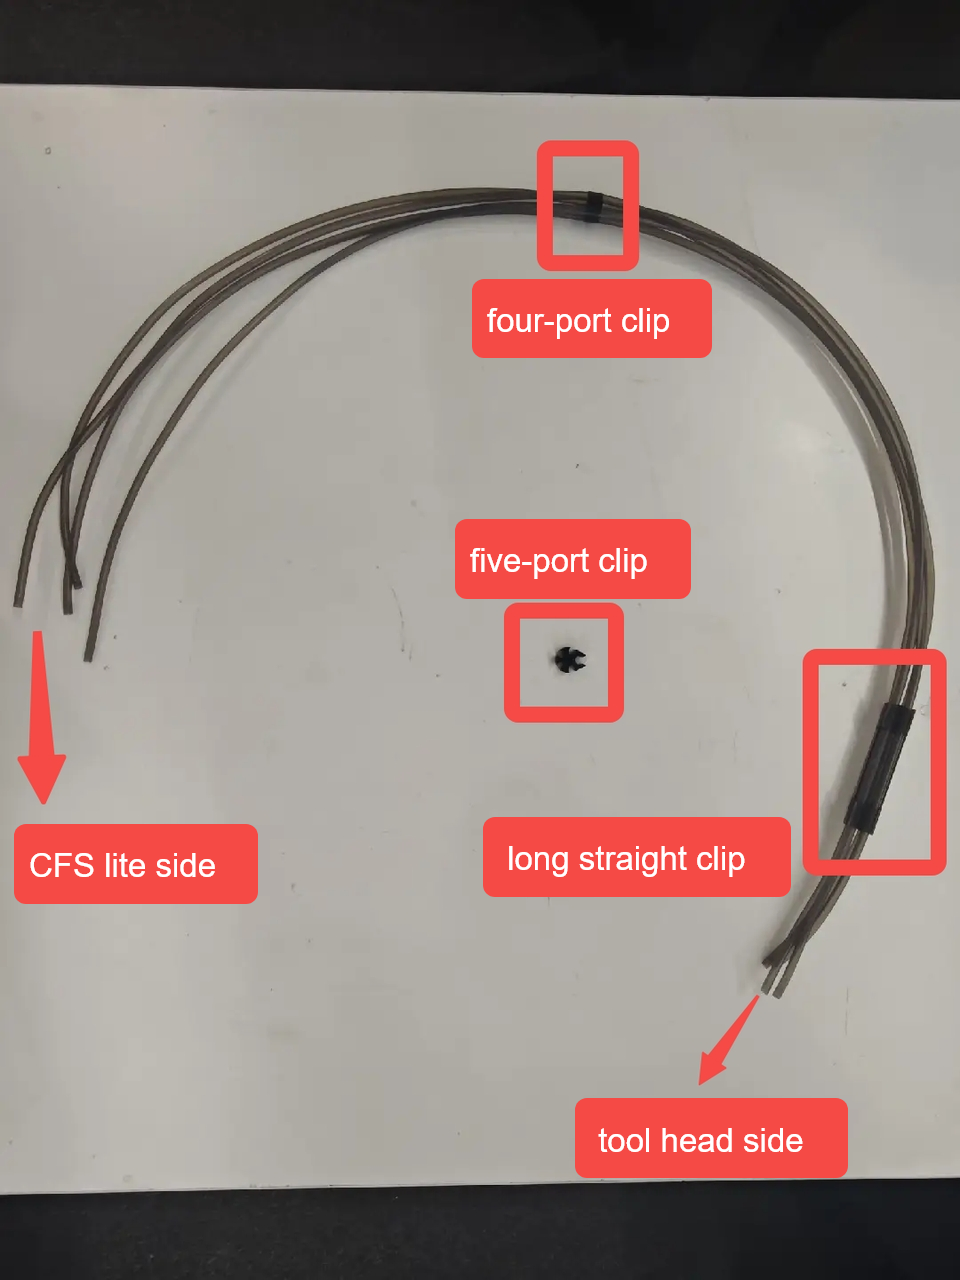
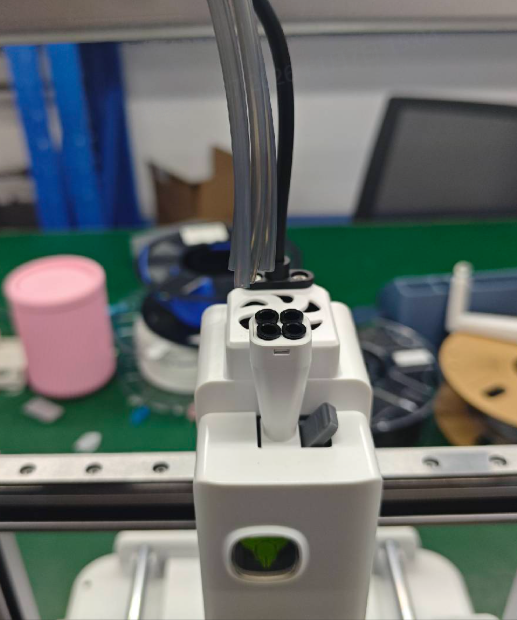
During installation, pay attention to the orientation of the tube bundles. Attach the long straight clip and the five-port clip to the five-way connector on the machine’s tool head, and connect one end of the four-port clip to the box side.
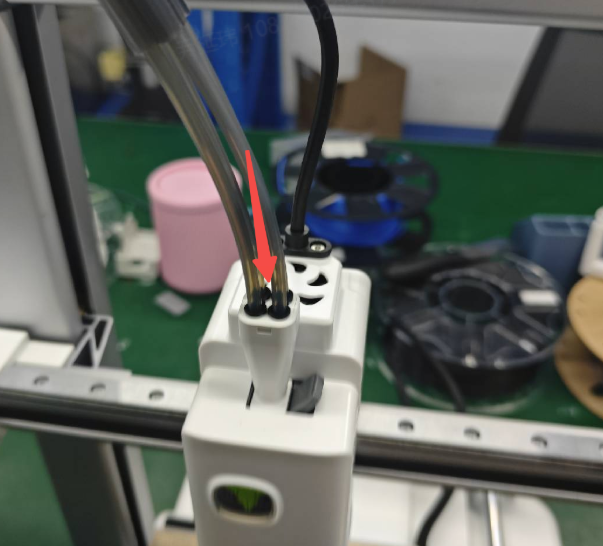
Insert the other ends of the four filament tubes into the Toolhead Manifold.
 |
 |
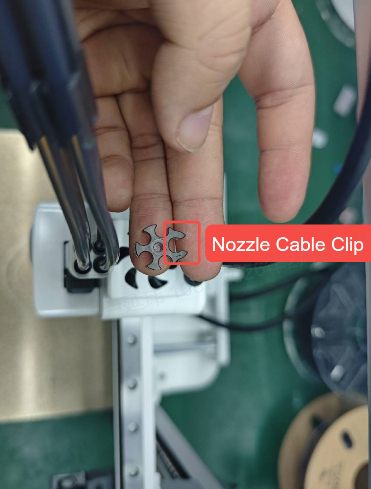
Attach the five-port clip, ensuring correct direction; the longer clip secures the tool head wiring.
 |
 |
Why are the PTFE tubes I received not all the same length? The Quick Start Guide also mentions PTFE tubes of different lengths.
Initially, to ensure optimal filament feeding resistance, we did use PTFE tubes of different lengths.
However, for the sake of ease of use, we have optimized the CFS Lite to reduce feeding resistance, extended the PTFE tubes, and further improved the stability of filament loading and unloading. At the same time, we standardized the PTFE tubes to be the same length, making installation more convenient for you.
If the PTFE tubes you received are of different lengths, please note the following:
Your PTFE tubes come in two lengths: 93 mm × 2 tubes and 88 mm × 2 tubes.
When inserting the PTFE tubes into the CFS lite , make sure to install the longer tubes (93 mm) in the left and right channels, and the shorter tubes (88 mm) in the middle channels.
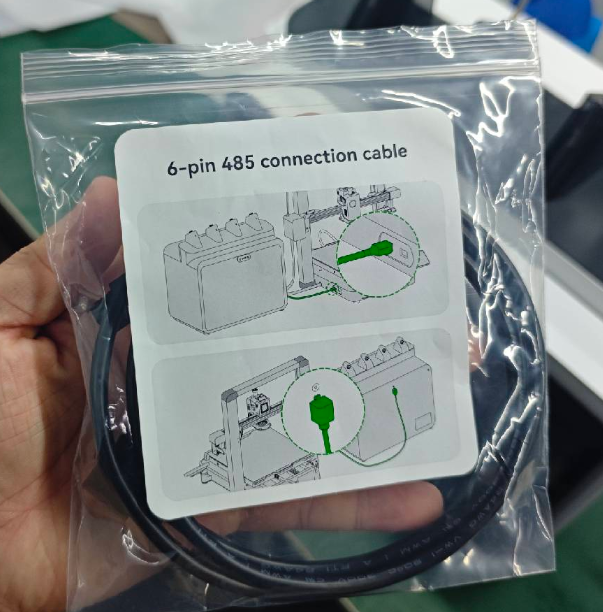
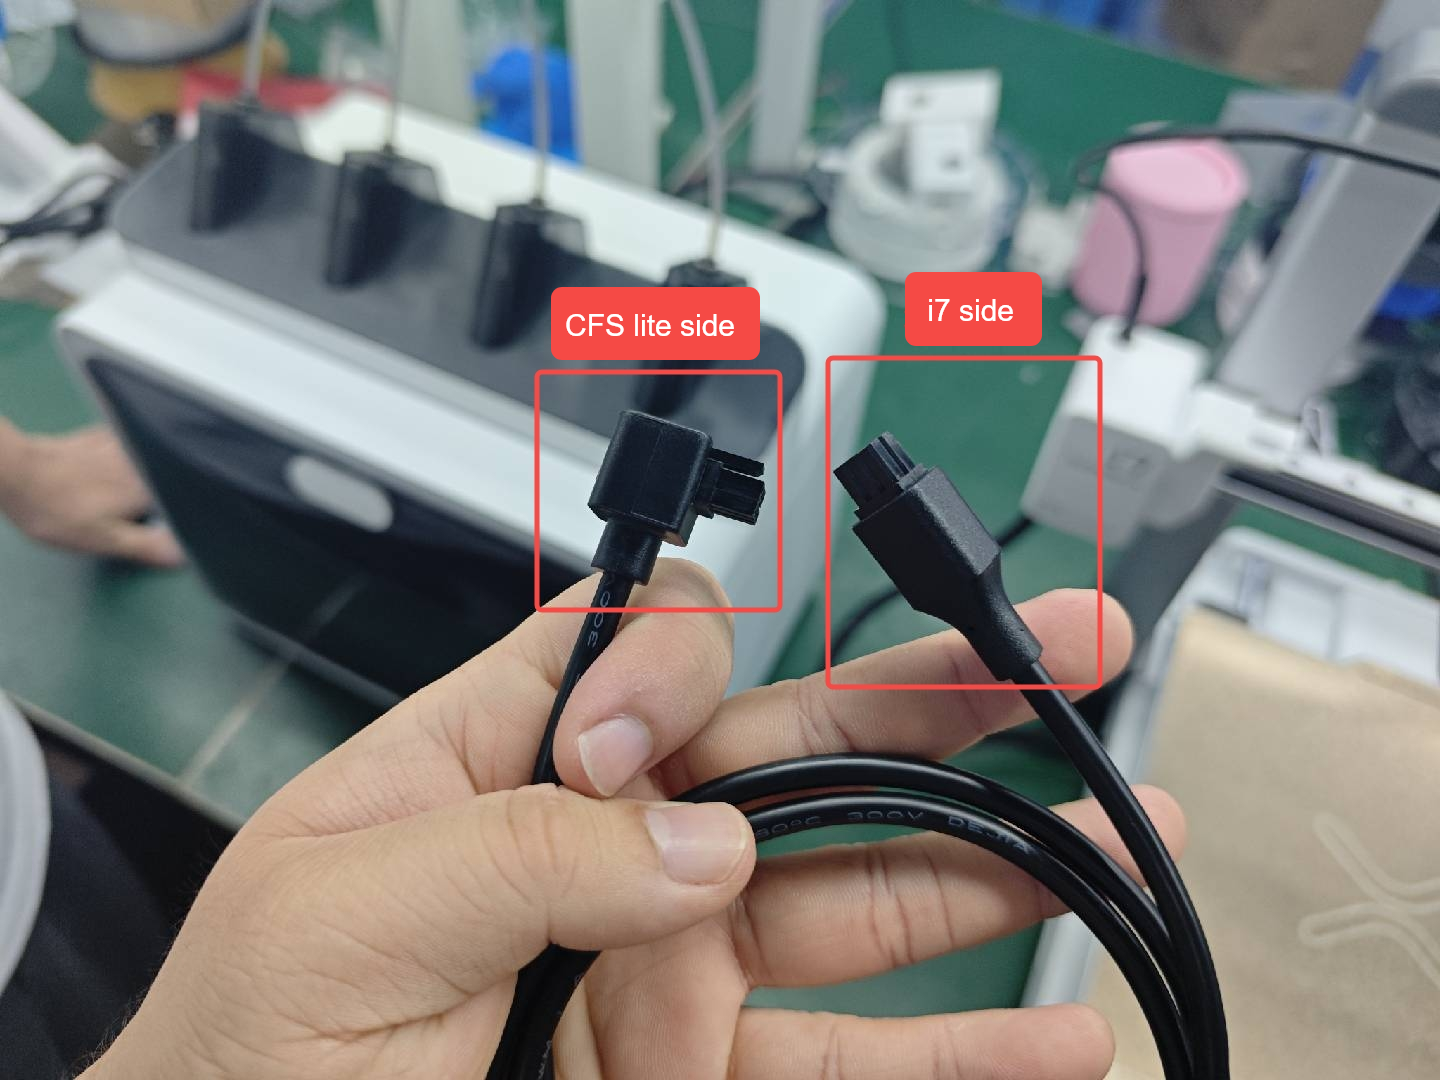
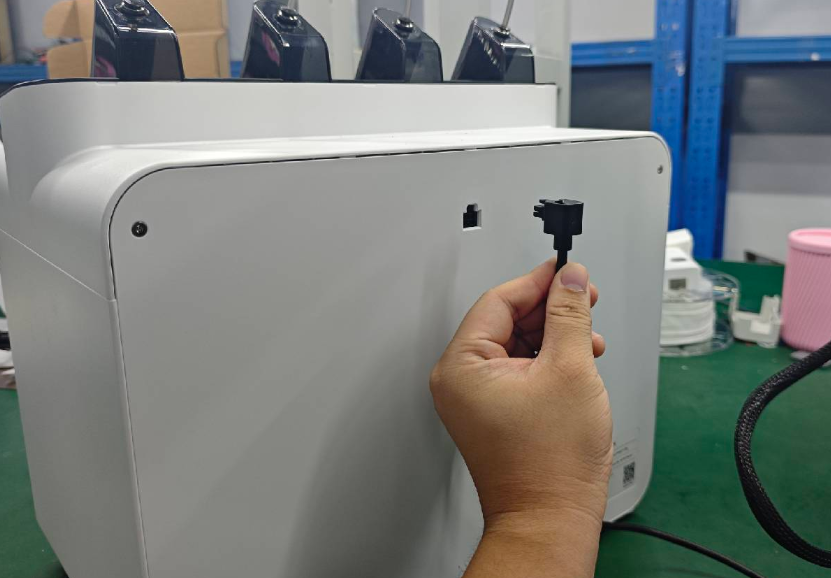
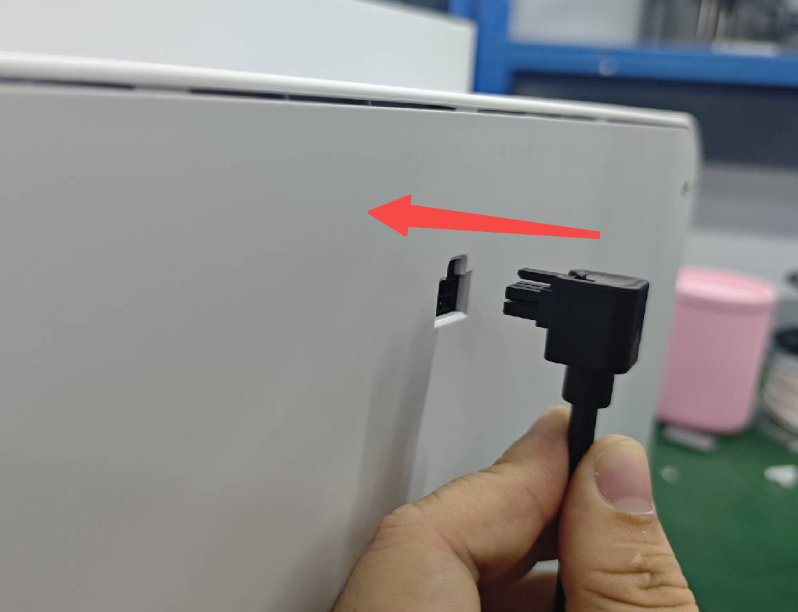
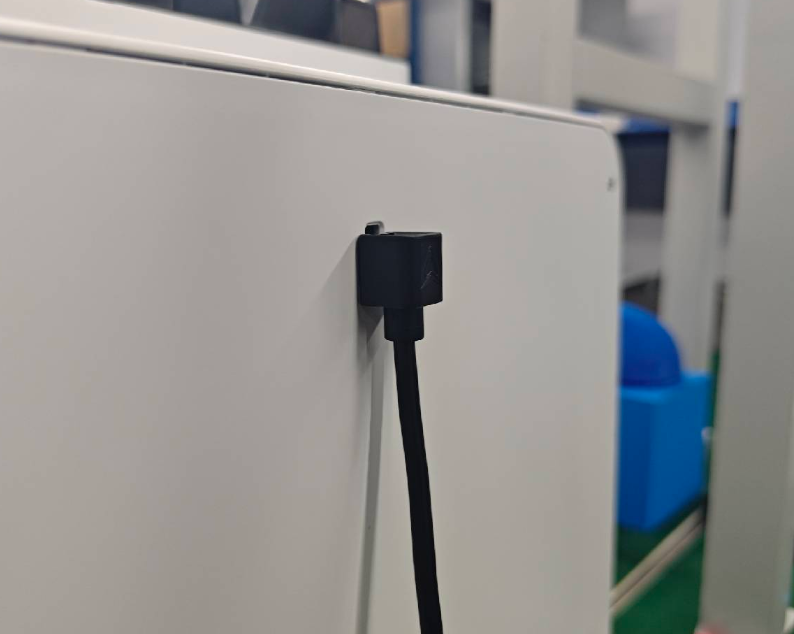
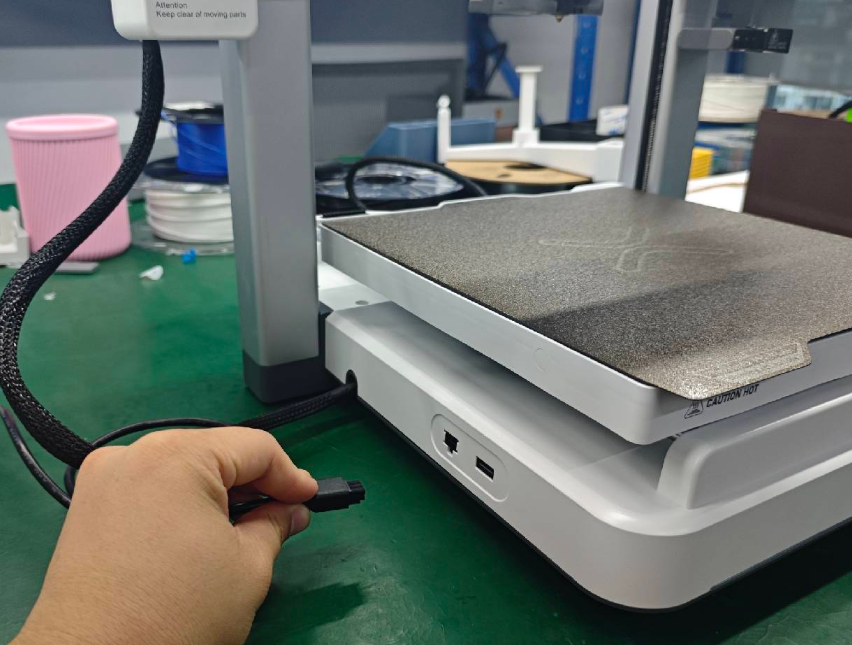
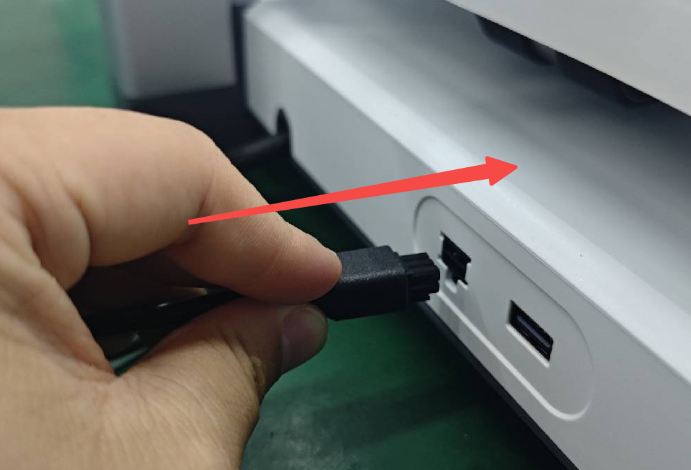
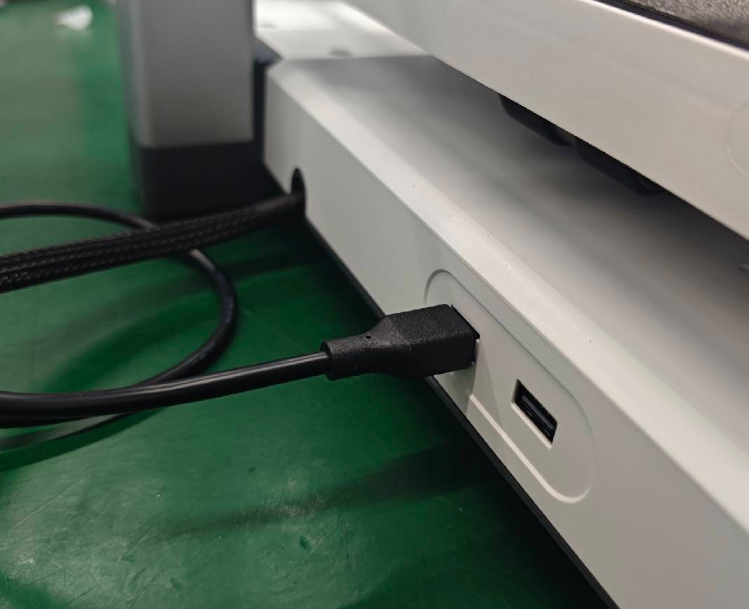
¶ Connect the CFS 6-pin Cable
Note that the 6-pin Cable of the i7 Color Combo is directional: the right-angle end should be connected to the CFS lite side.
 |
 |
 |
 |
 |
 |
 |
 |
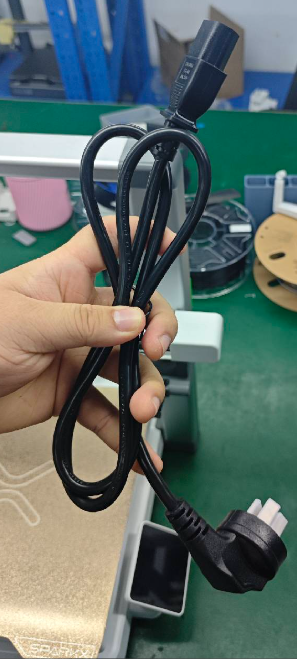
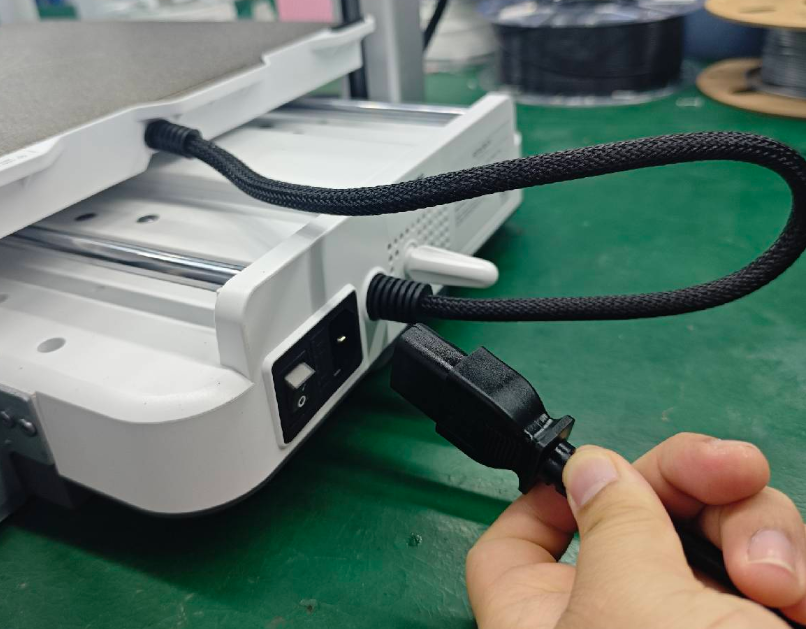
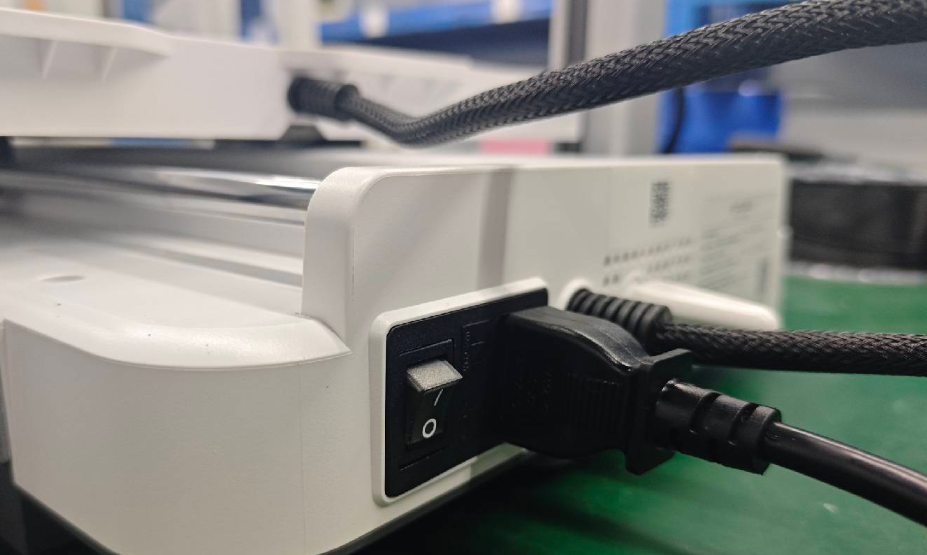
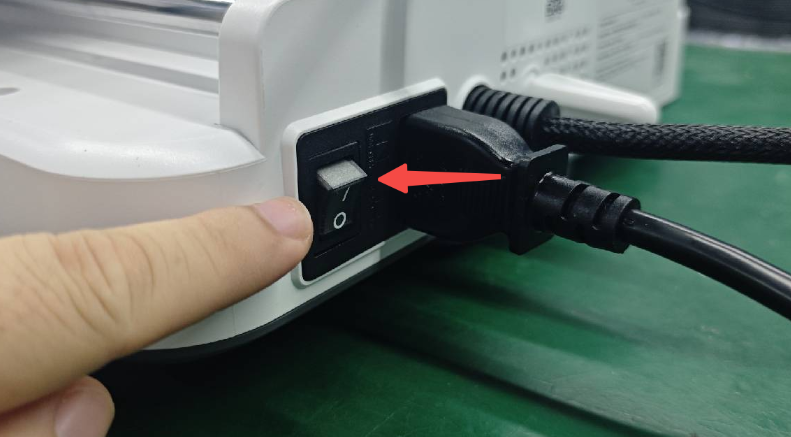
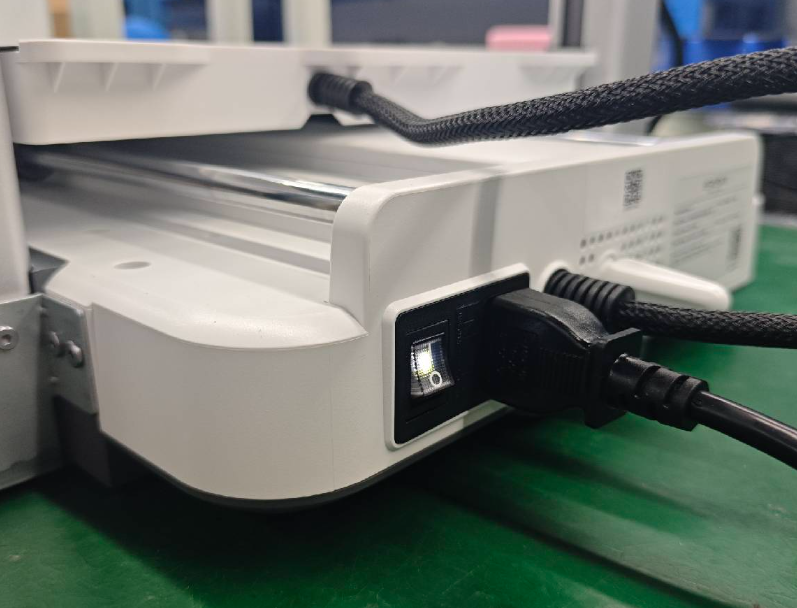
Connect the power cable to the rear connector of the machine and plug it into the power source.
 |
 |
 |
 |
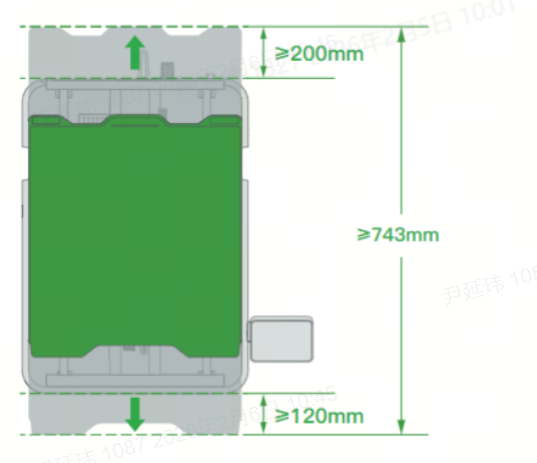
¶ How much space is required for the i7 Color Combo (i7 + CFS Lite)?
To ensure convenient and safe use of the i7 Color Combo, prepare an installation space with a width of 876 mm and a height of 550 mm (the height includes the PTFE tubes).
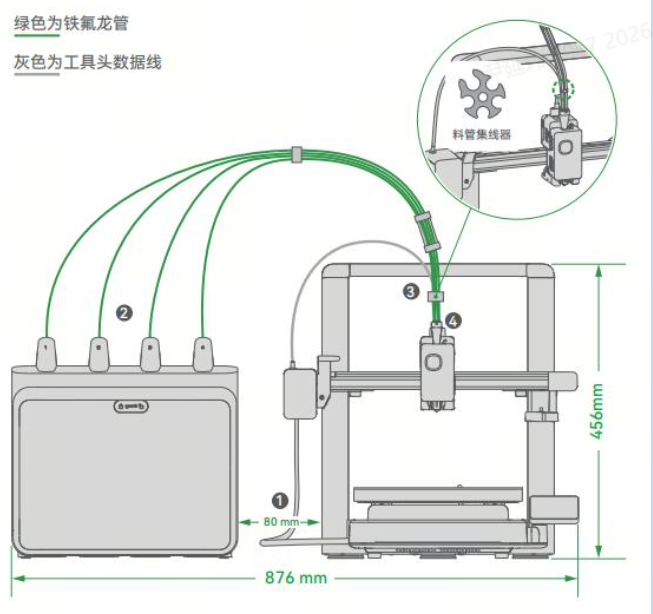
Because the heated bed of the i7 moves back and forth, the required motion clearance is approximately 100 mm + 110 mm + 423 mm = 633 mm.
However, to prevent the heated bed cable from colliding with objects behind the printer, and to avoid contact with the user when the bed moves to the frontmost position, we recommend leaving additional clearance:
200 mm behind the i7
120 mm in front of the i7
As a result, the total recommended safe depth is 200 mm + 120 mm + 423 mm = 743 mm.
¶ Power On the Printer and Completing the Setup Wizard
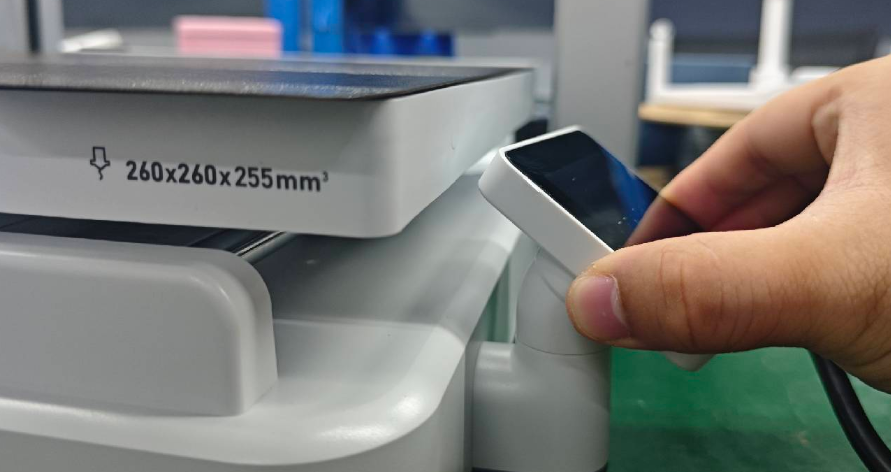
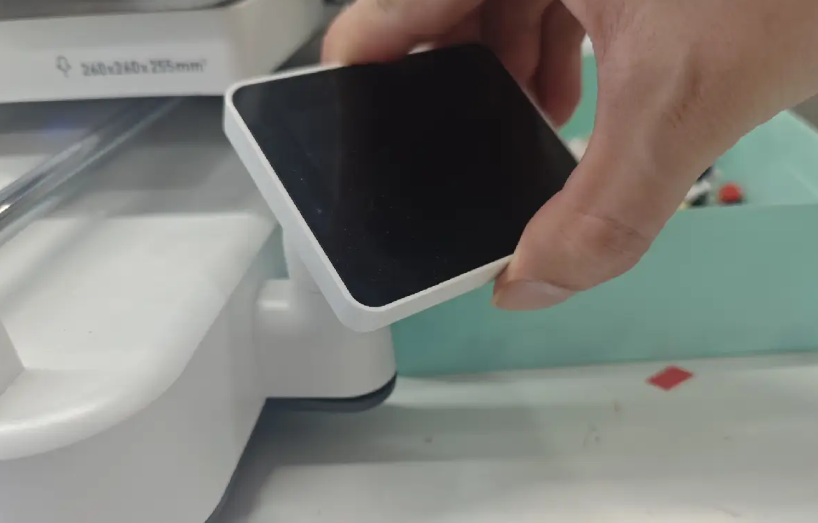
Switch on the machine and rotate the display to face forward.
 |
 |
Caution: Rotate the screen only in the horizontal direction.
 |
 |
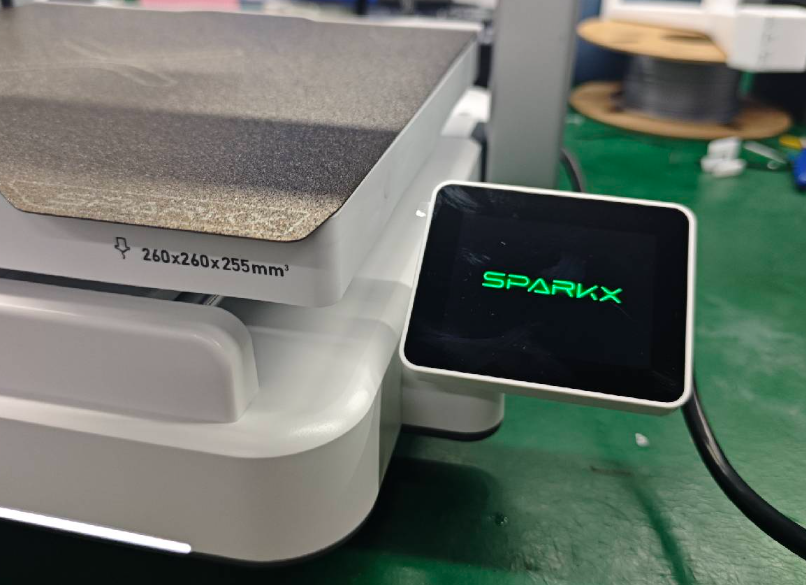 |
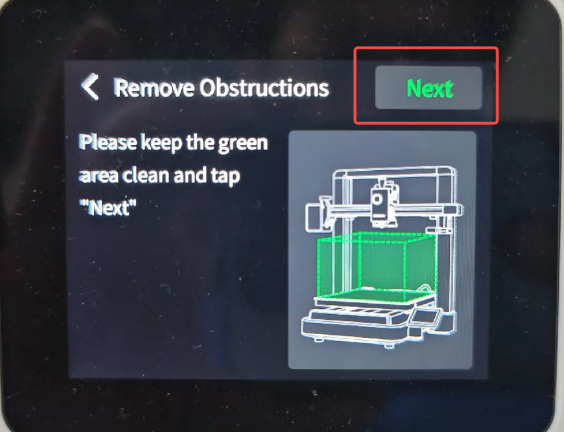
Follow the on-screen instructions to complete the machine’s startup guide.
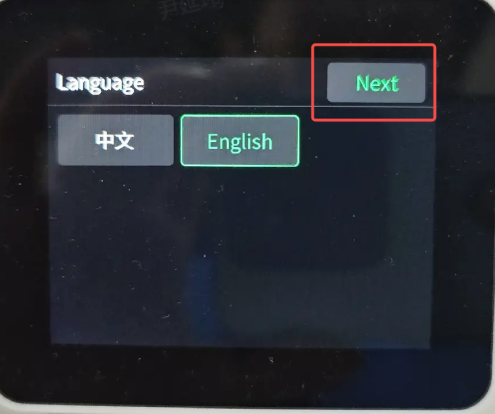
Choose the language, proceed with “Next,” check the machine status as prompted, and continue by clicking “Next” if no problems are detected.
 |
 |
 |
Read the privacy policy thoroughly, tick the “I have read and agree” box, and click “Next.”
 |
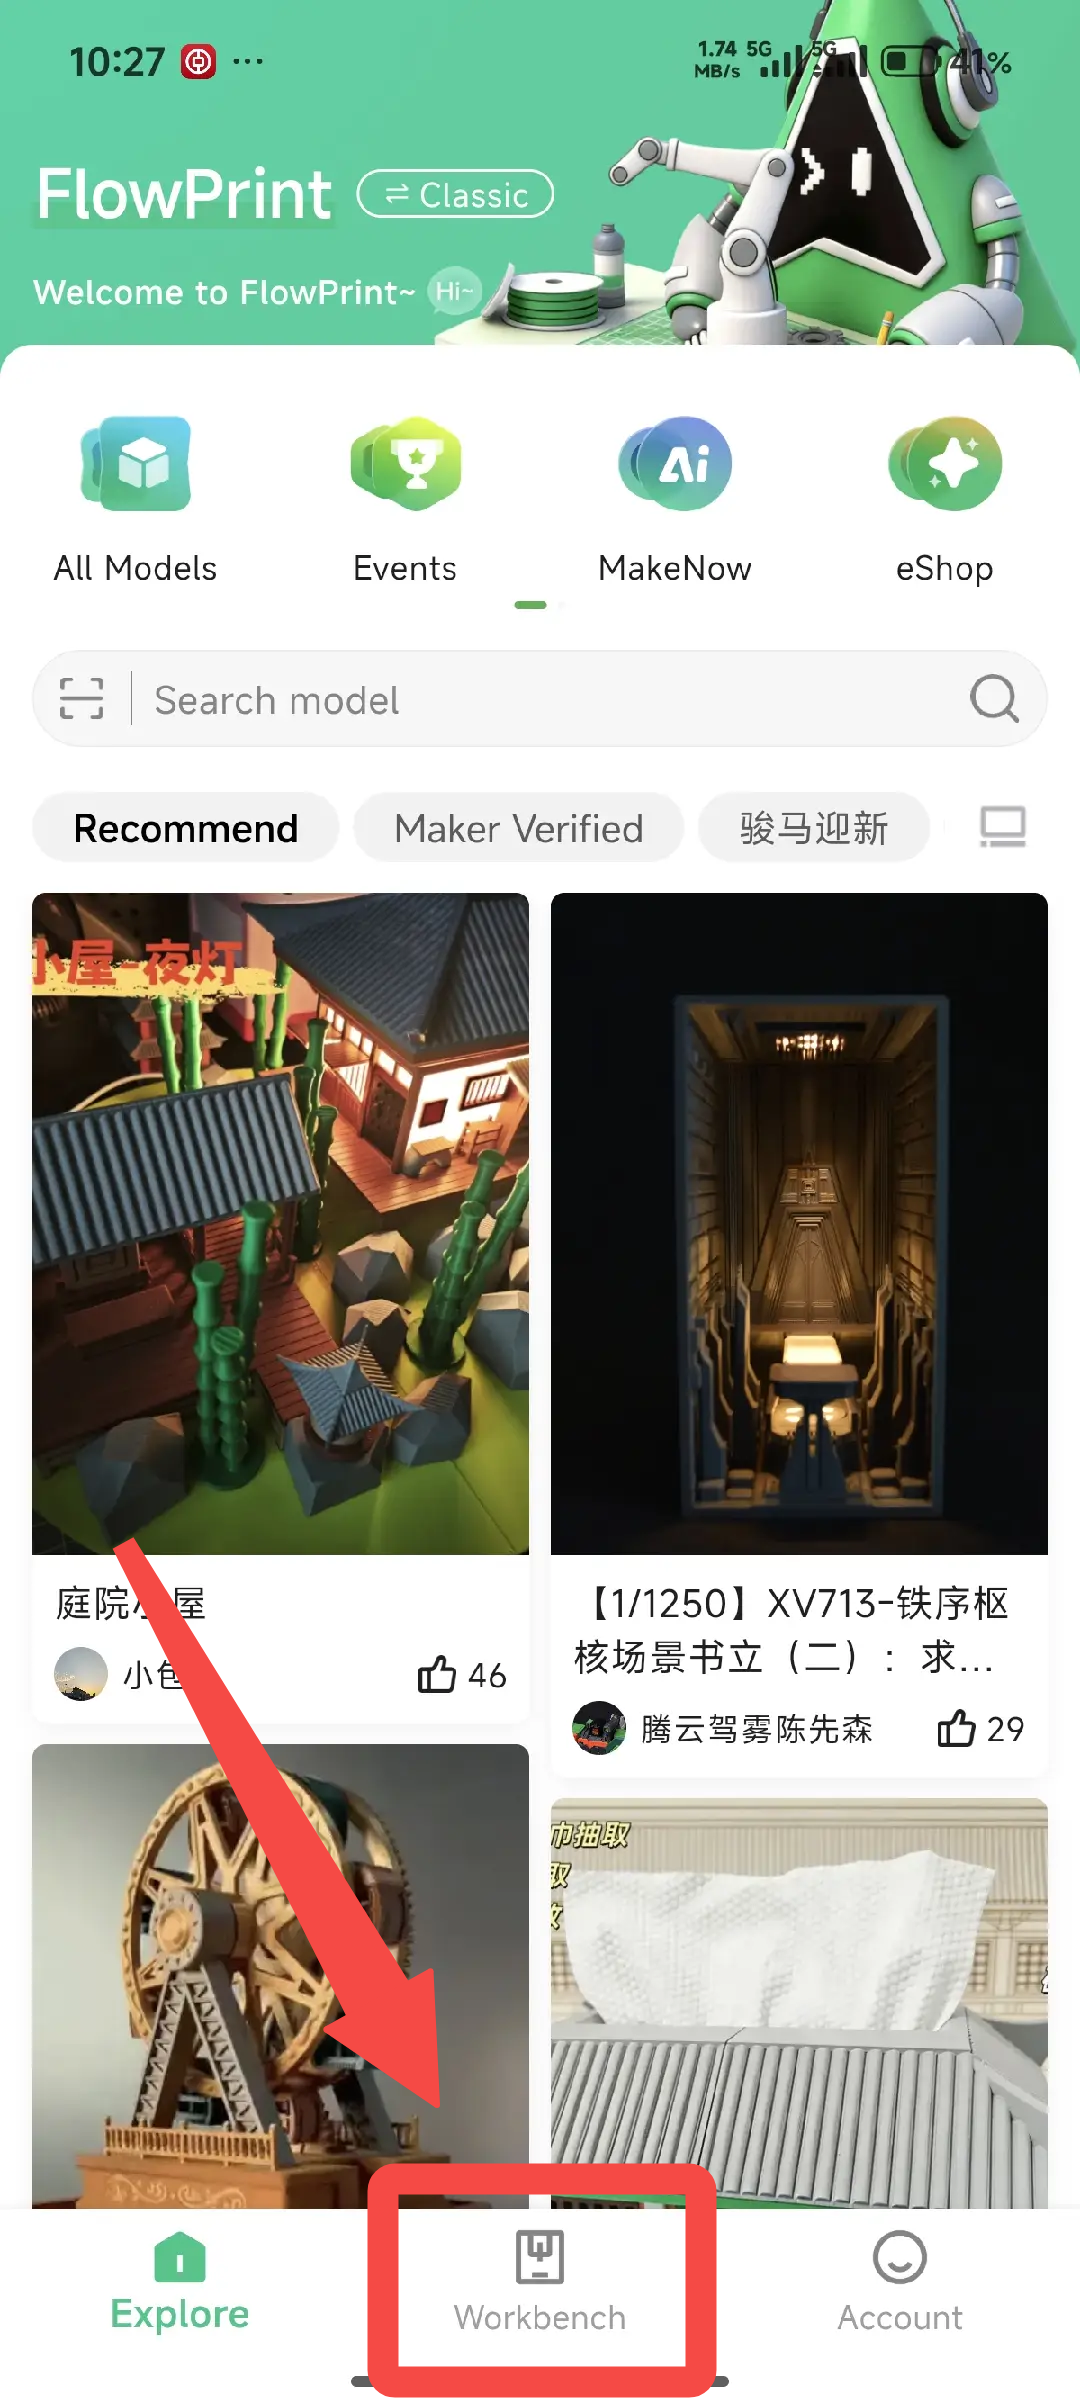
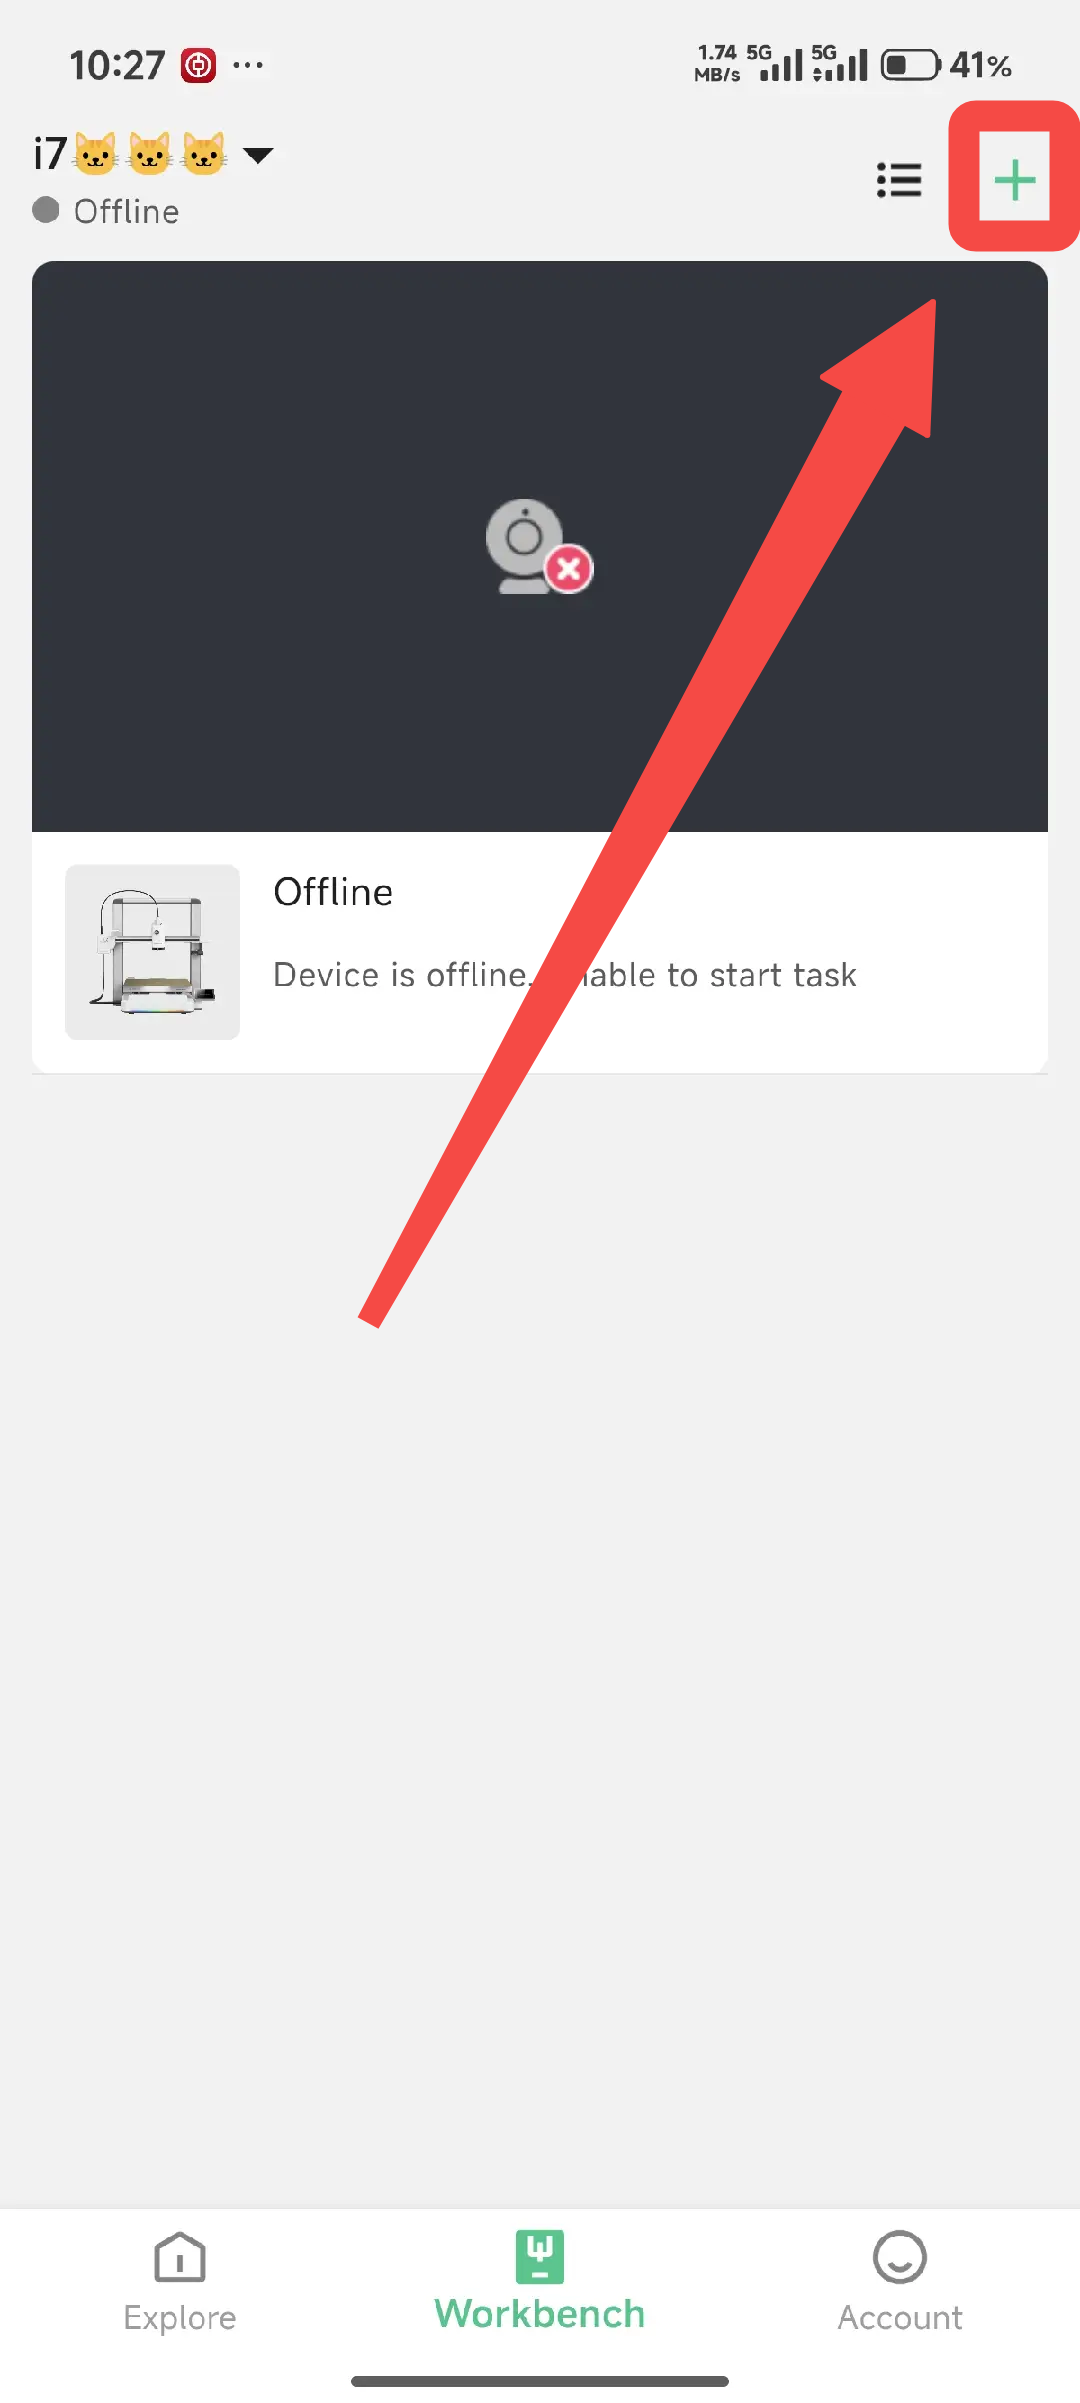
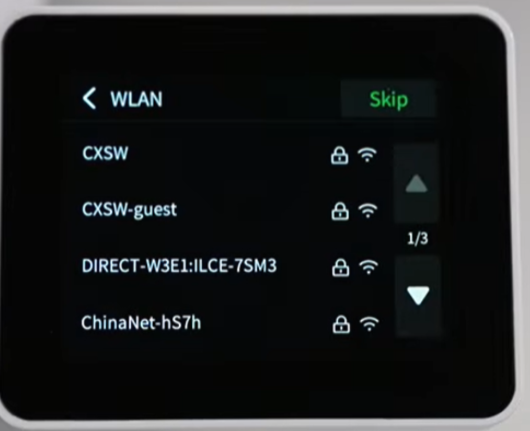
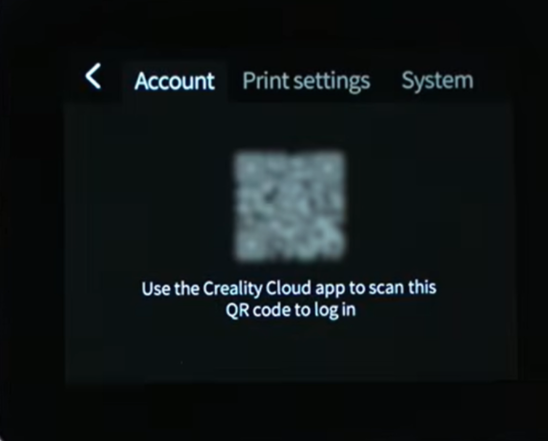
Connect the printer to Wi-Fi. Download and log in to the latest version of the Creality Cloud app on your phone. Tap the “+” icon in the upper-right corner of the Workbench page to enter the scanning page, then scan the QR code on the printer to bind it to your Creality Cloud account. After binding, proceed to the startup self-check.
 |
 |
 |
 |
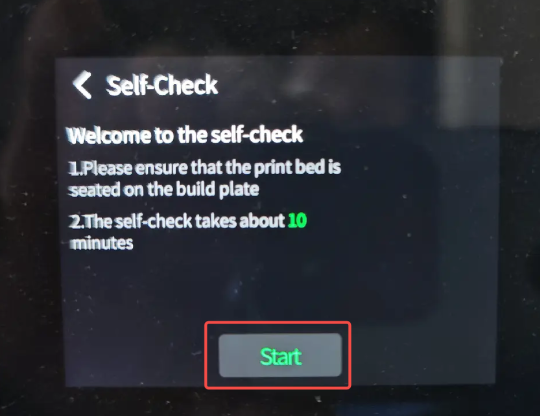
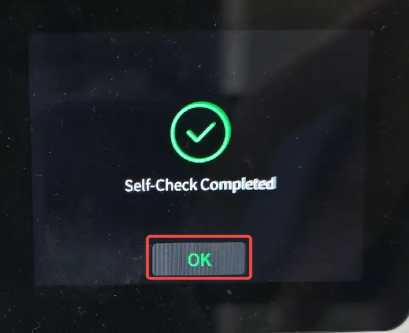
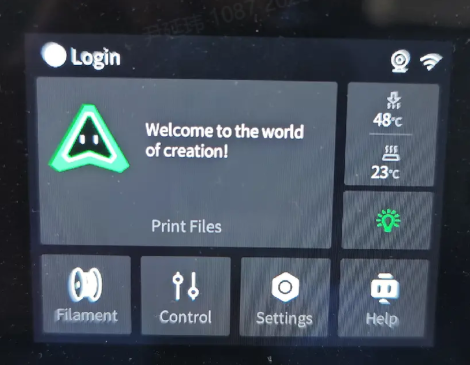
Press “Start Check,” wait for the completion notification or sound, and then click “OK” to access the home screen.
 |
 |
 |