¶ Video guide
¶ Preparations Before Printing
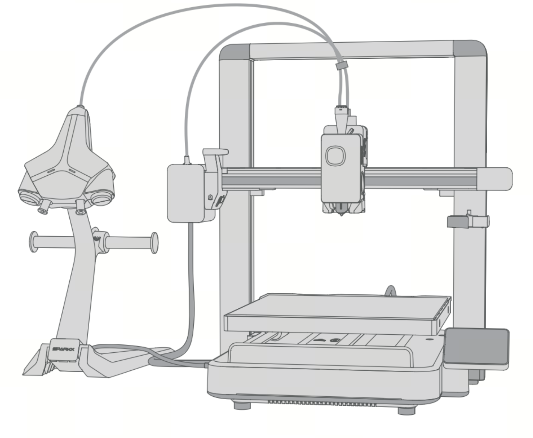
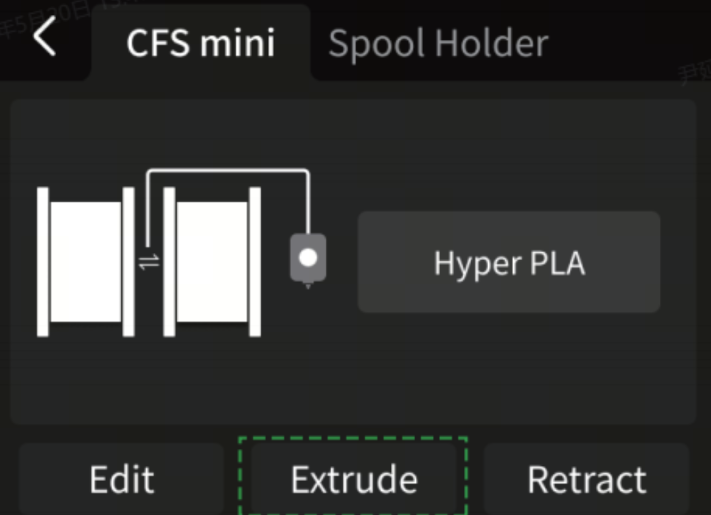
¶ Install the CFS mini
Place the CFS mini on the left side of the i7, and correctly connect the PTFE tube and the 6-pin cable of the CFS mini
¶ Filament Preparation
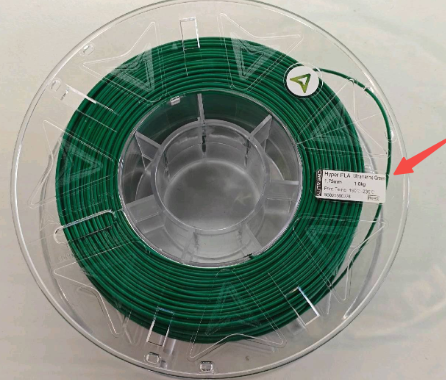
Prepare the filament in advance.
¶ Load Filament
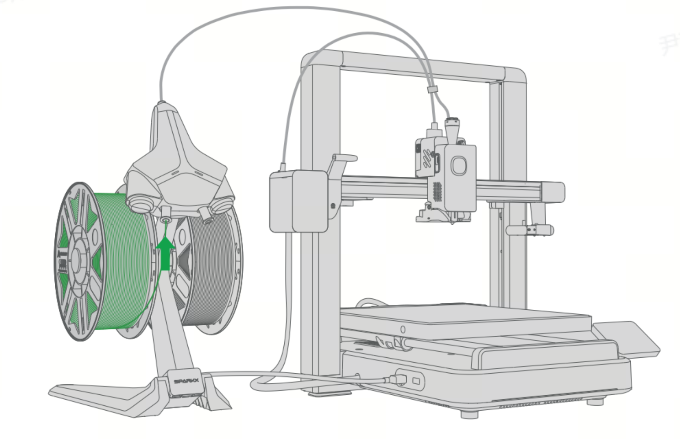
Mount the consumables on one side of the material rack of CFS mini. Insert the consumables into the feed inlet, and the automatic pre - feeding will start. At the same time, the consumables that need to be refilled can be placed on the other side of the material rack.
Note: Make sure to place the same type of consumables, for example, PLA + PLA, not PLA + PETG!
¶ Edit Filament
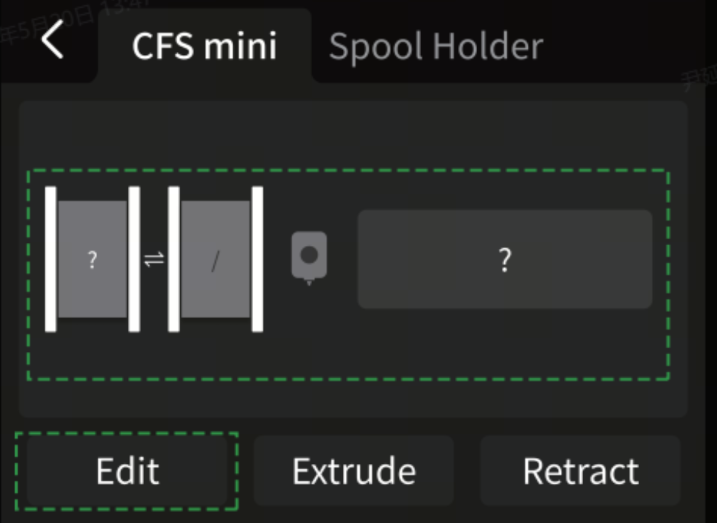
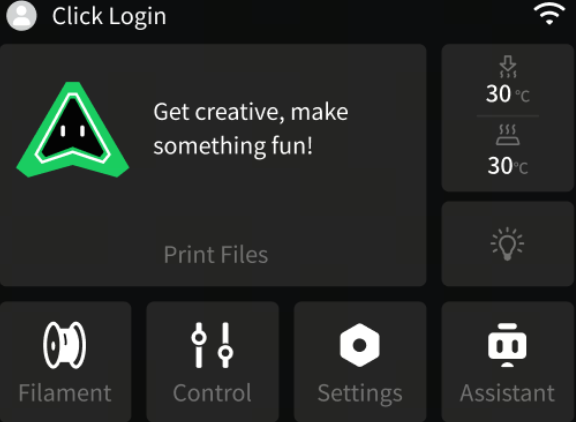
Tap Filament on the main screen to enter the filament editing interface.
a. Select the filament, then tap Edit.
b. Tap to set the filament Brand-Color-Type-Name.
 |
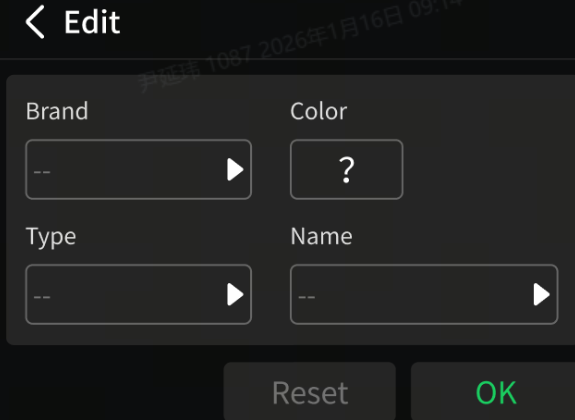 |
c. After setting the filament information, tap OK.
d. The interface will display the selected color, indicating that the filament parameters have been set.
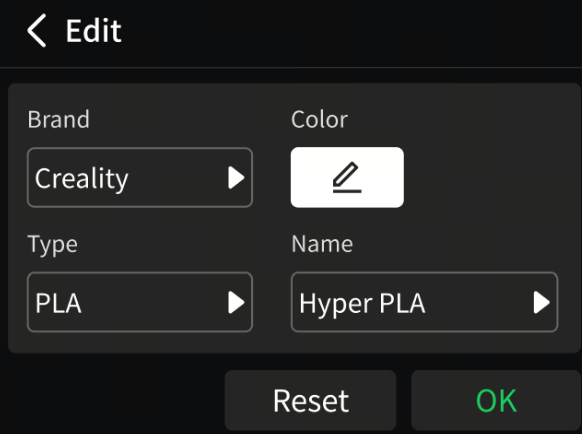 |
 |
Note: When setting the consumables for CFS mini, only the information of one type of consumable can be set. Ensure that the consumables on the CFS mini material rack are of the same type.
¶ Start Printing
¶ Start printing using the printer model file:
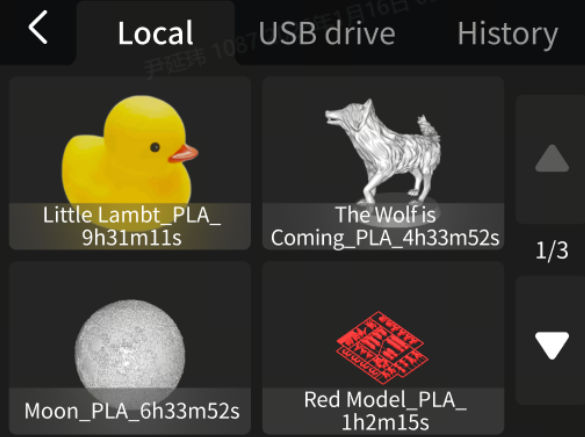
Tap Print File and select the model you want to print
 |
 |
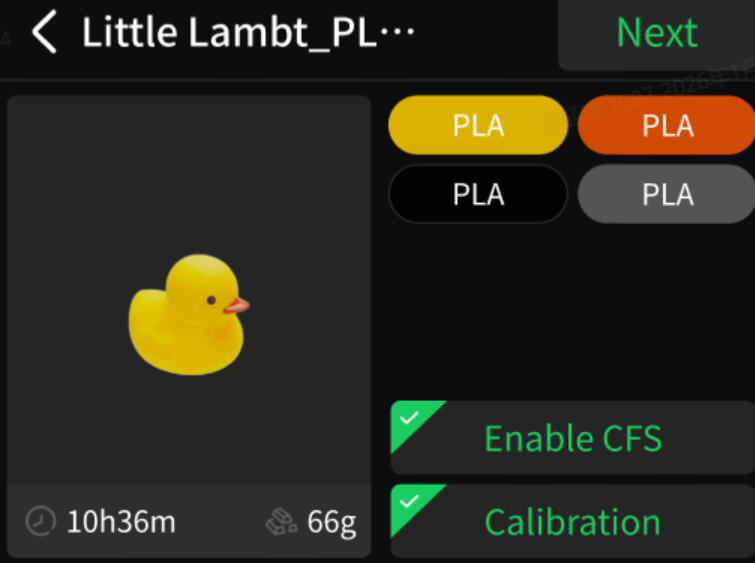
Check the functions of "Enable CFS" and "Print Calibration", click "Print", wait until the printing is completed, and then remove the model after the printed version has cooled down.
 |
 |
¶ How to Refill Filament
If the current consumable runs out during the printing process, the current printing task will be automatically paused.
¶ Automatic Refill
If the consumables on one side of the CFS mini are used up, it will automatically switch to the consumables on the other side to continue printing without the need for manual refilling.After the automatic refilling, you can place the same type of consumables on the other side again and insert them into the corresponding feed inlet to complete continuous automatic refilling.
¶ Manual Refill
When the consumables loaded on both sides of the CFS mini are exhausted, the system will issue a prompt indicating that the consumables are used up. The user needs to manually load the consumables. You can refer to the steps in "Pre - printing Preparation" and then click "Continue Printing".
¶ How to Change Filament
¶ Retract the Current Filament
Enter the Consumable Management interface, select the consumable bin that needs to be replaced, and click "Eject Material". After the material ejection is completed, manually pull out the old consumable roll from the CFS mini.
¶ Load New Filament
You can refer to the steps in "Pre - printing Preparation" to load the replaced consumables, and then you can continue printing.