The Extruder is a key component responsible for feeding filament into the hotend, where it is melted and extruded onto the print bed to form the model. It mainly consists of the Extruder Gear Assembly, idler wheel, Toolhead Manifold and Filament Sensor, and the Toolhead Filament Cutter.
After long-term use, filament debris, dust, and other contaminants may accumulate inside the extruder, which can affect smooth filament extrusion during printing, leading to print quality issues, abnormal noise, or even machine failure. Therefore, we recommend performing regular cleaning and maintenance of the SPARKX i7 extruder.
¶ Required Tools
H2.0 hex wrench
Brush
Air blower
Tweezers
¶ Extruder Cleaning and Maintenance Procedure
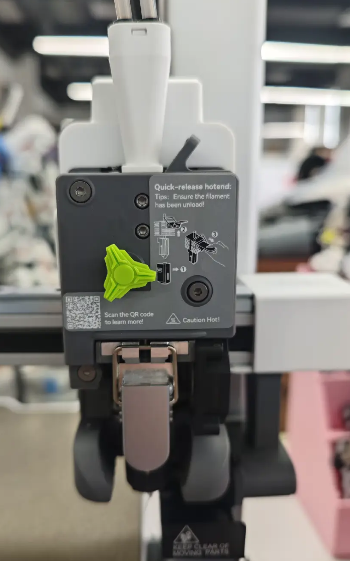
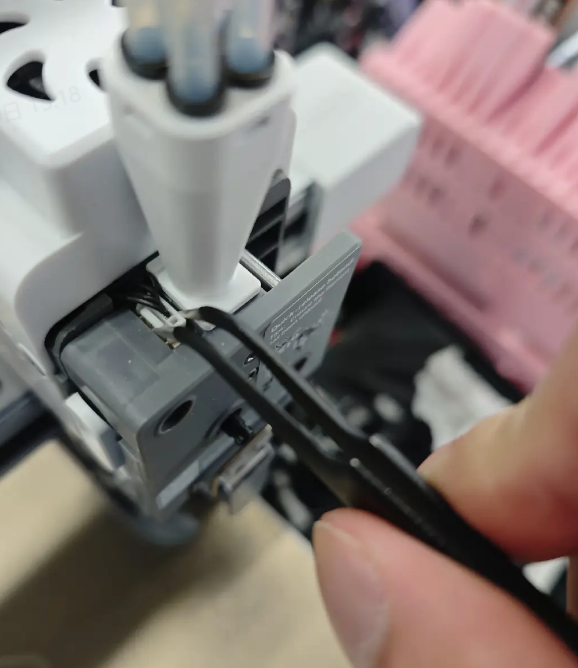
Remove the PTFE Tube above the toolhead
¶ Remove the Extruder Assembly
Remove the extruder front cover, disconnect the Filament Sensor connector, and use an H2.0 hex wrench to remove the three screws to detach the extruder assembly.
Make sure to keep the removed screws and the idler latch properly stored.
 |
 |
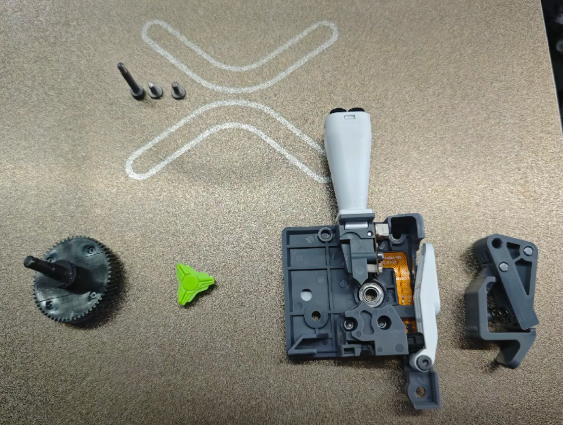 |
¶ Clean the Extruder Gear and Idler Wheel
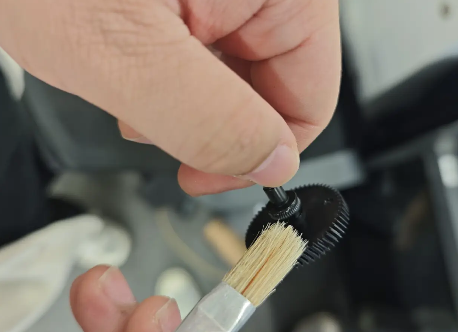
Remove the rotating ornament, then pull the Extruder Gear out from the rear. Use a brush and an air blower to remove debris from the extruder gear and idler wheel.
Use the brush and air blower to clean the filament path components and the interior of the extruder assembly.
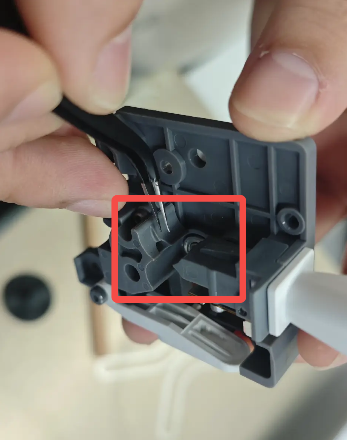
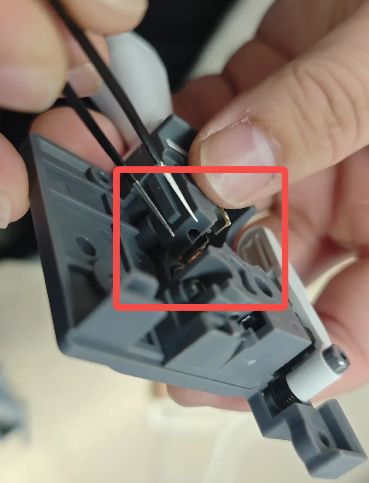
¶ Check the feeding assembly for debris.
Inspect the filament path inside the feeding assembly. If any debris is present, remove it using tweezers.
 |
 |
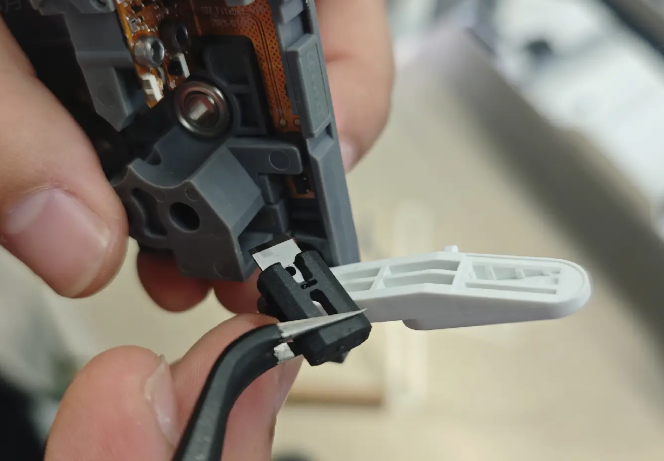
¶ Inspect the Cutter
Lift the cutter upward to unlock the slider, release the Cutter Arm, and press the cutter to check whether its movement and rebound are normal.
Use tweezers to remove the cutter and inspect the blade for damage or chipping.
¶ Reinstall the Extruder Assembly