¶ Load Filament and Configure Filament Information for CFS lite
Before using CFS lite for multi-color printing, you need to load the corresponding Filament and configure the filament information.
¶ Load Filament
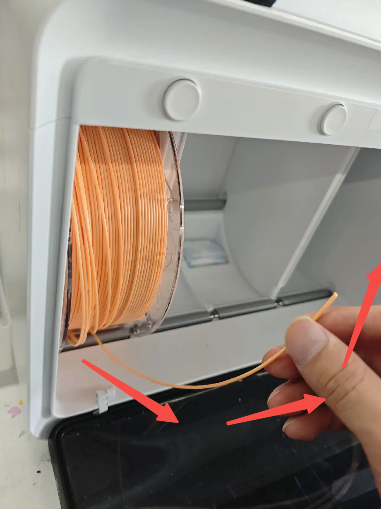
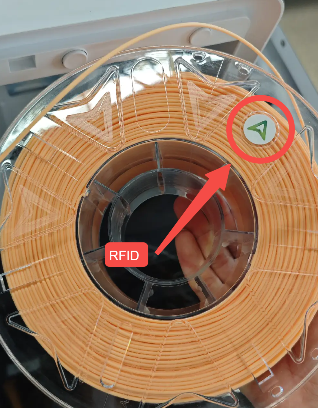
Place the filament spool vertically into the corresponding slot of the CFS lite, paying attention to the filament end direction
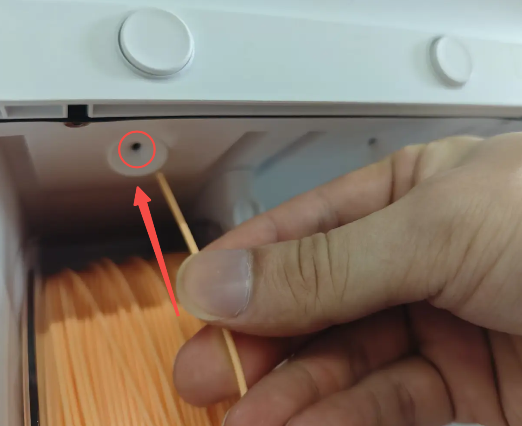
Insert the filament end into the Filament Inlet of the CFS lite
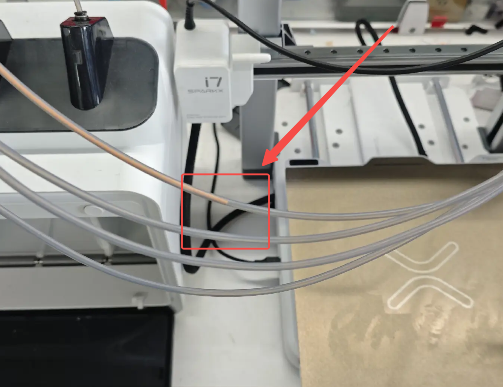
Once detected, the Feeding Unit will automatically perform pre-loading and feed the filament to the middle of the PTFE tube
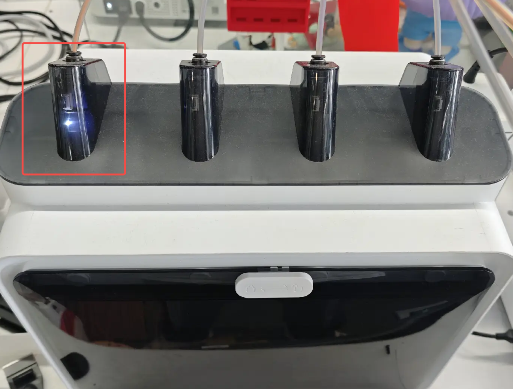
When the indicator light of the corresponding slot turns solid white, the filament is successfully loaded
 |
 |
 |
 |
¶ Edit Filament Information
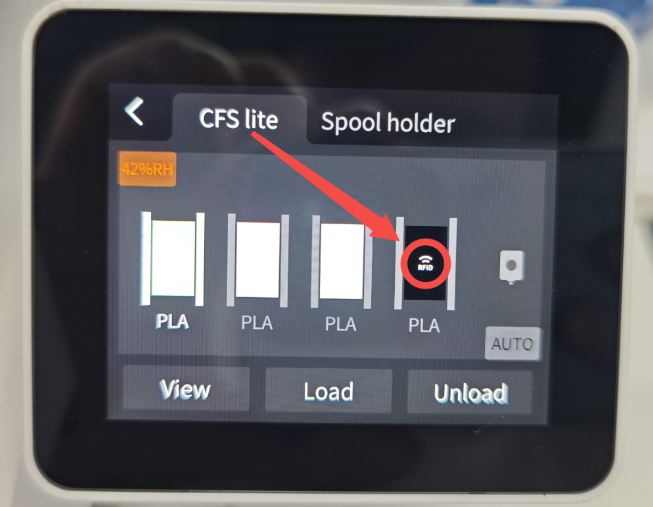
¶ Using Creality RFID Filament
If you are using Creality RFID Filament, the CFS lite will automatically read the RFID chip on the spool and configure the filament information. No additional operation is required.
¶ Using Creality Non-RFID Filament & Third-Party Filament
If you are using non-RFID filament or third-party filament, you need to manually configure the filament information:
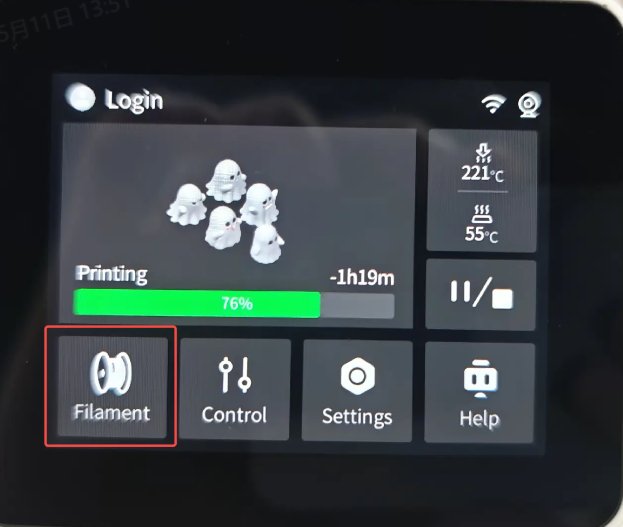
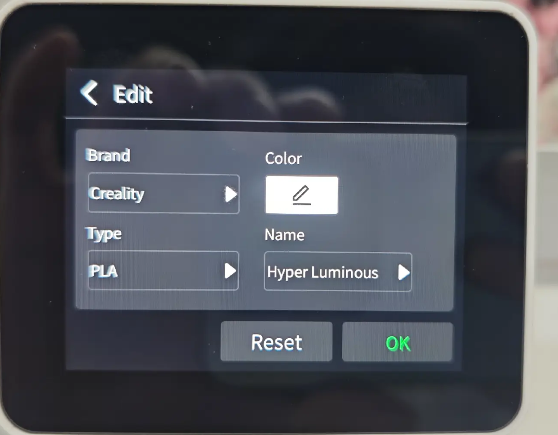
On the printer home screen, tap Filament to enter the editing page
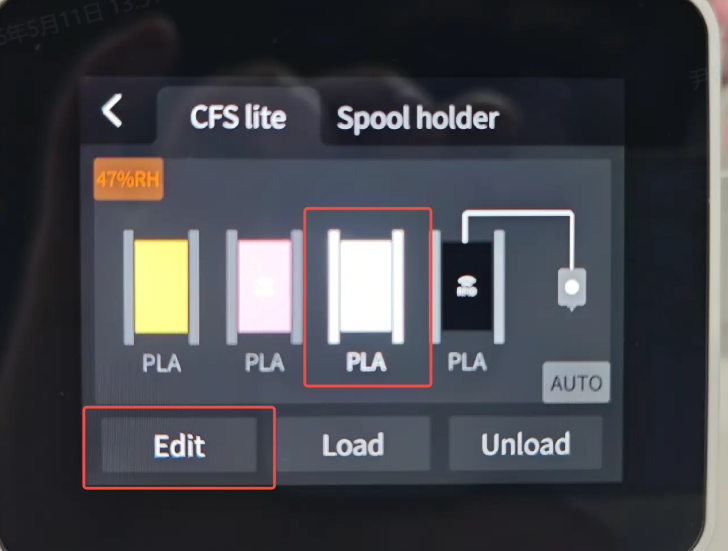
Select the slot you want to edit and tap Edit
Set the filament Brand, Color, Type, and Name
⚠️ Make sure the actual filament matches the selected material settings
 |
 |
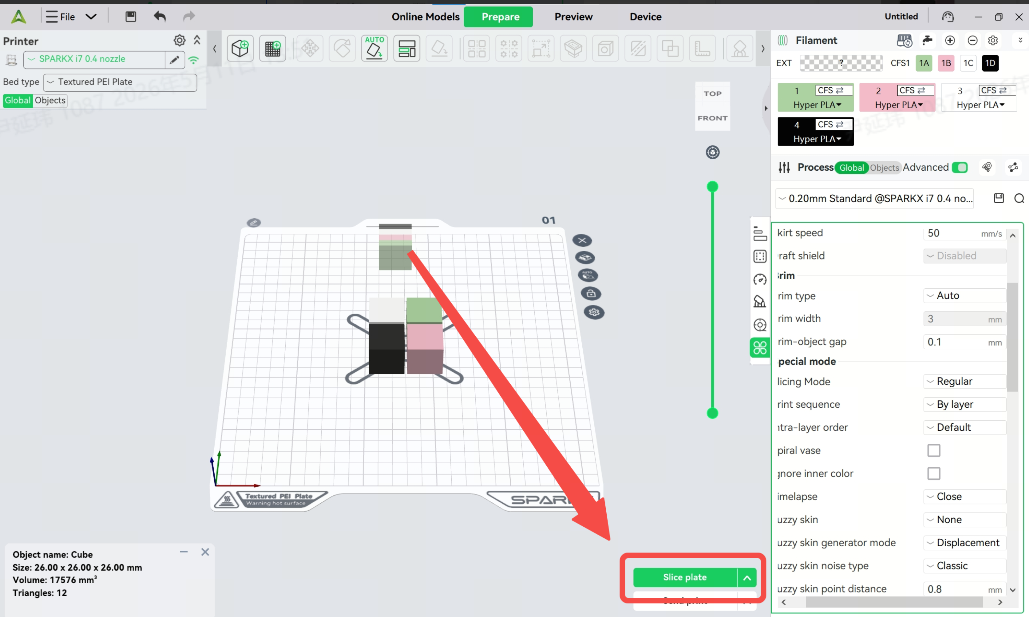
¶ Slice and Send Print Jobs via Creality Print
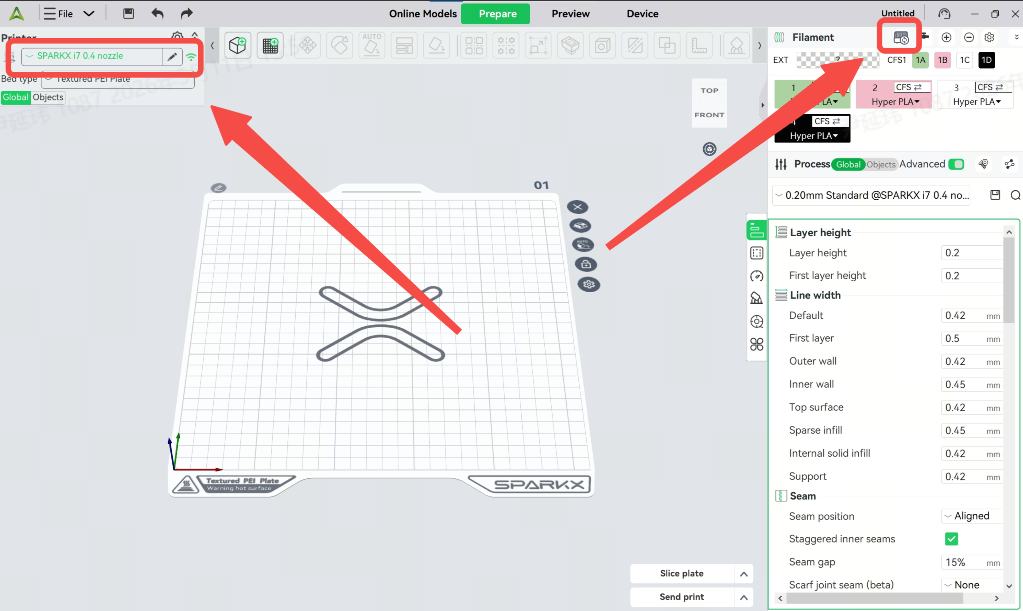
Open the Creality Print slicing software and select the correct printer model
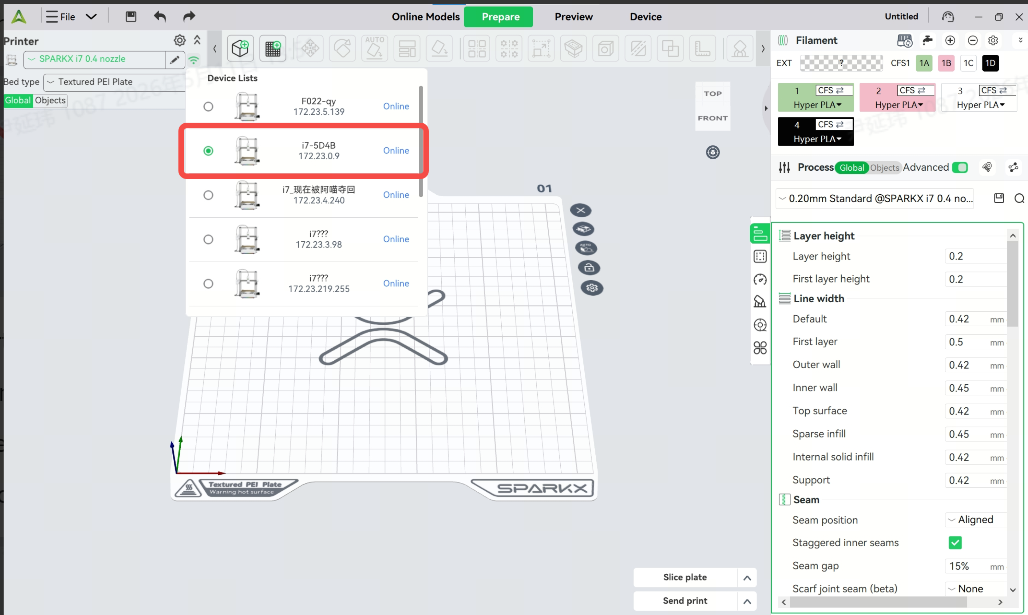
Click “Auto Mapping” in the top-right corner and select your printer
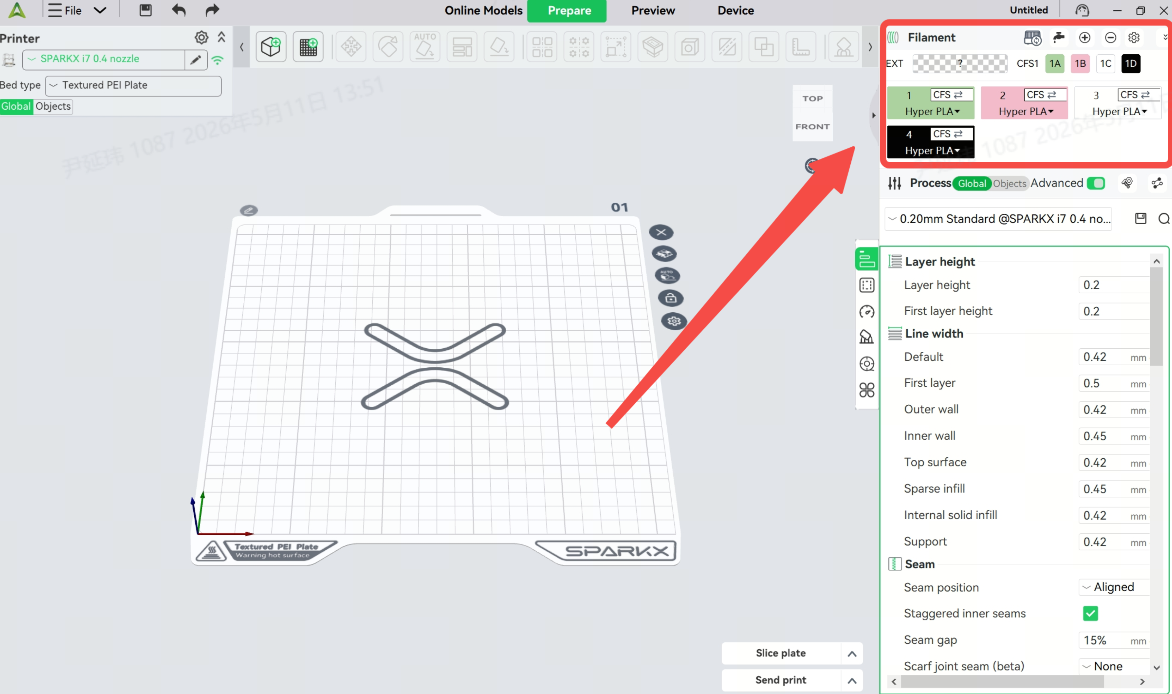
The software will automatically map the filament settings from the printer
If a slot shows “?”, it means the filament information has not been configured
 |
 |
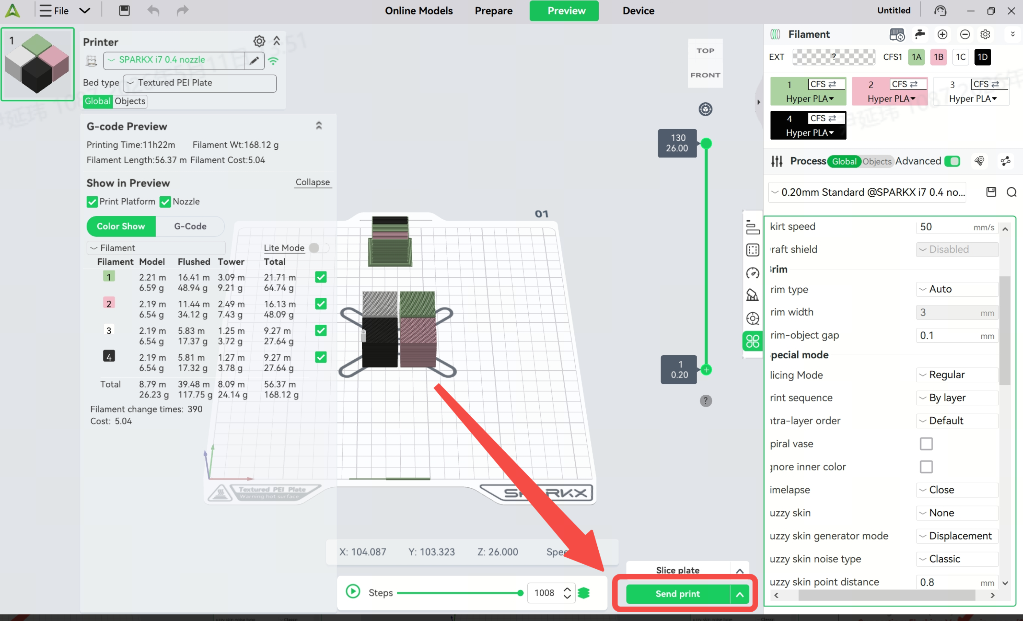
Import the model, click Slice, and start the print job
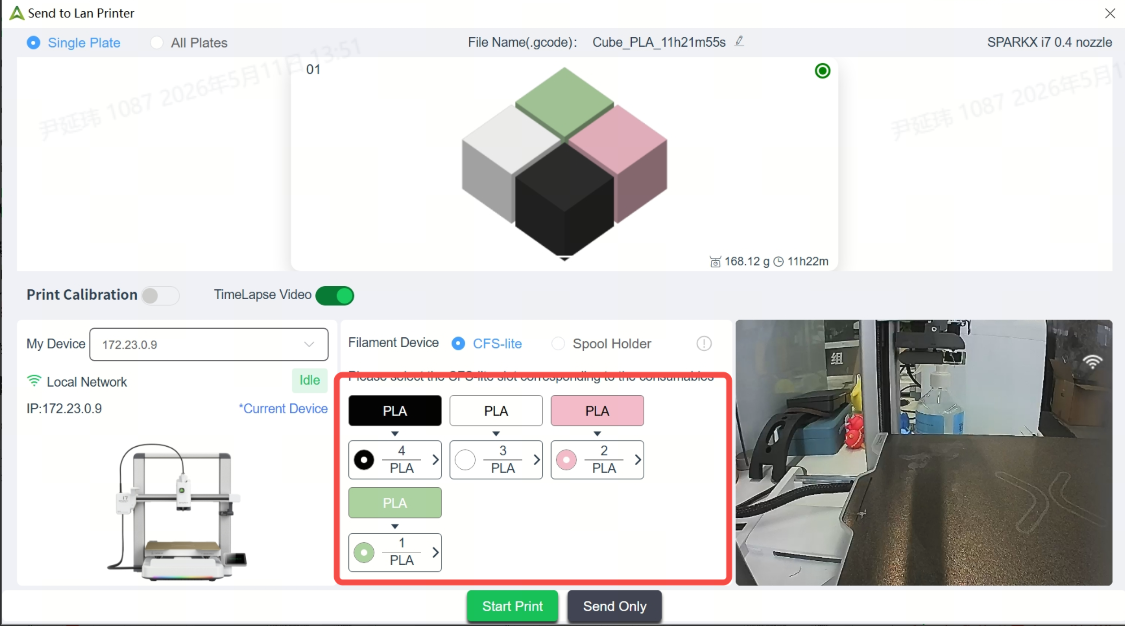
The printer will automatically select the matching or closest color filament
Before printing, verify that each color is assigned to the correct slot; you can modify it if needed
After confirmation, click Start Print
 |
 |
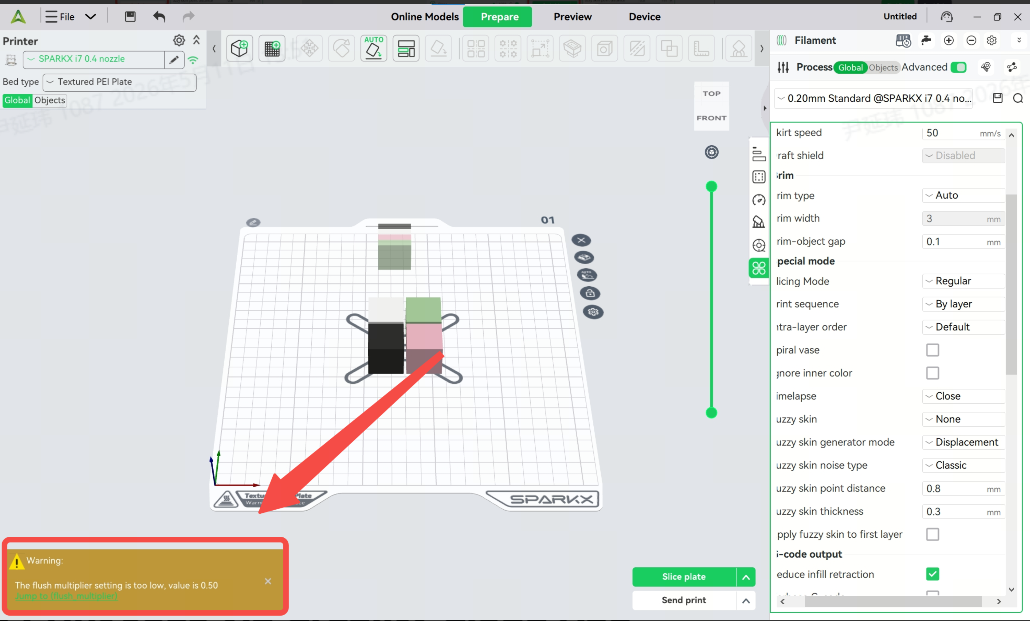
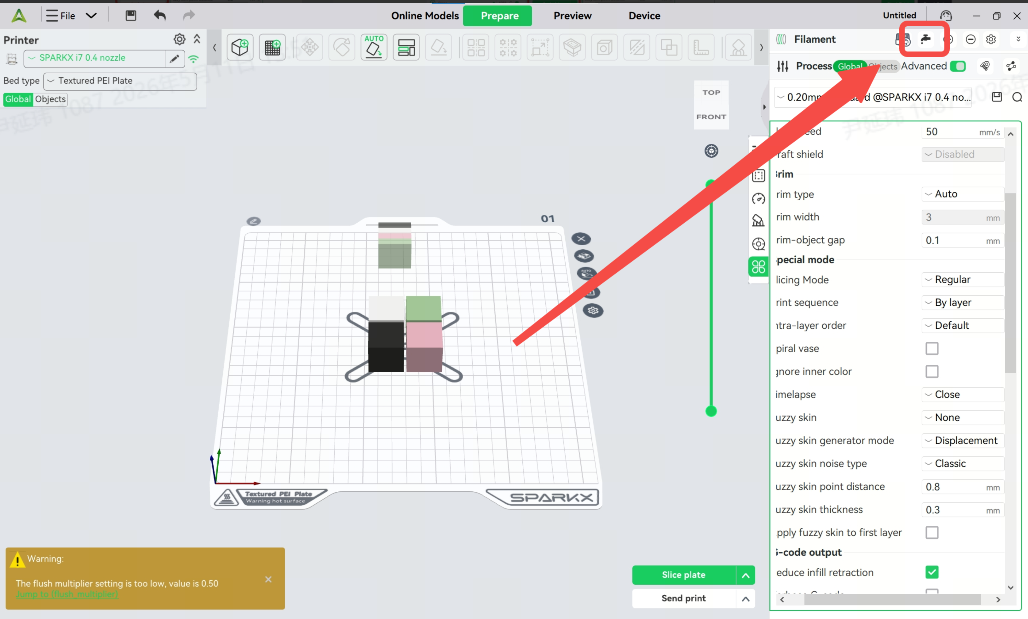
⚠️ Note: When using model configuration files downloaded from third-party model platforms, make sure the purge volume settings are appropriate.
Incorrect purge settings may lead to color mixing or excessive waste.
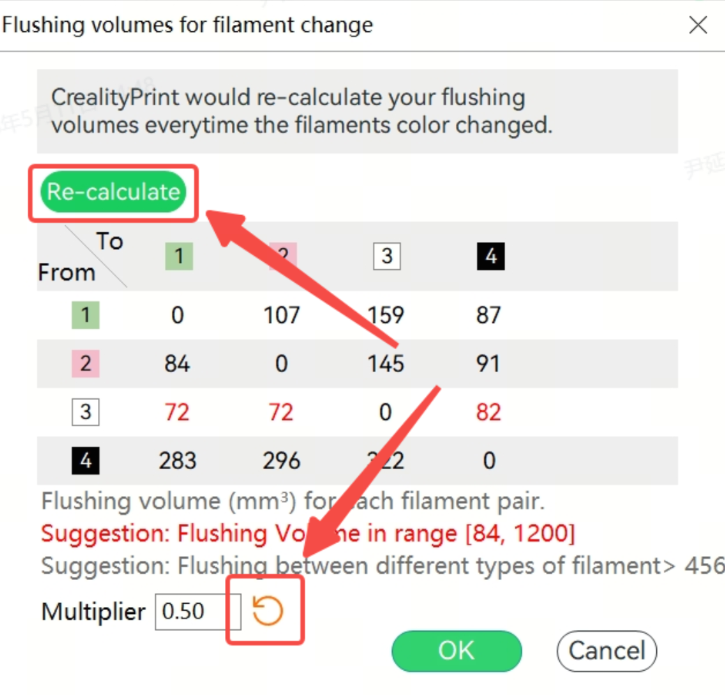
If a warning about low purge values appears: Click the prompt to jump to the settings page;Select Recalculate and Reset Purge Multiplier,restore the purge values to the default settings
 |
 |
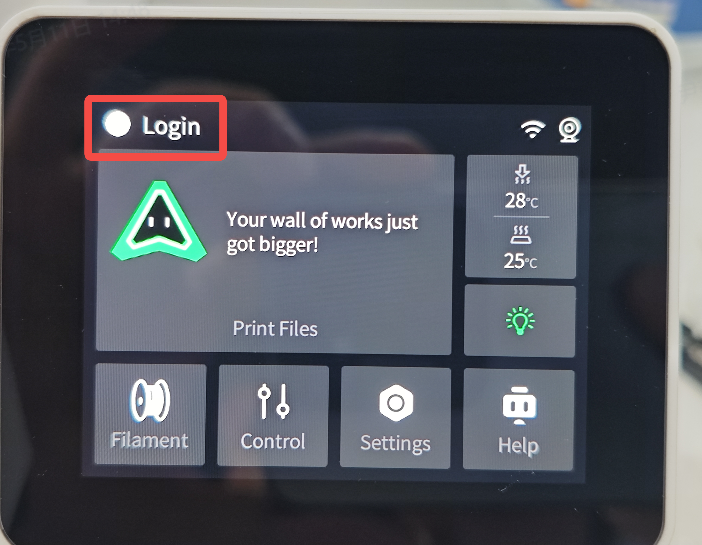
¶ Send Print Jobs via Creality Cloud App
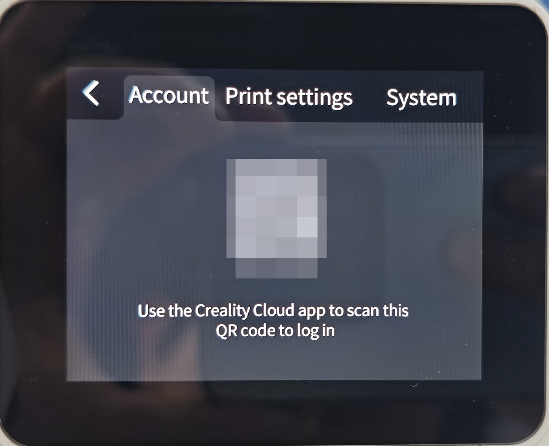
On the printer home screen, tap Login and scan the QR code to log in to your Creality Cloud account
Bind your account to the printer
 |
 |
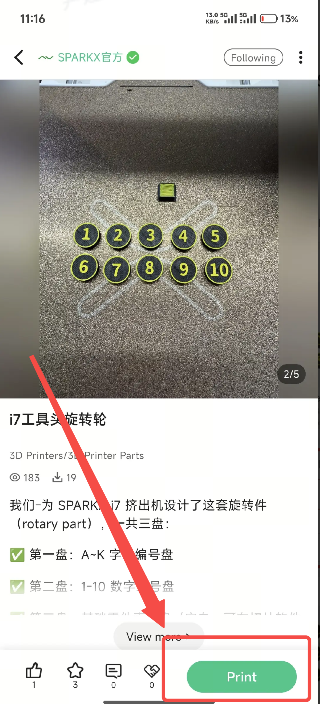
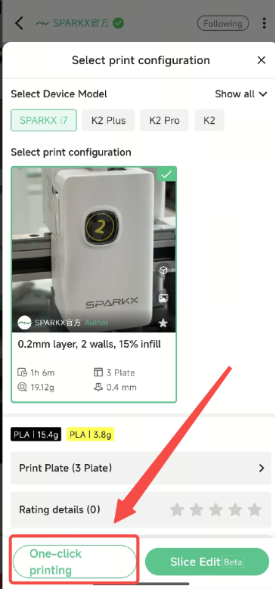
In the Creality Cloud App, select the model you want to print and tap Print → One-click Print
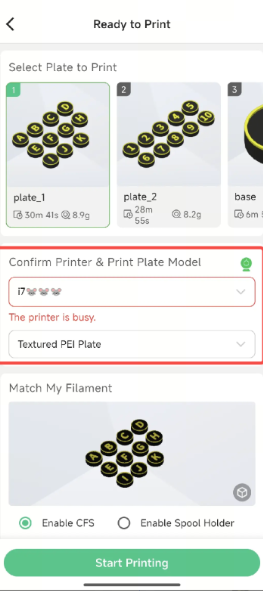
Select the target printer and scroll to the filament section
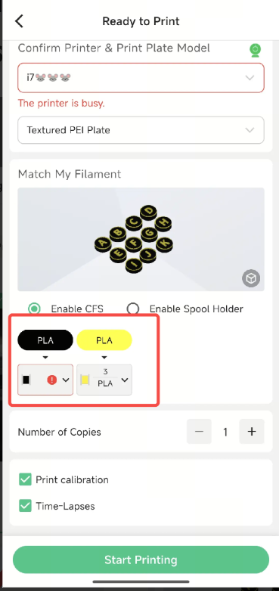
The app will automatically assign matching or similar filament colors; you can manually adjust the slots
Confirm the filament selection and tap Start Print
 |
 |
 |
 |
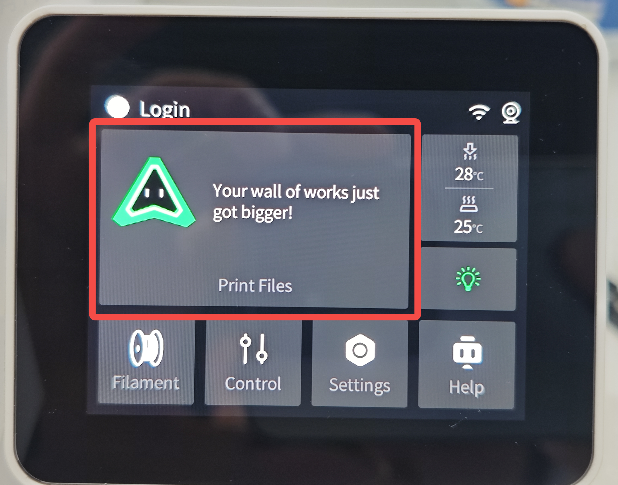
¶ Print Local Models & USB Drive Files
On the printer home screen, tap Print Files to view locally stored models
If a USB drive with G-code files is inserted, select USB at the top to browse
 |
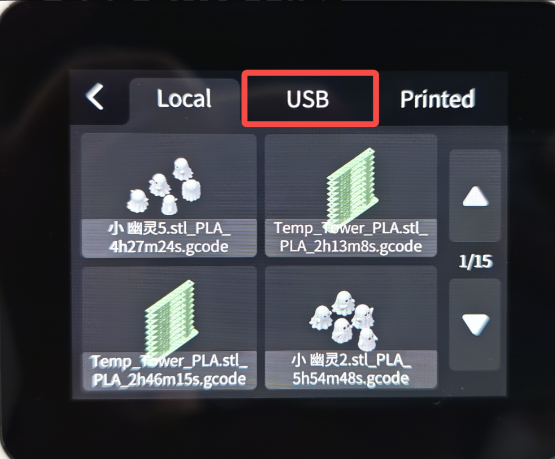 |
Select the target model to enter the print setup page
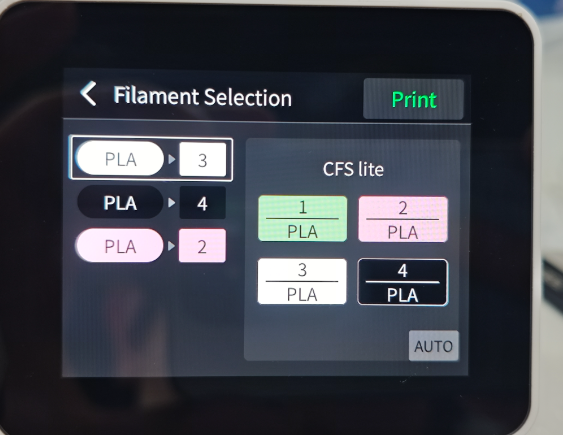
Enable CFS and tap Next
Choose the filament you want to use
The printer will automatically select matching or similar filament, but you can manually adjust it
Confirm the filament selection and tap Start Print
 |
 |