¶ Take out the USB flash drive from the printer box you received, connect it to the computer, find the installation package (windows and Mac OS), and install it.
¶ 4.1 Left-click the selected model file from the folder and drag it to the Halot Box software to import it
Halot Box software can import model file formats: .stl; .obj; .3mf; .ply.
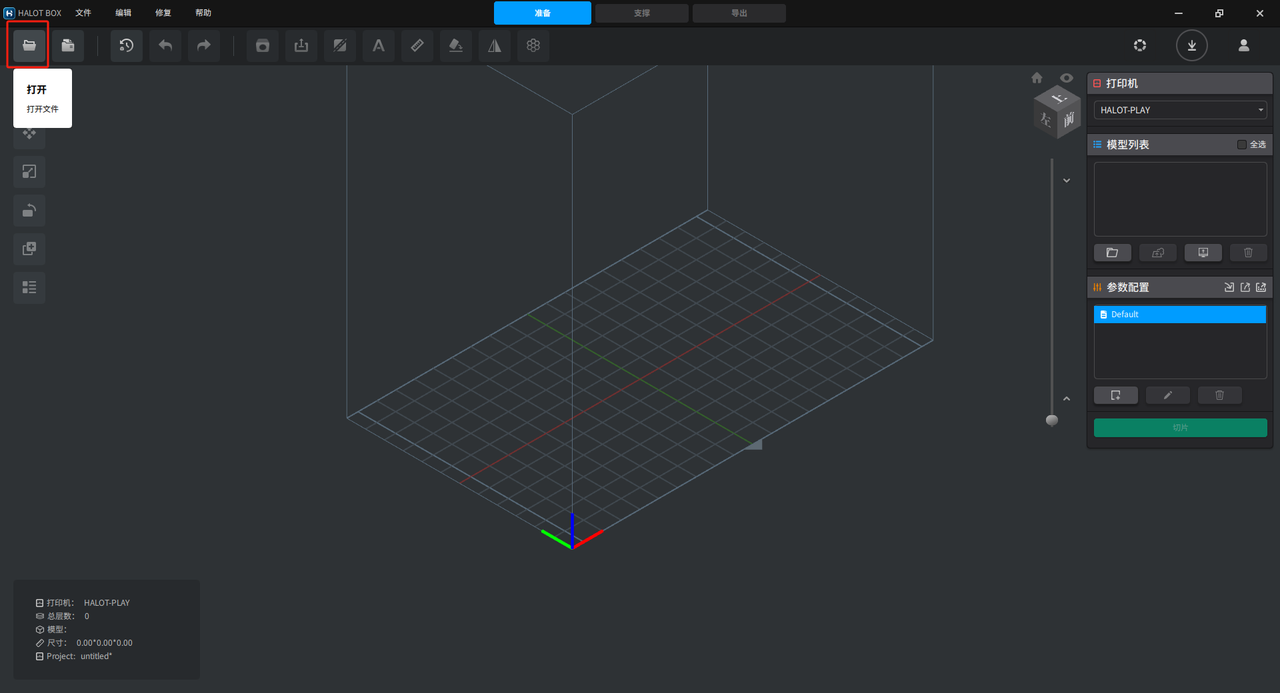
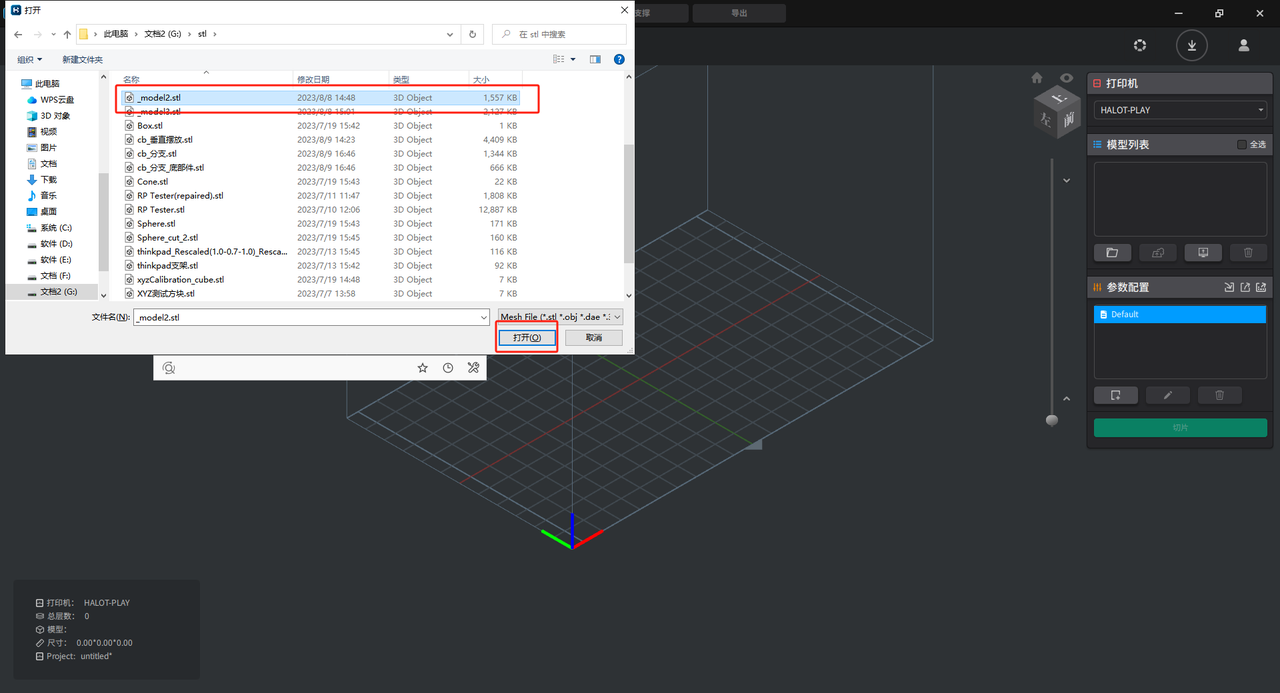
¶ 4.2 Click the ‘Open File’ icon in the software, select the file location, select the file to be imported, and click ‘Open’ to import.
If you need to import multiple selections, you can select files by box, hold down alt+left-click the files, and shift to import multiple selection files in the area.
¶ 5. Print exposure parameter selection and settings
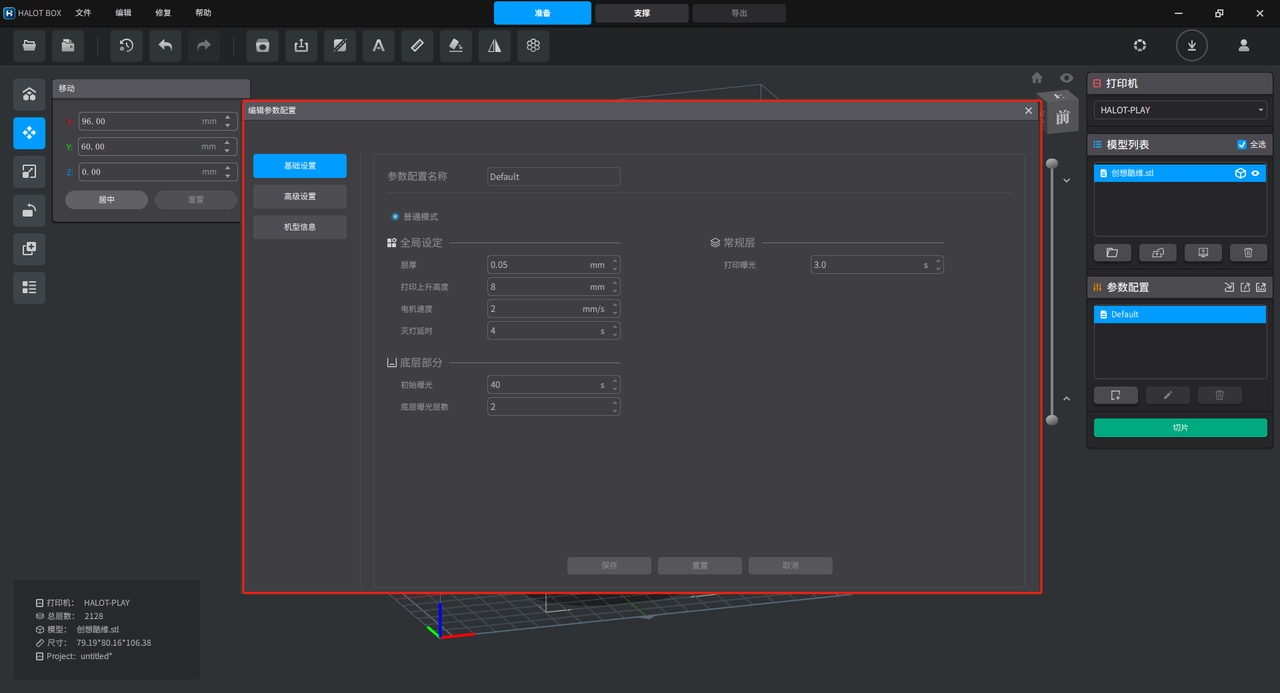
The parameter configuration box on the right side of the software interface contains the printing exposure parameters. The exposure parameters of Creality 3D photosensitive resin consumables have been pre-installed for users to choose.
Double-click the parameter name to preview the content of the parameter. (Note: The pre-installed configuration cannot be modified. If you need to modify it, please add the configuration and modify it)
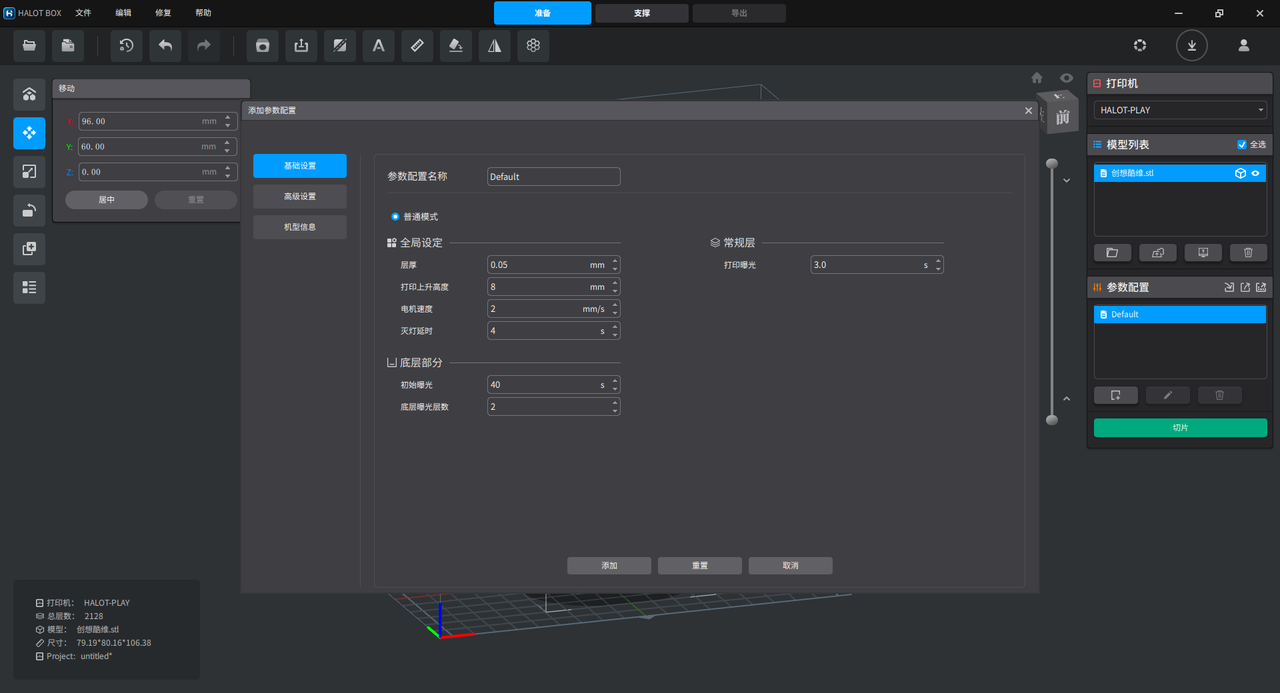
Click the ‘+’ below the parameter configuration box to add a new configuration, and the parameter setting box will pop up.
Users can configure printing parameters according to the resin they purchased and selected. (If you choose Creality 3D photosensitive resin consumables, you can directly use the pre-installed exposure parameter configuration for printing)
The function buttons below the parameter configuration box are from left to right: add; modify; delete.
¶ 6. Introduction to each setting item of exposure parameters
Layer thickness: Layer the model into slices with a set thickness in the Z-axis direction. Theoretically, the smaller the layer thickness, the better the details of the printed model. The default recommended layer thickness is 0.05mm.
Printing lifting height: During the printing process, after printing a layer, the printing platform is raised by the set distance. Used to separate the model from the bottom of the trough so that the resin can re-cover the entire trough space.
Motor speed: After printing a layer, the printing platform will be raised and lowered once. The set value is the motor running speed during raising and lowering.
Light-off delay: After printing a layer, the printing platform will rise and fall once. After falling, you need to wait a few seconds for the resin flow to stop. The set value is the waiting time.
Initial exposure: During the printing process, the first few layers are the bottom layer, and the setting value is to set the exposure time for the layers of the bottom layer separately.
Number of bottom exposure layers: The setting value is to set the initial number of layers in this print as the bottom layer.
Print exposure: During the printing process, all layers except the bottom part are called regular layers. This setting value is to set the exposure time of each layer of the regular layer.
Model library: After logging into Creality Cloud, you can download models from the model library and import them into the software for slicing and printing.
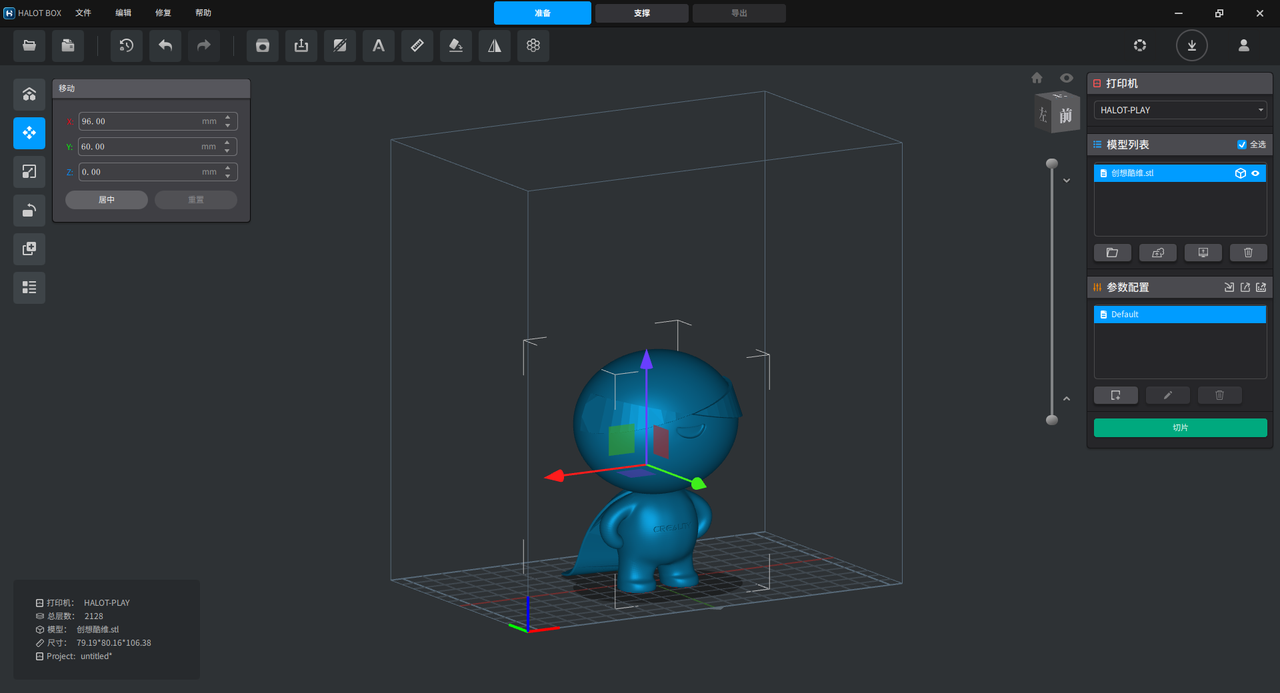
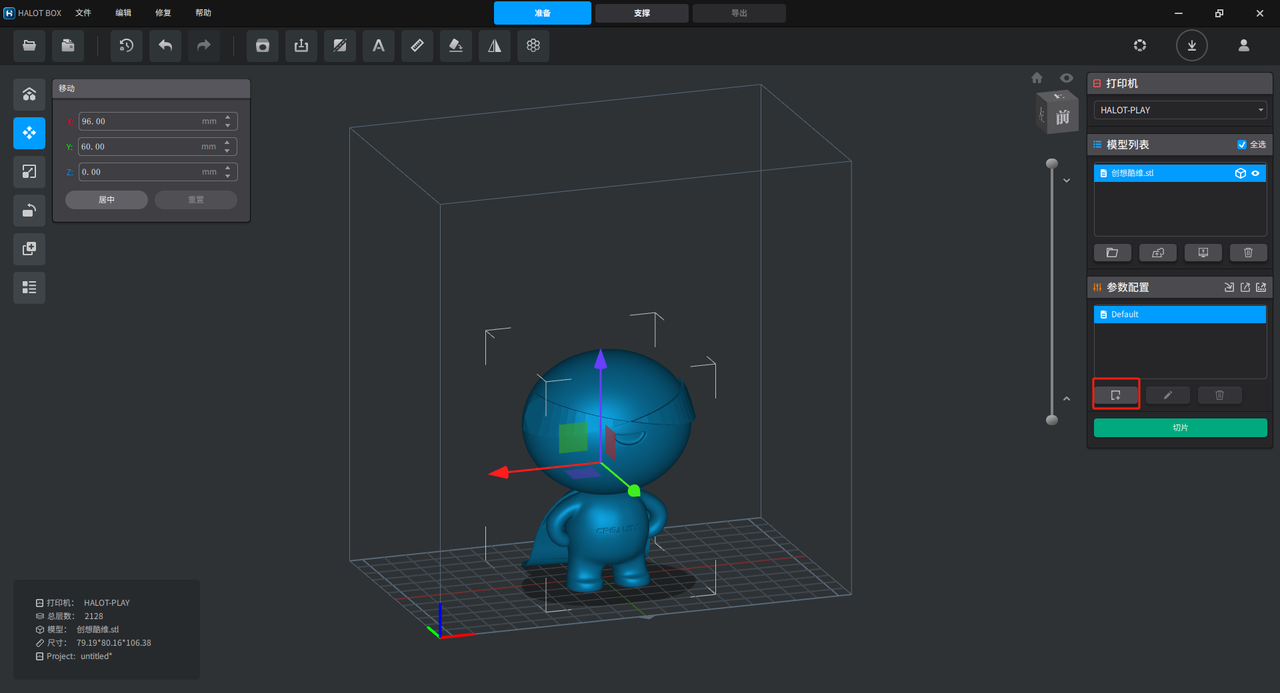
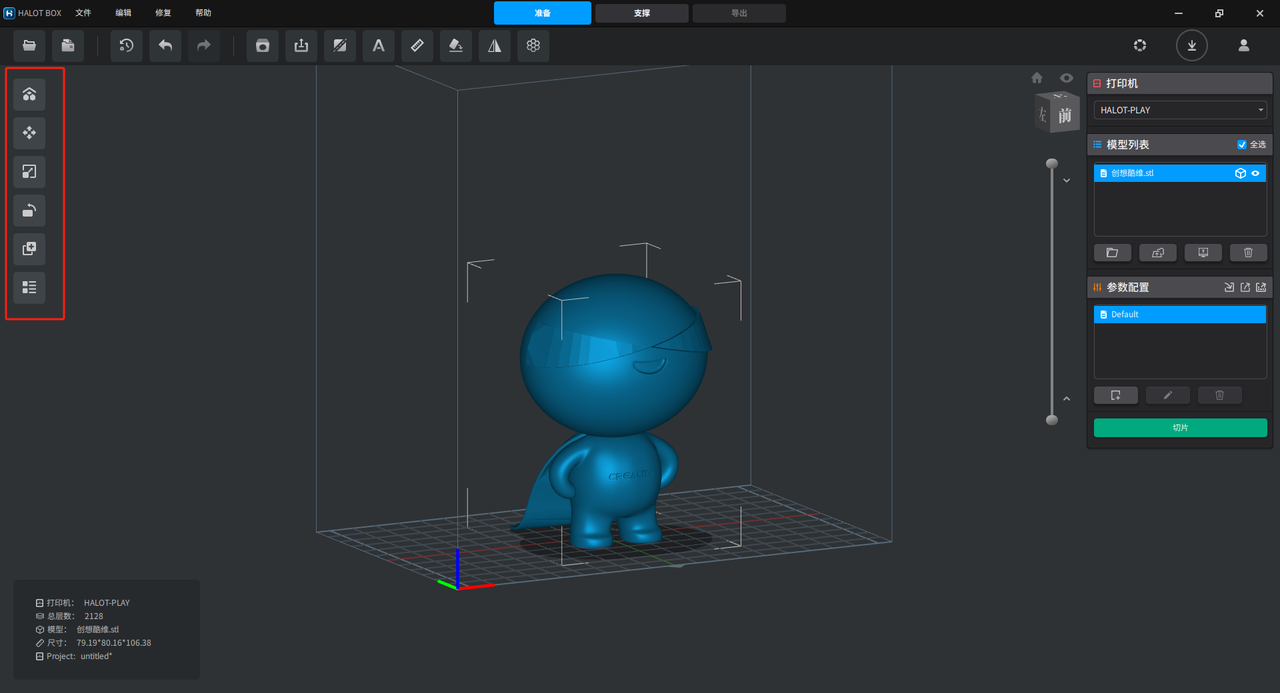
Translation: Control the position of the model within the platform, and move the model along the X, Y, and Z axes.
Rotation: Control the placement angle of the model in the platform, and rotate the model along the X, Y, and Z axes.
Scaling: Control the size of the model. You can scale the model as a whole, or scale the model in one or two directions along the X, Y, and Z axes.
Clone: Clone a selected model
Automatic layout: Automatically layout everything in the scene and place the models on the platform at a certain distance.
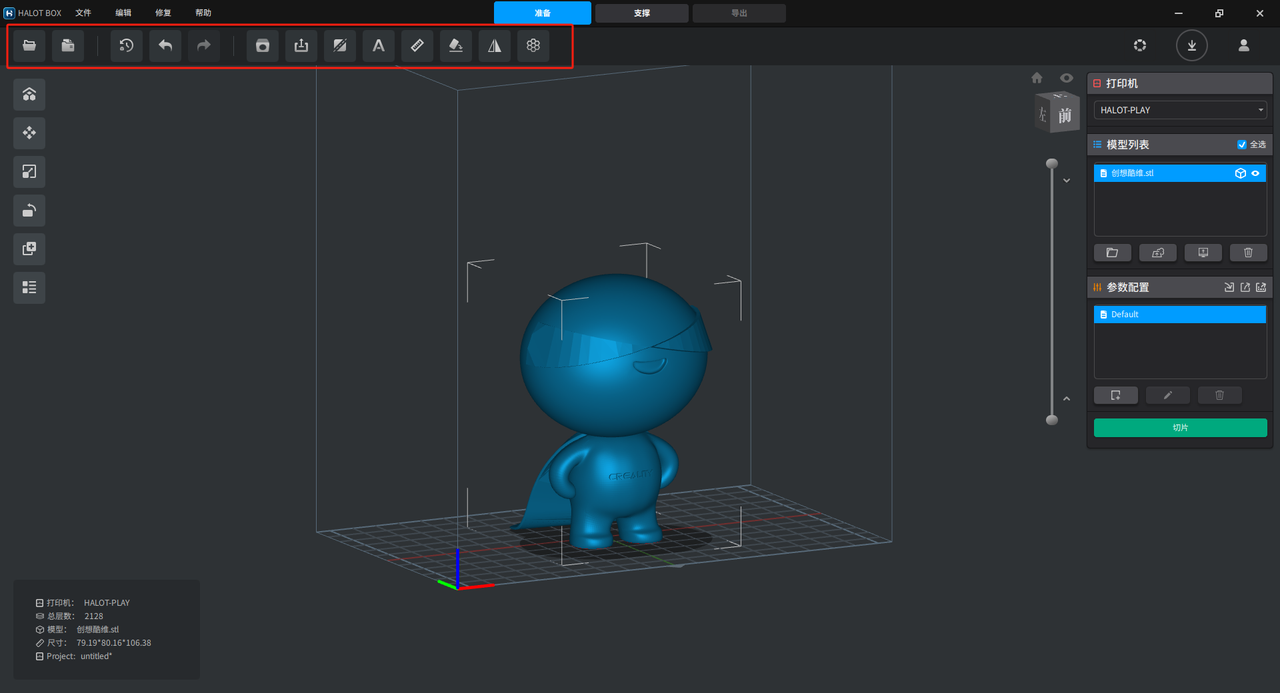
Open the file: Select the model file imported to the computer and import it into the software.
Open the project: select the project file (.cx3d) exported by Halot Box and export the software
3. Historical models: Displays models that have been previously imported into Halot Box, and can be re-selected for import.
4. Undo: Undo the previous operation
5. Redo: Redo the operation undone in the previous step
6. Drilling: Drill holes into the model
7. Hollowing: Turn a solid model into a model with a hollow interior according to the set wall thickness.
8. Cutting: Split the model according to X, Y, Z or custom sections. After splitting, you will get a model with two sides of the section.
9. Engraving: Customize text and add text content to the model, which can be convex or recessed
10. Measurement: Measure the straight-line distance between two points on the model
11. Lay flat: Select a face and rotate the model until the selected face touches the bottom
12. Mirror: Mirror the model in the X, Y, and Z directions to obtain a model with opposite characteristics.
13. Honeycomb structure: Adding a honeycomb structure to the model can turn the solid area into a honeycomb, reducing weight and resin consumption; it can also turn the hollow area into a honeycomb, increasing structural stability.
14. More: Subsequent functions will be added after development, so stay tuned.
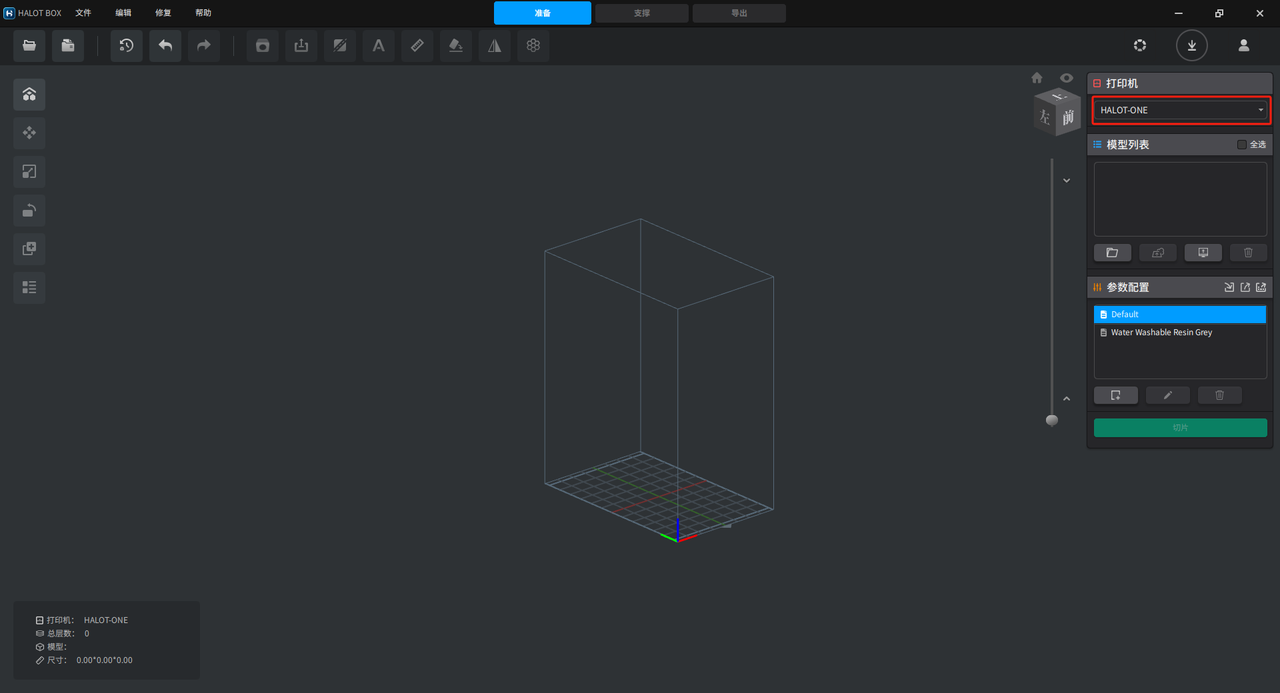
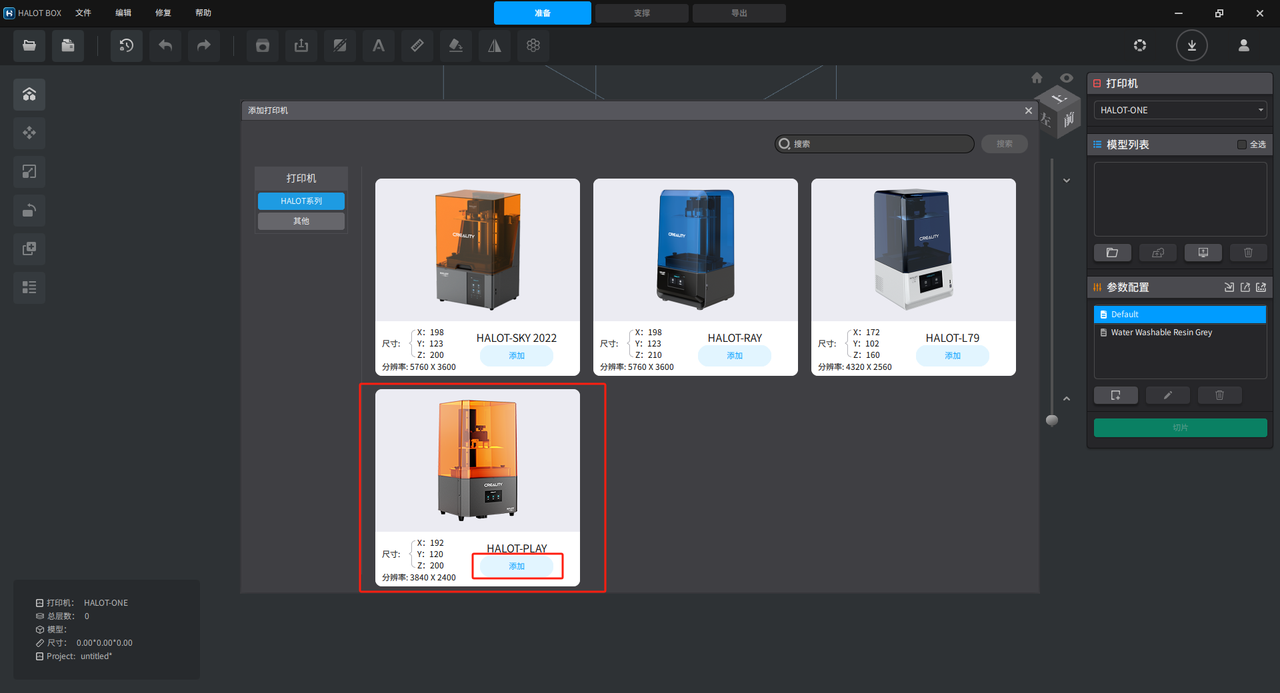
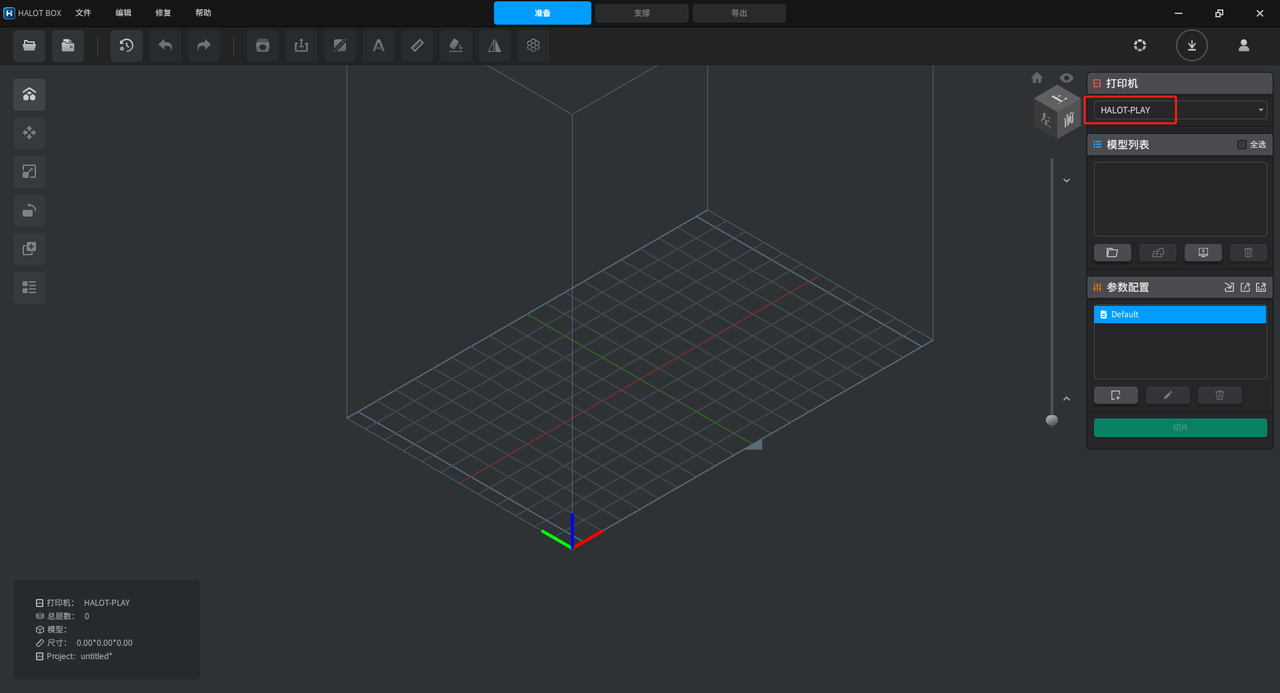
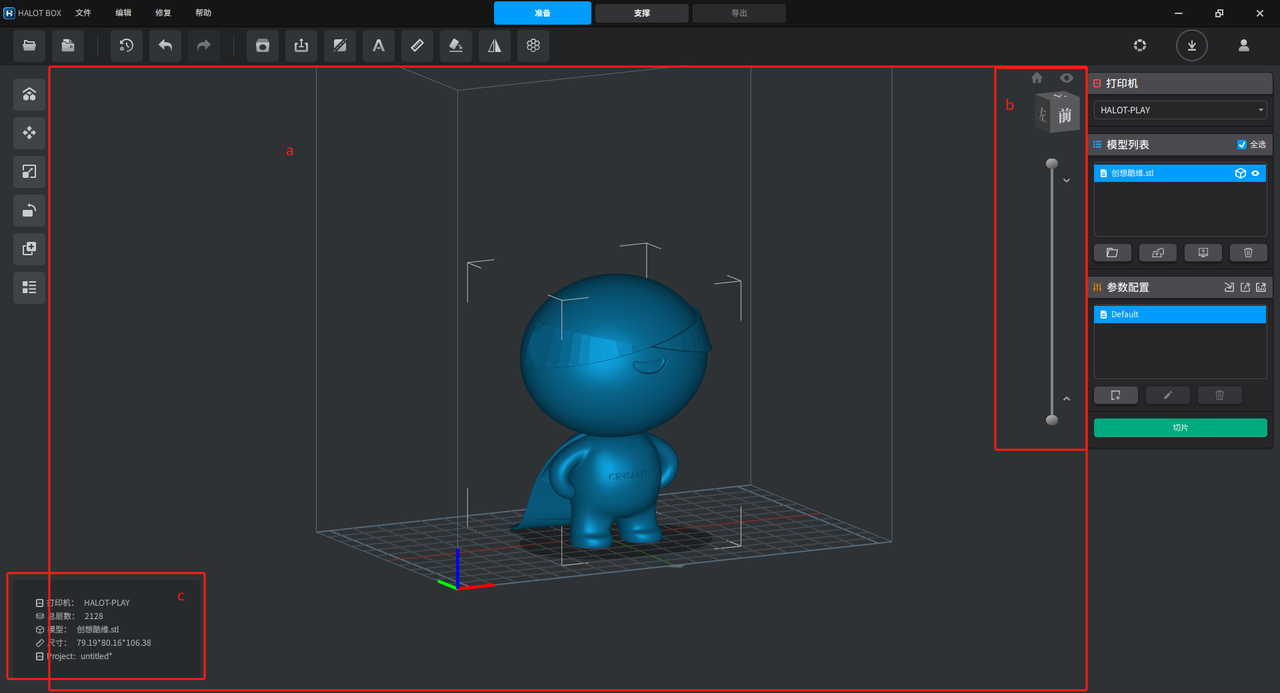
Printer: Add it to the software according to the printer you own. Correctly select the corresponding printer for slice printing
Model list: Displays the list of currently imported model files.
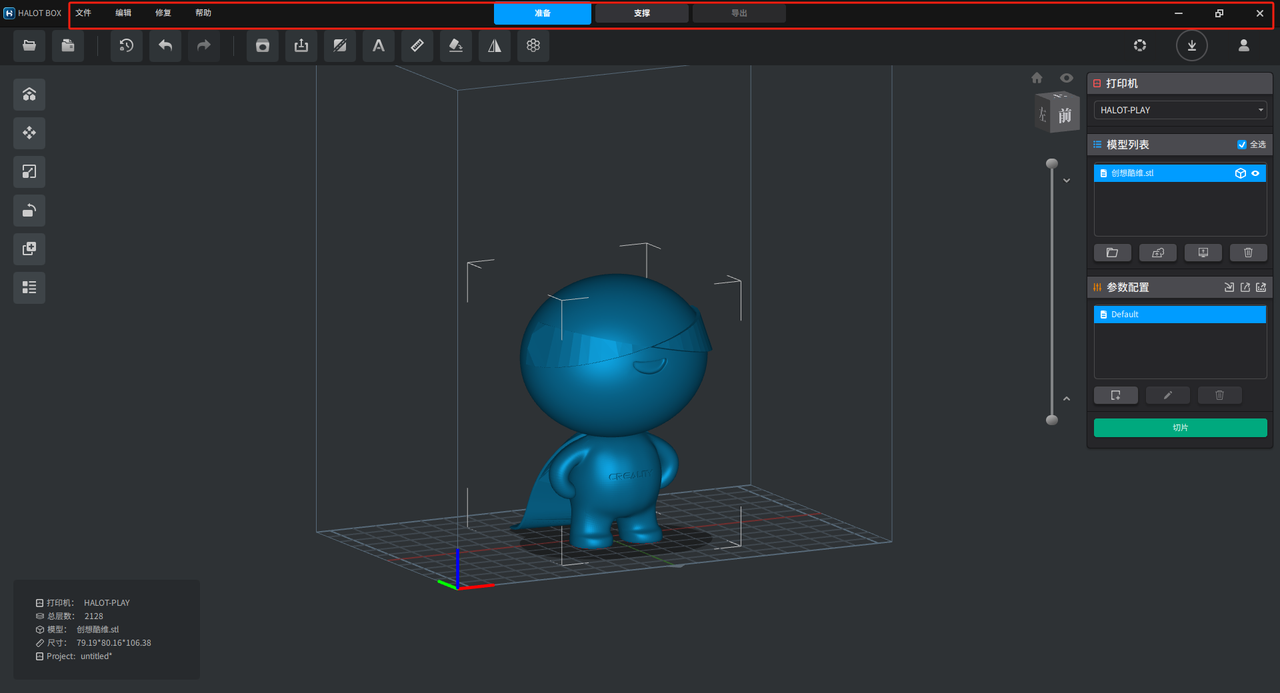
1. Open the file: Select the model file imported to the computer and import it into the software.
2. Upload to Creality Cloud: Upload the selected model to Creality Cloud and save it under the logged-in account
3. Select files to upload to Creality Cloud: Select files on your computer, upload them to Creality Cloud, and save them under the logged-in account
4. Delete: Delete the currently selected model.
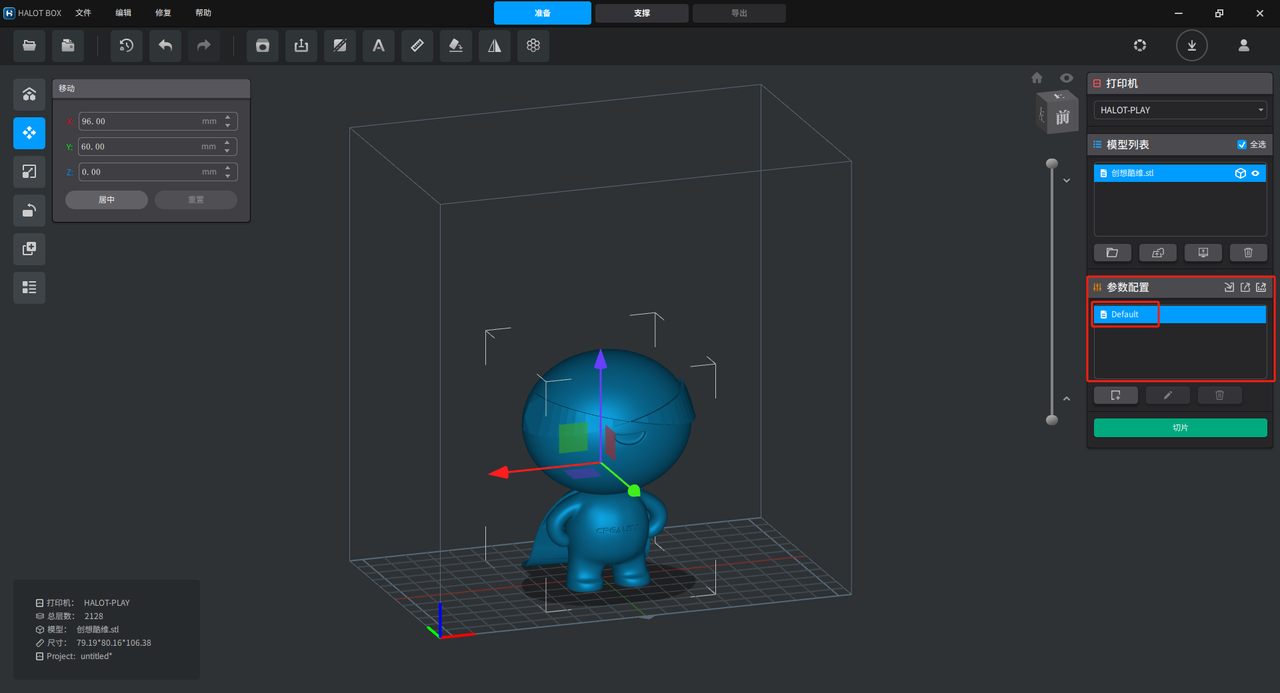
Parameter configuration: Set the printing exposure time of the current model
Slicing: A 3D printing term, which means turning the model file into a file that can be recognized by the 3D printer, which contains image information and exposure parameters for each layer.
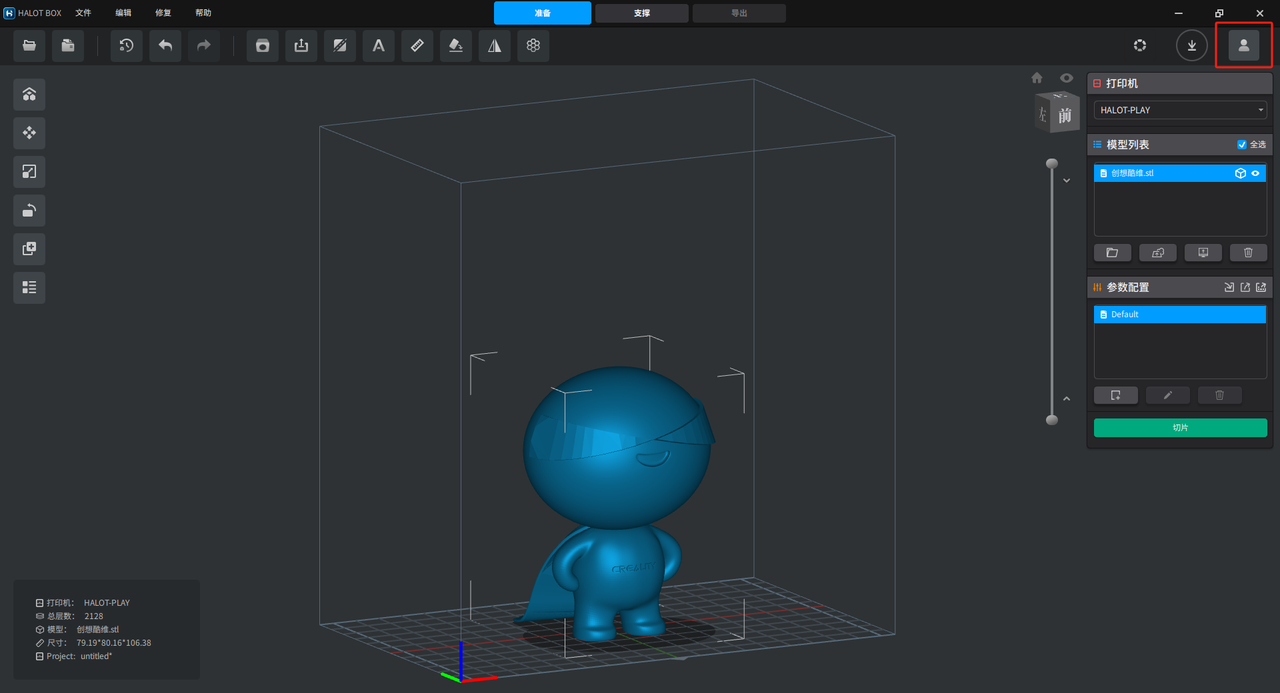
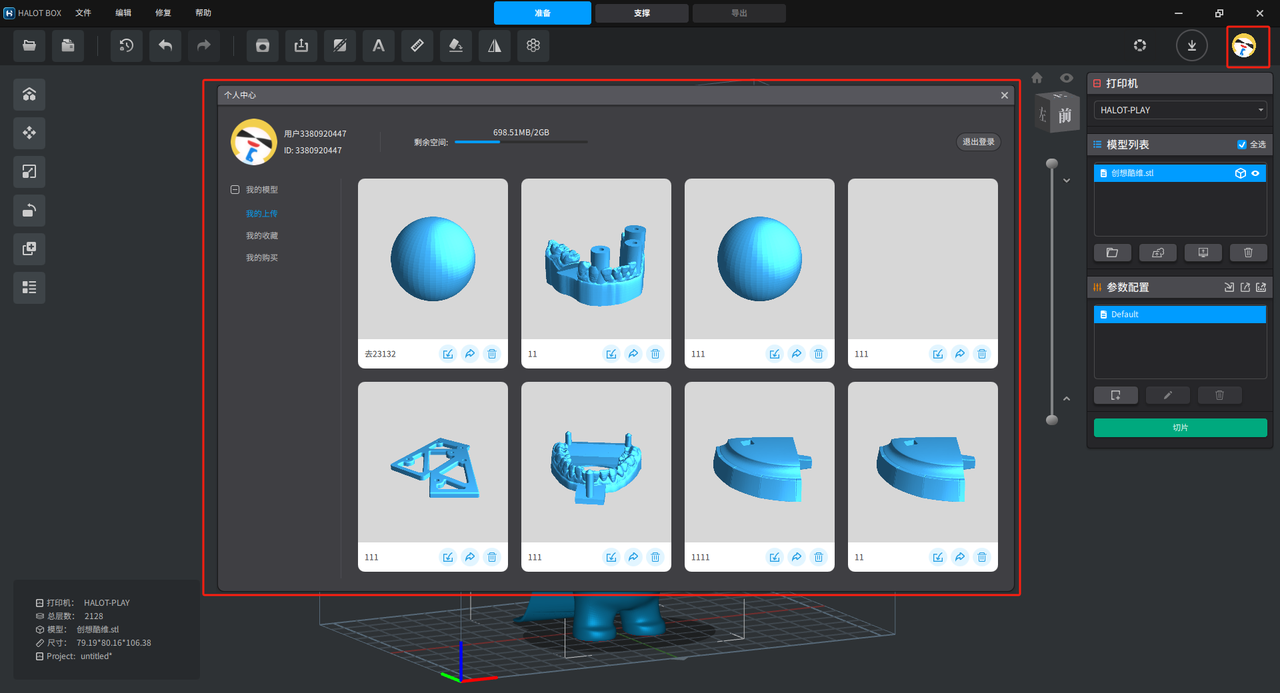
Creality Cloud is the cloud platform of Creality 3D, which provides the upload, download and acquisition of various models. There are trading systems, fee-based sales and paid purchases of original models, membership-based model sharing, etc.
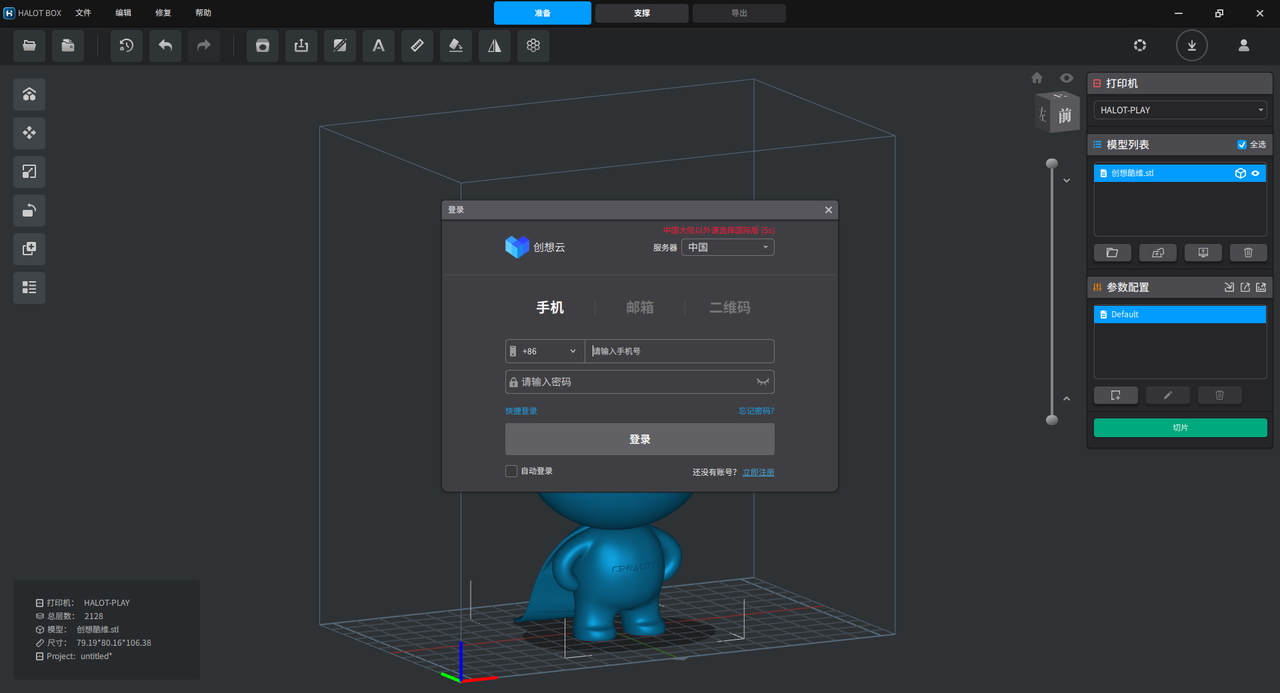
Click the icon in the upper right corner to log in to Creality Cloud
Provide registered mobile phone number, email and QR code to log in
1. If you do not have a Creality Cloud account, you can click Register to jump to the Creality Cloud website for account registration.
2. Log in with QR code: Download the Creality Cloud APP on your mobile phone, and then log in by scanning the QR code.
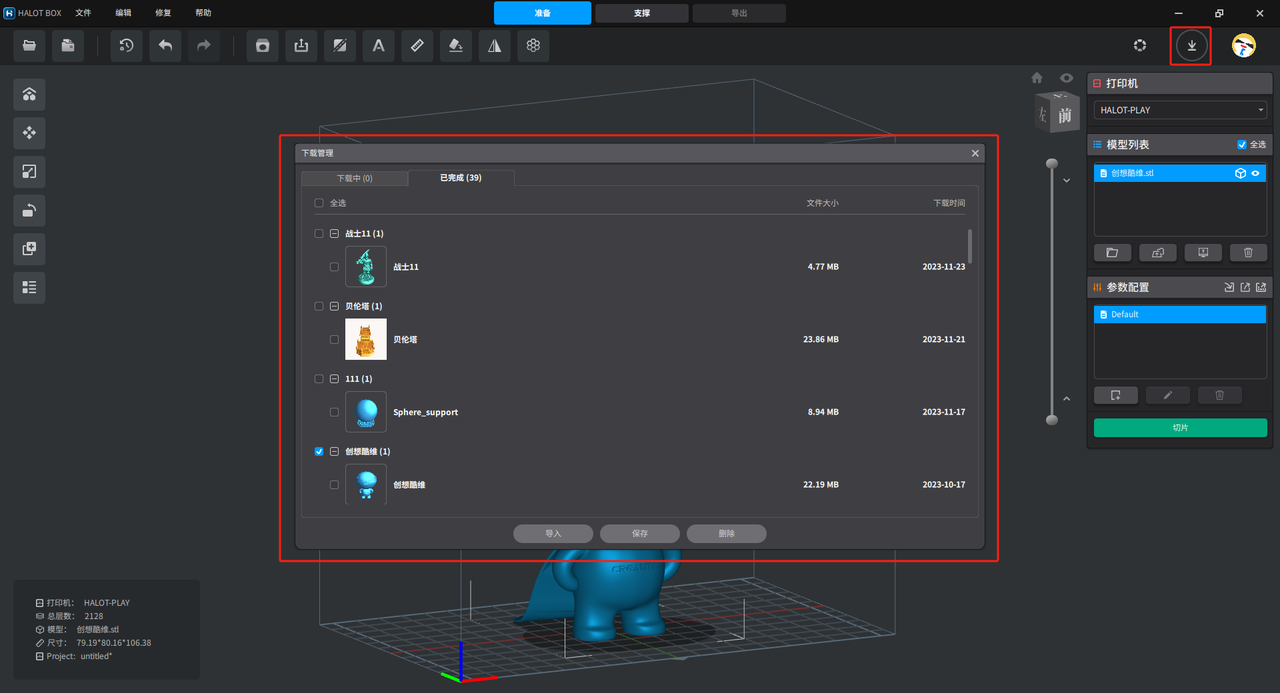
Click the download icon in the upper right corner to pop up download management
Various model files downloaded from Creality Cloud are displayed in the download management. The model files can be imported into the software or saved to the computer.