¶ 1. Generate support
¶ 1.1 Generate support
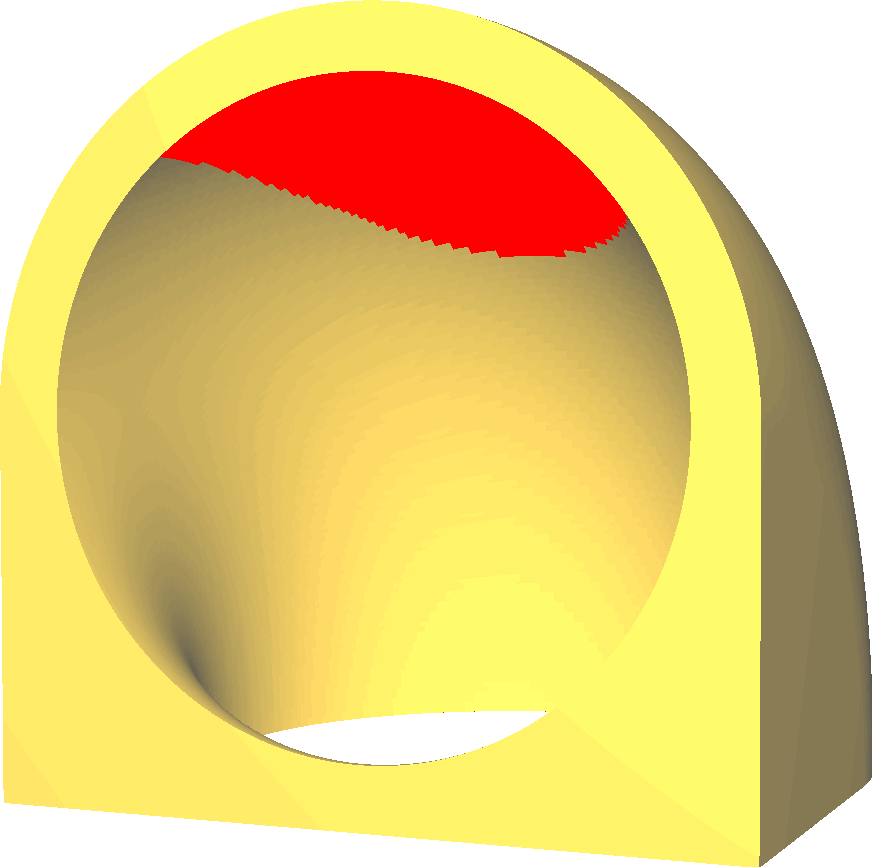
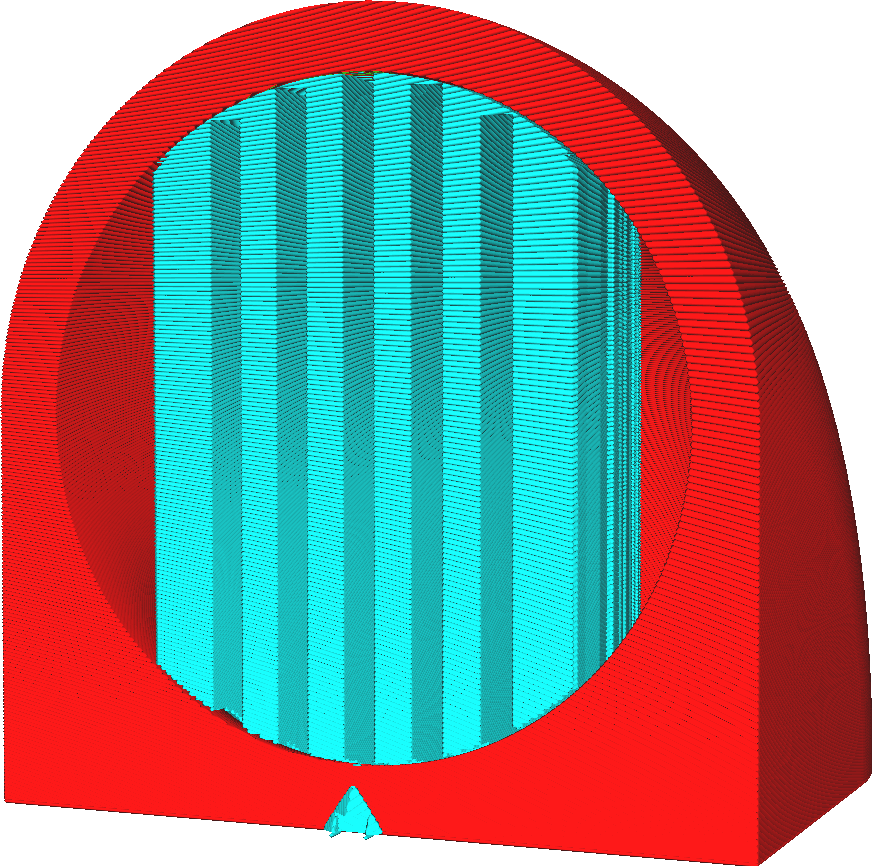
Conceptual description: This setting will generate support structures in the overhanging parts of the model. If this is not done, the model will collapse when printing the overhanging parts.
3D printers made with fused filament work by placing a stream of molten plastic in just the right spot.
If this plastic is unsupported, it will sag as it is pushed out of the nozzle by the force of gravity. Unless the model is positioned underneath it to support new layers, it will need to be supported by an additional support structure, which will be removed and discarded after the model is printed.


Print support requires significant time and materials. Where the supports contact the model, they need to be broken or cut off after printing. This tends to leave scars on the surface. However, sometimes support is completely necessary. For example, if the model has a part pointing down toward the build plate, that part will just hang in mid-air.
¶ 1.1.1 Design to avoid supports
Although sometimes necessary, printing supports should be avoided if possible.
There are many techniques to avoid having to add print supports. This is a large part of the design of the 3D printed model.
Here are some techniques for changing your 3D model to avoid the need for printed supports.
• Orient the model to ensure there is no plane higher than the build plate.
• Avoid design overhangs whenever possible.
• If there is a surface directly above the build platform, pull it down toward the build platform.
• Small ledges can be braced with 45 degree slopes to transfer the overhang into the model.
• Larger overhangs can be bridged if both sides are supported. CrealityPrint automatically orients the lines on the underside of the overhang so that they run straight across the bridge. During the process of printing these lines, the nozzle will maintain tension on the bead so that it does not sag. This gives it enough time to set so that it can support itself.
• If there are gaps in the overhang, a sacrificial bridge can be designed. This is the layer where the gap is closed. This allows for good bridging so that the second layer can build proper gap walls on top. After printing, since it is only one layer thick, the gap can be opened with a knife.