¶ Feature Introduction
If you need to adjust the position of an object on the print bed, you can use the "Move" feature in the top toolbar of Creality Print.
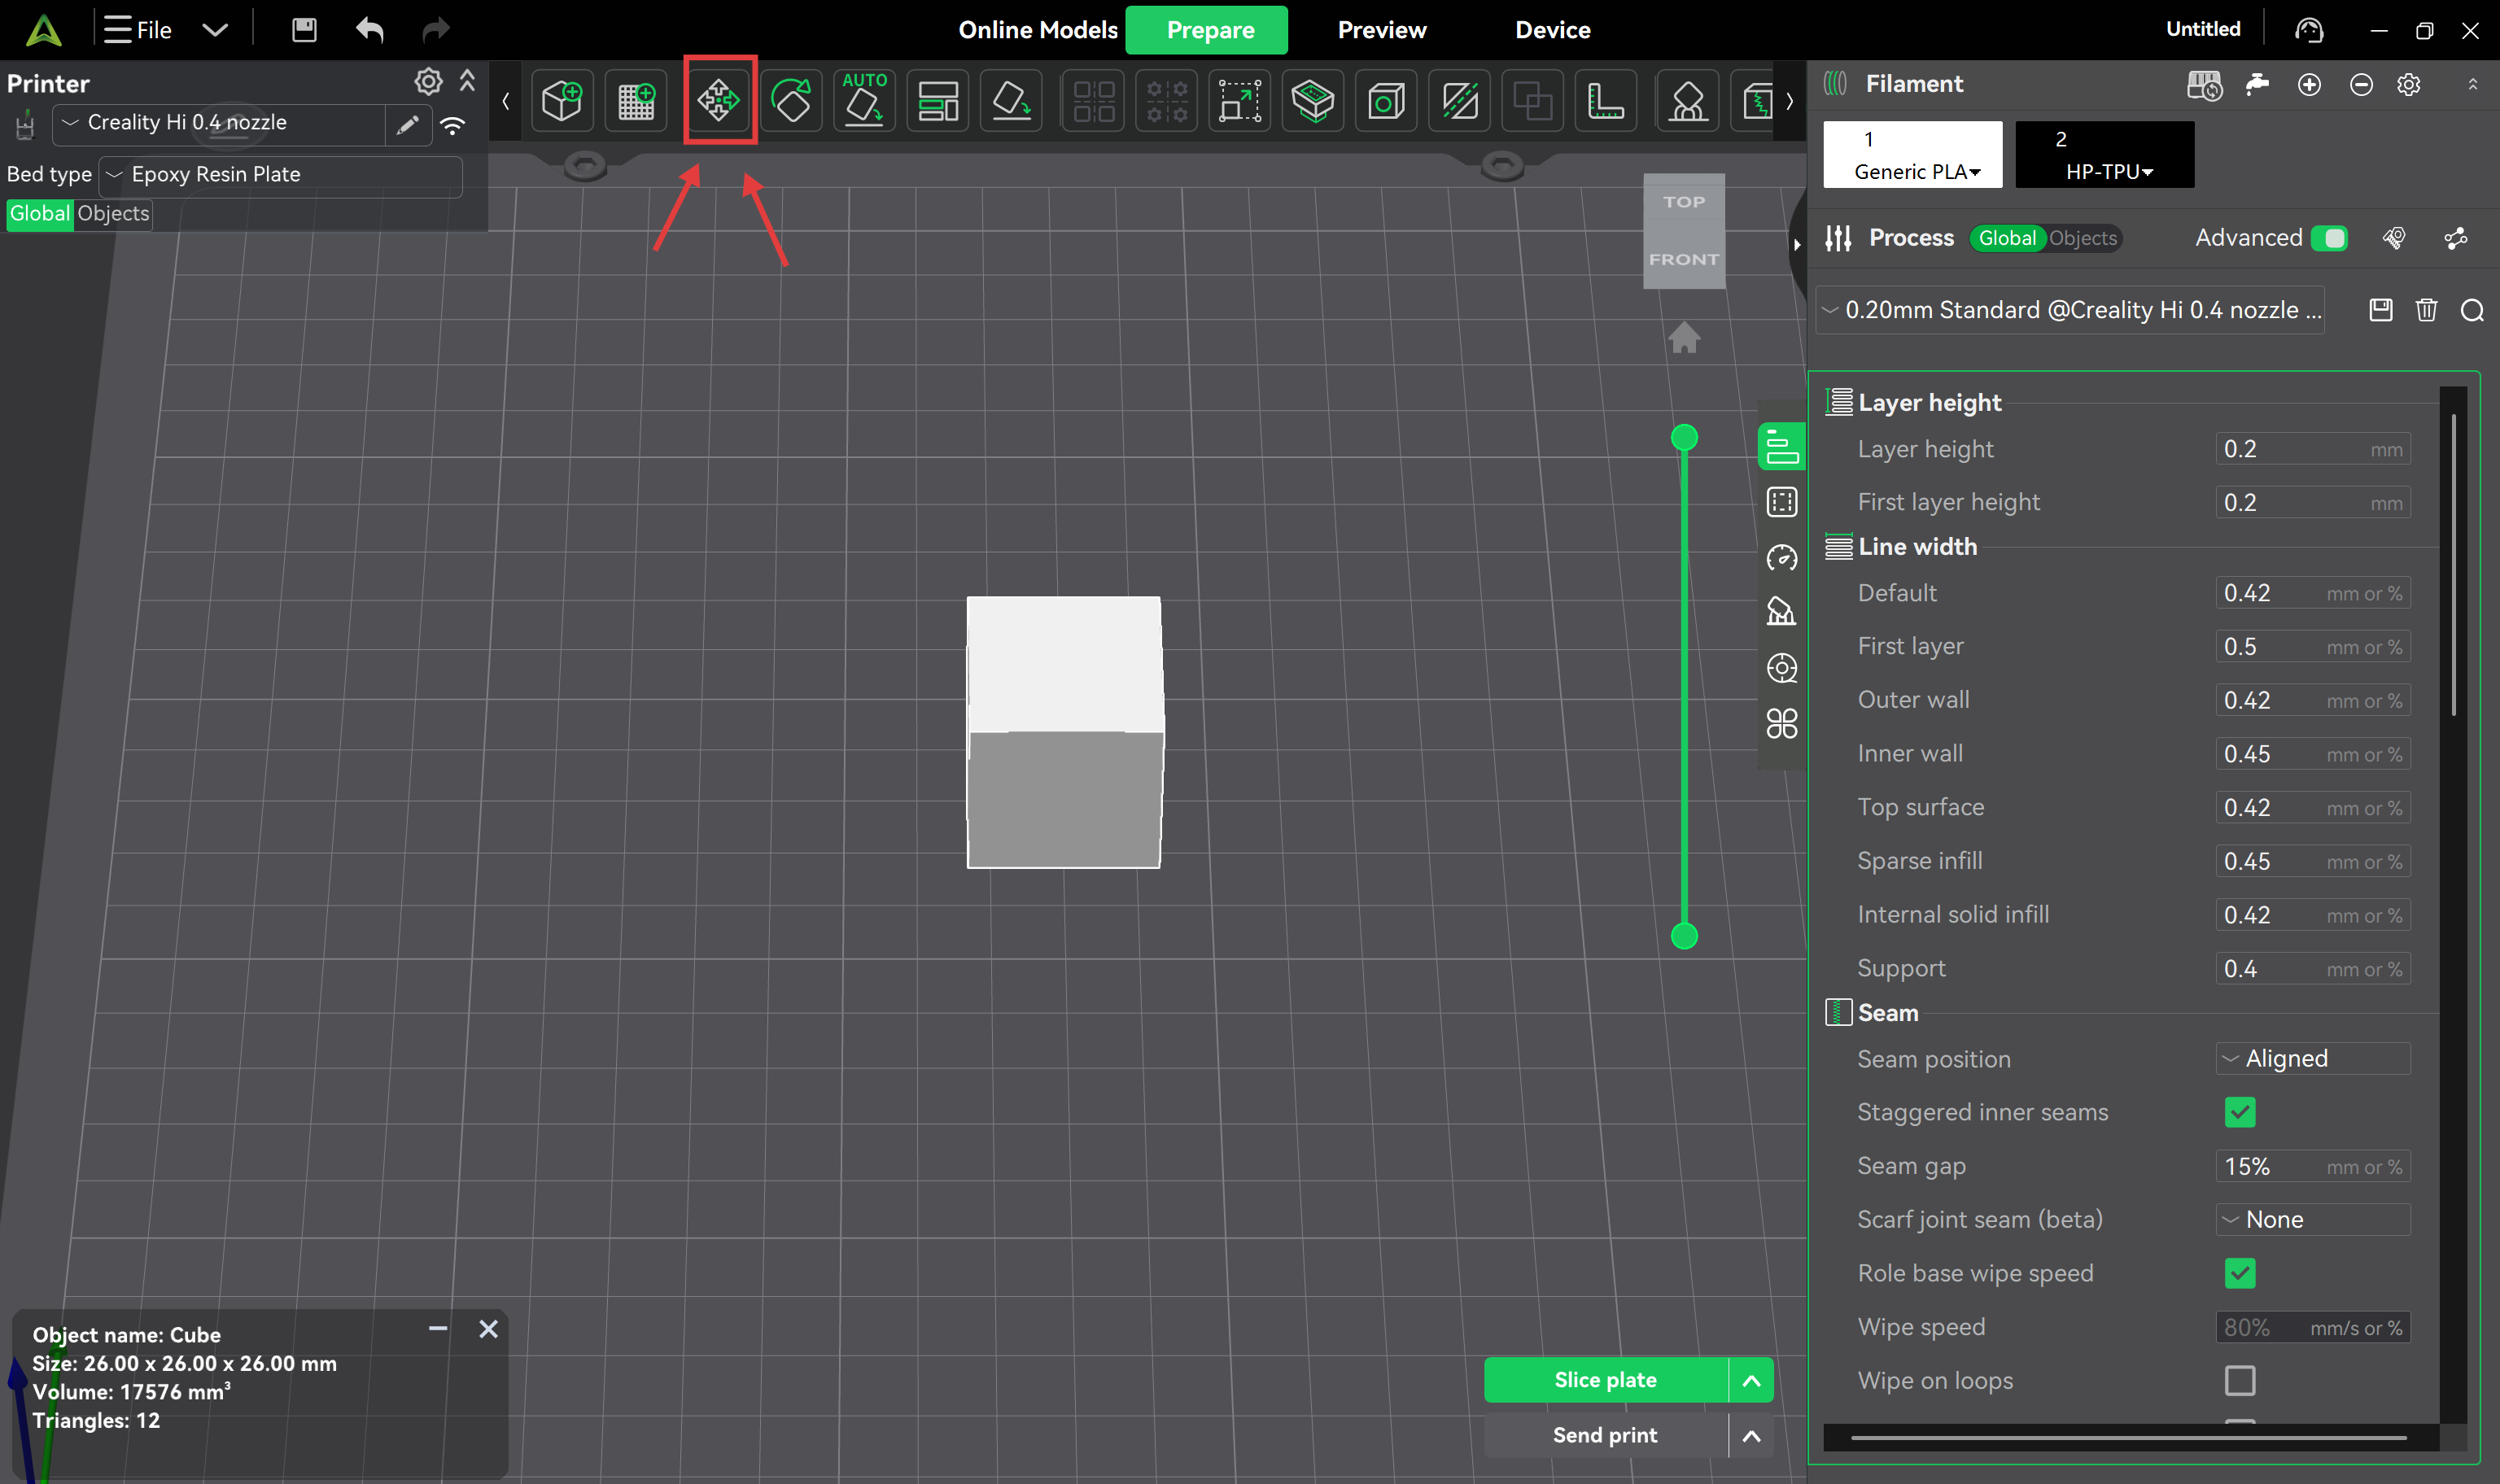
The move tool allows precise control over the position of objects on the print bed, and can be used for multiple purposes, including:
- Adjusting object position: When you need to fine-tune or accurately adjust the position of an object on the print bed, you can use the move function to relocate it to the desired position.
- Avoiding collisions: When printing multiple objects or larger-sized objects, you may need to adjust their positions to prevent mutual collisions or overlaps.
- Layout optimization: Through the move function, objects can be rearranged to make more efficient use of the print space, improving printing efficiency and quality.
- Aligning to edges: Sometimes you need to align an object to a specific edge or reference point on the print bed; the move function helps you achieve this quickly and accurately.
¶ User Guide
¶ Moving Objects by Dragging
Select the object, click "Move", then drag the object with your mouse, or drag the XYZ arrows to move it to the target position.
Dragging the object allows free movement in any direction.

Dragging the XYZ arrows constrains movement along a specific axis.

¶ Moving by Coordinate Input
- World Coordinates: Uses the XYZ axis coordinates of the print bed as the reference point to adjust the object's position on the print bed.

- Object Coordinates: Uses the object's own coordinate system as the reference point to adjust the object's position along the XYZ axis directions.

Note: Each object must have one face serving as the base in contact with the print bed, so free movement along the Z-axis direction is not possible for entire objects. However, individual parts can be moved freely along the Z-axis. As shown below, when selecting the entire "object", the Z-axis direction cannot be moved; but when selecting one "part" of the object, movement is allowed.
