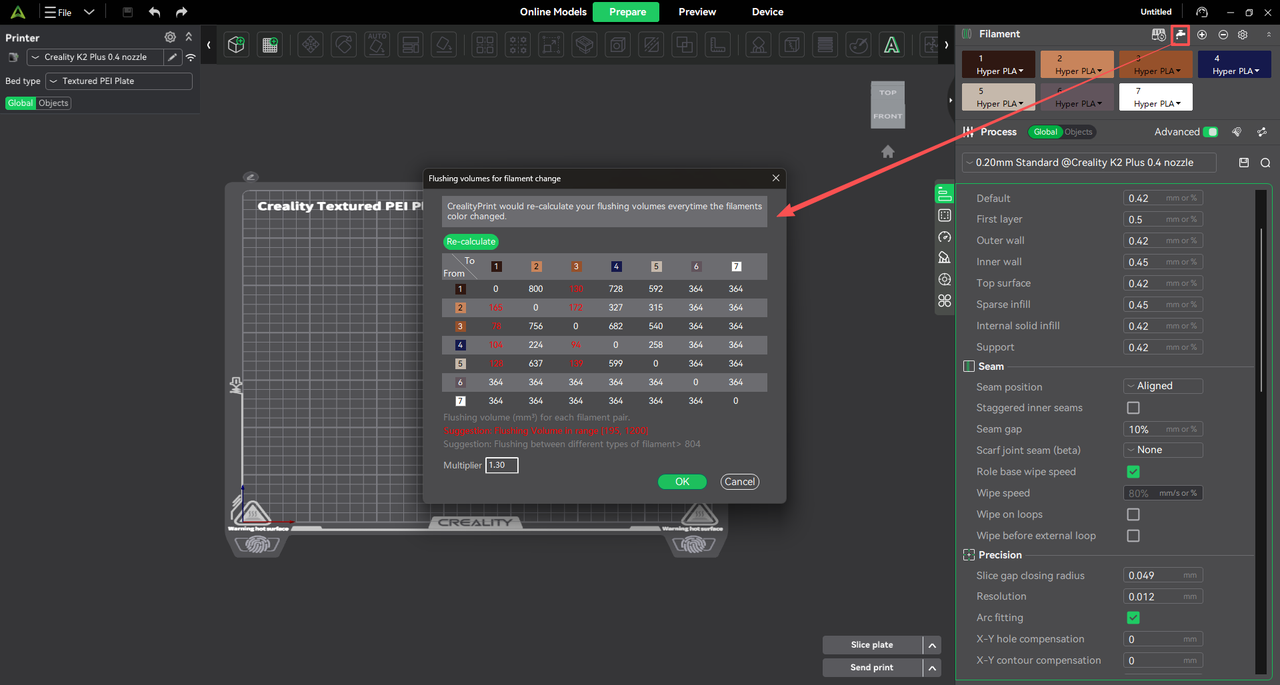
Click Flush Settings to view the flush volume matrix for filament changes between different colors in the filament list.
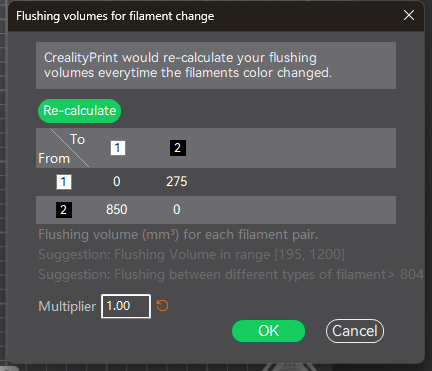
As shown in the example, when switching from Filament 1 (White) to Filament 2 (Black), the default flush volume is 275 of black filament to fully purge the white filament. When switching from black to white, the default flush volume is 755 of white filament to completely remove the black filament.

In general, more light-colored filament is required when flushing from a dark color to a light color, because dark pigment mixed into a light color is more visually noticeable than the reverse.
If color mixing is still visible after printing—for example, if the default 755 of white filament does not fully purge the black filament and the printed white surface appears gray—you can manually increase the corresponding flush volume to 850. Click Confirm after modifying the parameter for the change to take effect.
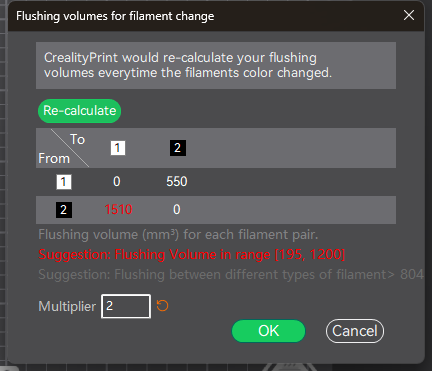
Alternatively, you can increase the flush multiplier. For example, when the multiplier is set to 1, the default flush volume from white to black is 275. If the multiplier is changed to 2, the flush volume becomes 275 × 2 = 550. As with manual adjustments, click Confirm after modifying the parameter for it to take effect.
Note: The filament colors in the filament list should closely match the actual filament colors in use. Significant color differences may cause the default flush volume to be inaccurate, resulting in values that are either too high or too low.