¶ Troubleshooting
¶ Problem Phenomenon Image

¶ Leveling Issues:
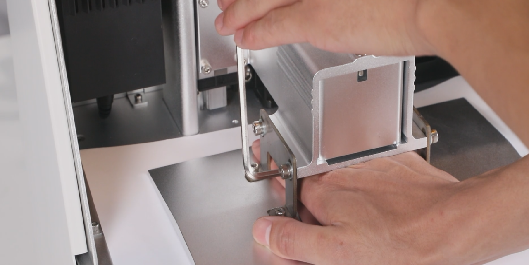
¶ 1. Excessive Gap Between Build Plate and FEP Film
-
Re-level the build plate using an A4 paper (refer to video: https://youtu.be/kQ0yooRZ6d0. Note: The video uses a calibration card, but A4 paper is recommended for actual operation). Ensure the screws are tightened in a diagonal sequence.
-
After leveling, slowly pull out the A4 paper to feel the friction resistance. If one side has very little or no friction, the leveling is incorrect and must be redone.
-
If proper leveling with the A4 paper doesn't resolve the issue, try leveling without any paper spacer.
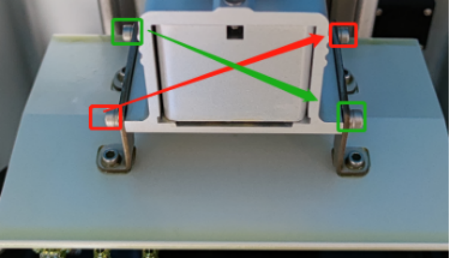
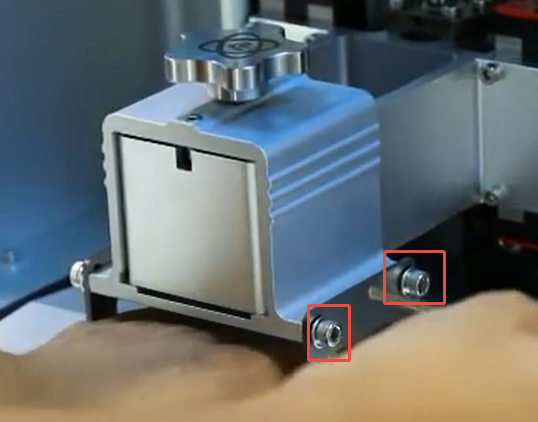
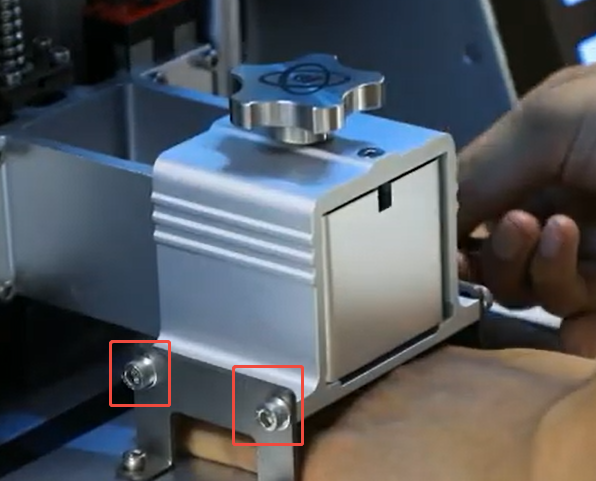
¶ 2. Loose Build Plate Screws
- After completing the leveling process, ensure the build plate screws are firmly tightened in a diagonal sequence.
¶ Parameter Settings Issues
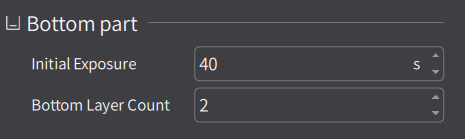
¶ 3. Bottom Layer Exposure Time Too Short
- Increase the initial (bottom) exposure time and the number of bottom layers. Start by setting the initial exposure time to 60 seconds. If printing succeeds, you can gradually reduce this time to shorten the overall print duration.
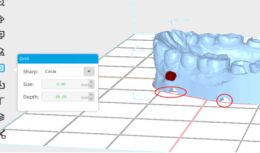
¶ 4. No Drain Holes Added During Slicing
-
This is especially critical for hollow models. Without drain holes, vacuum pressure (suction force) can build up, leading to model cracking or deformation.
-
During slicing, uniformly create 4 semi-circular holes at the bottom of the model to release the vacuum pressure.
¶ 5. Lifting Motor Speed Too High
- Set the lifting (Z-axis) motor speed to 2 mm/s. If printing is successful, you can gradually increase the speed.

¶ Equipment Maintenance Issues
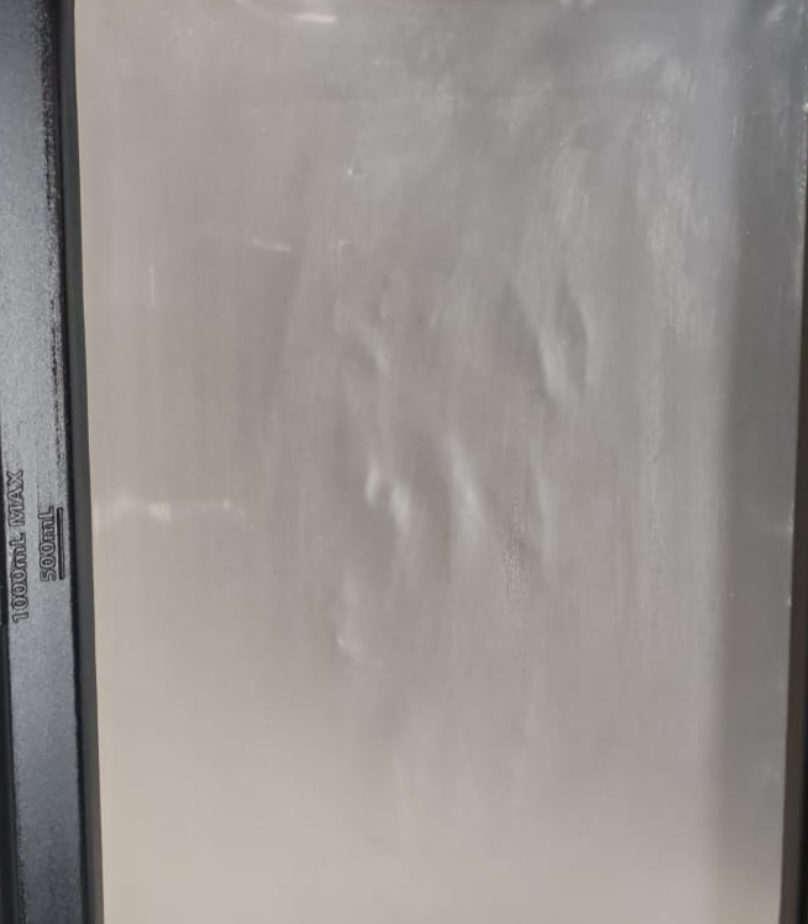
¶ 6. Loose or Worn FEP Film
-
Replace the FEP film (refer to video: https://youtu.be/FbvqA5OwcXU).
-
The FEP film is a consumable item; it is recommended to replace it after every 10-20 print plates.
¶ 7. Build Plate Surface Too Smooth
- Use a scraper to create light scratches on the build plate surface, or lightly sand it with 400-grit sandpaper to improve adhesion.
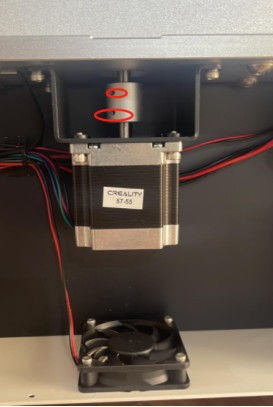
¶ 8. Z-Axis Motor Coupler Not Tightened
- Tighten the Z-axis motor coupler.
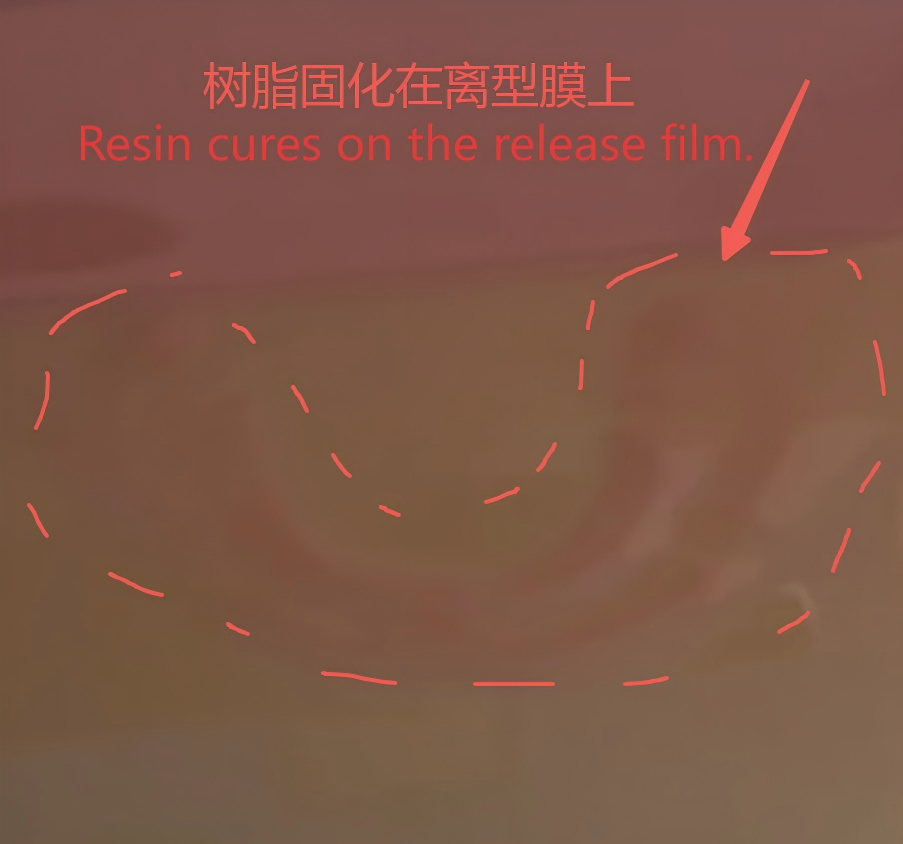
¶ 9. LCD Screen Not Working
-
Note: If the LCD screen is not working, there will be no curing area on the resin vat. If you clean the vat after a failed print and find cured resin on the FEP film but noneon the build plate, this specific issue (screen failure) is likely NOT the cause.
-
If the LCD screen is suspected to be faulty, please refer to the dedicated troubleshooting document for DJ 89PLUS LCD Screen Not Working.