¶ Falcon T1 MOPA 60W Laser Metal Rust Removal Tutorial
This tutorial is adapted to the Falcon T1 MOPA 60W laser module, written based on the general operating logic of FDS software. Different from ordinary Q-switched lasers, MOPA models can independently adjust pulse width and frequency, remove rust without damaging the substrate, leave no grinding scratches, have higher precision, and are suitable for rust removal of workpieces such as carbon steel, cast iron, ordinary steel, and die steel.
¶ 1. Introduction to Applicable Metal Scenarios and Principles
¶ 1. Applicable Scenarios
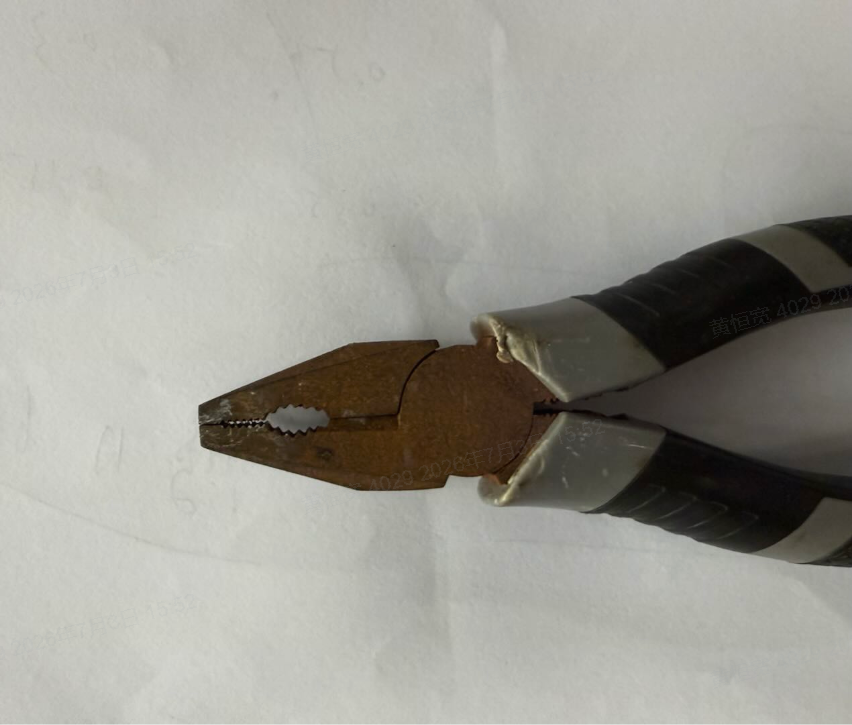
Applicable Scenarios: Floating rust, yellow rust, scale, slight corrosion, oil oxidation layer, thin old paint layer on metal surfaces;
Not applicable: Deep pitted rust, thick agglomerated rust (requiring pre-treatment), galvanized layer, and precision parts with chrome plating (prone to damage the plating layer).
¶ 2. Principle of Laser Rust Removal
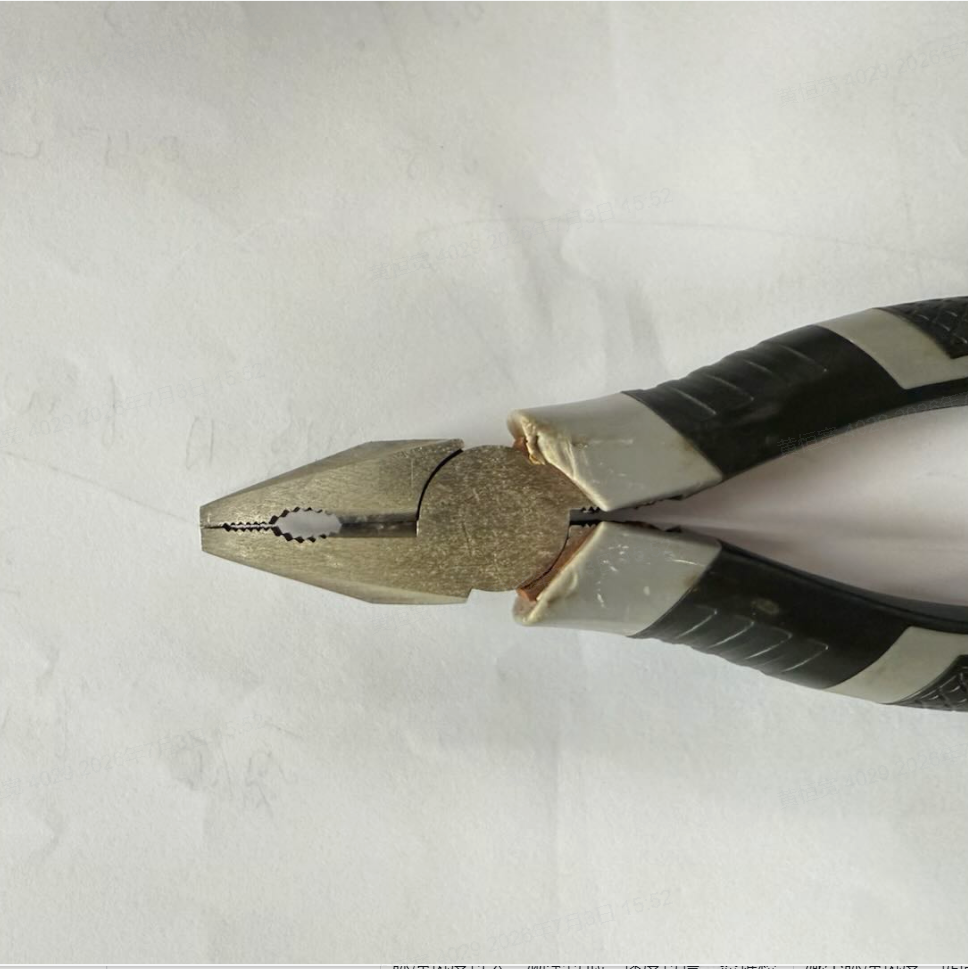
By focusing a high-energy density laser beam on the metal surface, the rust layer (iron oxide) has a much higher absorption rate of the laser than the metal substrate. It instantaneously expands, peels off, and vaporizes upon heating, while the substrate absorbs very little energy, thus achieving the cleaning effect of removing only rust without damaging the base material, with no consumables, no dust pollution, and no mechanical wear.
¶ 3. Laser Rust Removal Principle - Pretreatment of Processing Materials
Laser rust removal can only efficiently clean surface rust and oxide layer, and inadequate workpiece pre-treatment can lead to uneven rust removal, residual spots, and damage to the substrate.
Clean surface debris: Wipe the workpiece with a lint-free cloth and alcohol to remove surface oil stains, dust, water stains, and . Excessive oil stains can cause laser scattering and blackening during rust removal.
Material Fixation: Secure the consumables flat on the workbench to ensure that the rust removal area is level, without shaking or warping, and to avoid uneven rust removal caused by focal length deviation.
¶ 2. Metal Rust Removal Operation Steps
¶ 1. Connect the T1 MOPA 60W and select the planar engraving mode
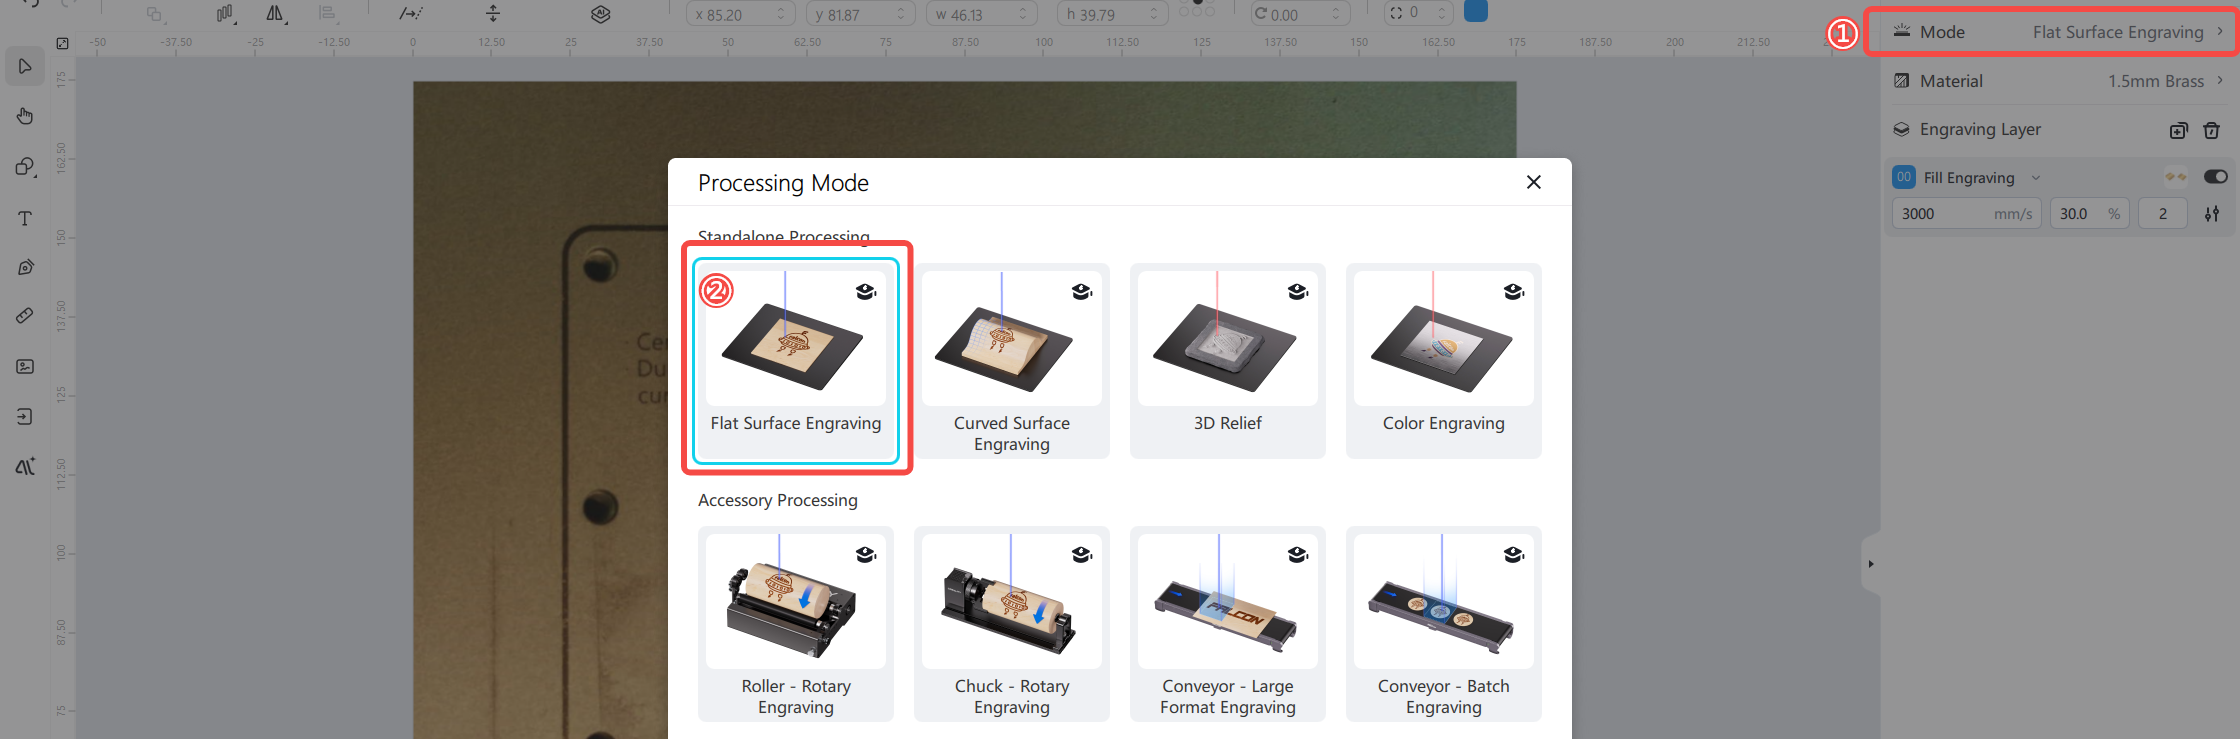
Note: The processing material for this tutorial is planar consumables, and the processing mode needs to be selected according to the consumables.
¶ 2. Processing Parameter Settings
Suitable for mild/moderate rust scenarios, not suitable for heavy rust or thick rust blocks, select Fill Carving and set the following parameters
|
Mode
|
Speed (mm/s)
|
Pulse Width (ns)
|
Frequency (KHZ)
|
Power (%)
|
Fill Interval
|
Number of times
|
|
Fill Carving
|
2000mm/s
|
13ns
|
360
|
50
|
0.05
|
2
|


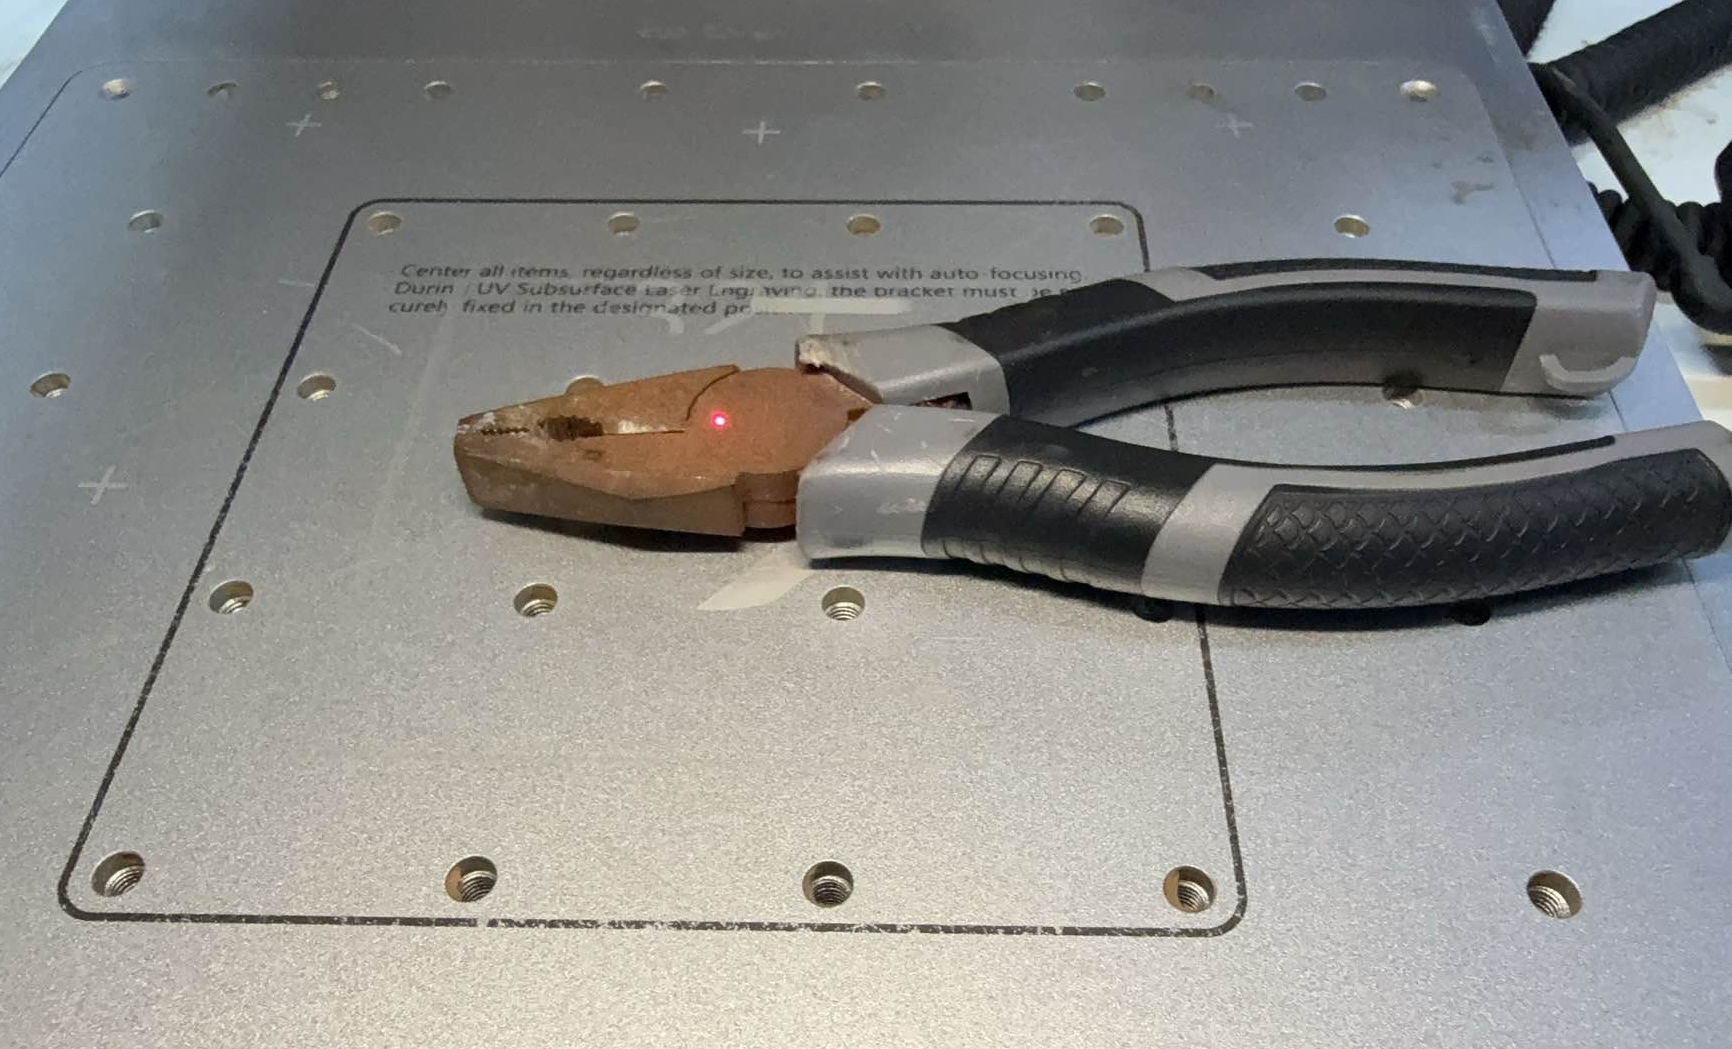
¶ 3. Auto Focus
Place the material in the central area of the workbench and click Auto Focus
¶ 4. Sample Test
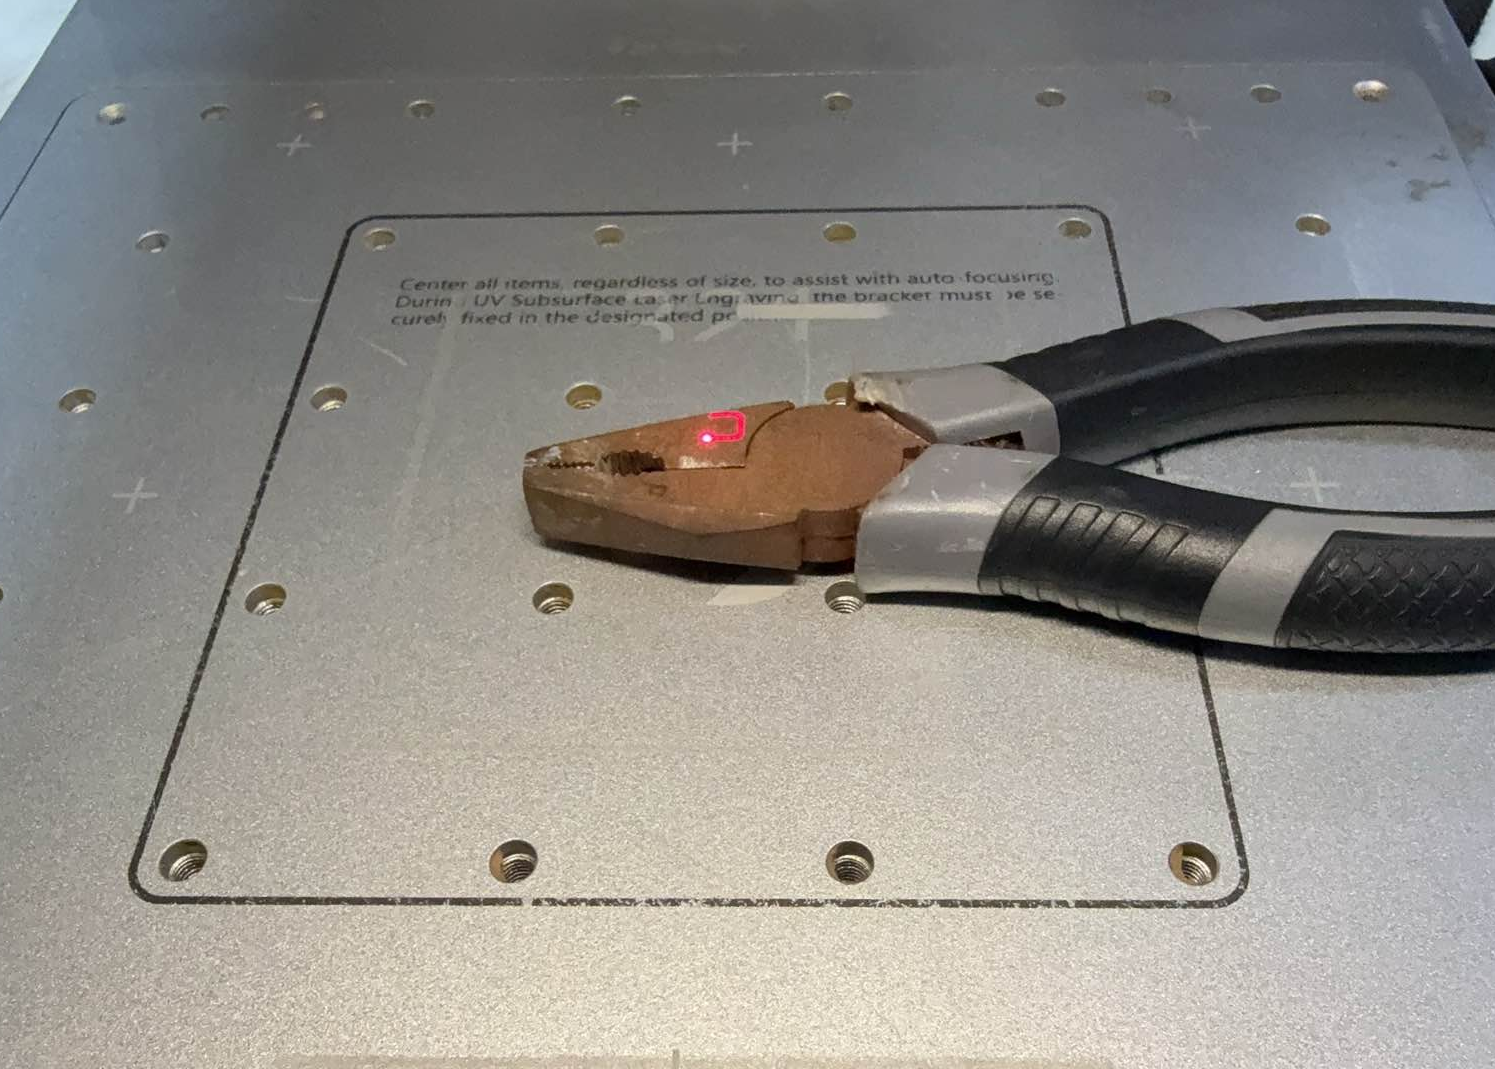
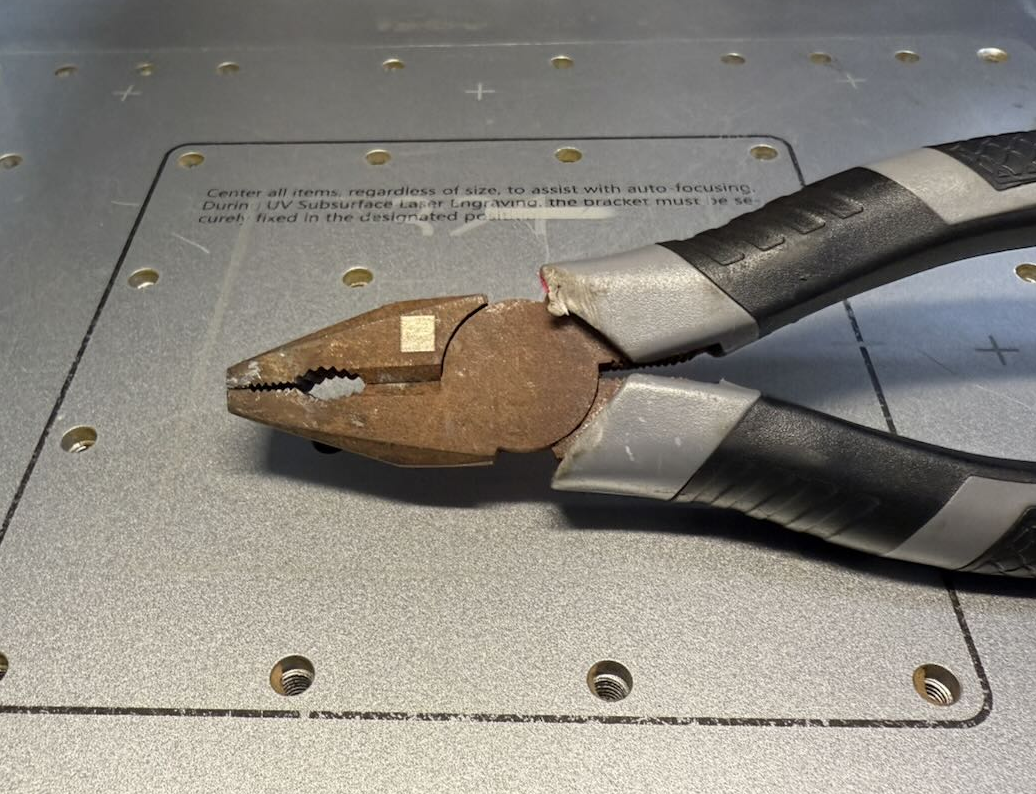
Before large-scale formal rust removal, conduct a small-scale test scan at the edges and corners of the material to observe the effect.
(1) Once rust removal is complete, the substrate shows no blackening or ablation, formal processing can commence;
(2) If there is residual rust, it can be addressed by reducing the speed or increasing the power;
(3) If the substrate turns black, confirm whether the pulse width parameter setting is accurate and increase the speed.
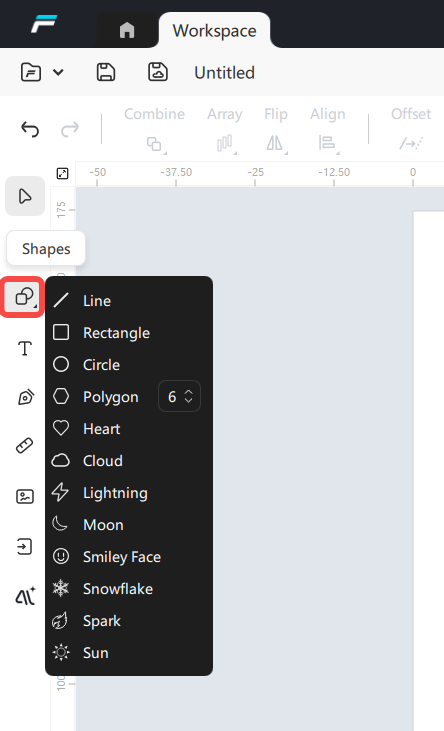
¶ 5. Edit the rust removal area
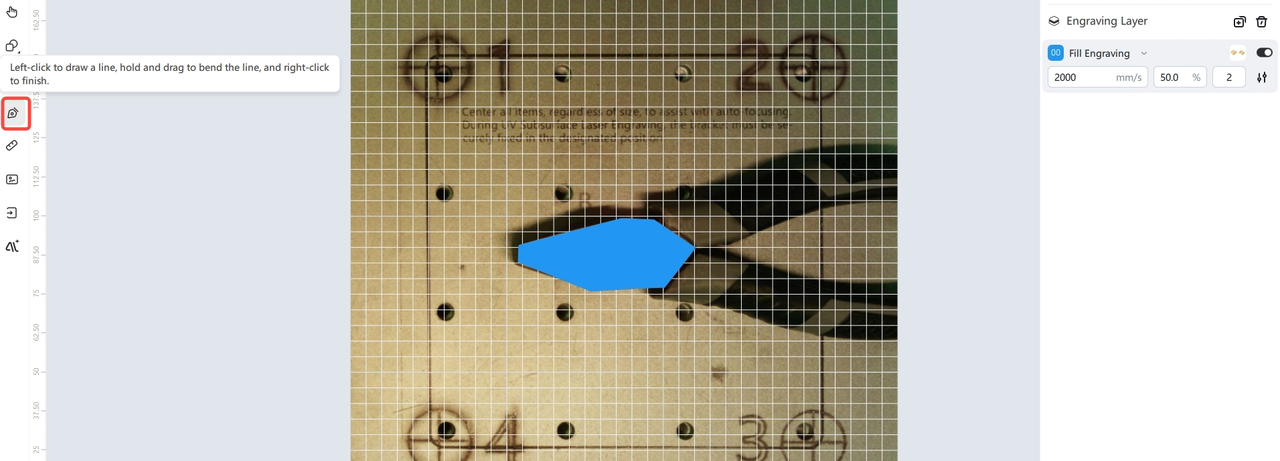
Use the Pen Tool to trace the shape of the pre-rust removal area, and set the above parameters in sequence
¶ 6. Formal Processing
(1) After confirming that the parameters are correct, click [Trace Border] to confirm the engraving area;
Note: You can turn off the emergency stop when opening the lid in the device settings and manually align the border precisely.
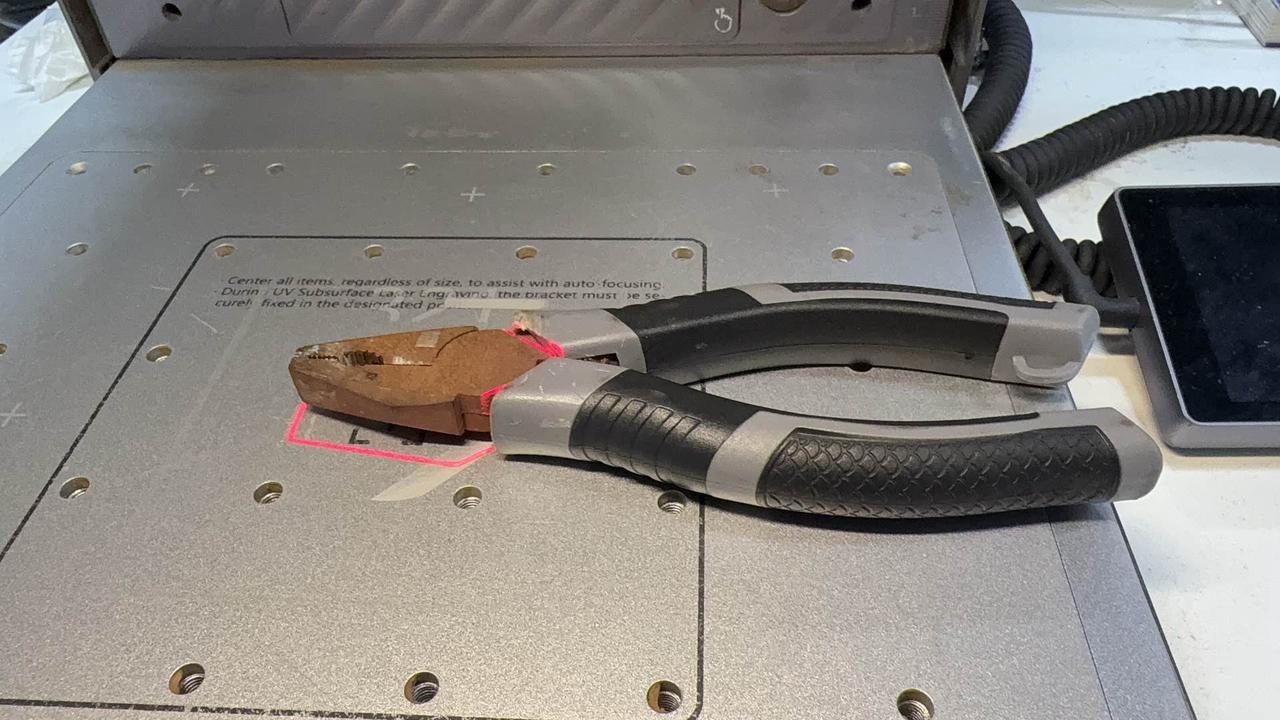
(2) Close the protective cover, click [Go to Processing] to start the operation.
Keep the equipment stable throughout the process, and touching the workpiece and laser module is prohibited.
Large-area workpieces can be scanned in zones to avoid focal length deviation caused by an excessively large single scanning range.
¶ 6. Follow-up Processing
(1) If there are local residual rust spots, narrow the scanning range, appropriately reduce the speed (300 - 500mm/s), and perform a small supplementary scan to thoroughly clean the residual rust.
(2) After rust removal is completed, use an industrial vacuum cleaner to remove surface dust residues, and wipe clean with a dust-free cloth.
(3) If long-term rust prevention is required, a thin layer of anti-rust oil or anti-rust paint can be sprayed after the workpiece has cooled.
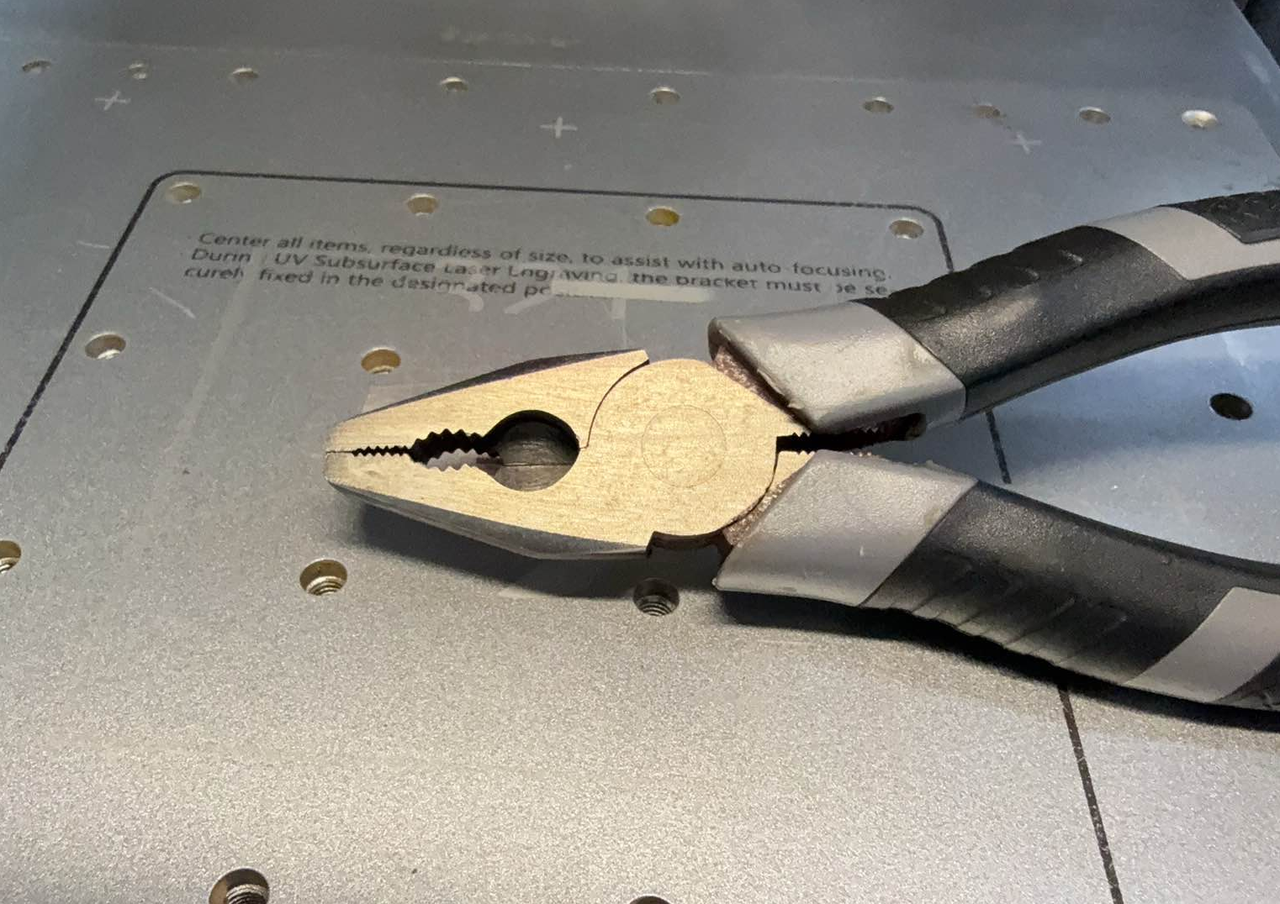
| Before | After |
 |
 |
¶ 3. Common Issues and Troubleshooting
|
Problem Phenomenon
|
Possible reasons
|
Measures
|
| Rust removal is incomplete, with residual spots | Excessive scanning speed, insufficient power, excessive line spacing, and focal length offset | Reduce the scanning speed, increase the power by 5%-10%, narrow the line spacing, and recalibrate the focus |
| After rust removal, the surface of the workpiece turns black and sticky | Excessive pulse width, low frequency, slow speed, and high heat accumulation cause burns to the substrate | Reduce the pulse width, increase the scanning speed, appropriately increase the frequency, and avoid long-term stationary scanning |
| Surface has obvious scanning streaks and is uneven | Excessive line spacing, smooth scanning not enabled, and slight focal length offset | Reduce the line spacing, enable the software's smooth scanning function, and refocus precisely |
| Weak laser output and extremely low rust removal efficiency | Lens contamination, poor heat dissipation, device parameter reset, optical path offset | Clean the galvanometer protective lens and focusing lens, restart the device to restore default parameters, and check the cooling system |