¶ Curved Surface EngravingOperation Manual
Tip: New uncalibrated modules/field lenses need to perform module calibration, autofocus, and field lens calibration in the interactive screen before executing engraving work
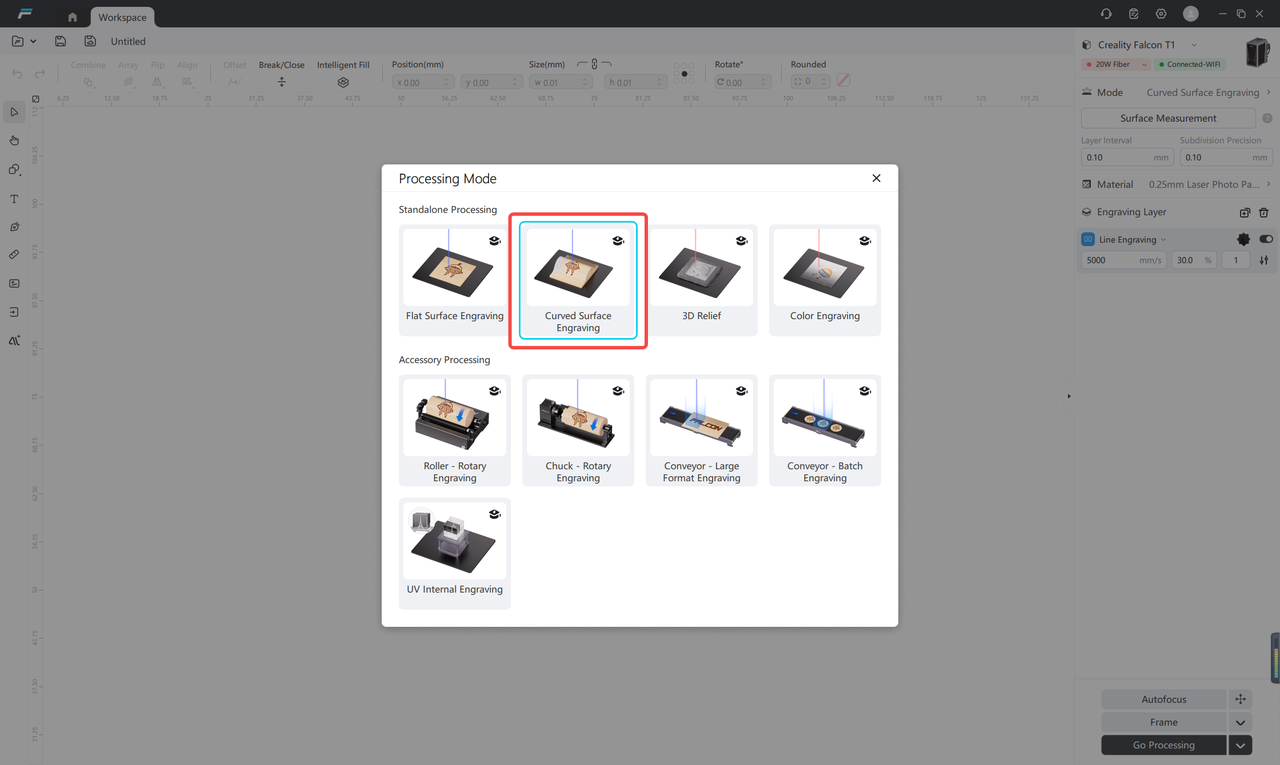
¶ Enter surface carving mode
After the engraving machine is successfully connected, select the "Curved Surface Engraving" mode in the "Processing Mode" option.
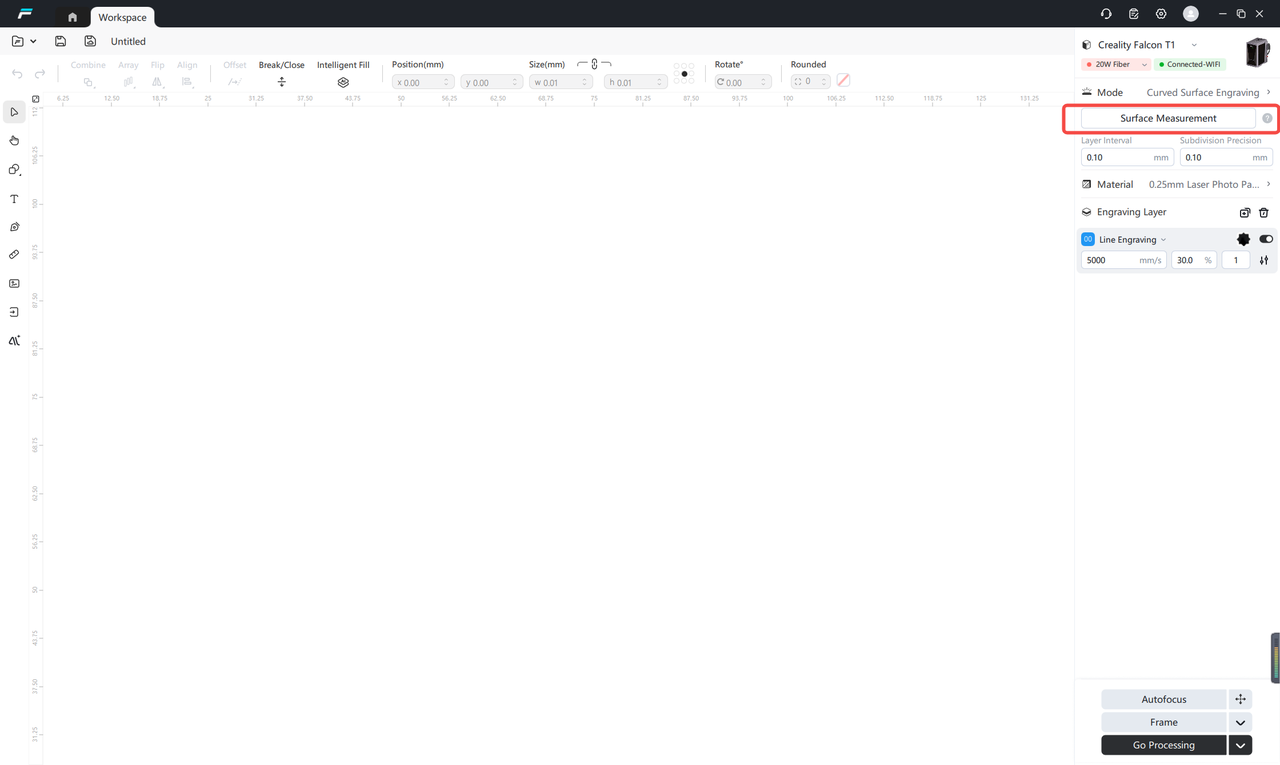
¶ Surface Measurement
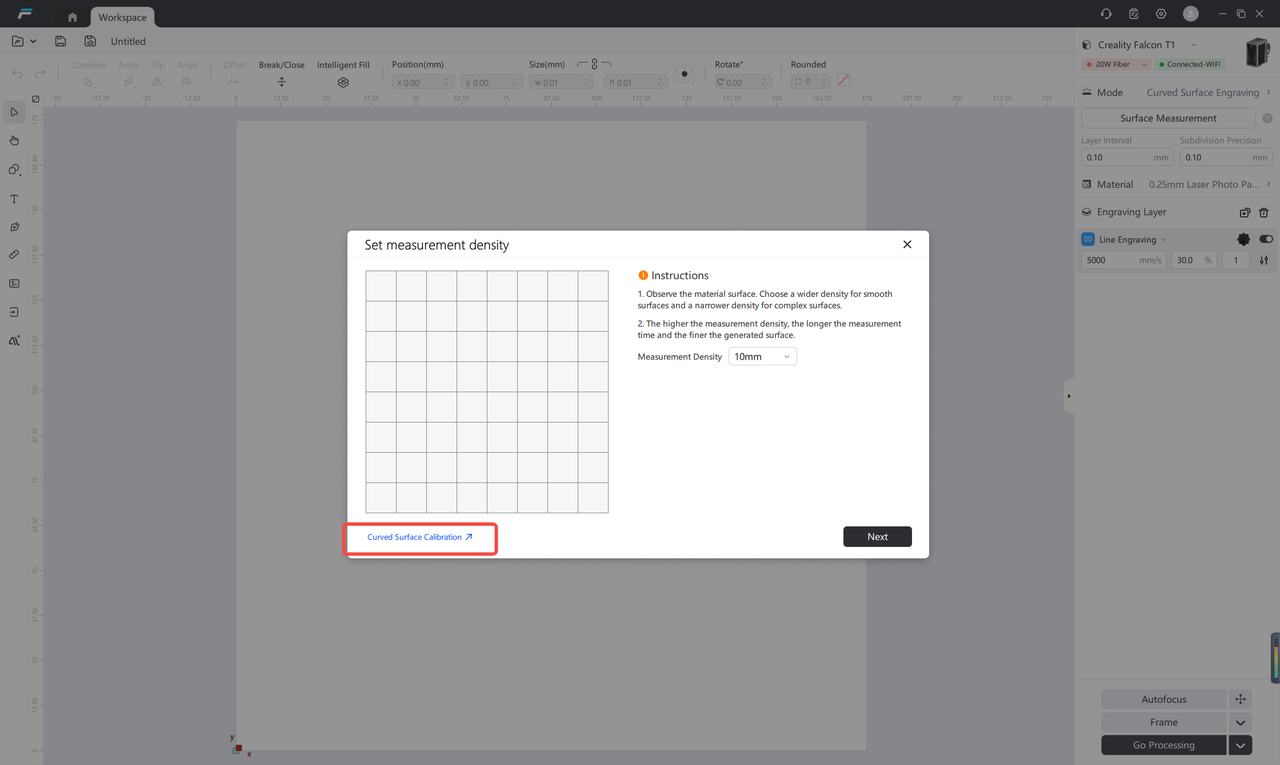
Click the "Surface Measurement" button in the interface to enter the surface calibration and modeling process.
Perform surface calibration
Tip: If the surface calibration process has been completed previously, you can directly skip this step and continue with the subsequent operations.
Close the protective cover, empty the base plate, and start performing surface calibration
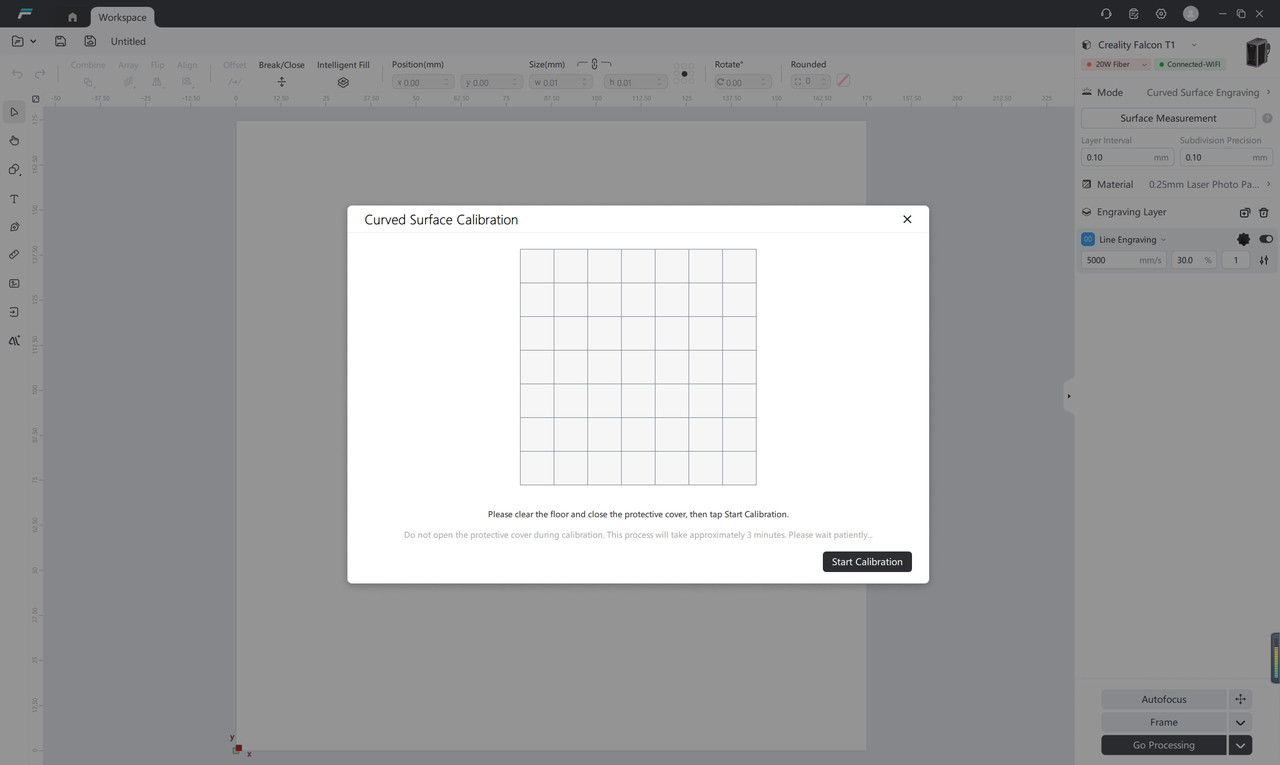
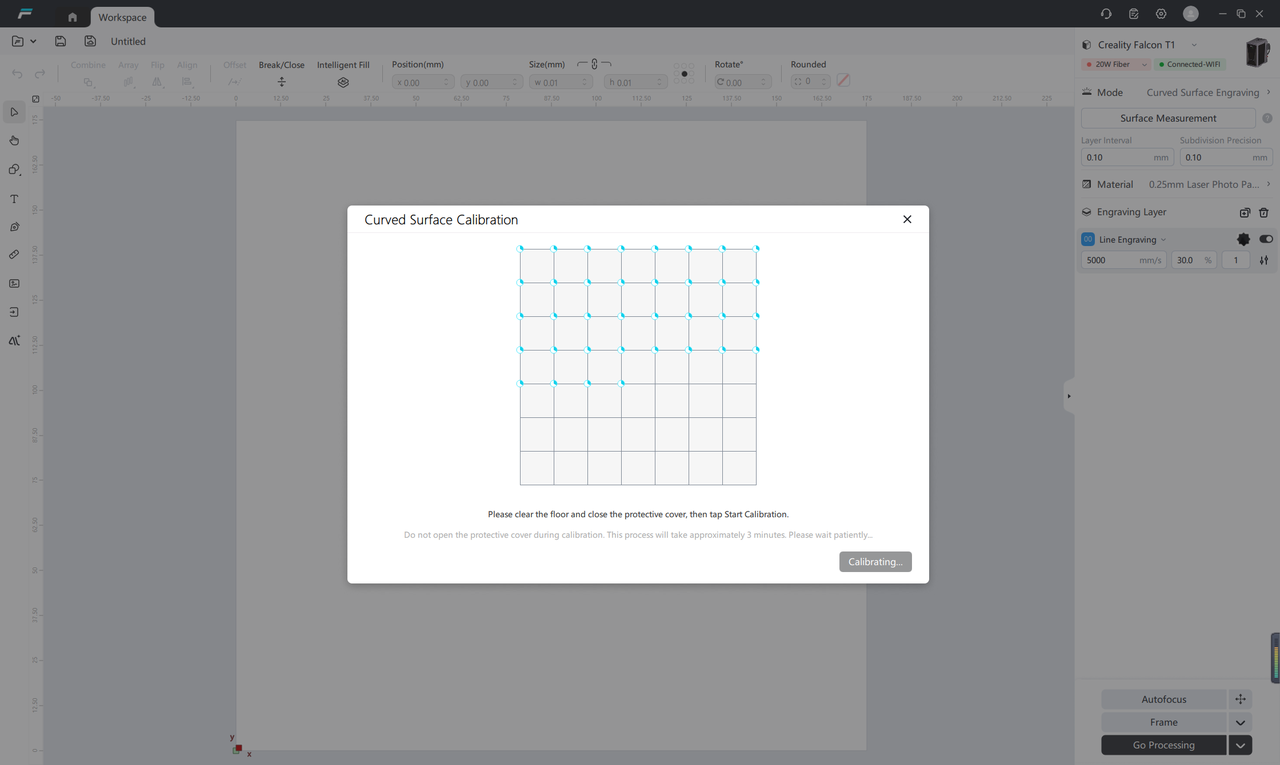
Device surface calibration in progress...
Estimated time: 3-5 minutes. Note: Do not open the protective cover, touch the device, or cut off the power supply during the calibration process. Please wait patiently for the calibration to complete.
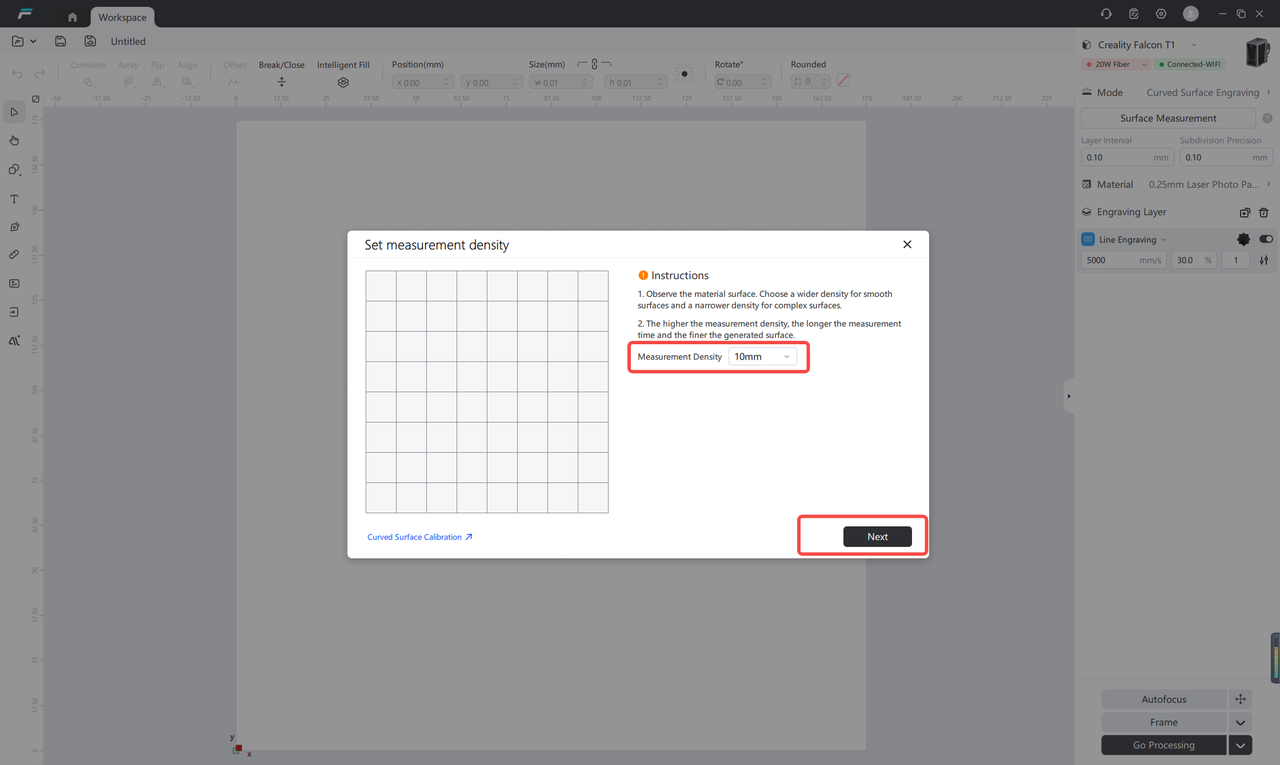
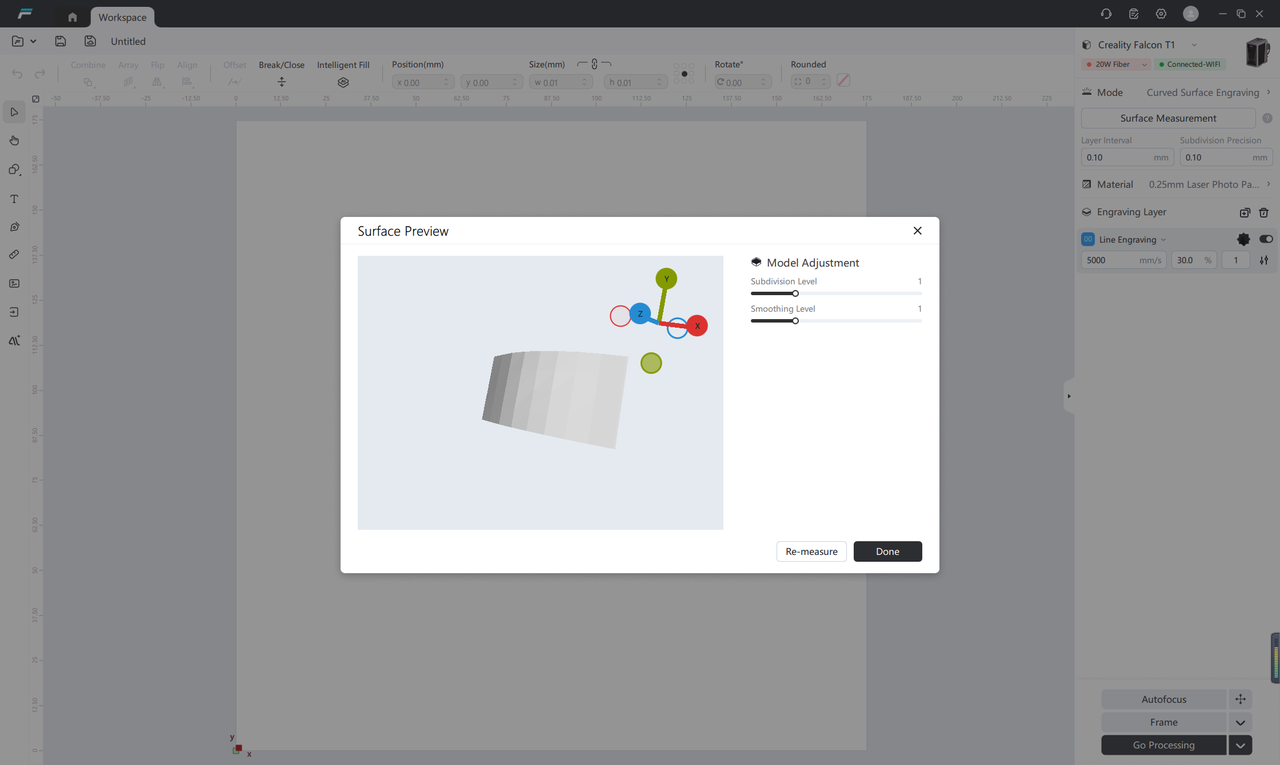
¶ Parameter Confirmation and Adjustment
After calibration is completed, the system will automatically generate recommended parameters.
Recommended operation: Using the system default parameters directly can meet the vast majority of carving needs
Advanced Adjustment: If there are more precise surface modeling requirements, you can manually adjust each parameter according to the actual processing scenario. After confirming the parameters, click "Next".
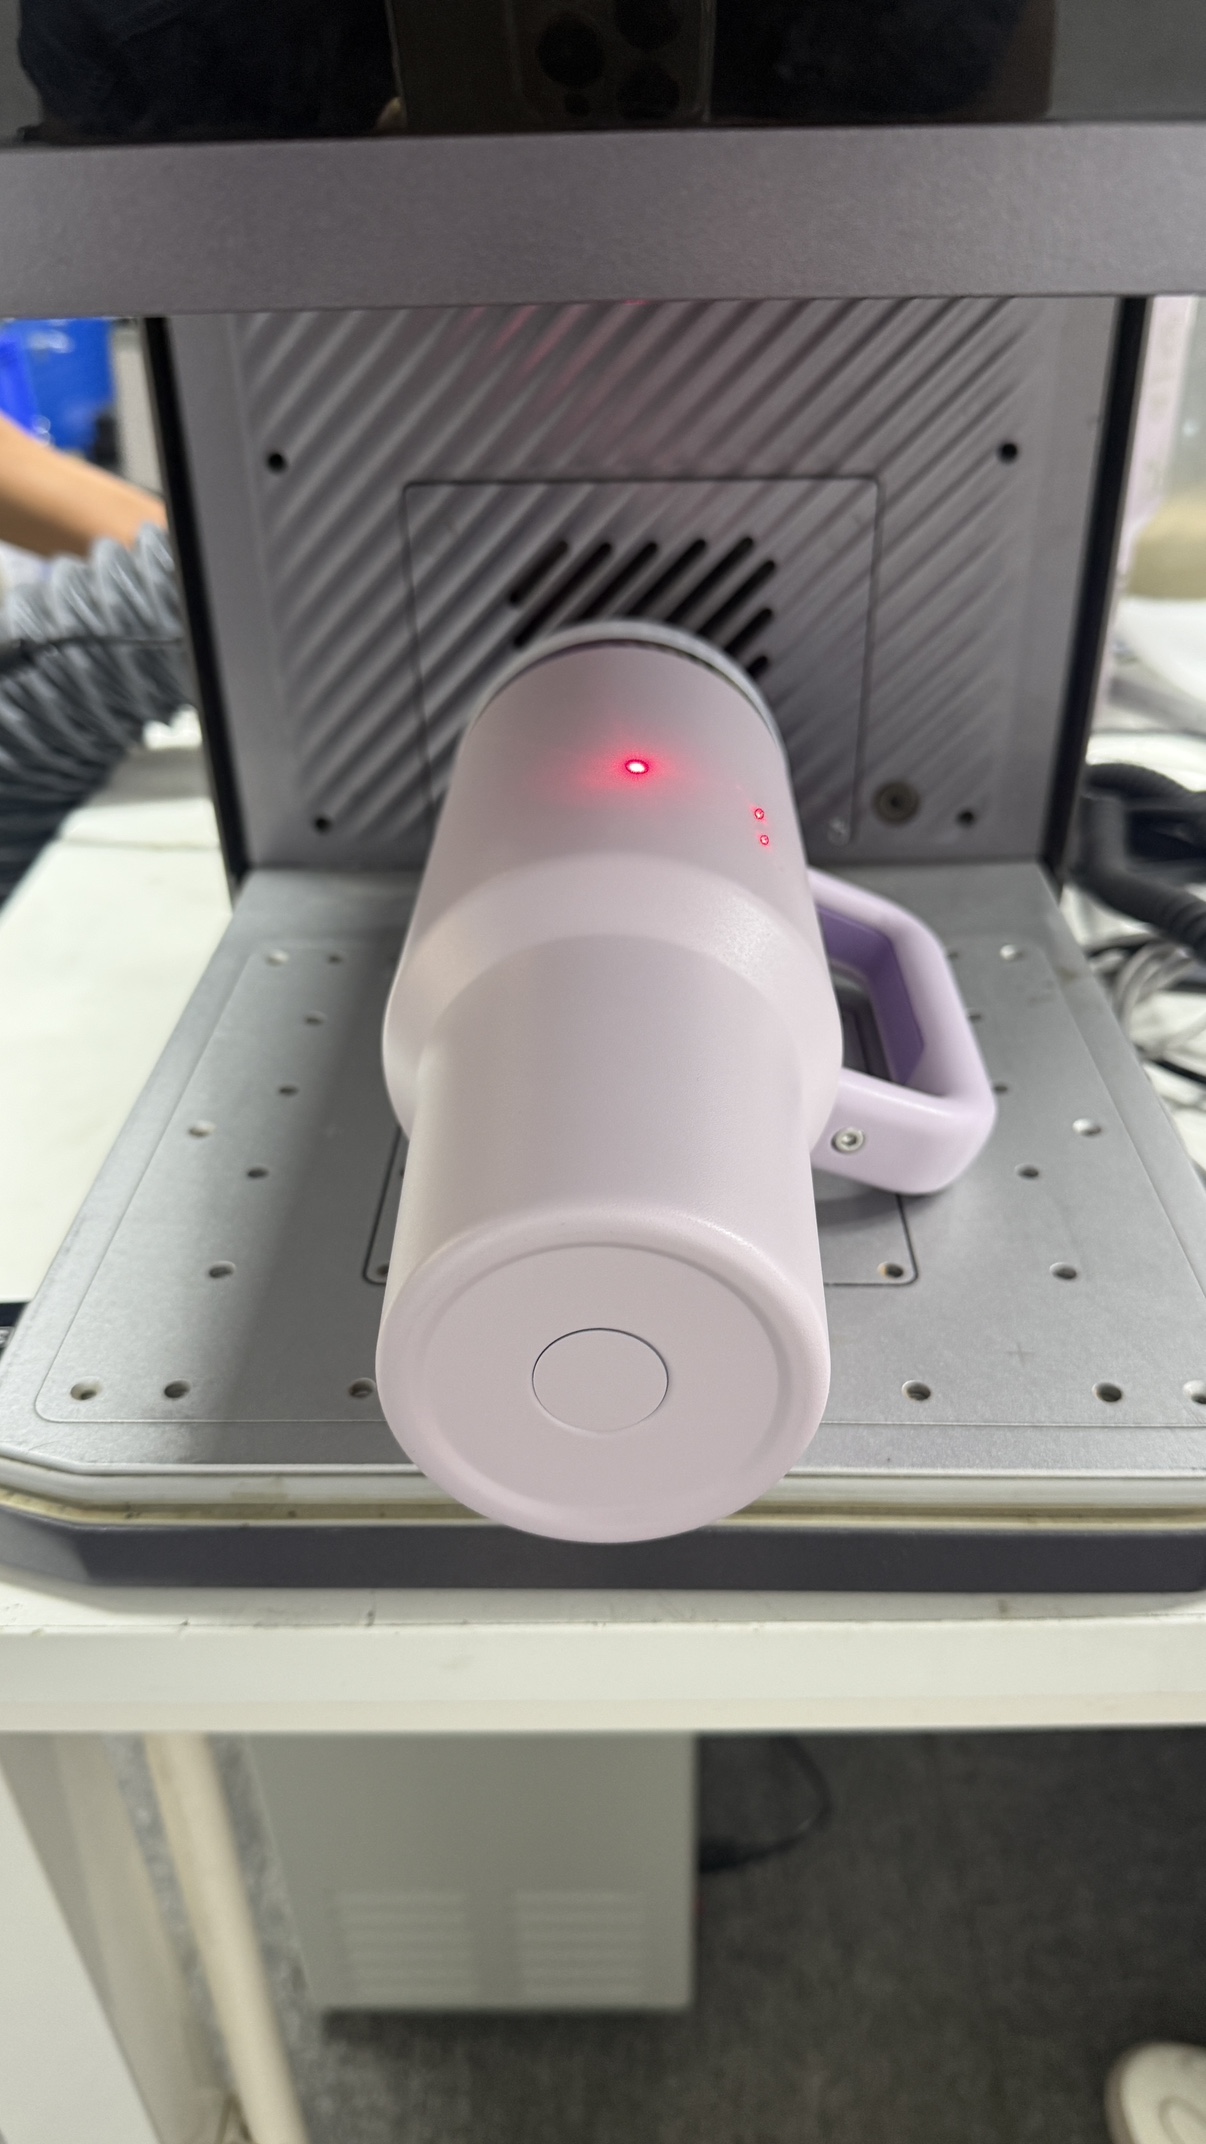
¶ Place processing consumables
Place the consumable to be engraved steadily on the working base plate of the engraving machine, ensuring accurate positioning.
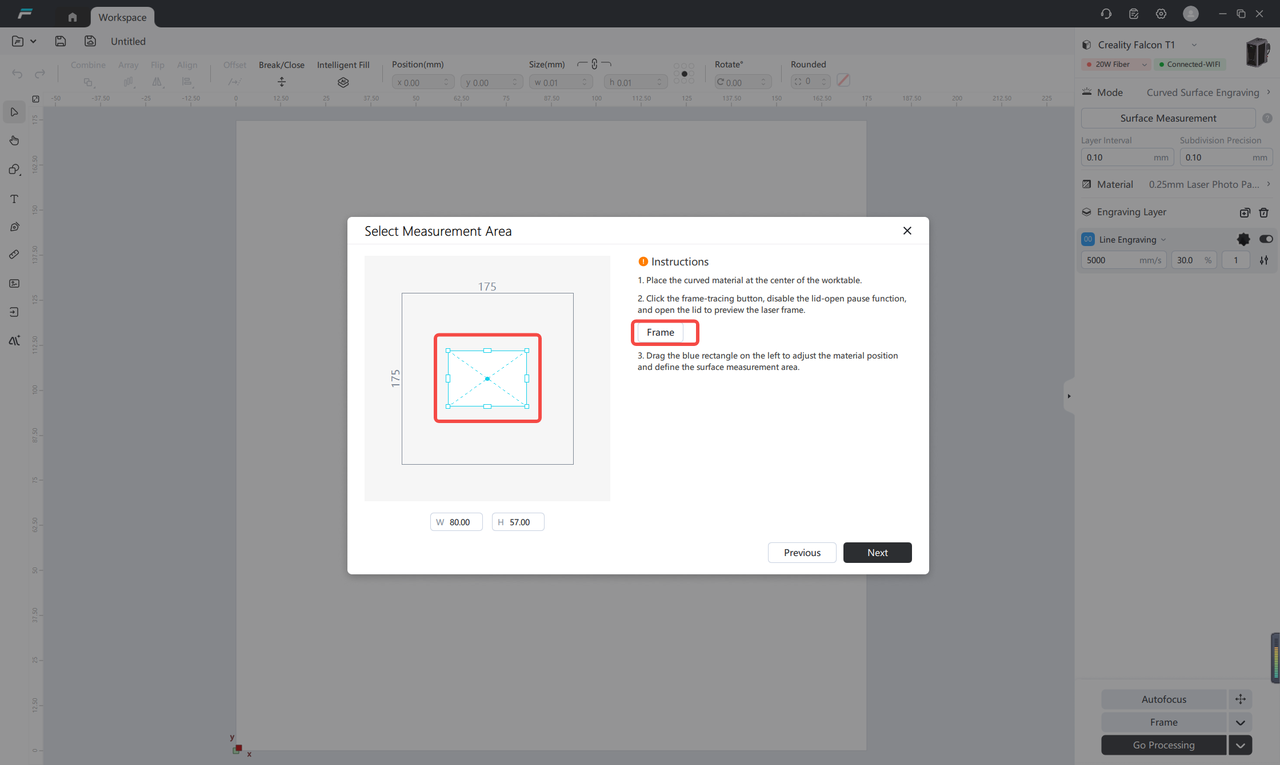
¶ Set the processing range
By dragging the blue border, select the effective range that needs to be processed. Click the "Follow Border" button to preview whether the actual processing area meets expectations.
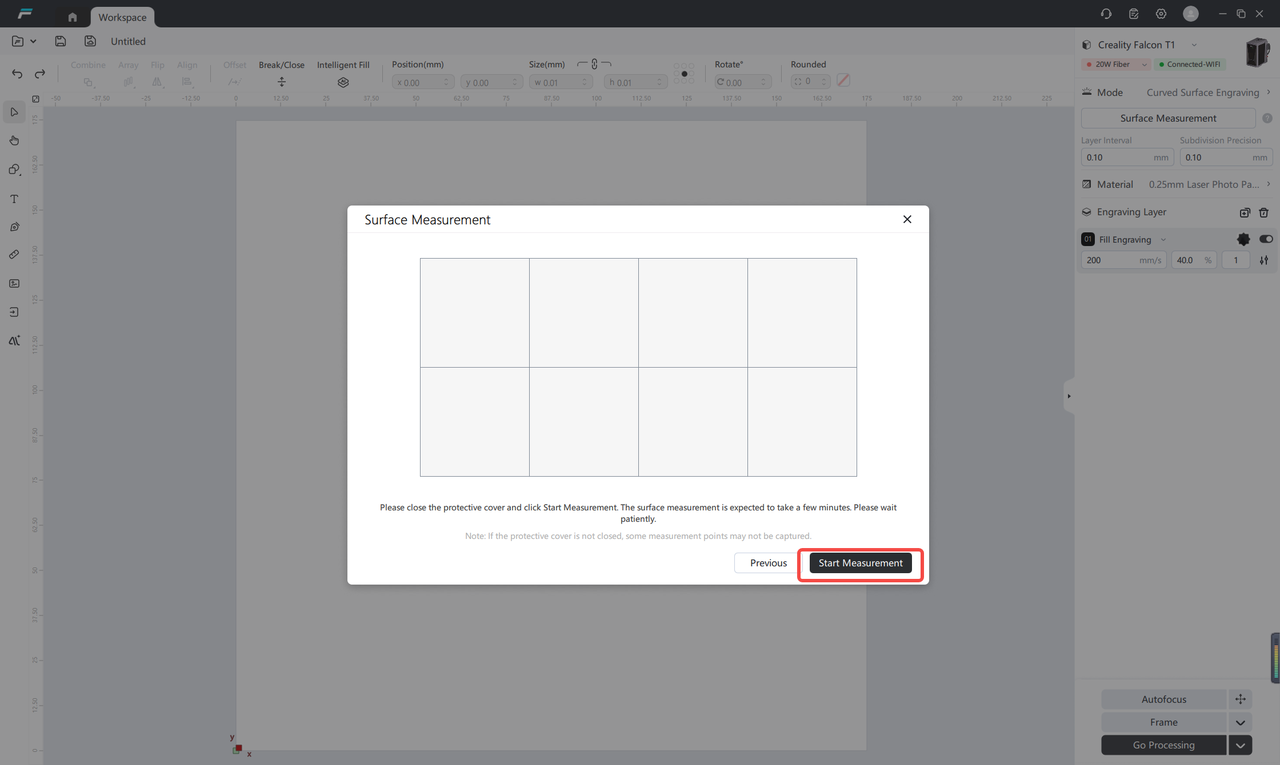
¶ Start surface measurement
After confirming the processing scope, click 「Start Measurement」, and the device will perform 3D scanning and modeling on the curved surface
¶ Import processing creatives
After completing surface modeling, click 「Import Creatives」 and select the pattern or file you need to process.
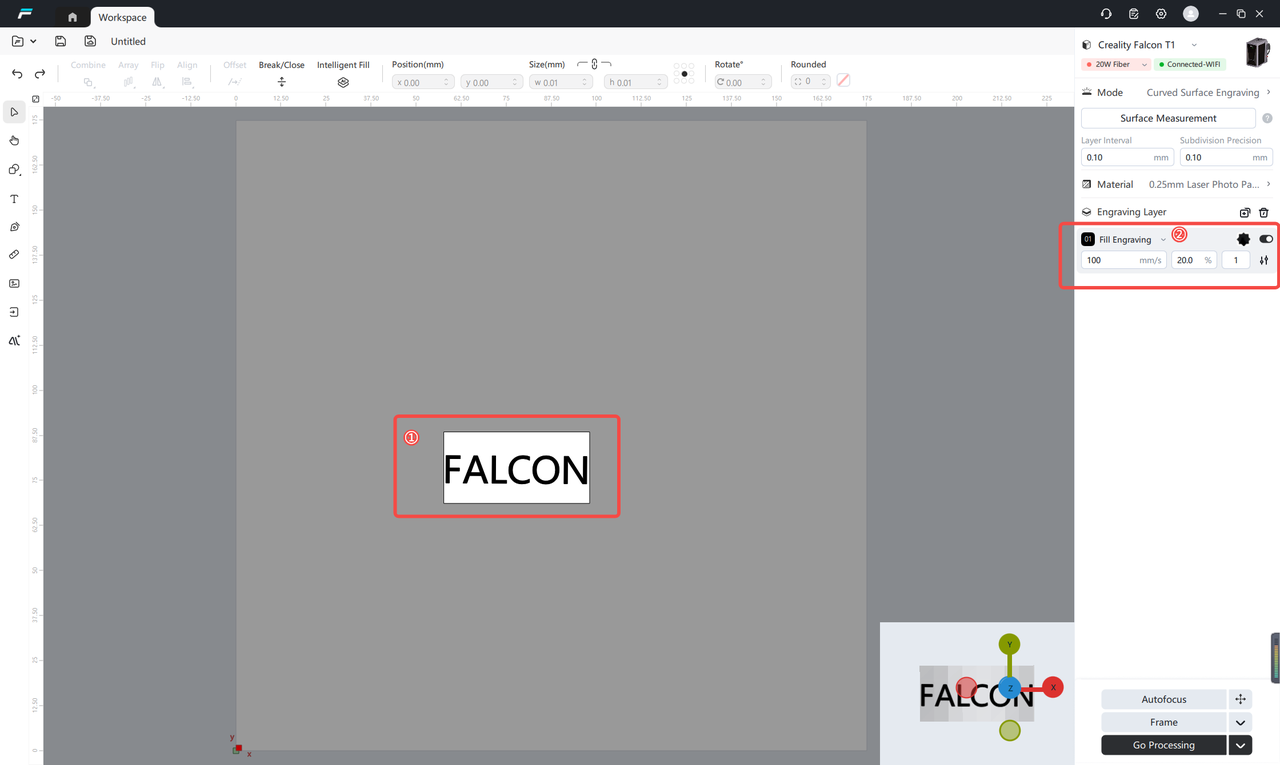
¶ Creative Positioning and Parameter Adjustment
Drag the imported creatives into the established surface modeling area
Preview the carving effect in real time, and adjust the position, size, and angle of the creatives
Adjust the final processing parameters according to the processing material and effect requirements
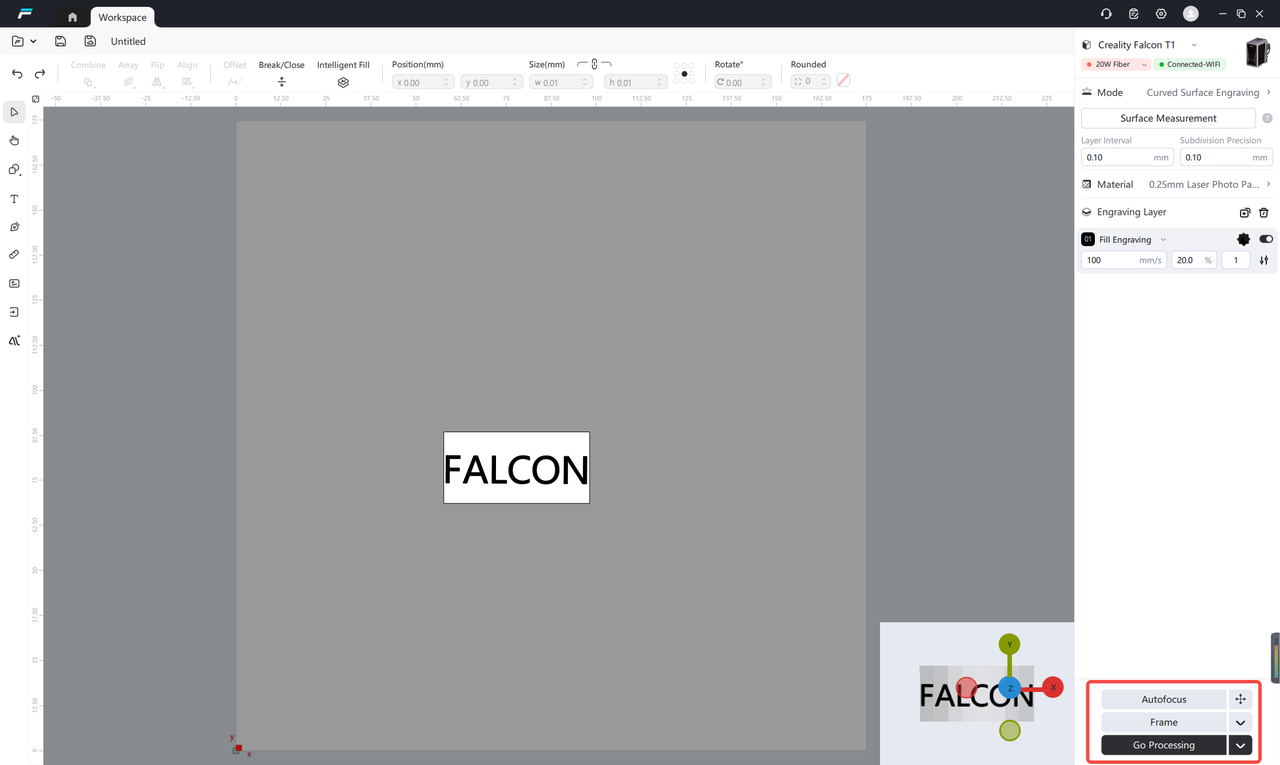
¶ Start processing
Click 「Auto Focus」 to complete focusing
Click 「Follow Border」 again to confirm the final processing position
After confirming that all settings are correct, click "Go to Processing"
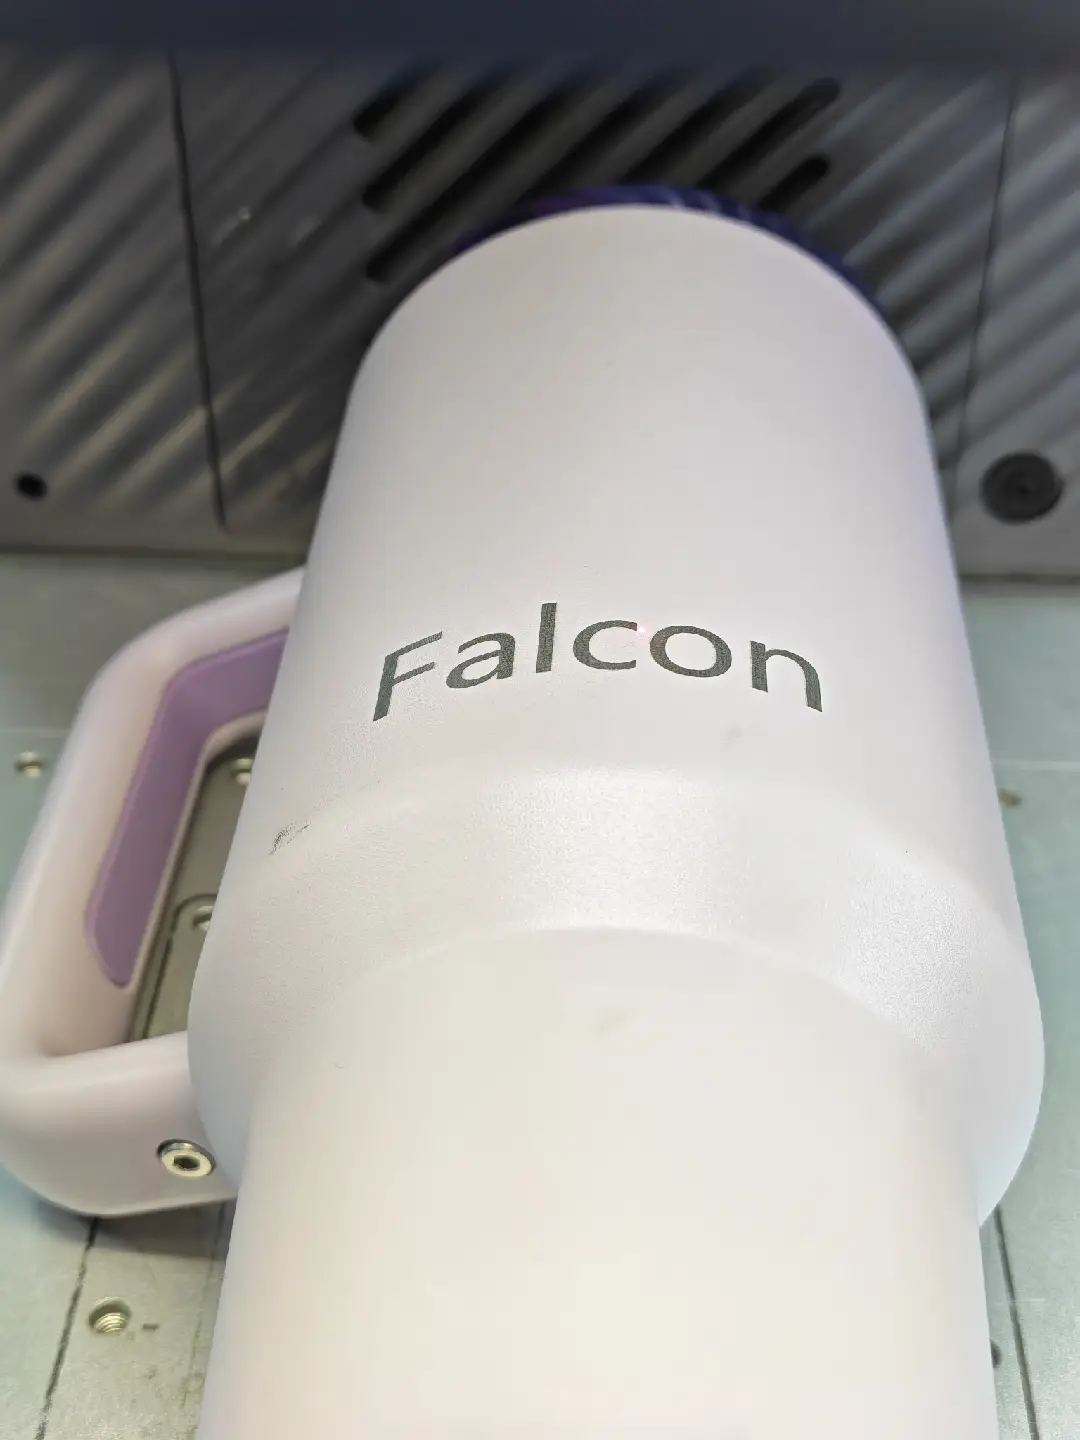
Close the equipment protective cover, and the equipment will automatically start curved surface carving processing