¶ Video Tutorial
Watch the step-by-step video: Falcon A1 Laser Module Replacement
¶ Safety Warning
Power off the laser before getting started. Unplug the machine completely for safety.
¶ Tools Required
Screwdriver
Alcohol
Non-woven cloth
New laser module
¶ Operation
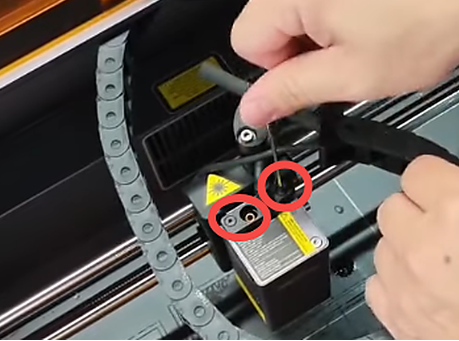
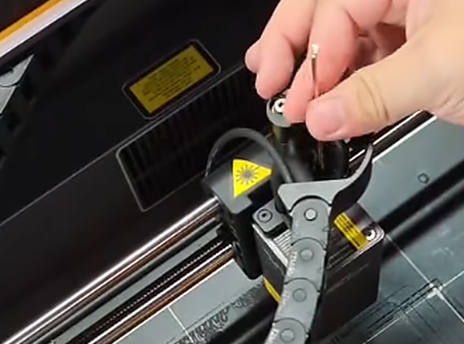
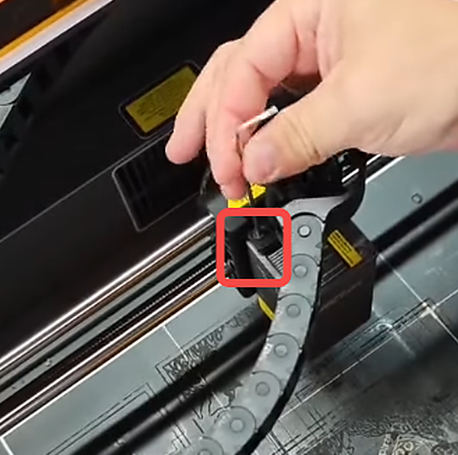
¶ Step 1: Loosen the two screws on top of the laser module
Use a screwdriver to loosen the two screws on top of the laser module. You do not need to remove them completely — just loosen them enough to release the module.
 |
 |
¶ Step 2: Unplug the air assist tube and remove the plastic clip
Unplug the air assist tube connector from the laser module, then remove the plastic clip that secures the cable in place.
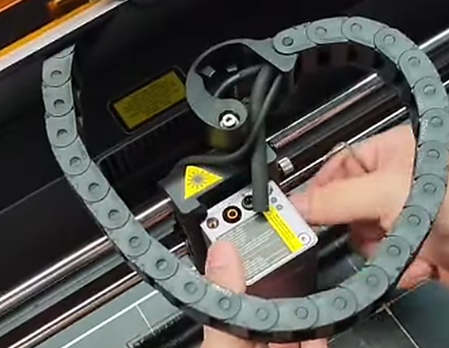
¶ Step 3: Loosen the right-side knob and slide the laser module upward to remove it
Loosen the knob on the right side of the mounting bracket, then carefully slide the laser module upward to lift it out of the machine.
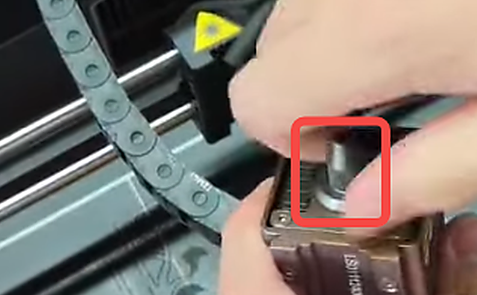
¶ Step 4: Twist off the nozzle to reveal the protective lens
Twist the nozzle counterclockwise to remove it from the bottom of the laser module, exposing the protective lens underneath.
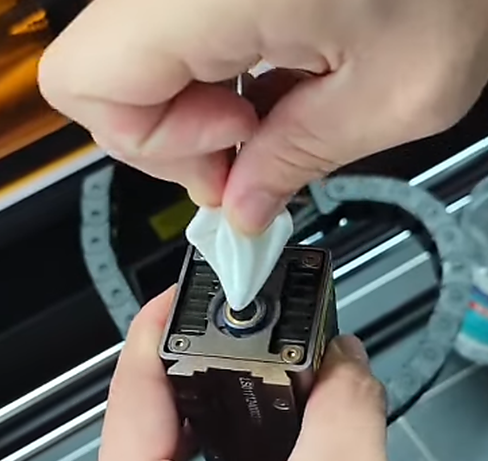
¶ Step 5: Gently clean the lens with alcohol and a non-woven cloth
Gently wipe the protective lens with a non-woven cloth dampened with alcohol. Do not touch the lens surface with your fingers, and avoid applying excessive pressure.
¶ Step 6: Reinstall the nozzle, slide the laser head back in, tighten everything, and reconnect the air tube
Reinstall the nozzle by twisting it clockwise. Slide the laser module back into the mounting bracket, tighten the right-side knob and the two top screws, then reconnect the air assist tube and secure the plastic clip.