¶ 1. Video Tutorial
It is recommended to watch the video tutorial or read this Wiki content in its entirety first:
¶ 2. Pre-Print Preparation
¶ 2.1 Powering On and Setup Guide
¶ 2.1.1 Powering On
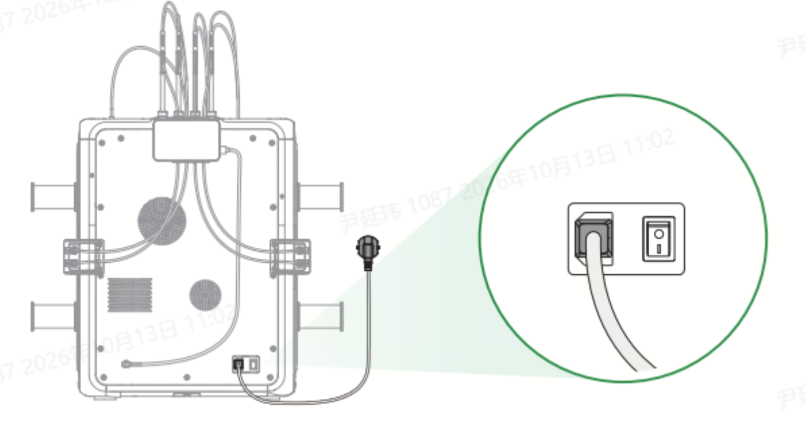
Insert the power cable into the power socket, connect the power supply, press the power switch to turn on the device. When the indicator light shows a steady white light, the device has been successfully powered on.
¶ 2.1.2 Setup Guide
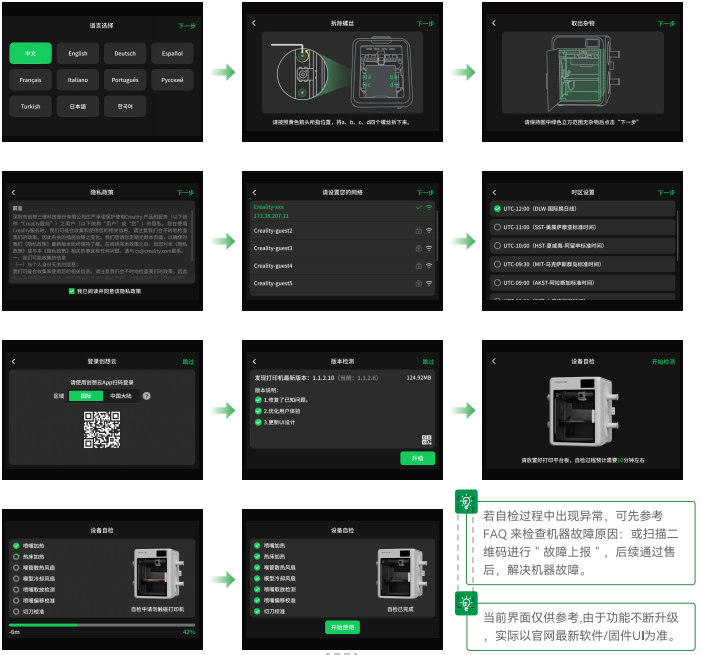
Select language → Follow the prompts to remove the accessories inside the device → Read the user instructions → Connect to network → Set time zone → Log in to the Creality Cloud APP by scanning the QR code → Update firmware version → Begin device self-test. Once the self-test is complete, the device is ready for use.
¶ 2.2 Filament Preparation
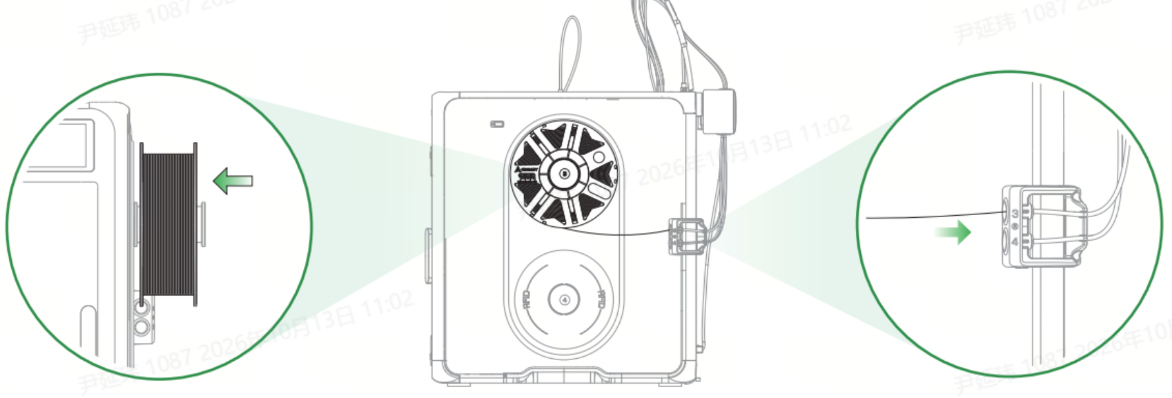
2.2.1 Hang the filament spool on the spool holder, then thread the filament through the PTFE tube connected to the side tube mounting bracket, and gently push it until the filament detection switch is triggered. The automatic filament loading and unloading mechanism will automatically feed the filament to the set position of the hot end assembly.
2.2.2 There are two methods for filament identification: manual entry and RFID Identification.
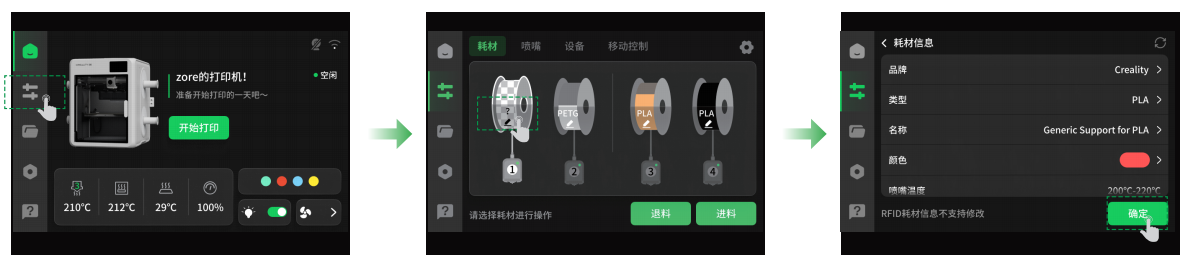
Manual Entry: Open the control panel, tap on the filament icon on the screen, click the edit icon below the spool holder, and set the brand, type, name, and color of the filament respectively. Finally, tap confirm to save the settings.
RFID Identification: This method is only applicable to filaments with RFID Identification functionality. After following the steps in 2.2.1, the RFID readers on both sides of the machine will automatically identify all information about the filament.
2.2.3 After filament identification is complete, the filament loading process must be completed before printing can begin. On the filament interface, tap the spool holder image, select the filament to be loaded, and tap Load. When the Load button becomes clickable again, it indicates that the loading is complete. Loading a single filament takes approximately 2 minutes.
¶ 3. Starting Printing
Before printing, please ensure the print platform is placed steadily and there are no foreign objects on it.
¶ 3.1 Start Printing Using Model Files on the Machine
¶ 3.2 Start Printing Using Creality Print
For detailed operating instructions, please refer to:How to Start Printing Using Creality Print
Download Creality Print
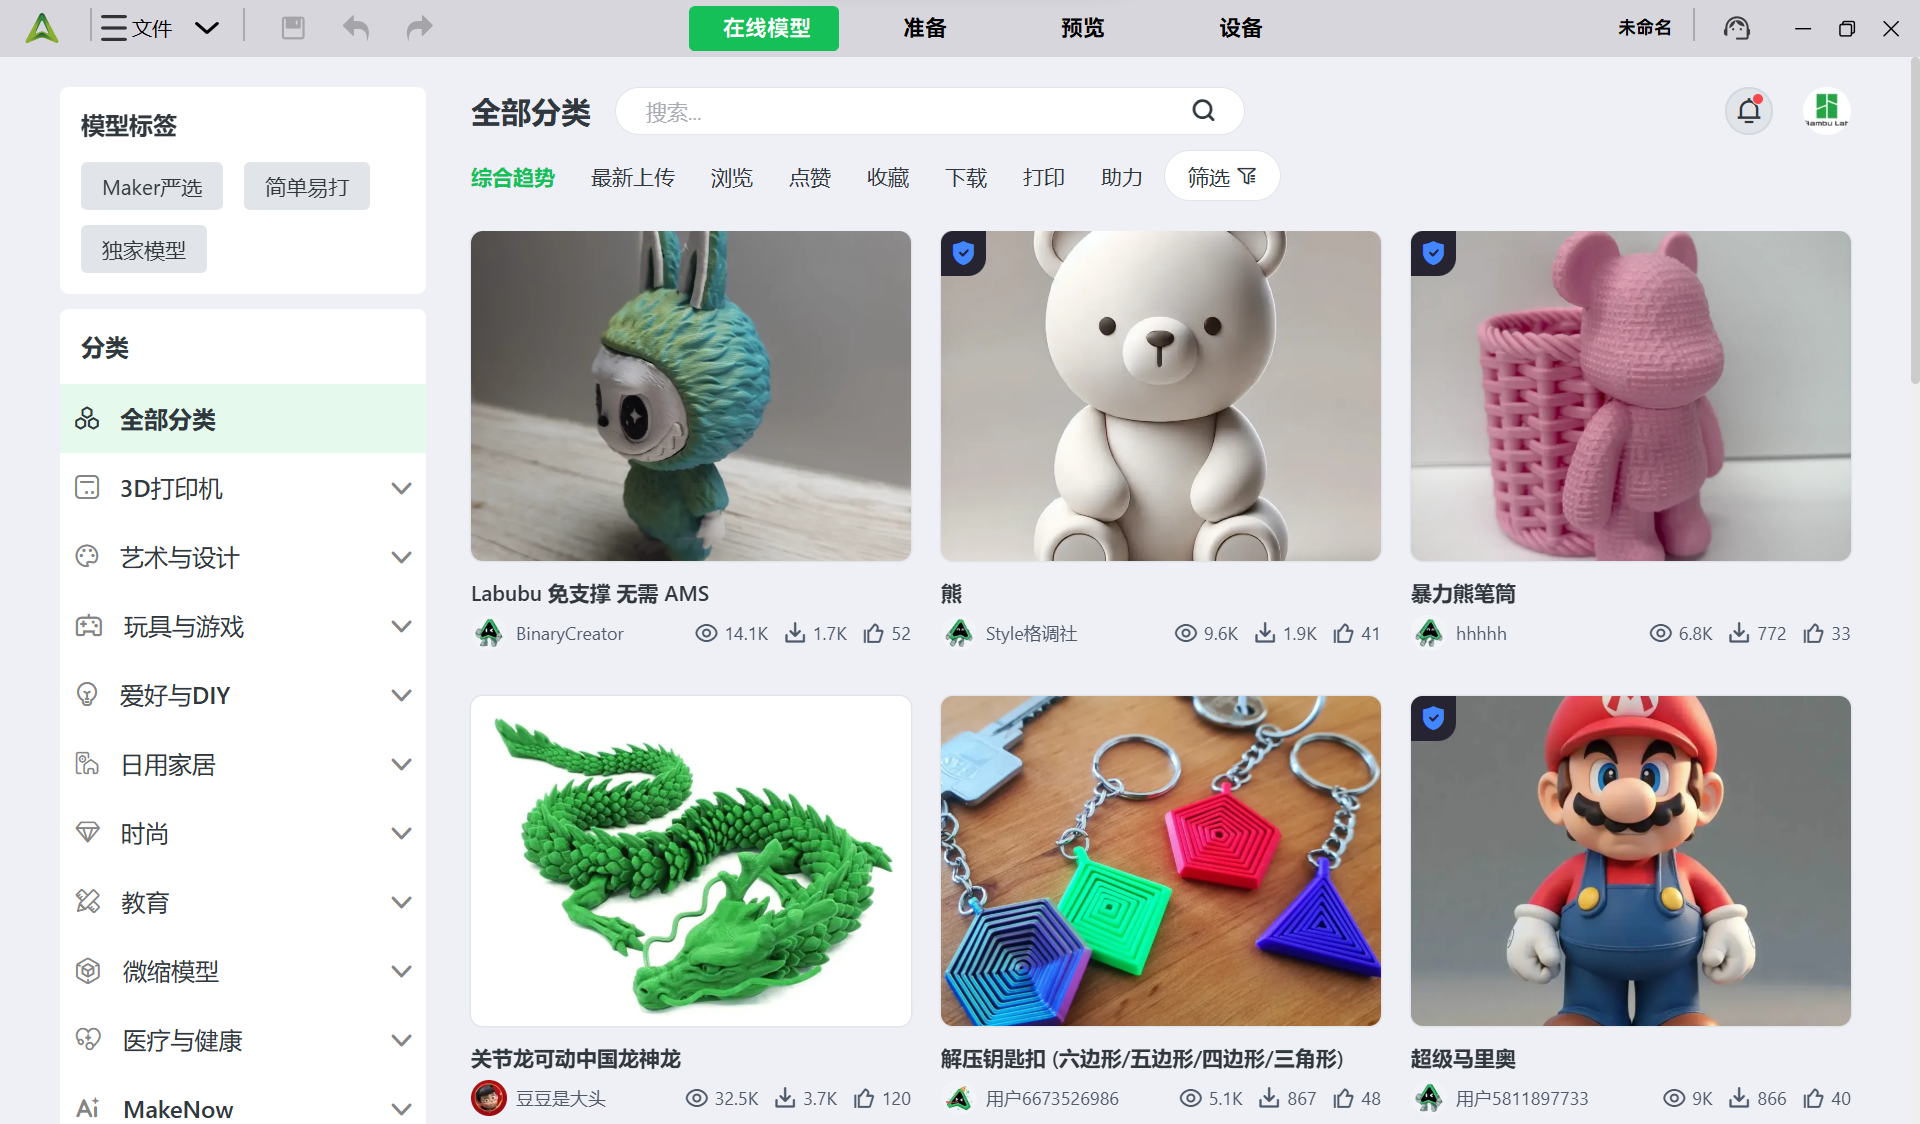
Select or import the model you want to print, select the printer model you are using in the upper left corner, click Slice in the lower right corner, wait for slicing to complete, then click Send to Print.
¶ 3.3 Start Printing Using the Creality Cloud APP
For detailed operating instructions, please refer to:
K3 One-click printing — How to initiate printing using the Creality Cloud APP
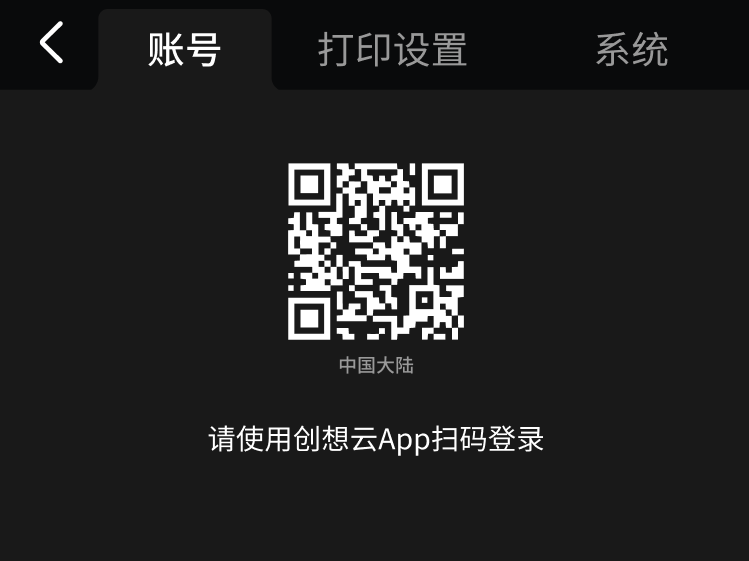
Scan the QR code to download the Creality Cloud APP, and scan the login QR code on the machine to complete the binding.
 |
 |
Select the model you want to print, tap Print, select the configuration for your printer model, and tap Start Print.
¶ How to Refill?
If the filament runs out during printing, the current print job will be automatically paused. You can refer to the "Pre-Print Preparation" steps to reload the filament and resume printing.
¶ How to Change Filament
To change the filament, ensure the print job is completed/ended, or pause the current print job, remove the current filament, and then load the new filament.
¶ 5.1 Unloading the Current Filament
Go to the filament management interface, select the filament slot to be changed, and tap Unload. The system will automatically cut the filament at the nozzle and retract it back into the CFS nano.
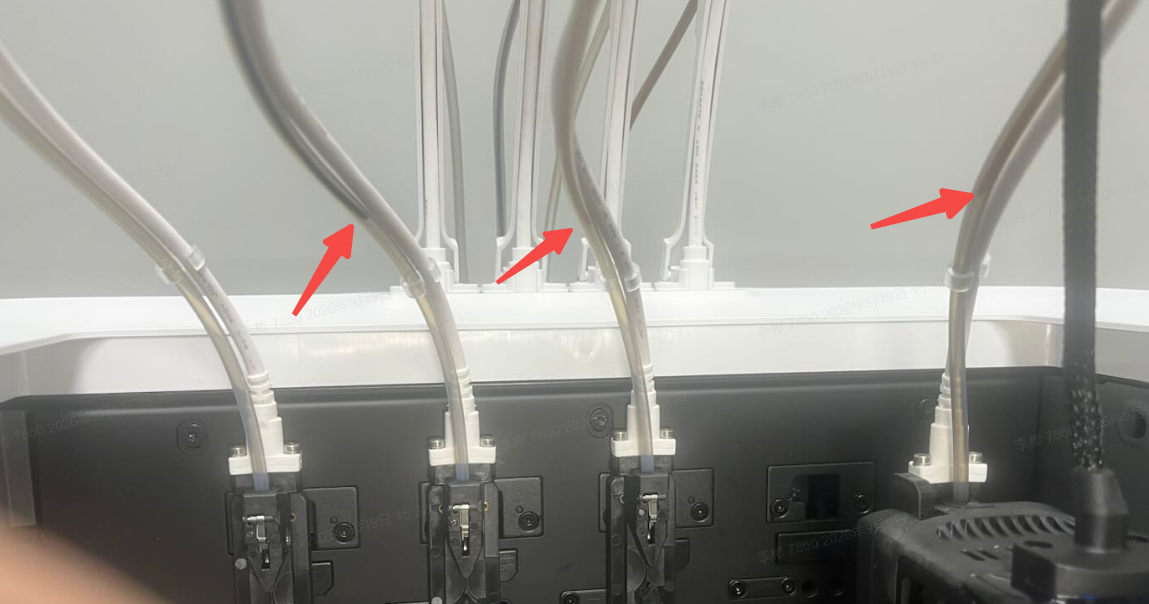
Then remove the old filament spool from the corresponding spool holder.
¶ 5.2 Loading New Filament
Refer to the "Pre-Print Preparation" steps to load the replacement filament and resume printing.