¶ Video Tutorial
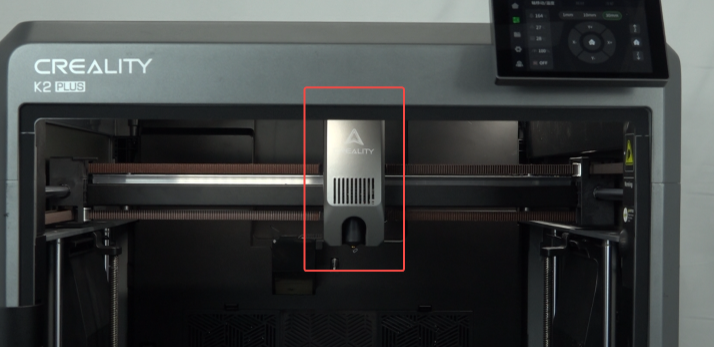
¶ K2 Nozzle Replacement Instruction
Sometimes you may need to replace the nozzle yourself, for example in the following situations:
- The nozzle is severely clogged and difficult to clear;
- Long-term printing has caused nozzle wear, resulting in decreased print quality;
- Need to switch to a different nozzle diameter to meet printing requirements.
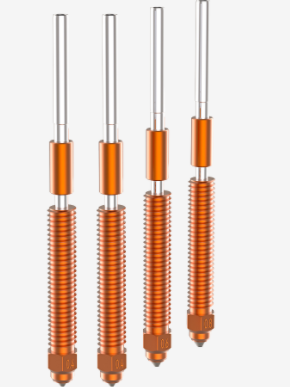
K2 nozzle uses an integrated heat break and nozzle design, with a hardened steel tip to effectively improve wear resistance and service life.
¶ Nozzle Specifications and Compatibility
Currently, we offer nozzles in various sizes to meet different printing needs, including:
- 0.4mm (standard)
- 0.6mm
- 0.8mm
¶ Where to Purchase K2 Plus Nozzles
You can select compatible nozzles and other accessories from our official store.
Click it to buy nozzles directly: ☞ Creality Store & Amazon Creality Store
¶ Tools
- 6mm socket spanner
- Thermal grease
- New nozzle
¶ Steps:
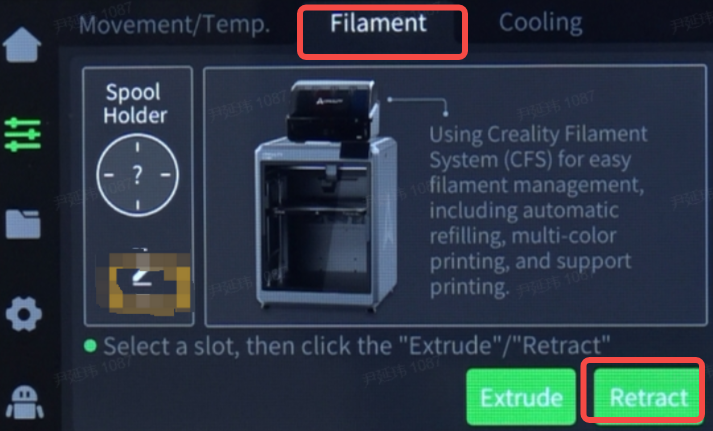
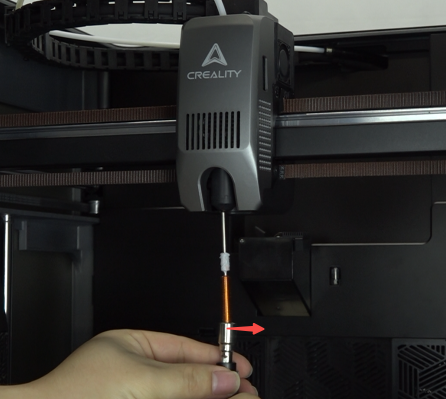
1. Click "Filament" - "Retract", wait for the filament unloading to complete.
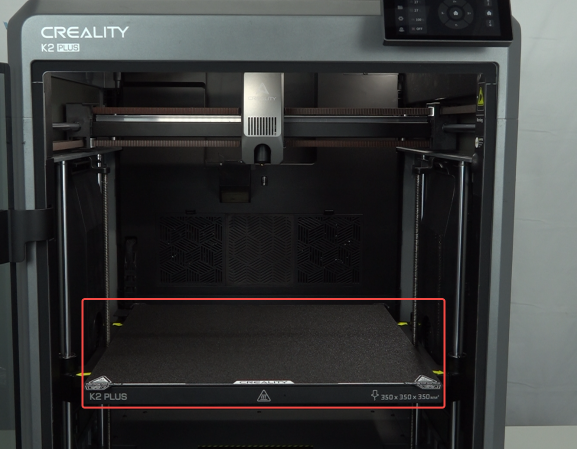
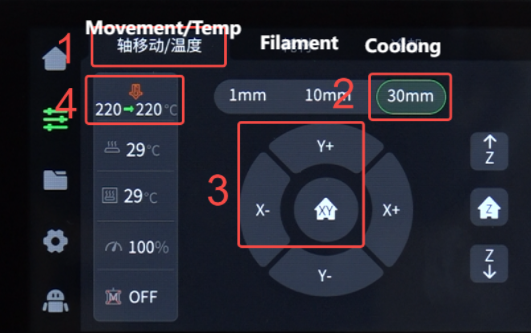
2. Click "Movement/Temp" - "Z-axis homing", wait the machine finishes homing. Click "30mm" - "Z ⇣" to lower the platform to the middle or below of the machine, leaving space for operation.
 |
 |
3. Set the hotend temperature according to the filament used.
For example, set to 220°C when using PLA filament. Set to 240°C when using ABS filament.
 |
 |
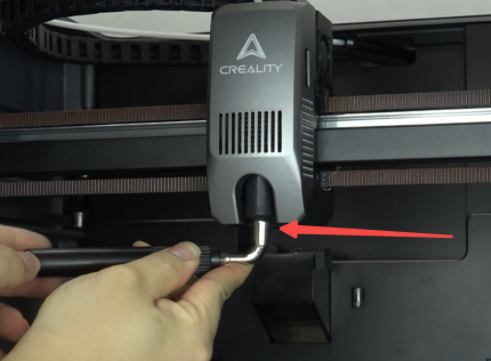
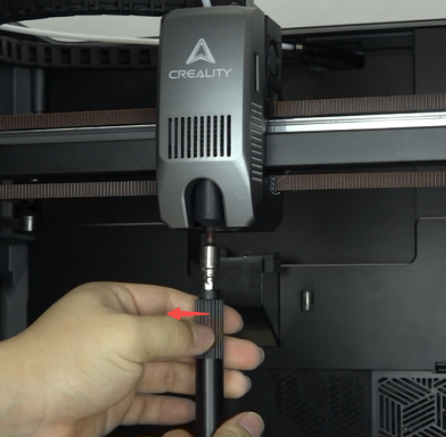
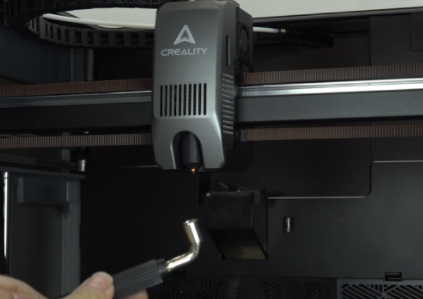
4. Use a socket spanner to unscrew the old nozzle [Be careful of the high temperature of the nozzle to avoid burns.].
 |
 |
 |
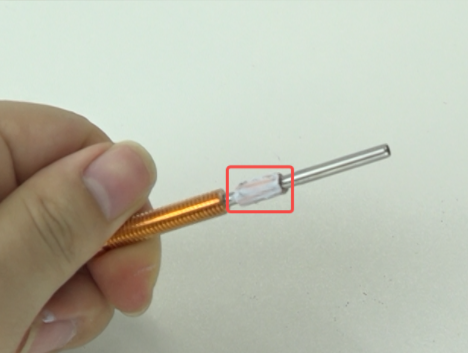
5. Apply thermal grease evenly to the pipe of the new nozzle
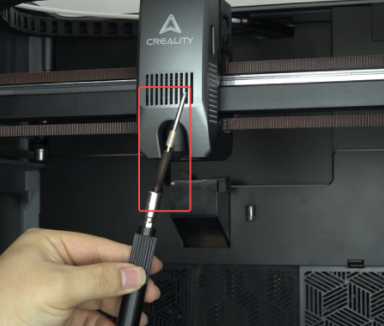
6. Use the socket spanner to screw on the new nozzle by turning clockwise. Be careful of the high temperature of the nozzle to avoid burns.
 |
 |
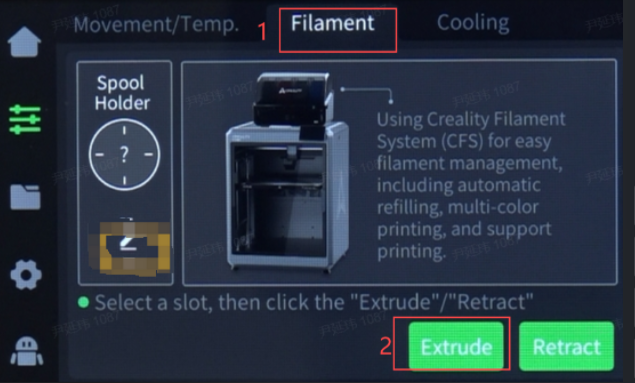
7. Click "Filament" - "Extrude", observe if the filament extrusion from the nozzle is smooth
 |
 |
¶ Device Self-Check
Click "Prepare" - "Calibration" - check "Input Shaping" and "Auto Leveling" - "Start Detecting", wait for the detection to complete.

¶ Friendly reminder
If you still haven't resolved the issue after following the steps in this document, or if you encounter any difficulties during the process, you can click the right corner of the wiki page online support to contact our after-sales team for more help.