¶ Tools
- Hexagonal wrench
- Cutting plier
- Tweezers
- Socket spanner
- New printhead board
¶ Replacement Steps
Before replacement, please retract the filament from the extruder and move the hot bed to the bottom.
¶ Disassembly
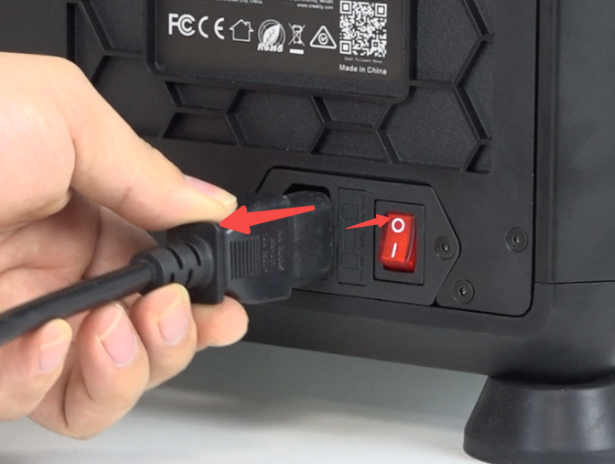
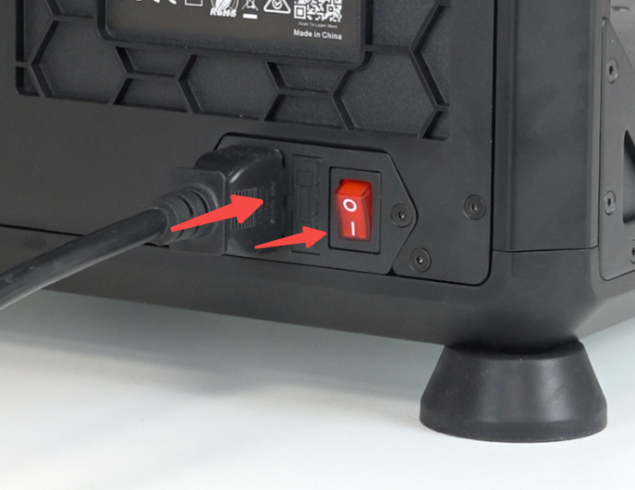
Power off and unplug the power cord.
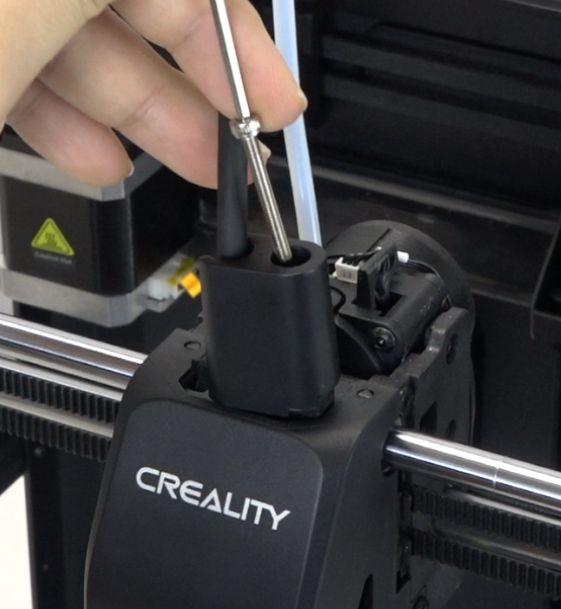
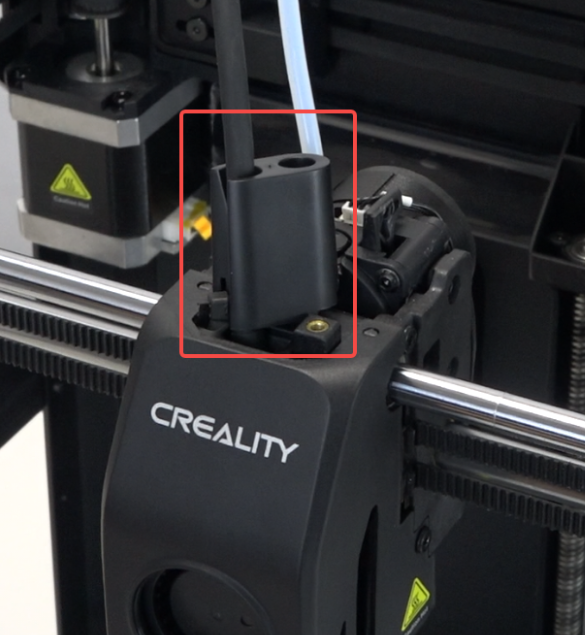
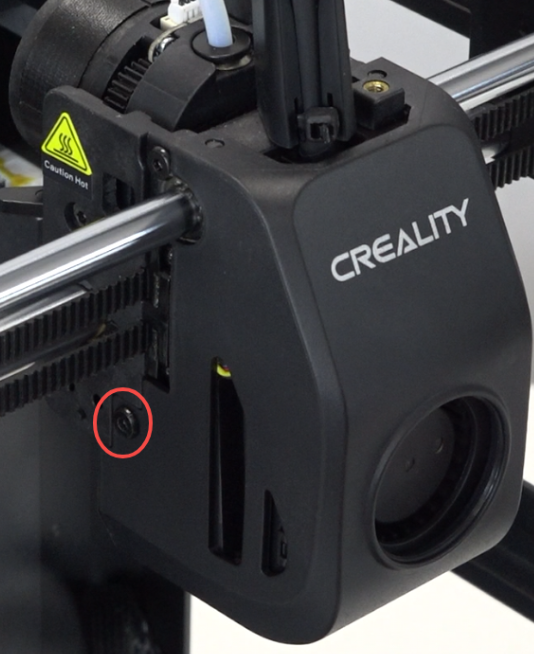
Use the hexagonal wrench to unscrew the front guide component.
 |
 |
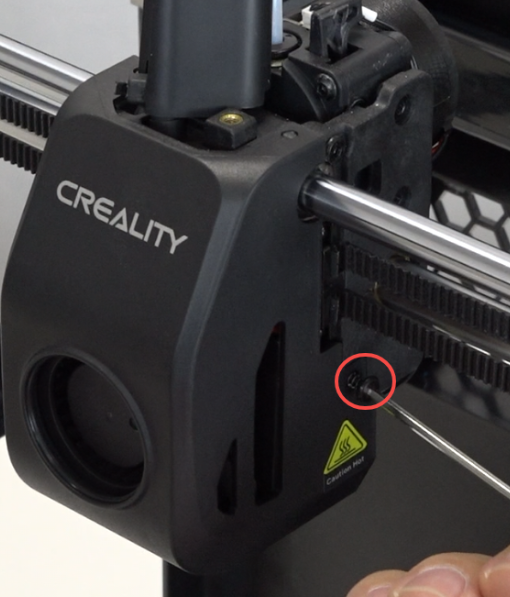
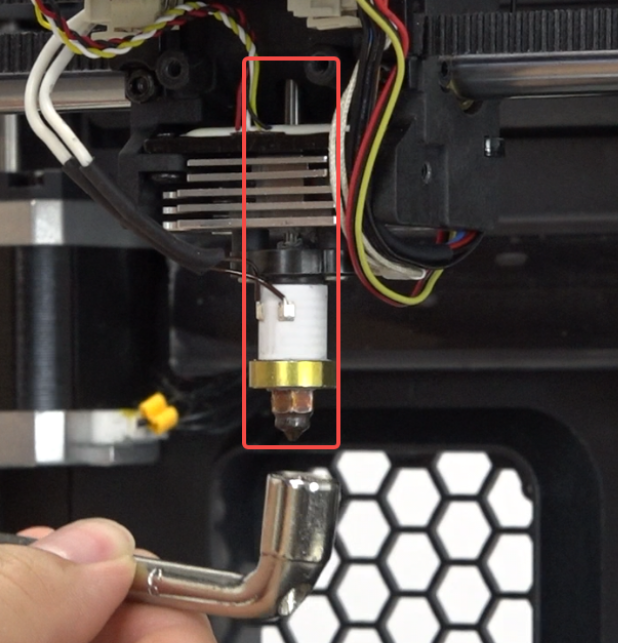
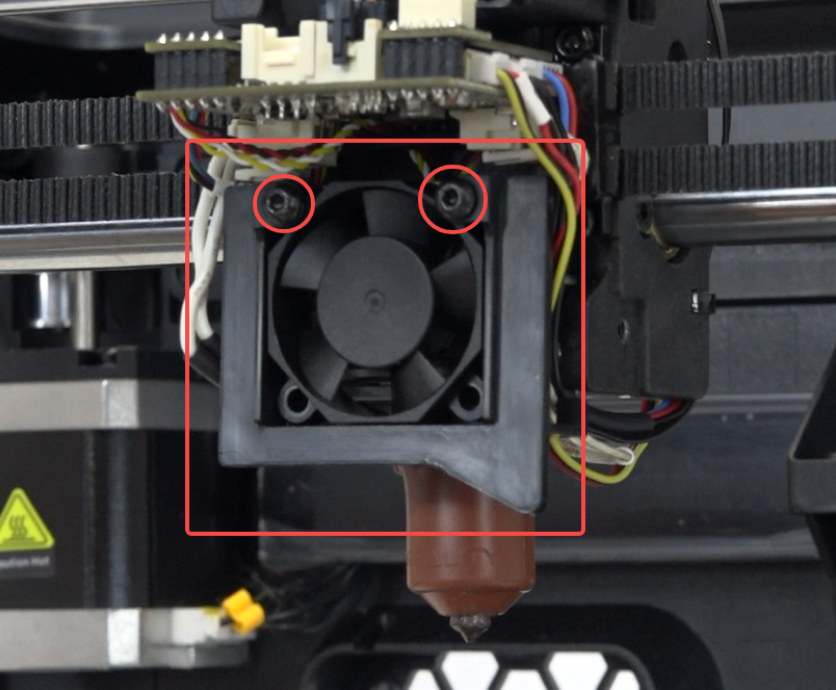
Use the hexagonal wrench to unscrew the 2 screws on both sides of the nozzle cover.
 |
 |
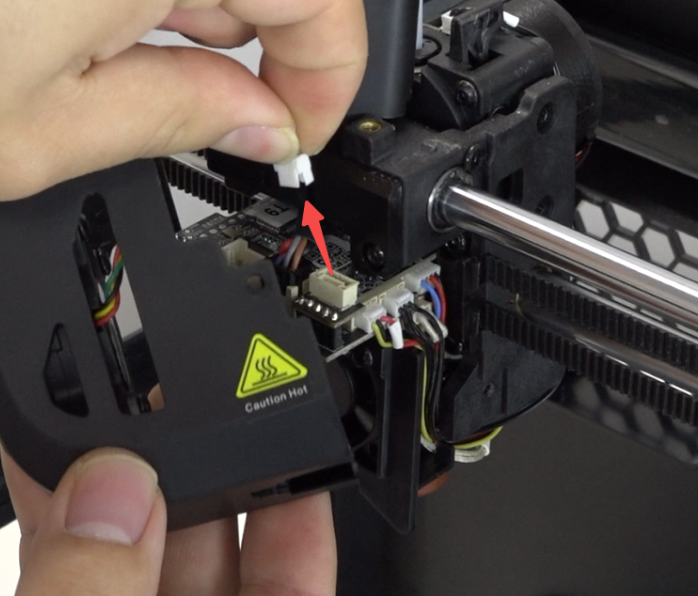
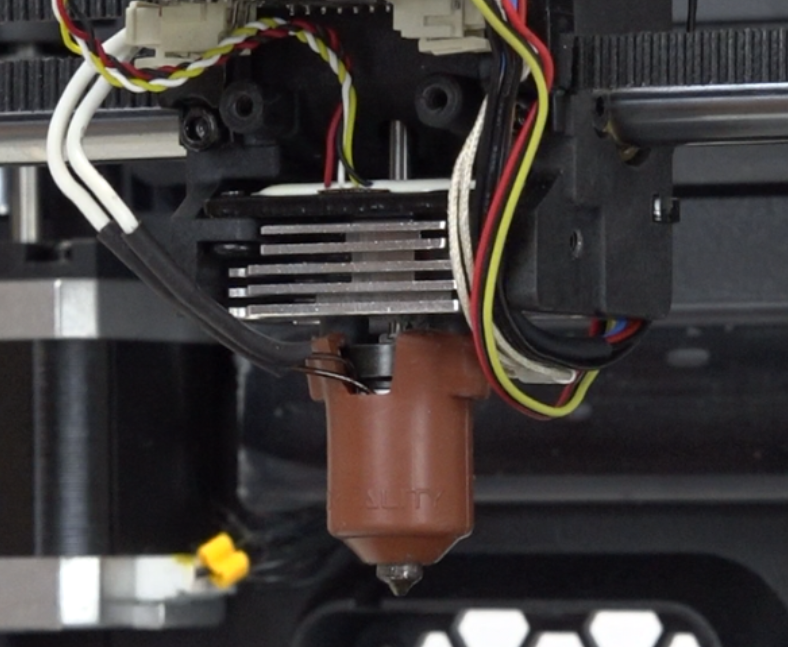
Unplug the model fan wire and remove the nozzle cover.
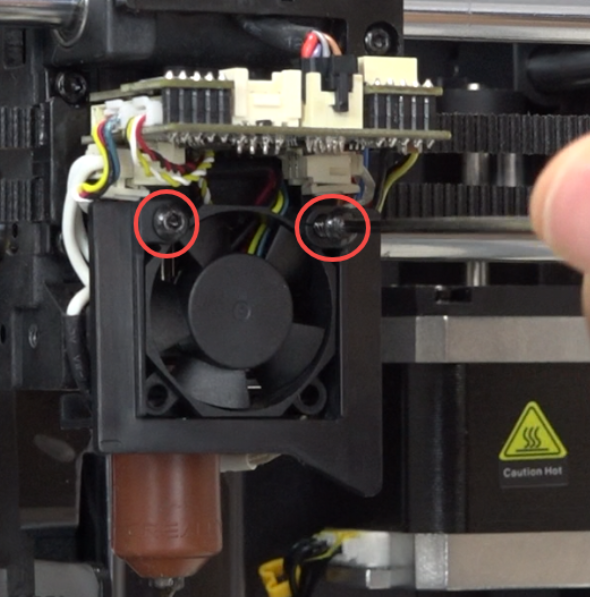
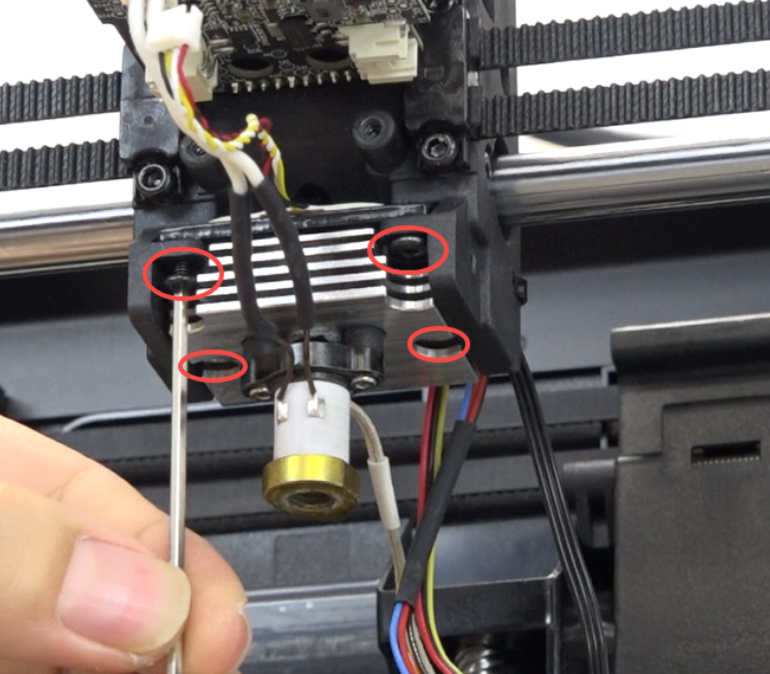
Use the hexagonal wrench to unscrew the 2 screws securing the heat break fan, and remove the heat break fan bracket.
 |
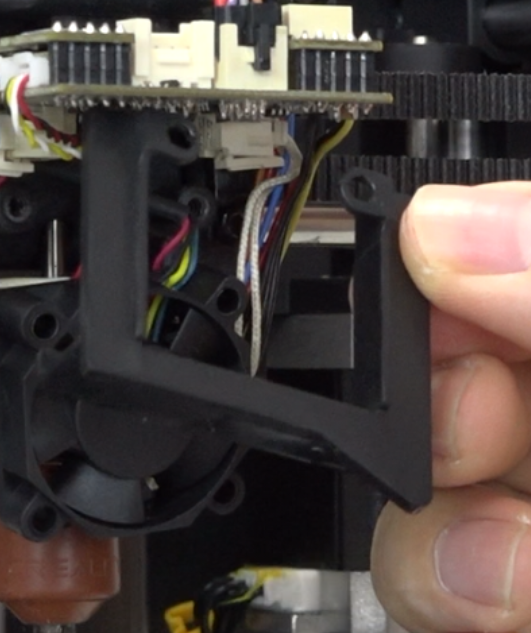 |
Unplug the heat break fan wire and remove the heat break fan.
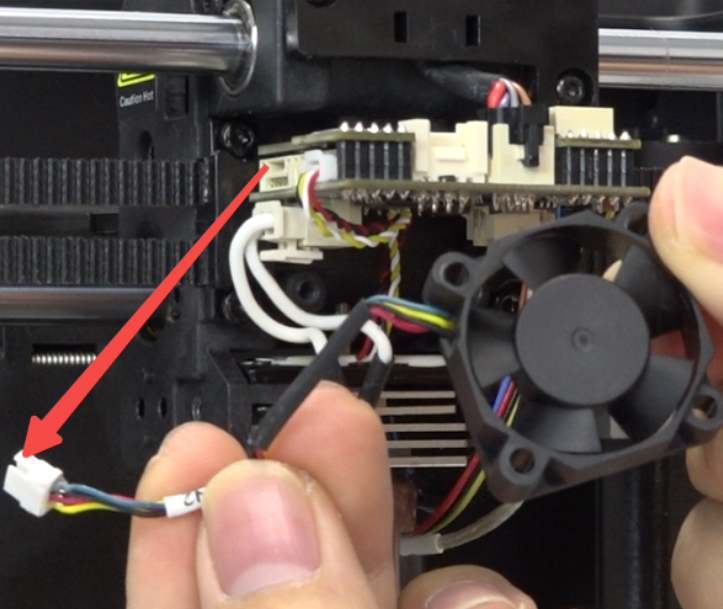
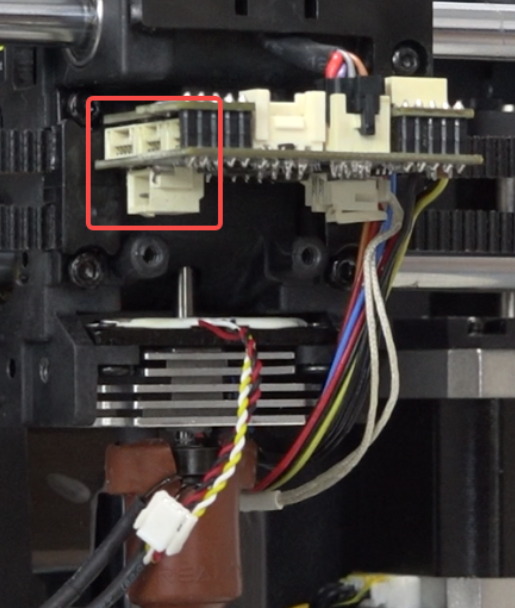
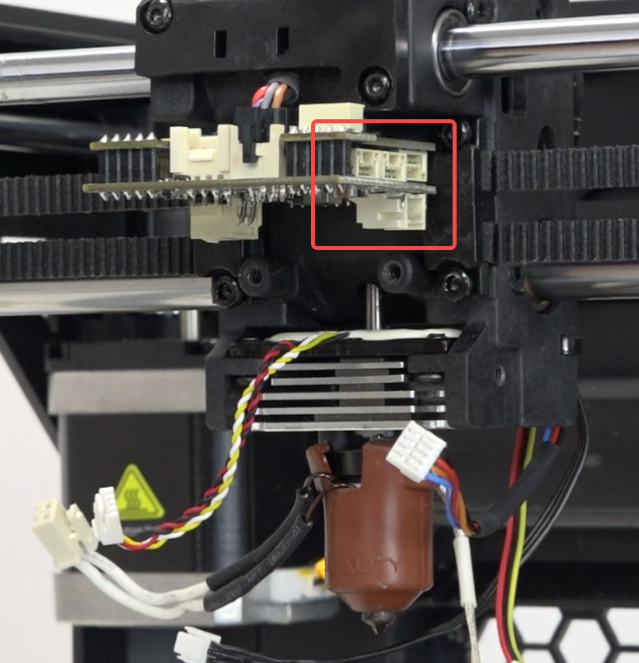
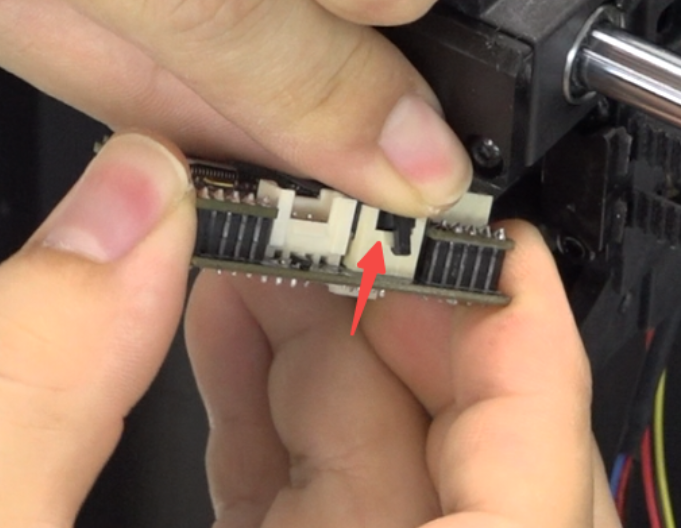
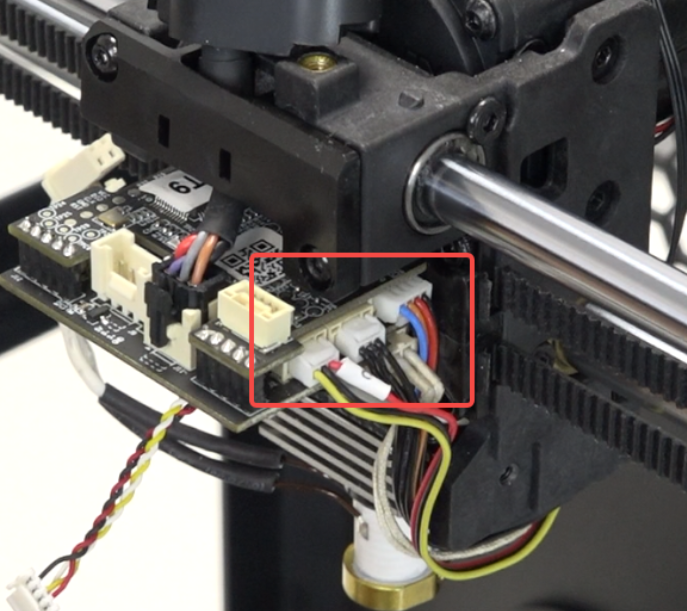
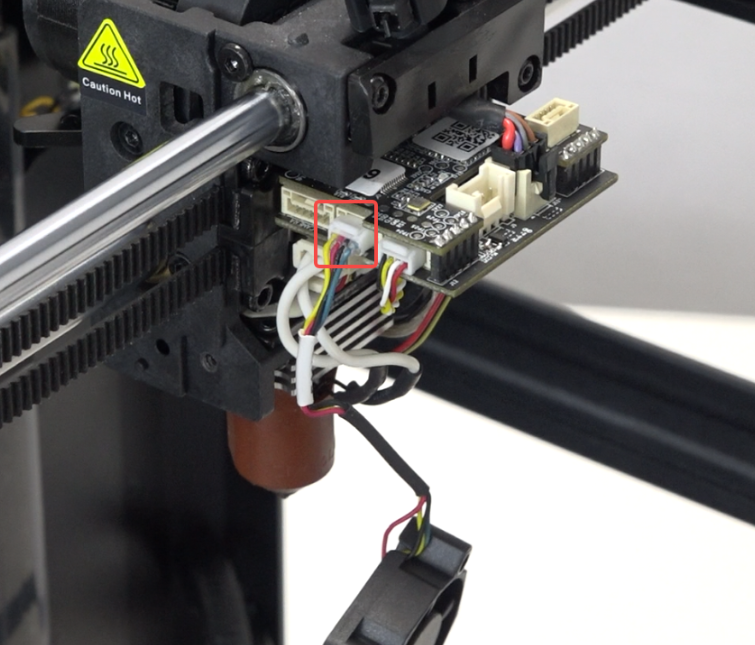
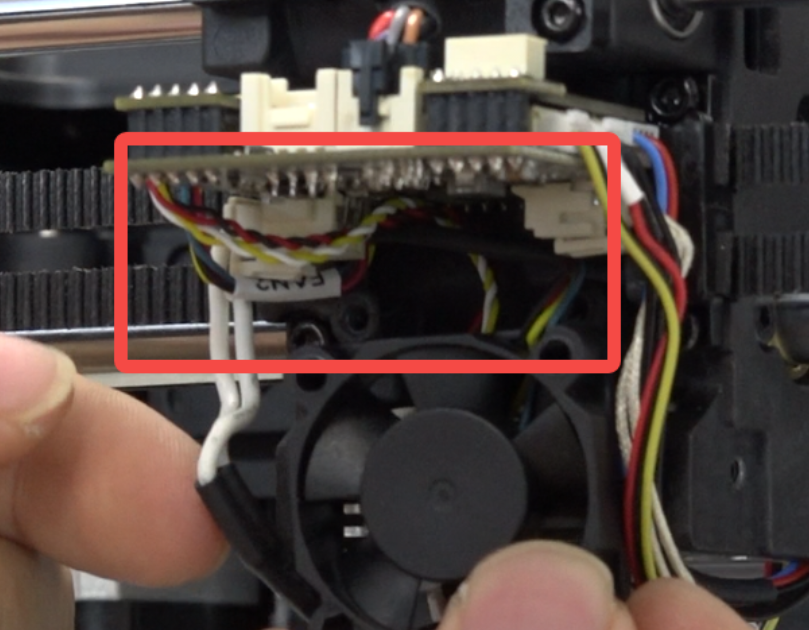
Unplug the wires from the adapter board. Use tweezers to unplug the extruder motor wire.
 |
 |
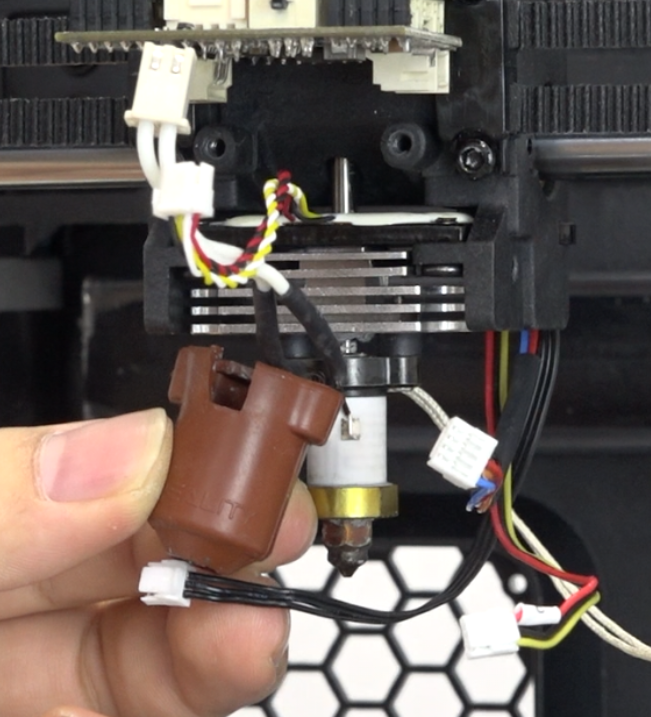
Remove the silicone sleeve.
Use the socket spanner to unscrew the nozzle.
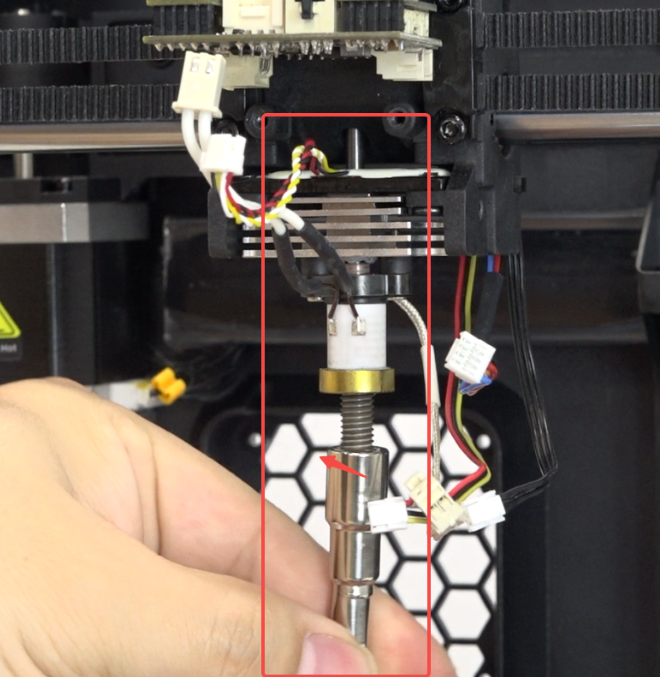
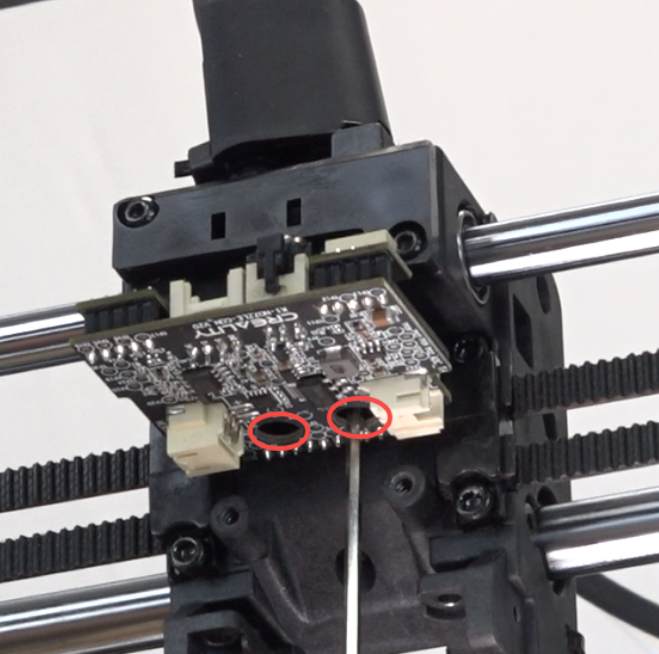
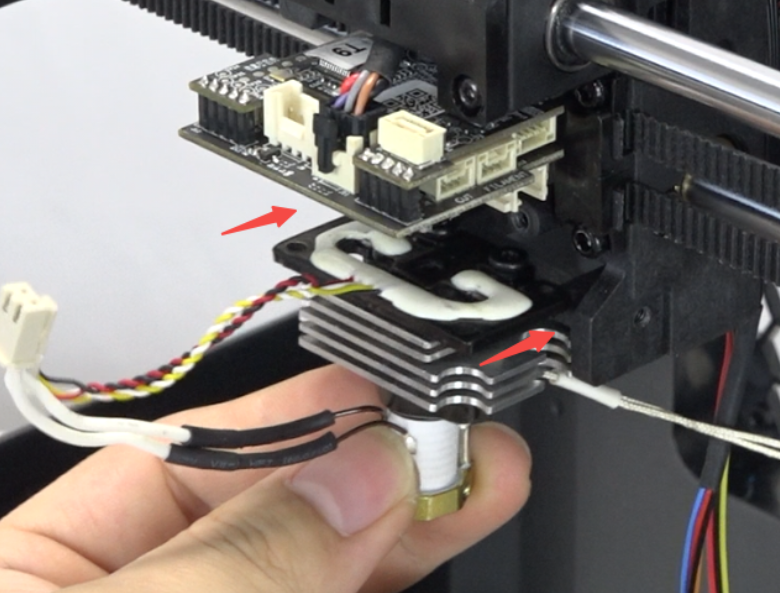
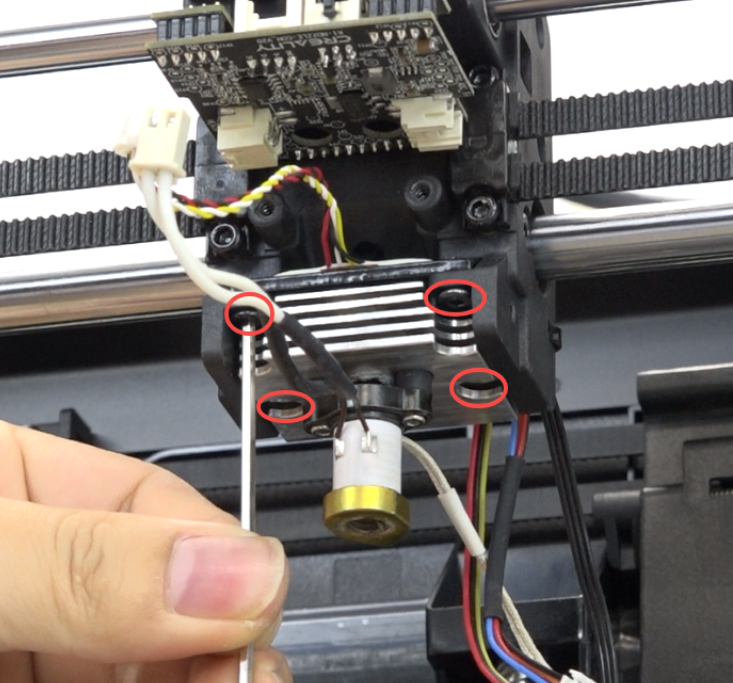
Use the hexagonal wrench to unscrew the 4 screws securing the strain gauge.
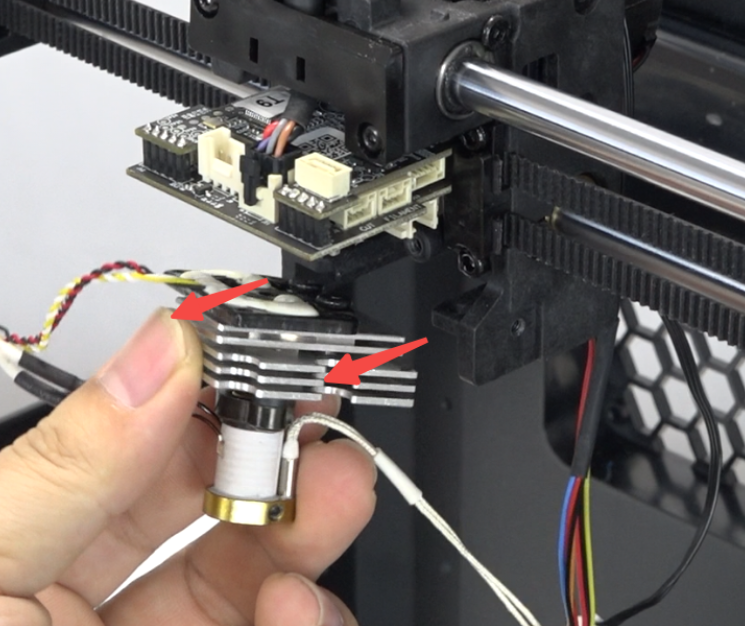
Slide the hotend assembly forward.
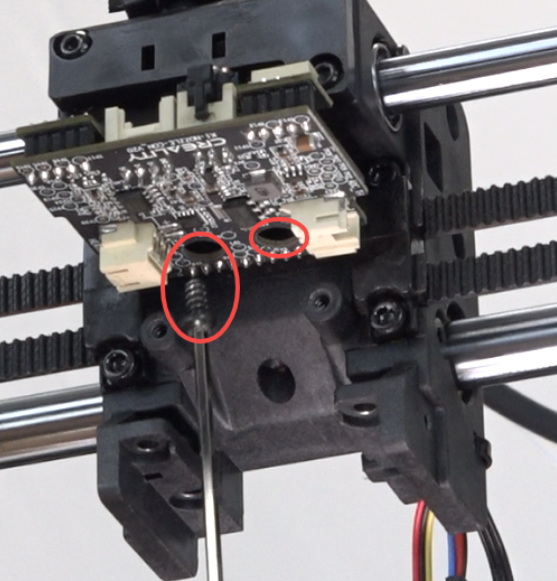
Use the hexagonal wrench to unscrew the 2 screws securing the nozzle board.
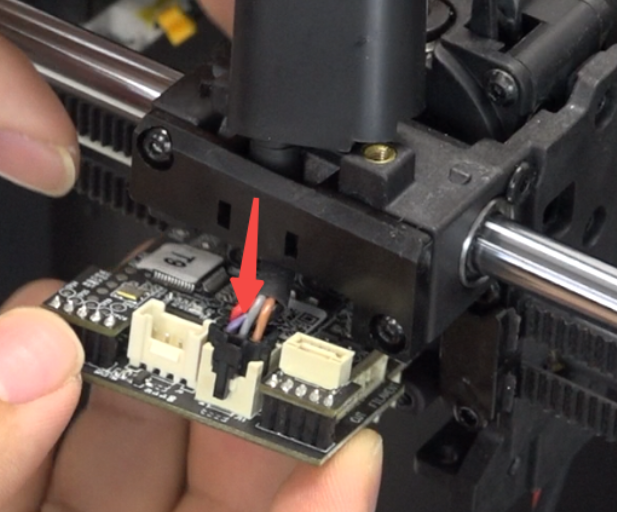
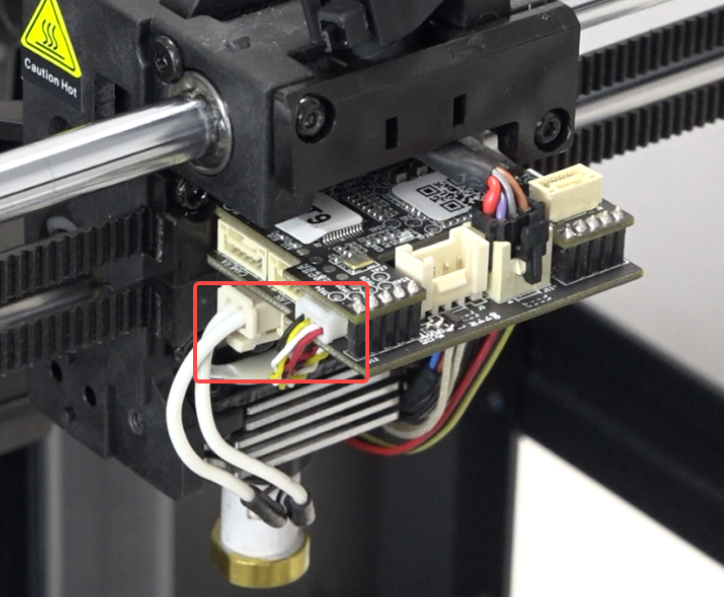
Pinch the wire clip and unplug the nozzle wire.
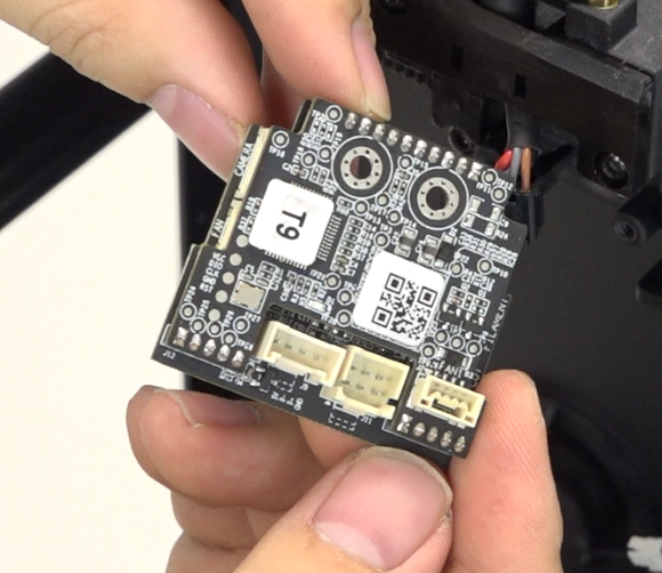
Remove the damaged nozzle board.
¶ Installation
Install the newnozzle board and plug in the nozzle wire.
Use the hexagonal wrench to tighten the 2 screws securing the nozzle board.
Note: Do not over-tighten, to avoid damaging the nozzle board.
Slide the hot end assembly back.
Use the hexagonal wrench to tighten the 4 screws securing the strain gauge.
Connect all wires.
 |
 |
Use the socket spanner to install the nozzle.
Put on the silicone sleeve.
Plug in the heat break fan wire.
Organize the heat break fan wire routing.
Insert the heat break fan bracket, use the hexagonal wrench to tighten the 2 screws securing the heat break fan.
Plug in the model fan wire.

Install the nozzle cover, use the hexagonal wrench to tighten the 2 screws on both sides.
 |
 |
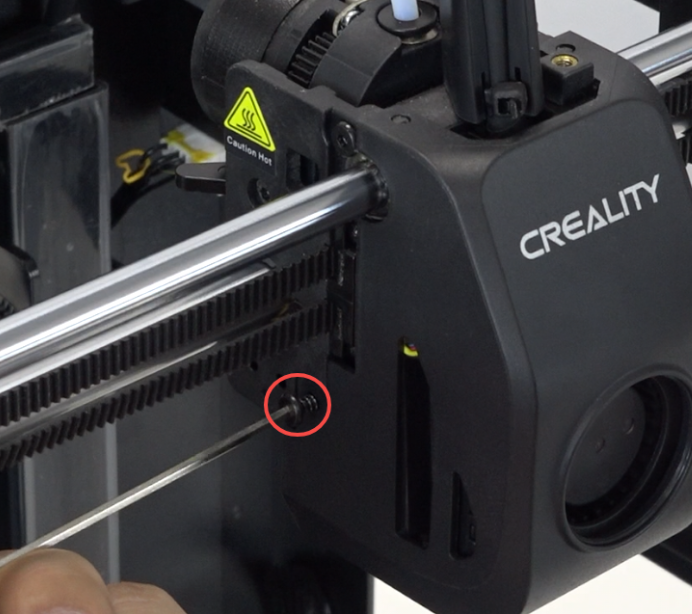
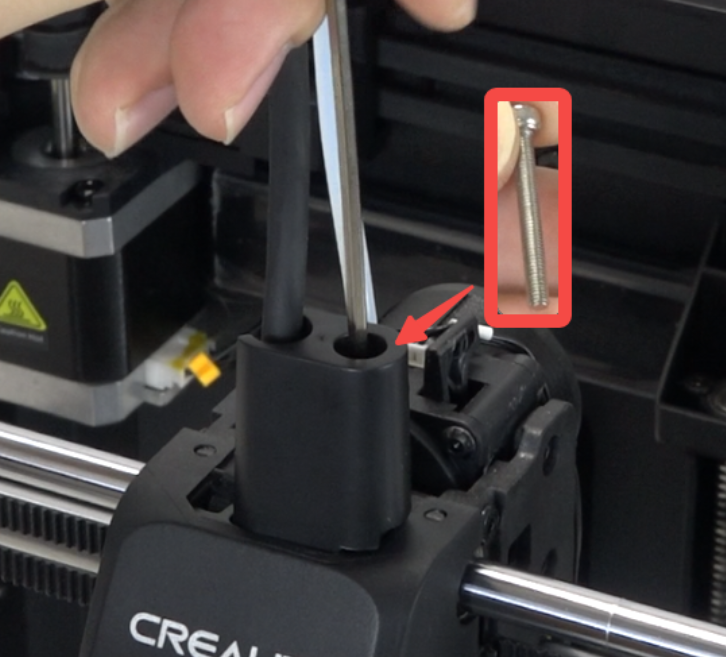
Position the front guide component correctly, use the hexagonal wrench to tighten it.
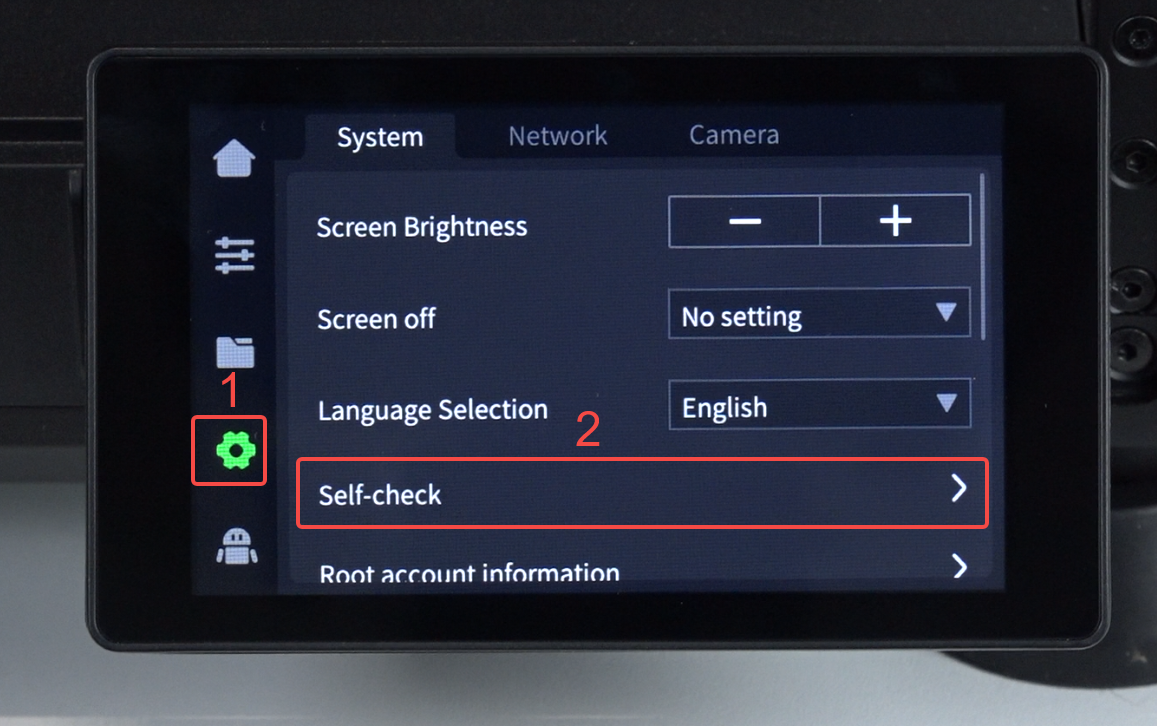
¶ Device Self-check
Plug in the power cord and turn on the power.
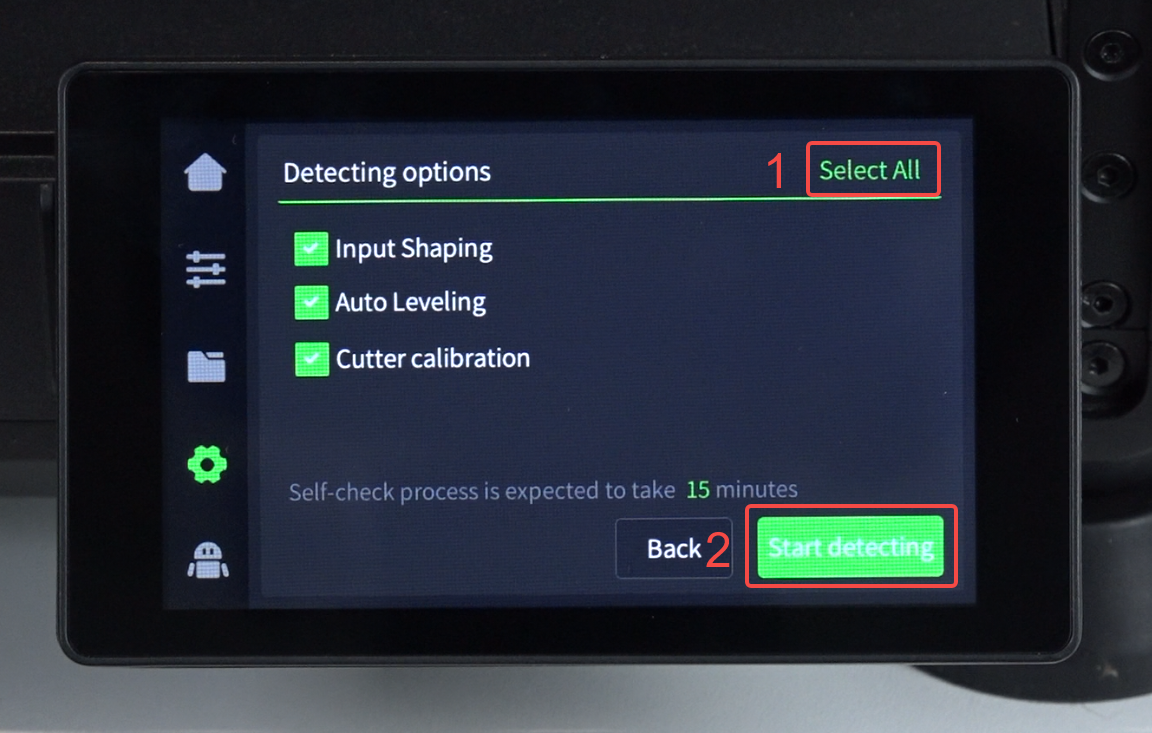
Click "Settings" - “System”- "Self-check" - "Select All" - "Start detecting", wait for self-check to complete.
 |
 |