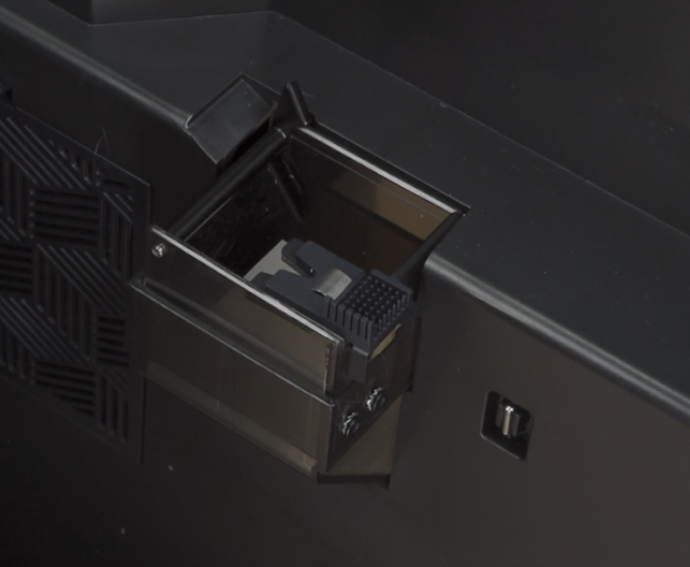
¶ Tool
New nozzle wiper adhesive tape
¶ Replacement Steps for Separate Nozzle Wiper Tape
¶ Disassembly
Tear off the old nozzle wiper adhesive tape.
¶ Installation
Peel off the release paper from the new adhesive tape.
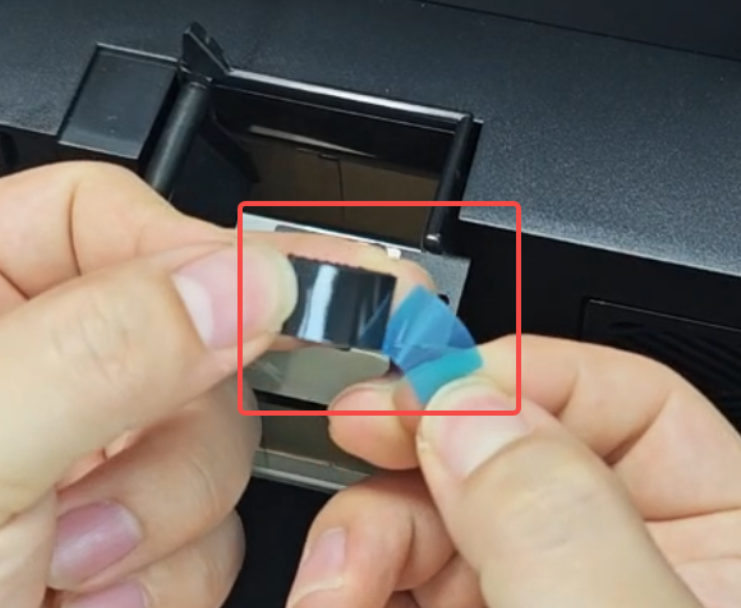
Stick the nozzle wiper adhesive tape onto the nozzle wiper module.
¶ Replacing Separate Nozzle Wiper Tape with Integrated Nozzle Wiper Tape
¶ Disassembly
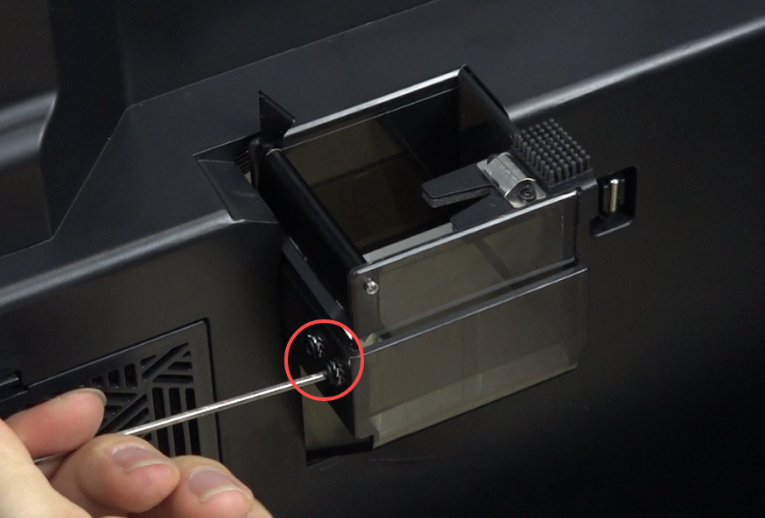
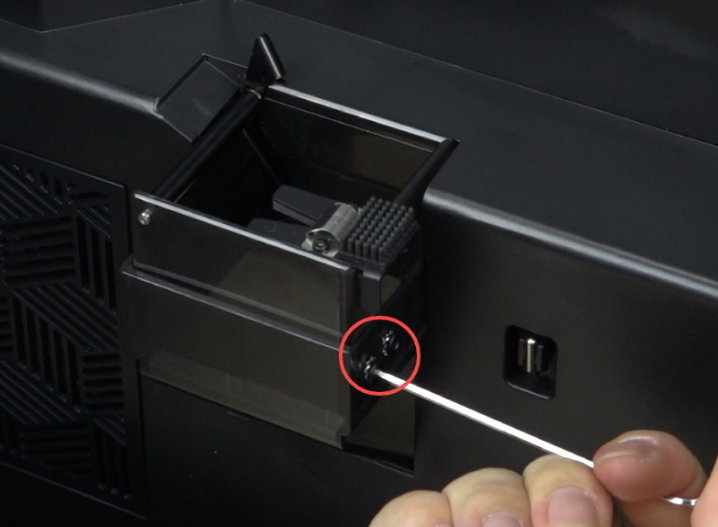
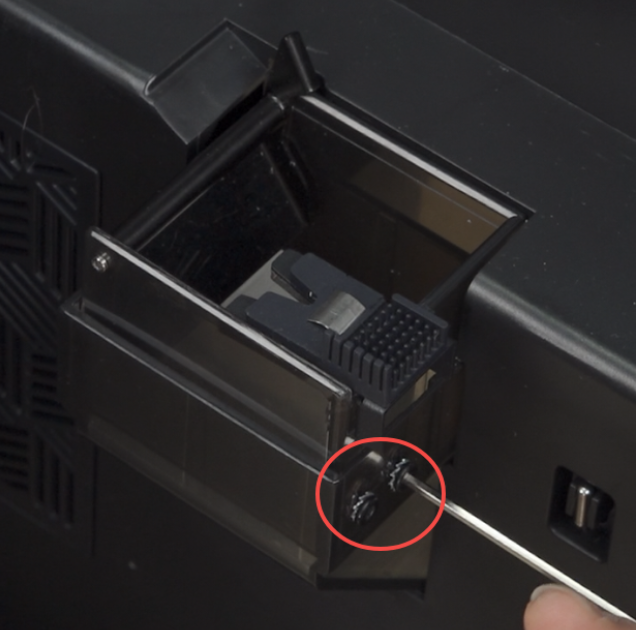
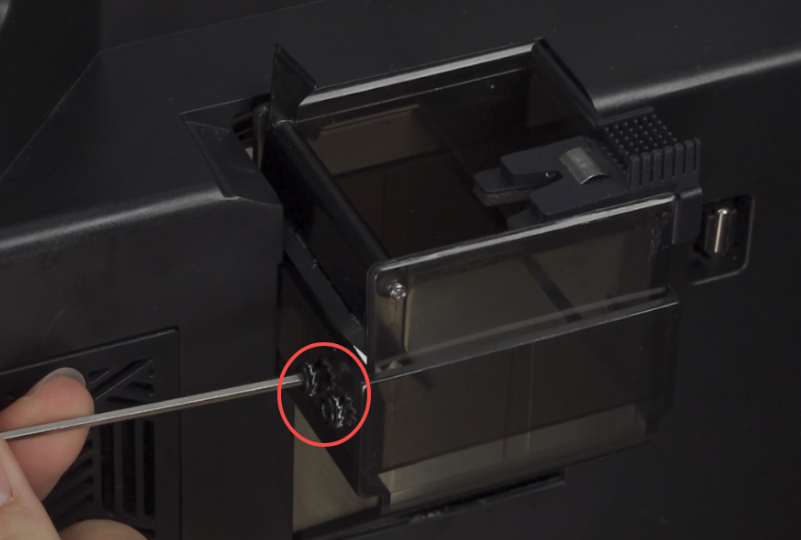
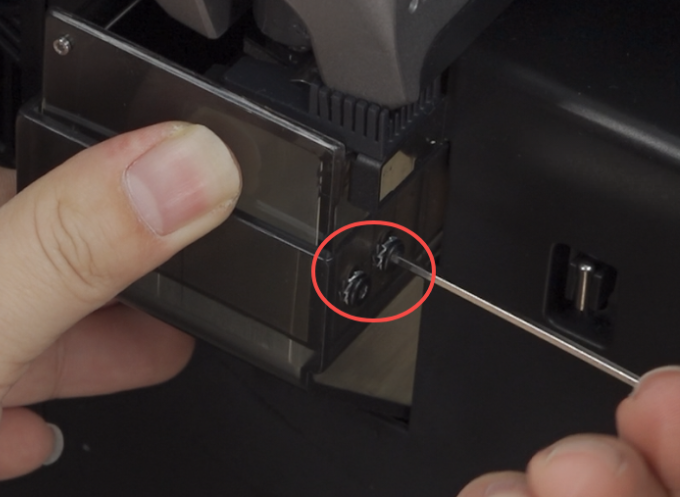
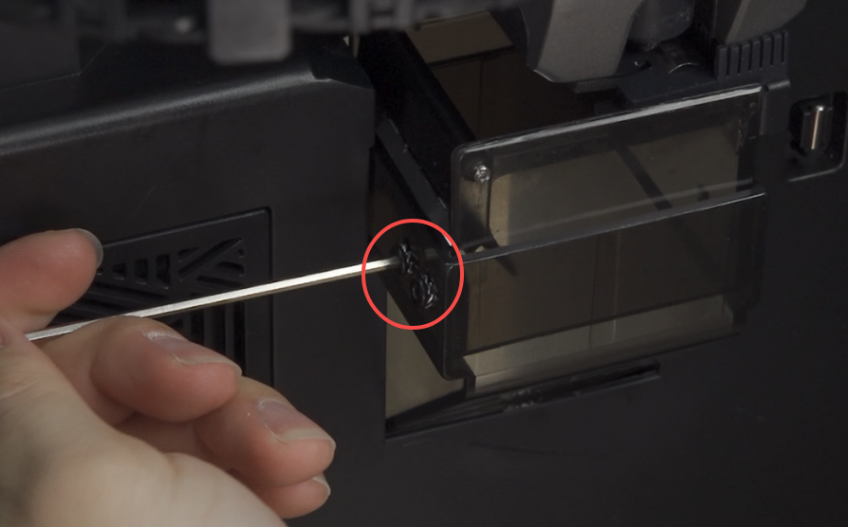
Use a hexagonal wrench to remove the 4 screws fixing both sides of the adjustment mount.
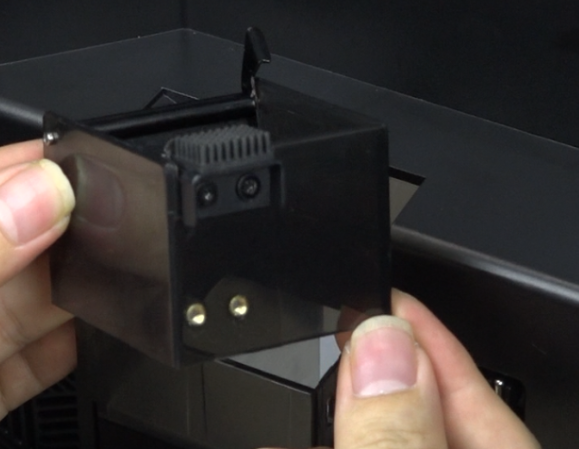
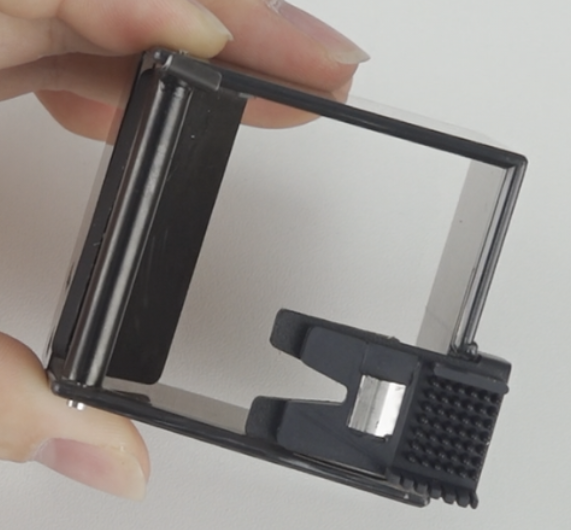
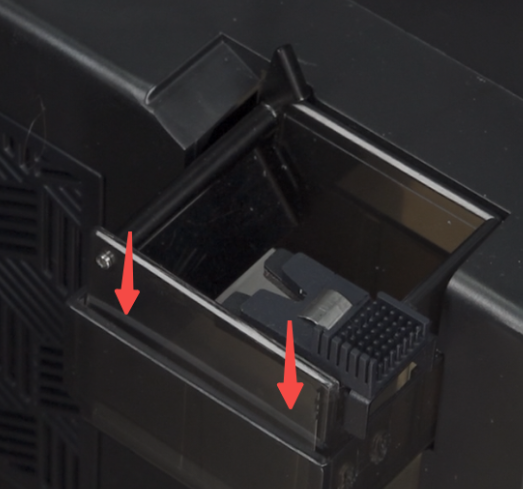
Lift upward to remove the adjustment mount.
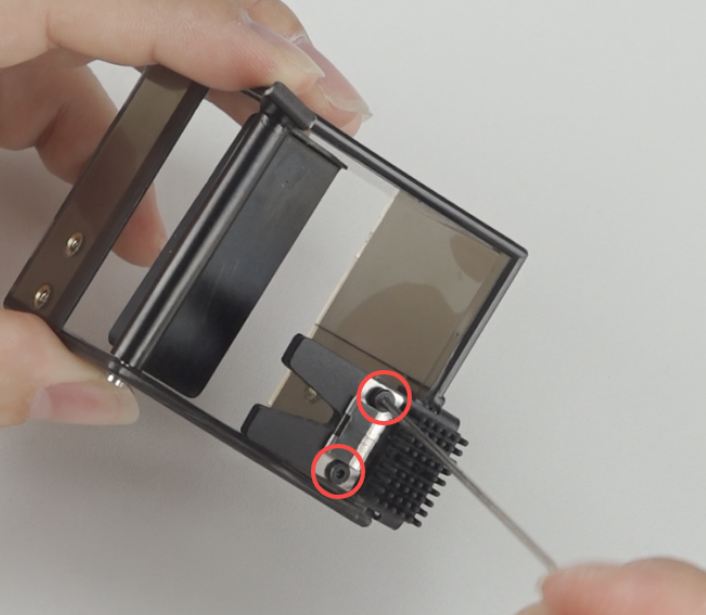
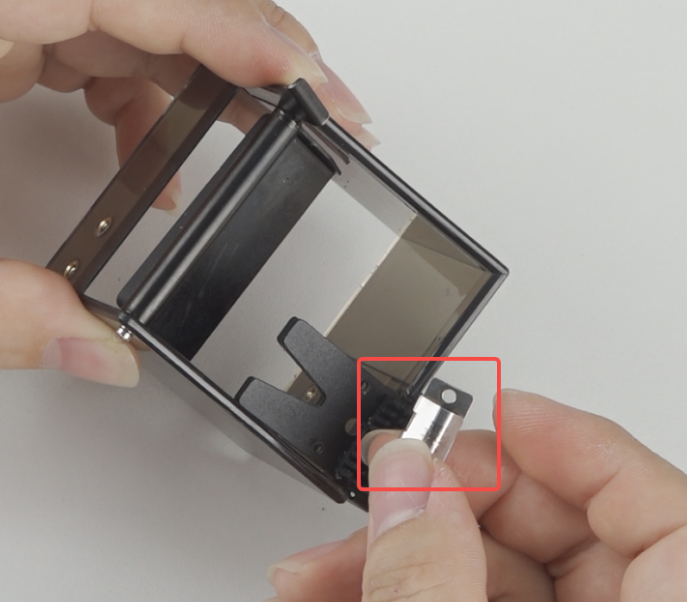
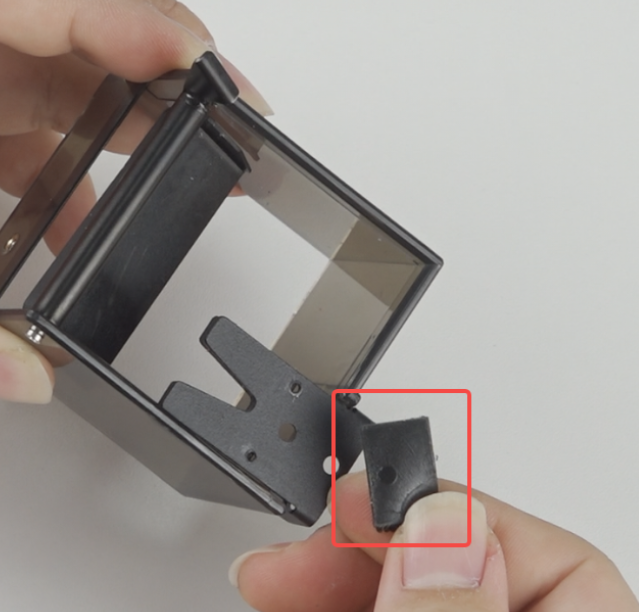
Use a hexagonal wrench to remove the 2 screws fixing the metal dome, then remove the metal dome.
 |
 |
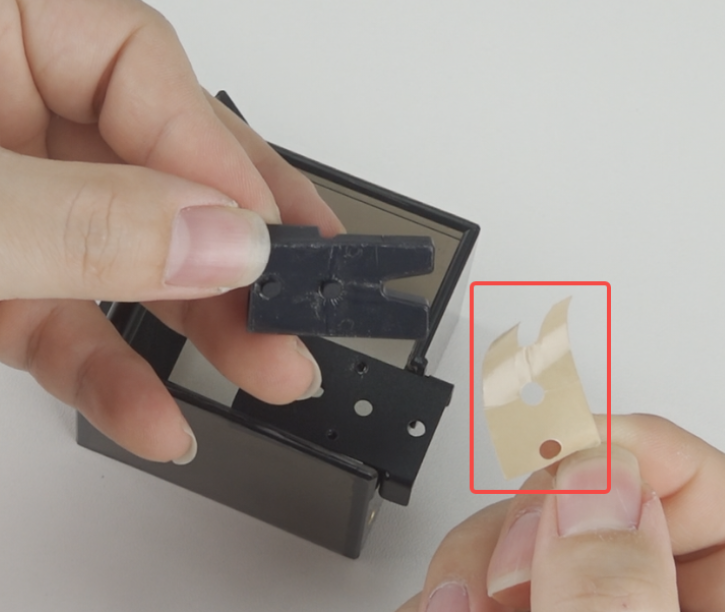
Peel off the nozzle wiper tape.
¶ Installation
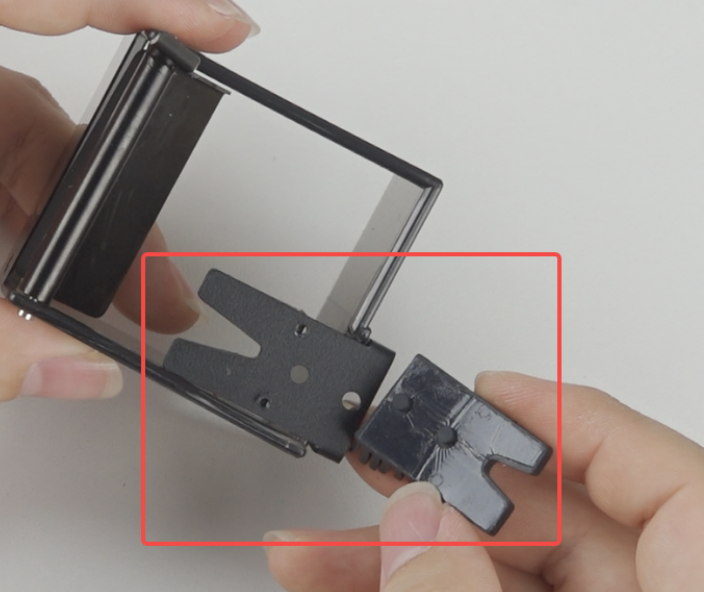
Peel off the release paper from the integrated nozzle wiper tape.
Align the protrusions of the wiper tape with the circular holes on the platinum base and press firmly.
 |
 |
Place the adjustment mount assembly on the waste chute.
Use a hexagonal wrench to install the 4 screws.
Note: Don't tighten them yet, allow the adjustment mount to move up and down.
 |
 |
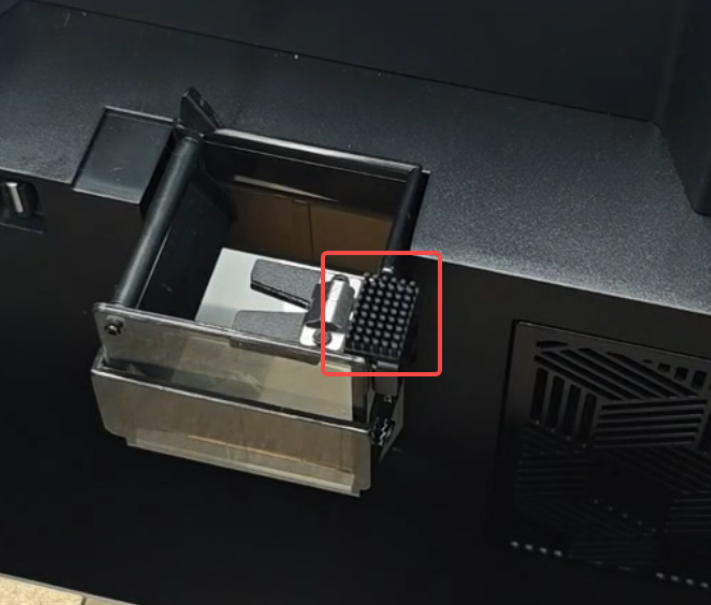
Move the print head to the nozzle wiper module.
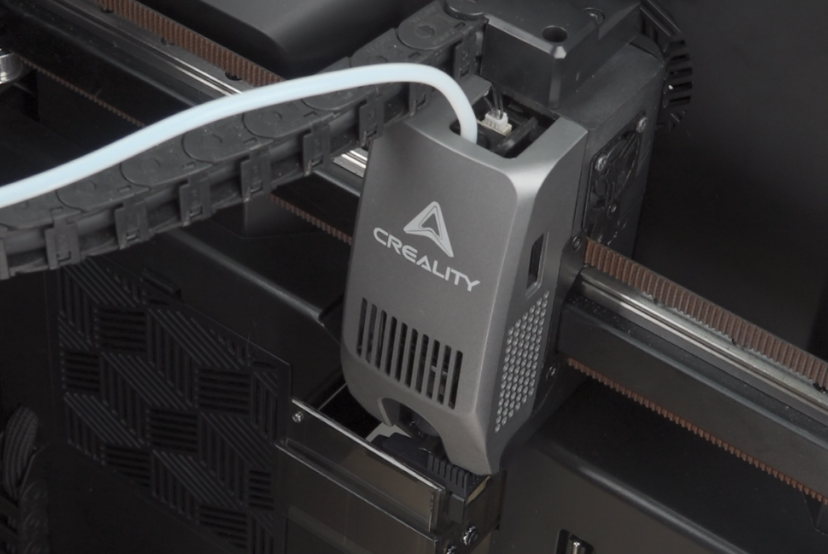
Move the adjustment mount up and down so that the metal dome of the wiper module contacts the nozzle. Ensure there is slight friction between the nozzle and the metal dome.
Tighten the adjustment mount screws.
 |
 |
Note: For future replacement of the integrated nozzle wiper tape, you can directly peel off the old tape without removing the adjustment mount. However, you still need to loosen the fixing screws on both sides of the adjustment mount and readjust the height.