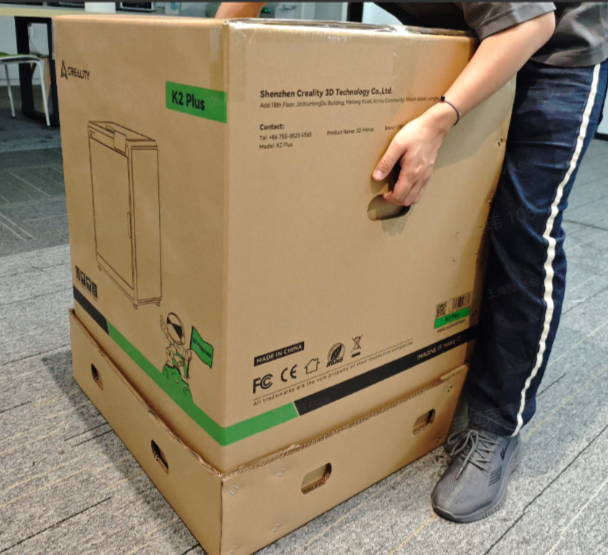
¶ 1. Unbox Operation
Please click the yotube link to watch it
https://youtu.be/0wXeGH8L0fI
¶ 2. K2 Plus Unbox General Instructions
- Two people are required to unpack the package
- Do not damage the covered carton, which can be used for packing materials
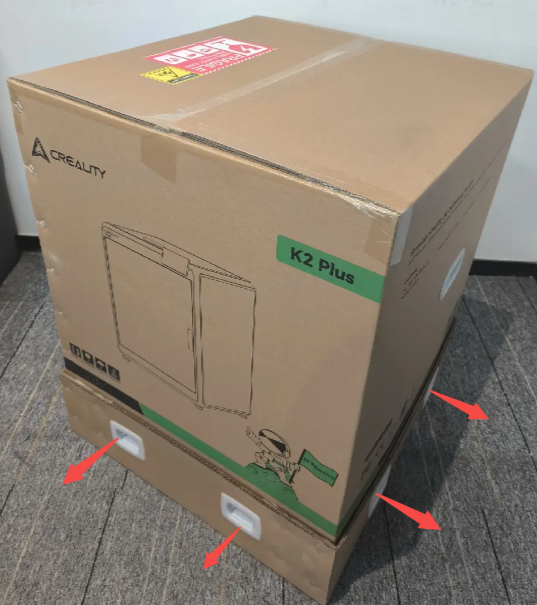
¶ 2.1 Remove the upper covered carton and package materials around the printer
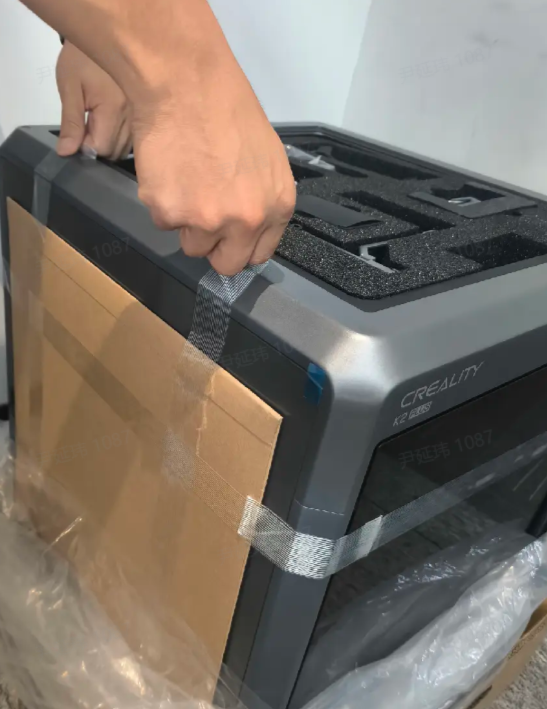
¶ 2.1.1 Remove the eight clasps in the packing
- Remove the clasps
Pinch the clasp inward and remove it outward
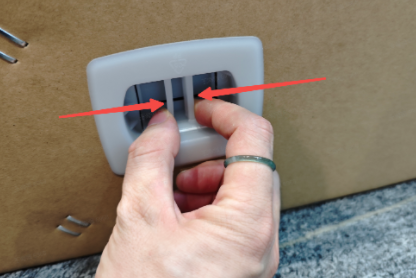
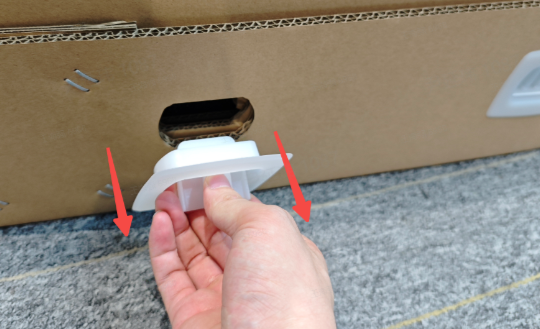
- Remove the eight clasps in turn

¶ 2.1.2 Remove the upper cover carton and external foam
- Do not damage the carton with a knife. Grab the carton with both hands and lift it up to remove the top cover.
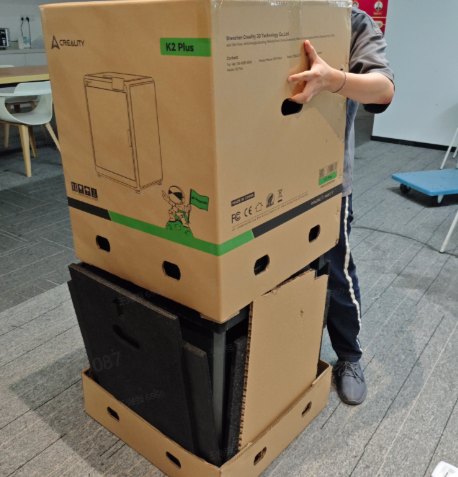
- Remove the package materials and corner posts.
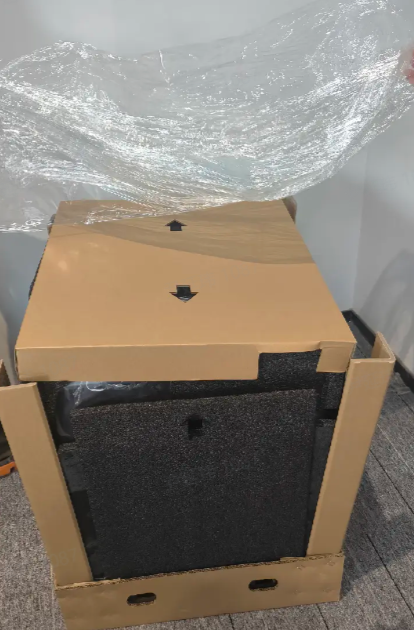
- Remove top glass packaging.

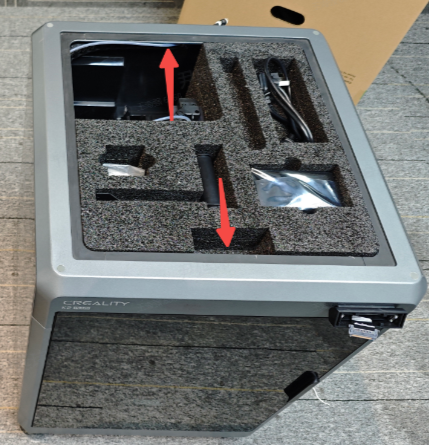
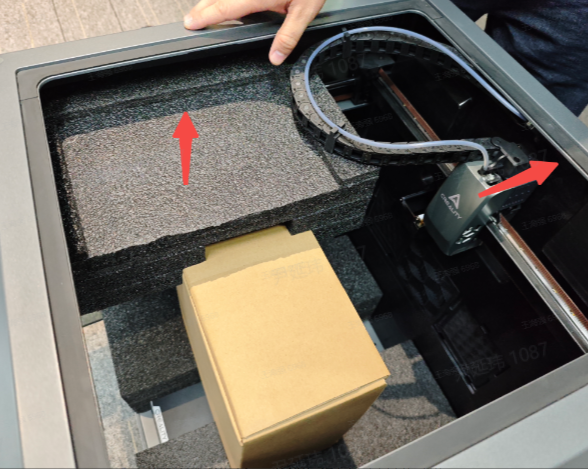
- Follow the arrow position to extract tool foam.
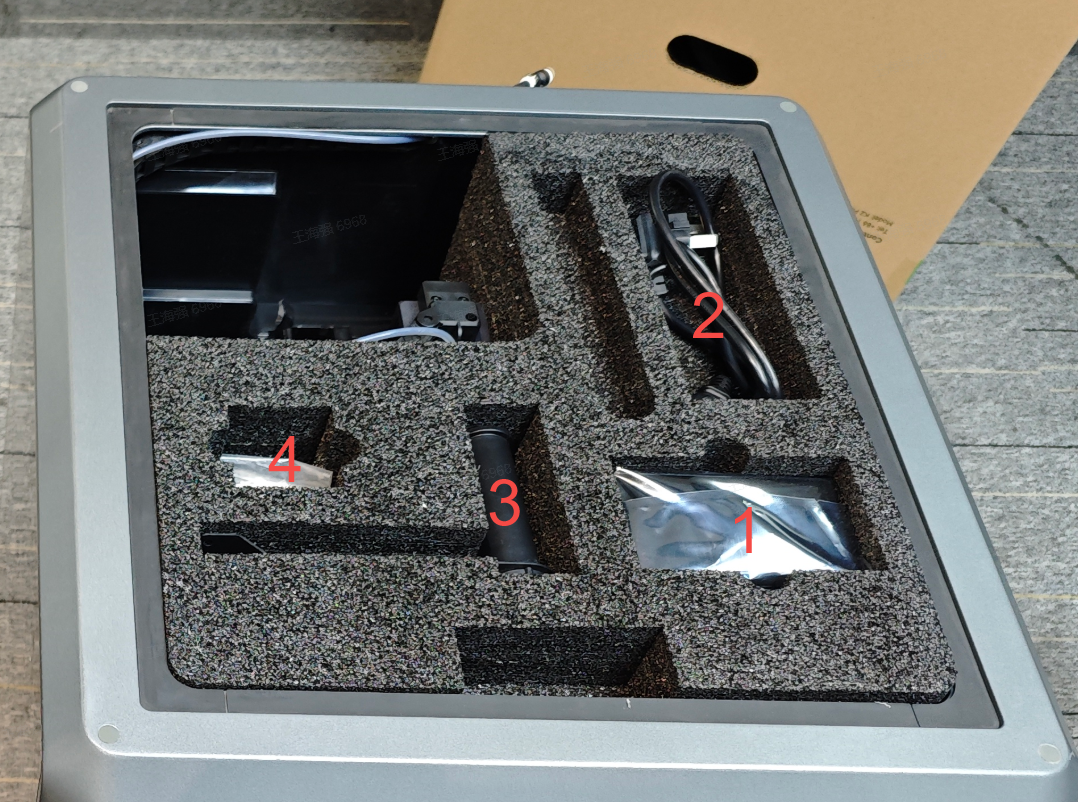
1 is the Printer Screen, 2 is the Power Cord; 3 is the Spool Holder, 4 are screws for Spool Holder.
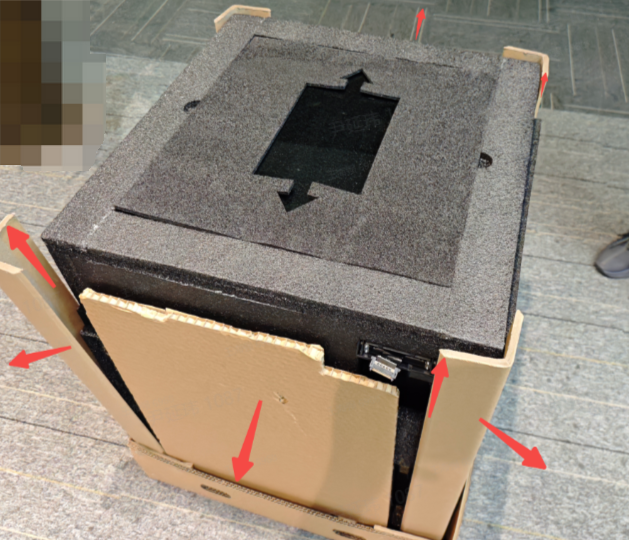
¶ 2.2 Remove packag material from inside the printer
¶ 2.2.1 Remove foam inside the printer
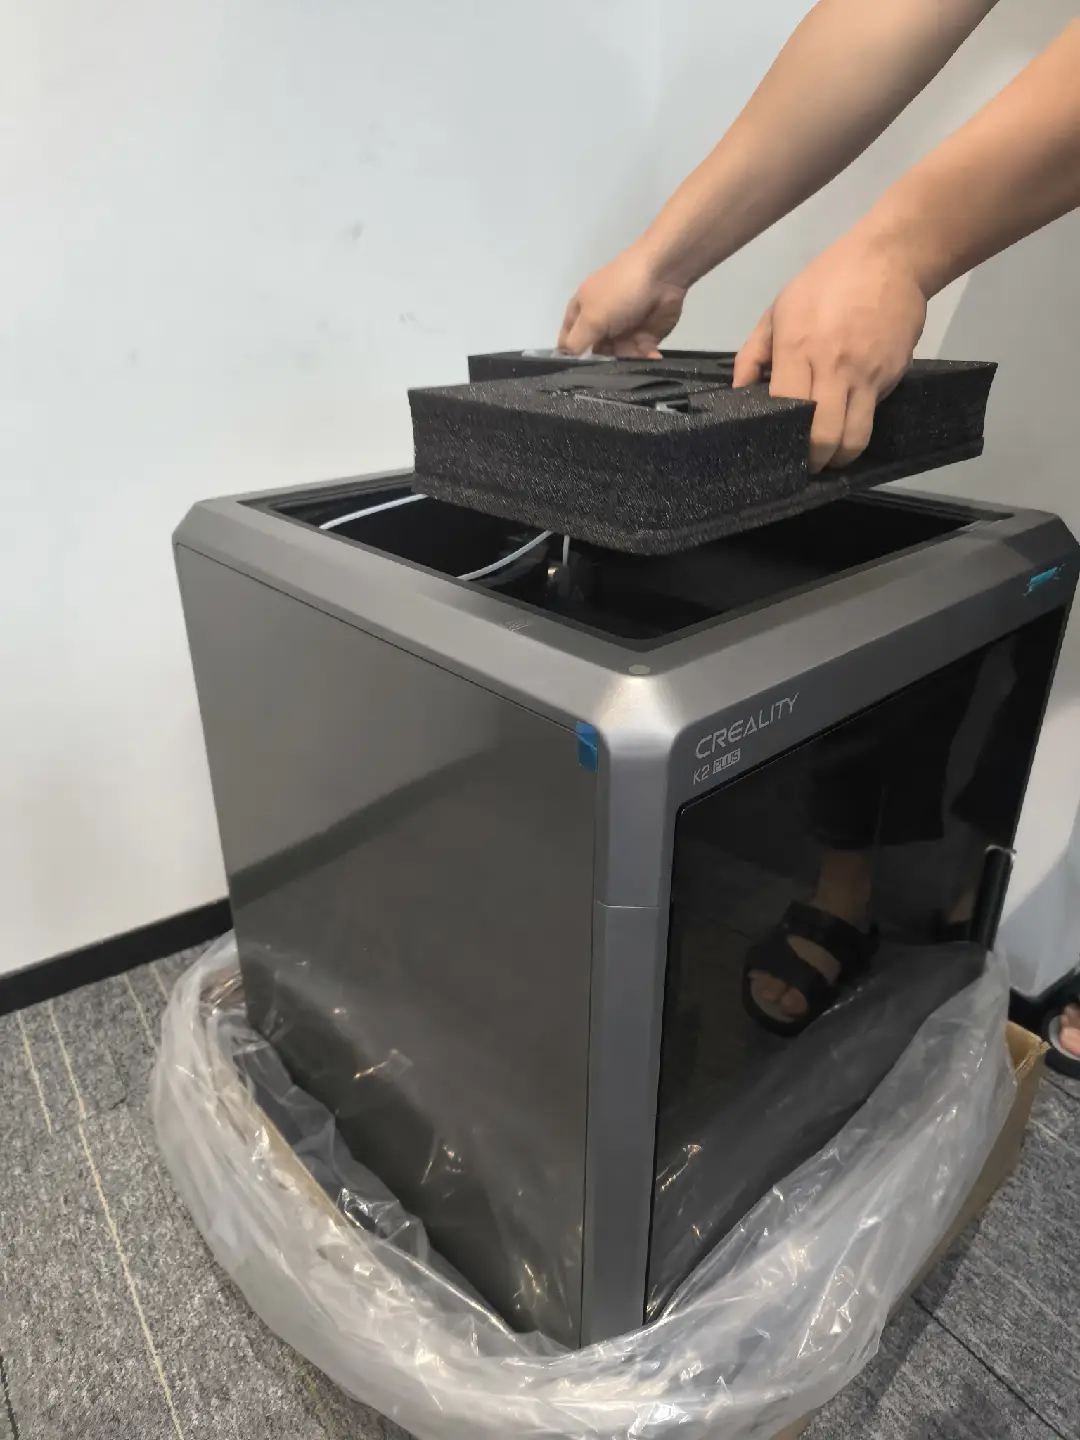
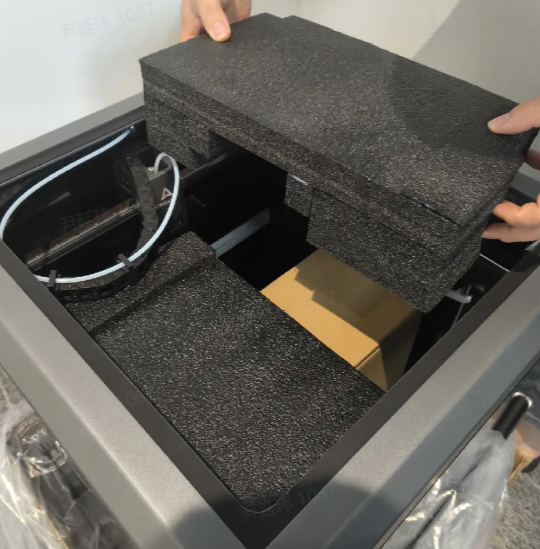
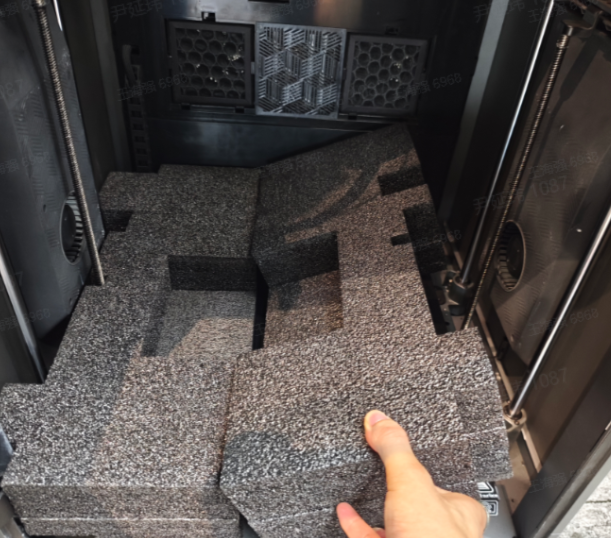
- Take out the top of the machine to foam.
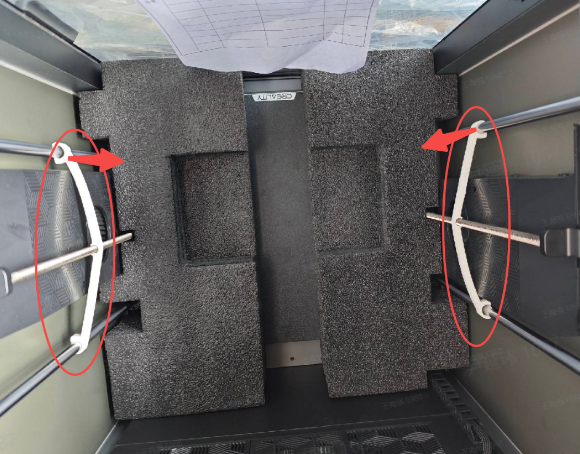
- Take out the two foams above the accessory box
First push the extruder to the back plate
Then remove the foam
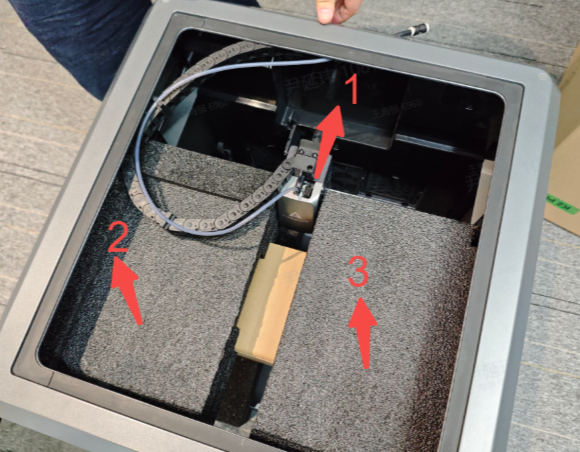
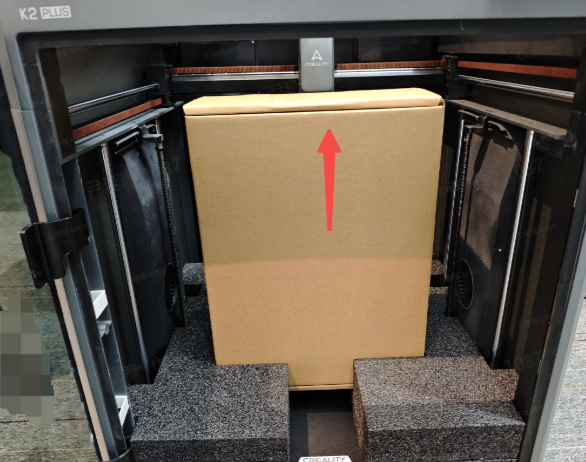
- Take out the accessory box and remove the Z-axis screw fastener
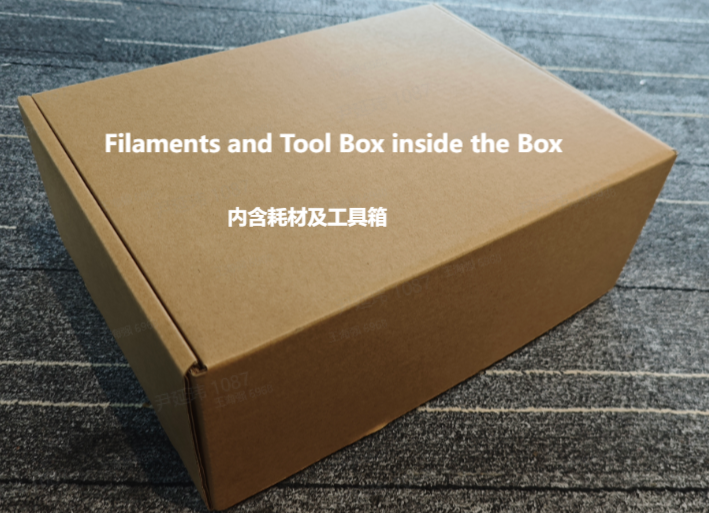
The accessory box comes with a roll of filaments and tool box.
Remove the Z-axis Screw Fastener
- Remove two hot bed foam
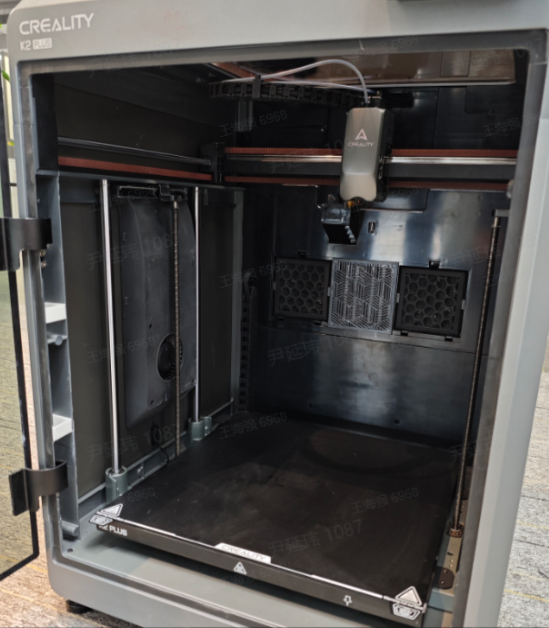
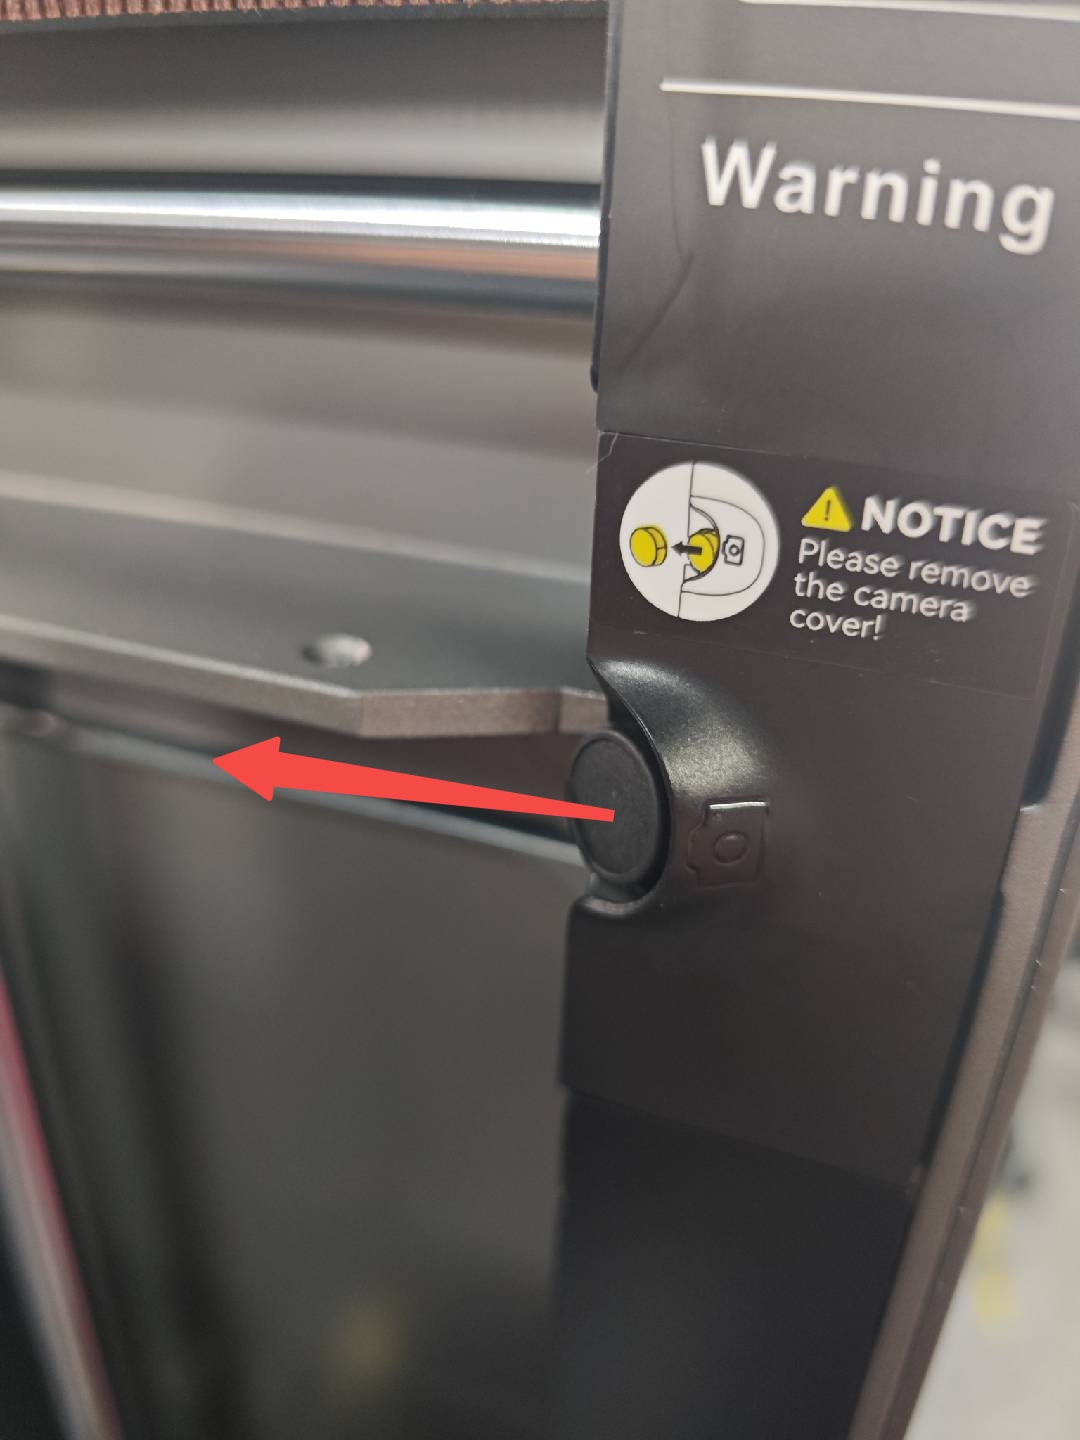
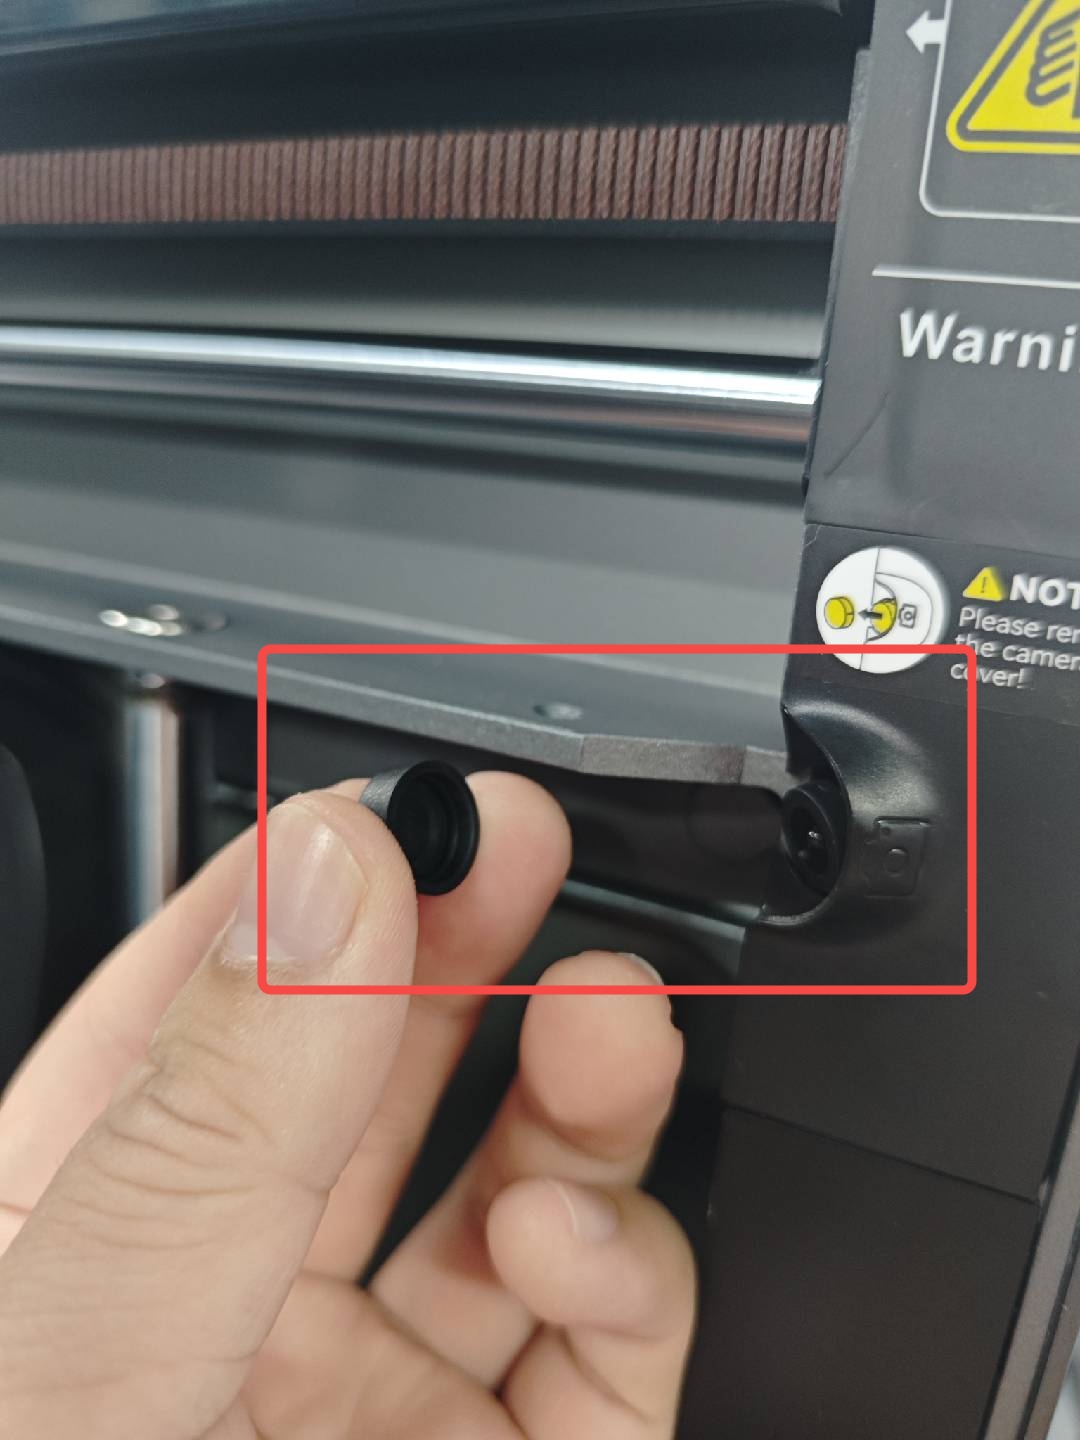
¶ 2.2.2 Remove Camera Protection Cover
- Remove the screen base case
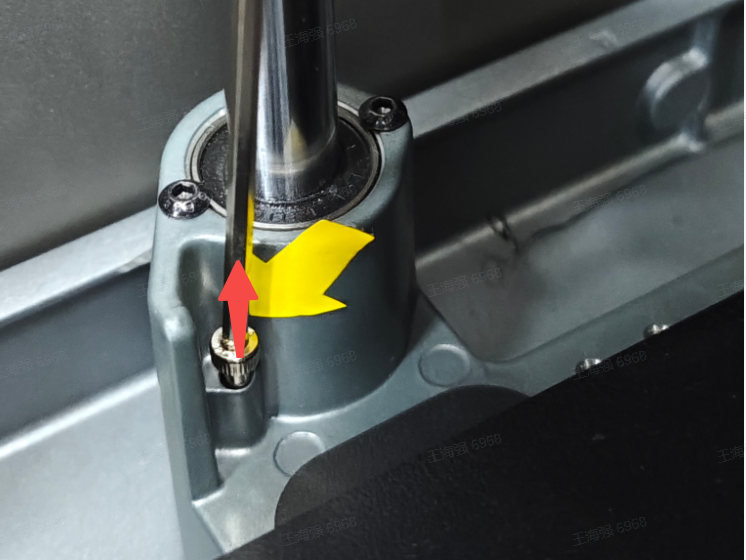
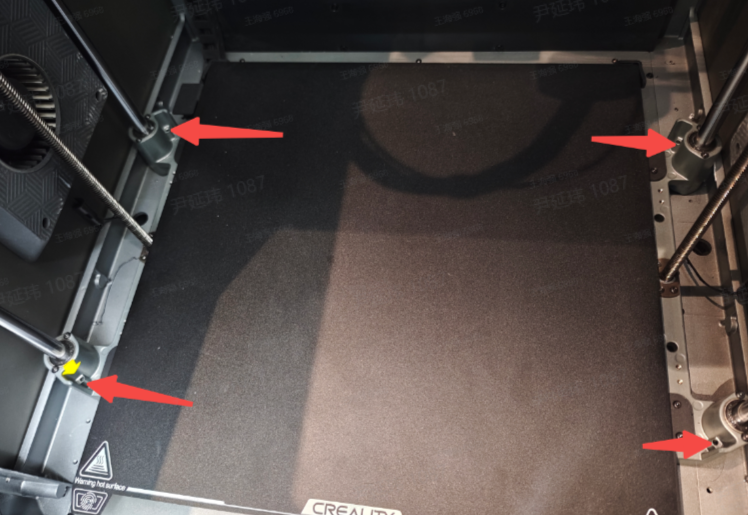
¶ 2.2.3 Remove Hot Bed locking screws.
Removing the four machine heat bed locking screws
There are four locking screws in total, which are removed respectively by using the L wrench.
¶ 2.3 Accessories Installation
¶ 2.3.1 Install the screen base
- Find the mounting contact surface
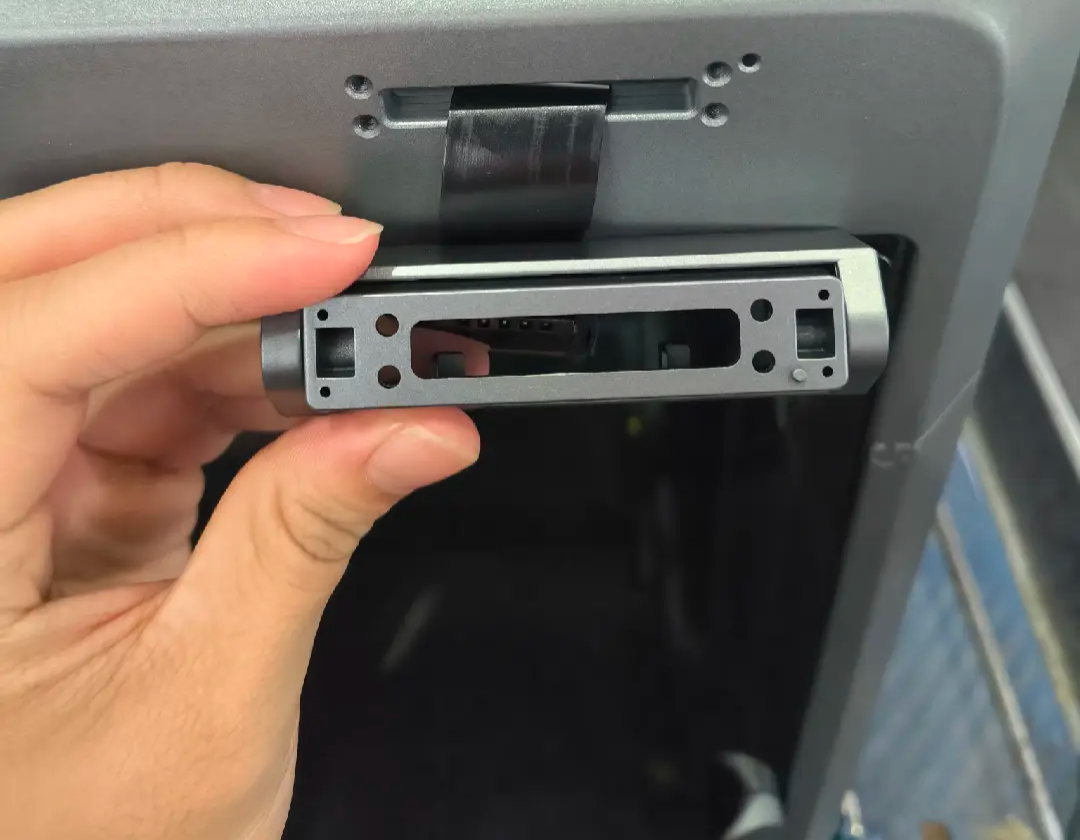
- Take the cable out of the slot

- Find the reserved hole location
- Install the four fixing screws.
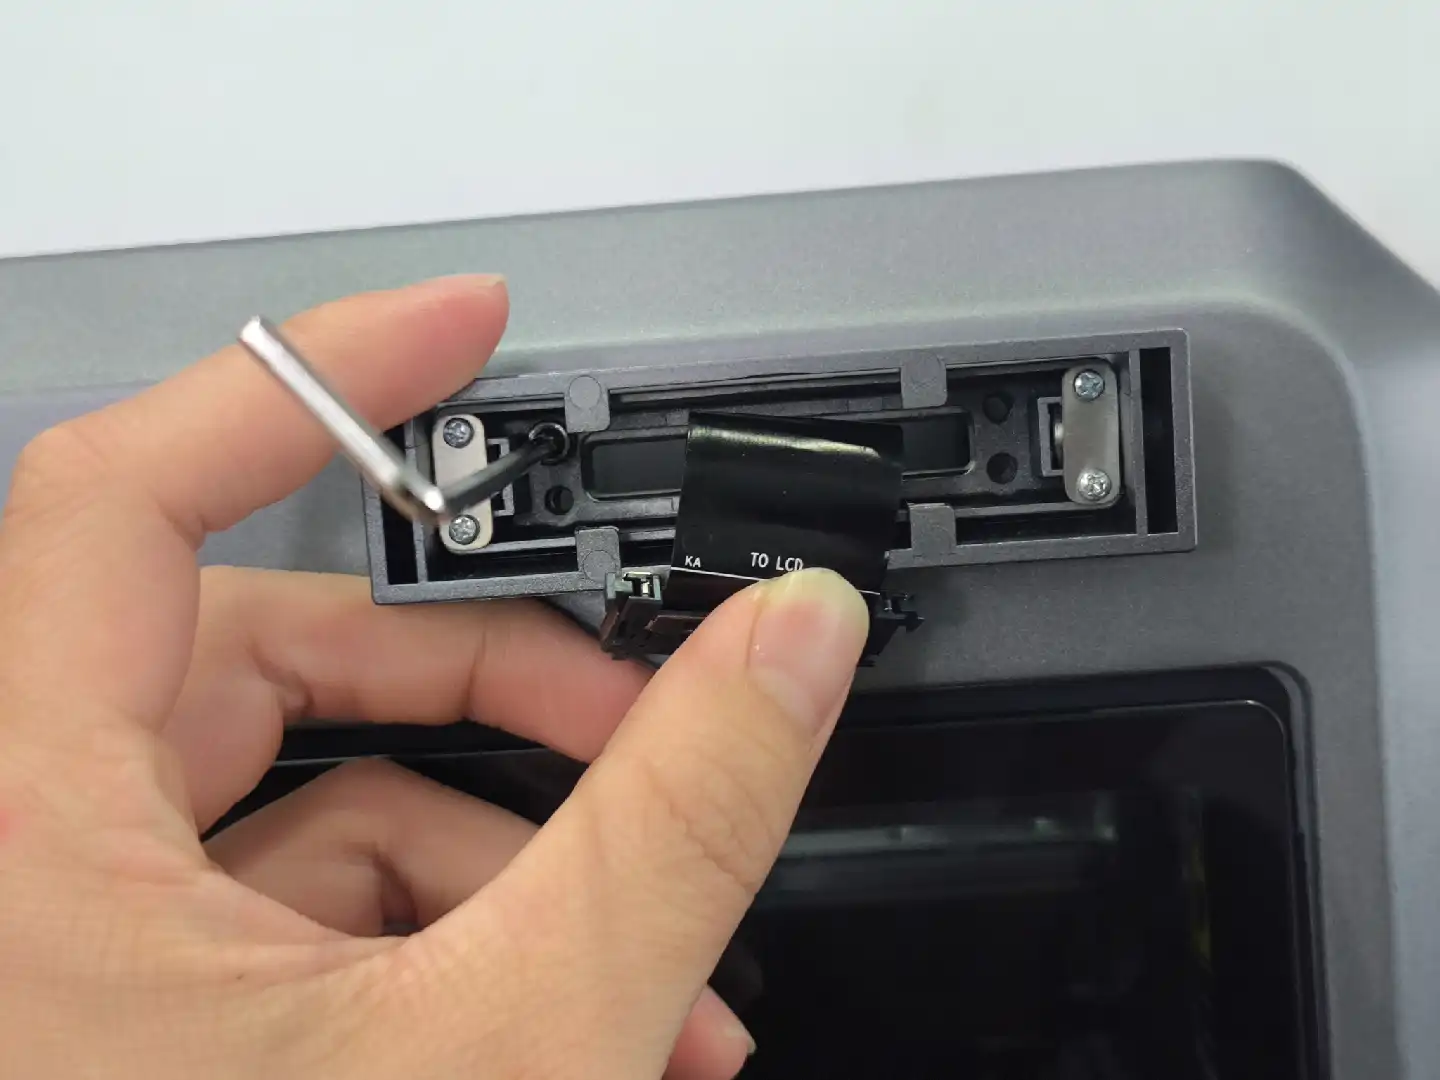
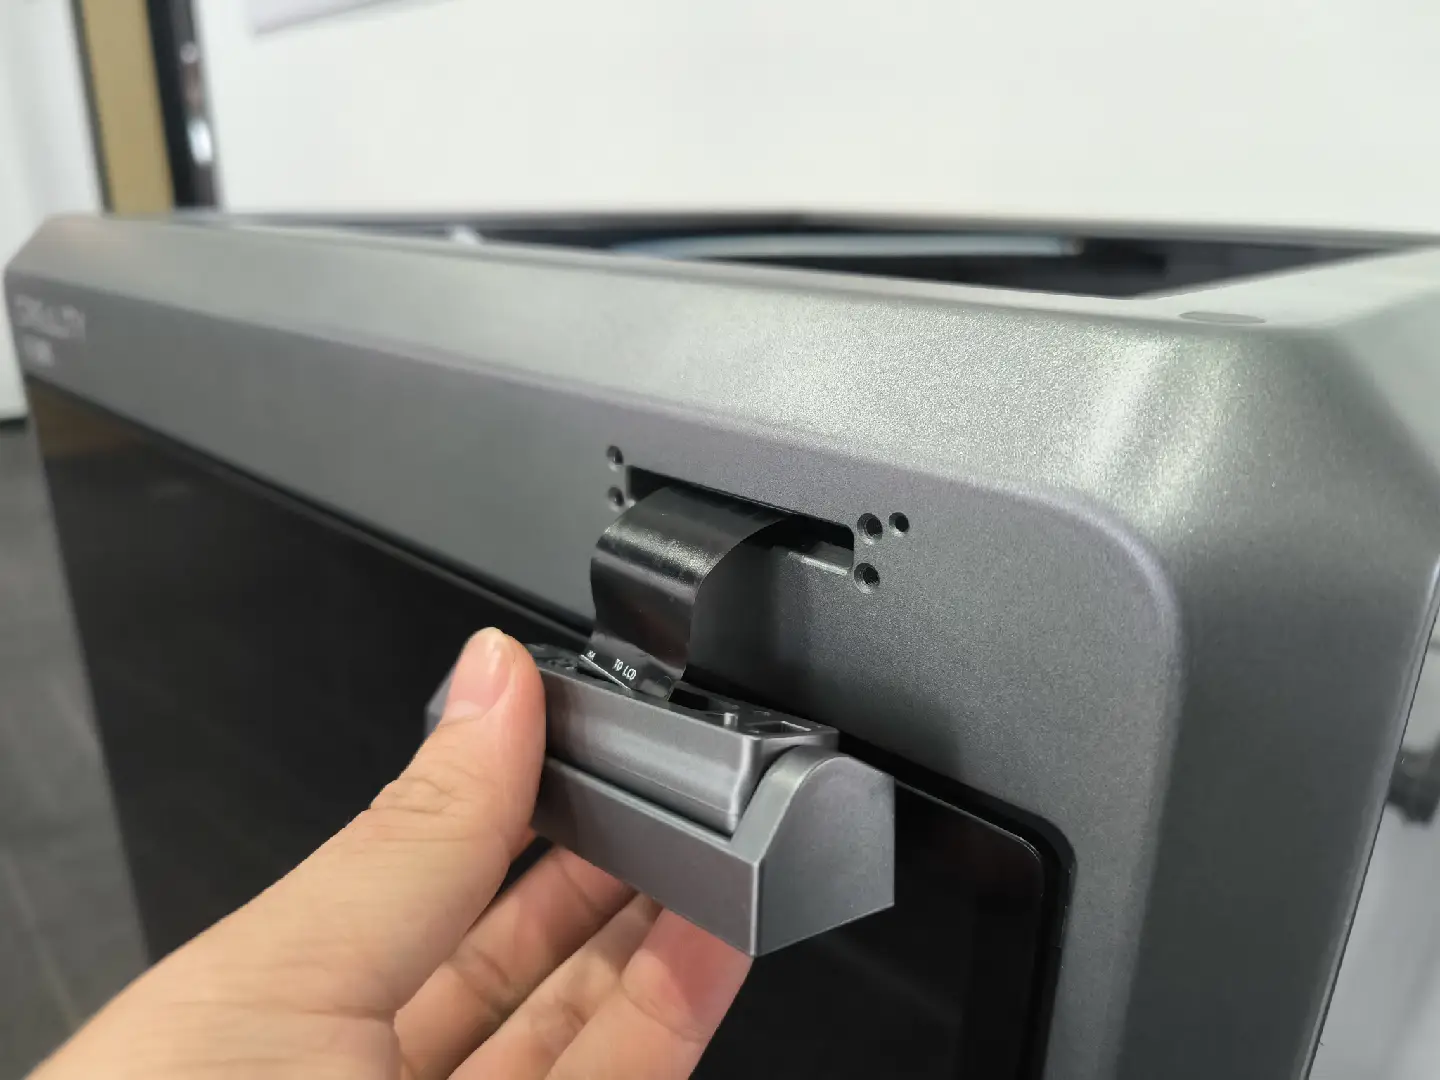
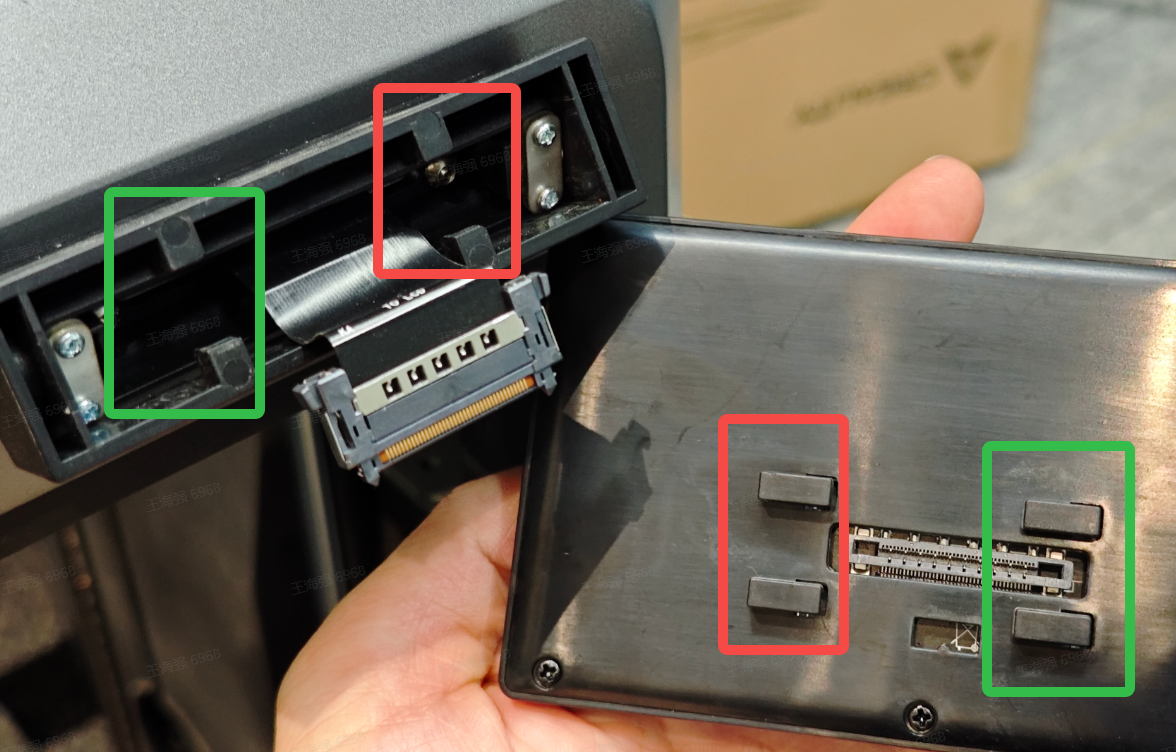
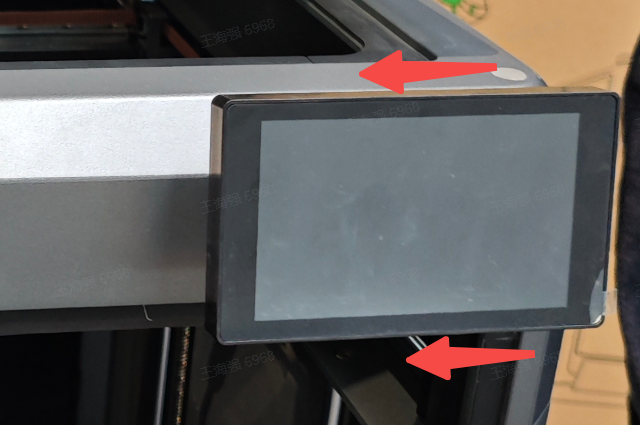
¶ 2.3.2 Screen Installation
- Connect the screen cable
Note: The slotted side is facing down, press to connect
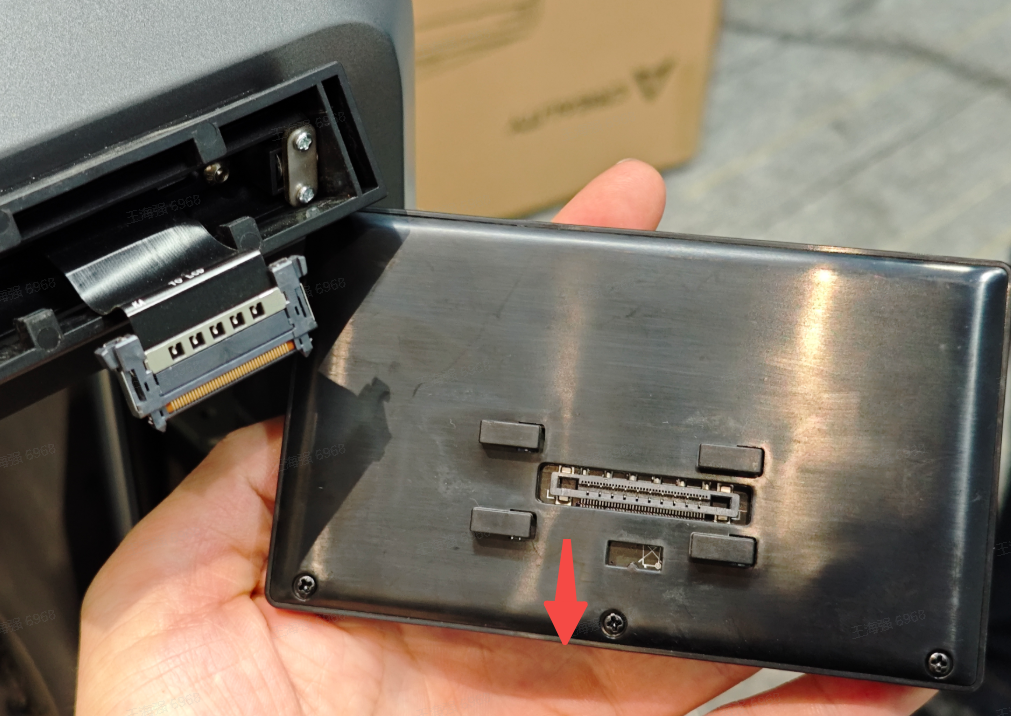

- Insert the screen into the screen slot
Align the screen card and gently push to the left to lock it
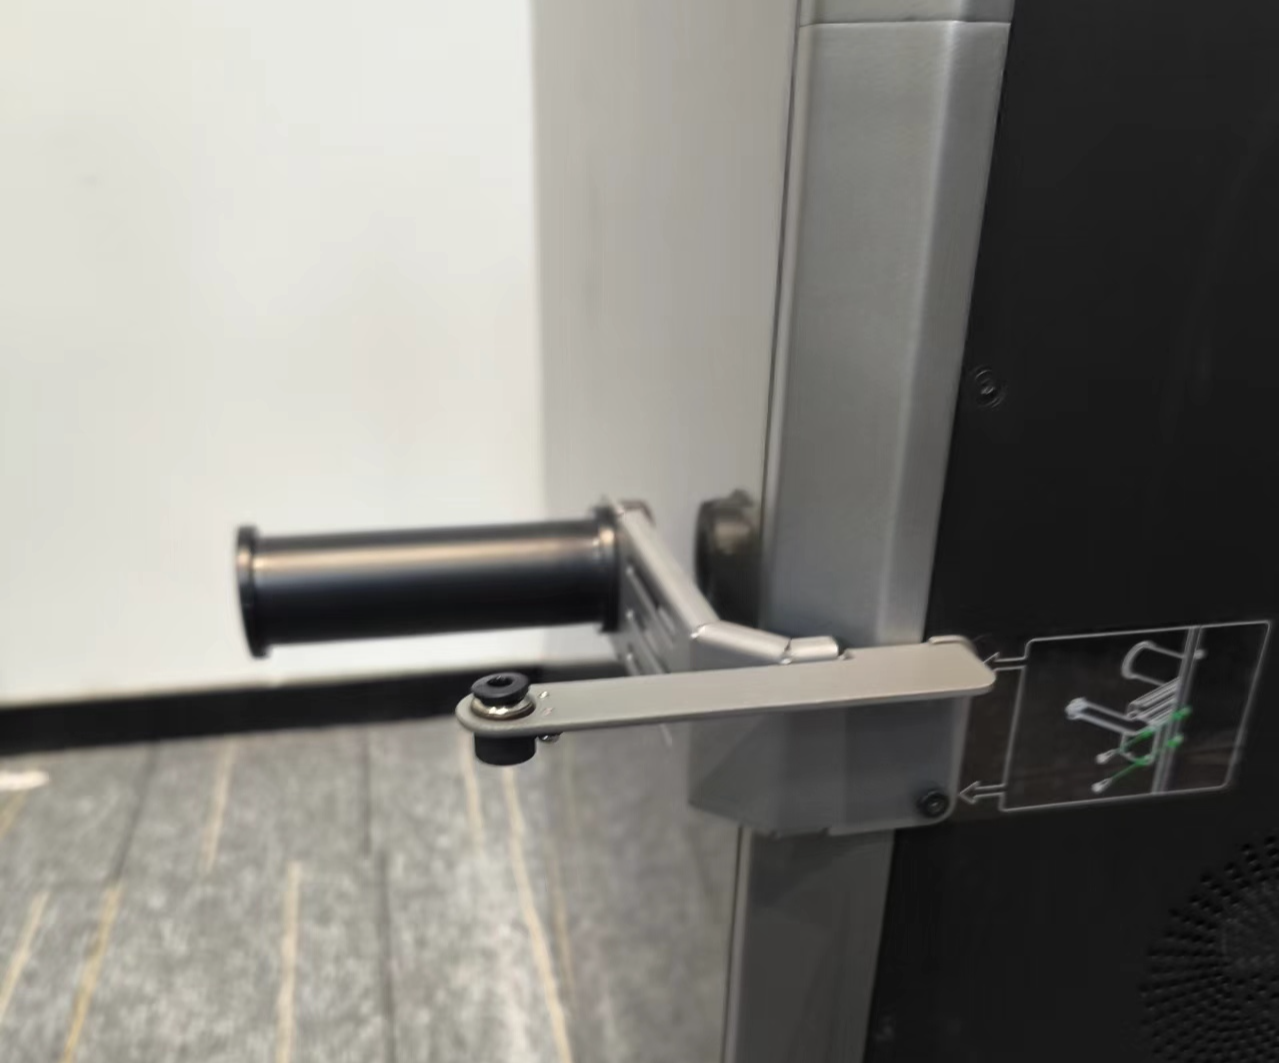
¶ 2.3.3 Install External Spool Holder

- Remove the two reserved fixing screws
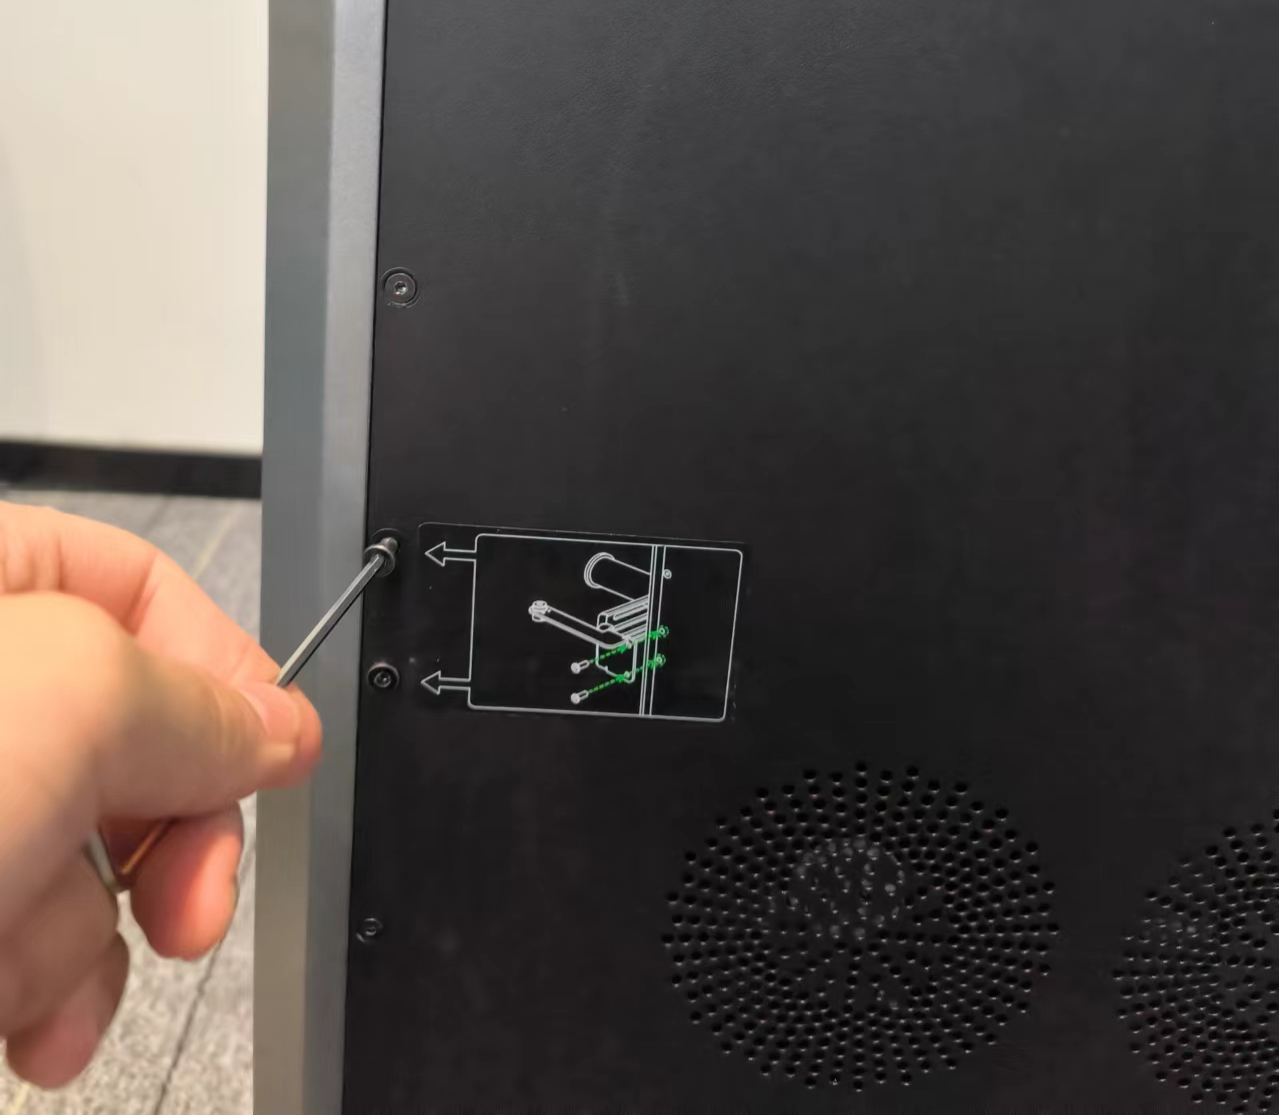
- Take out the external rack and lock it with two screws.
¶ 2.4 Plug in and complete the screen automatic boot program as prompted
¶ 2.4.1 Follow the on-screen prompts to complete the boot process, which takes about dozen minutes.
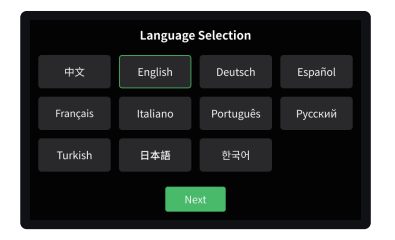
- Language Selection
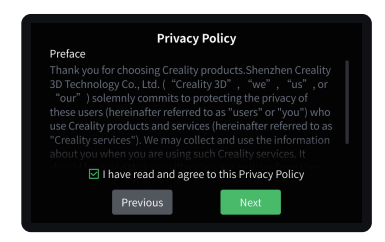
- Agree to the privacy policy
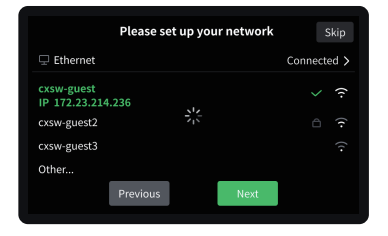
3. Connect wifi
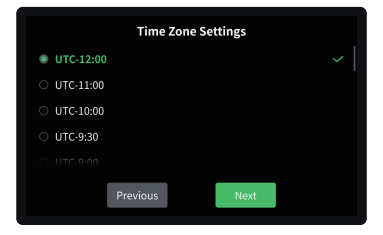
- Set the time zone
- .Bind Creality Cloud

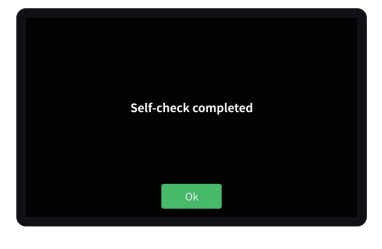
- Click Test and wait for the machine self-test to complete.
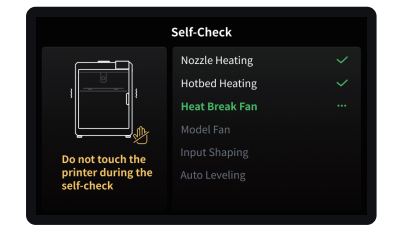
- Completed Self-test and start to use.