¶ 1. Connect the CFS
Place the filament in the CFS, insert the filament head into the corresponding slot's PTFE tube, and gently push it in until you feel resistance, then release. The corresponding CFS indicator light will illuminate and auto-refill will start. The filament is rotated into the spool.
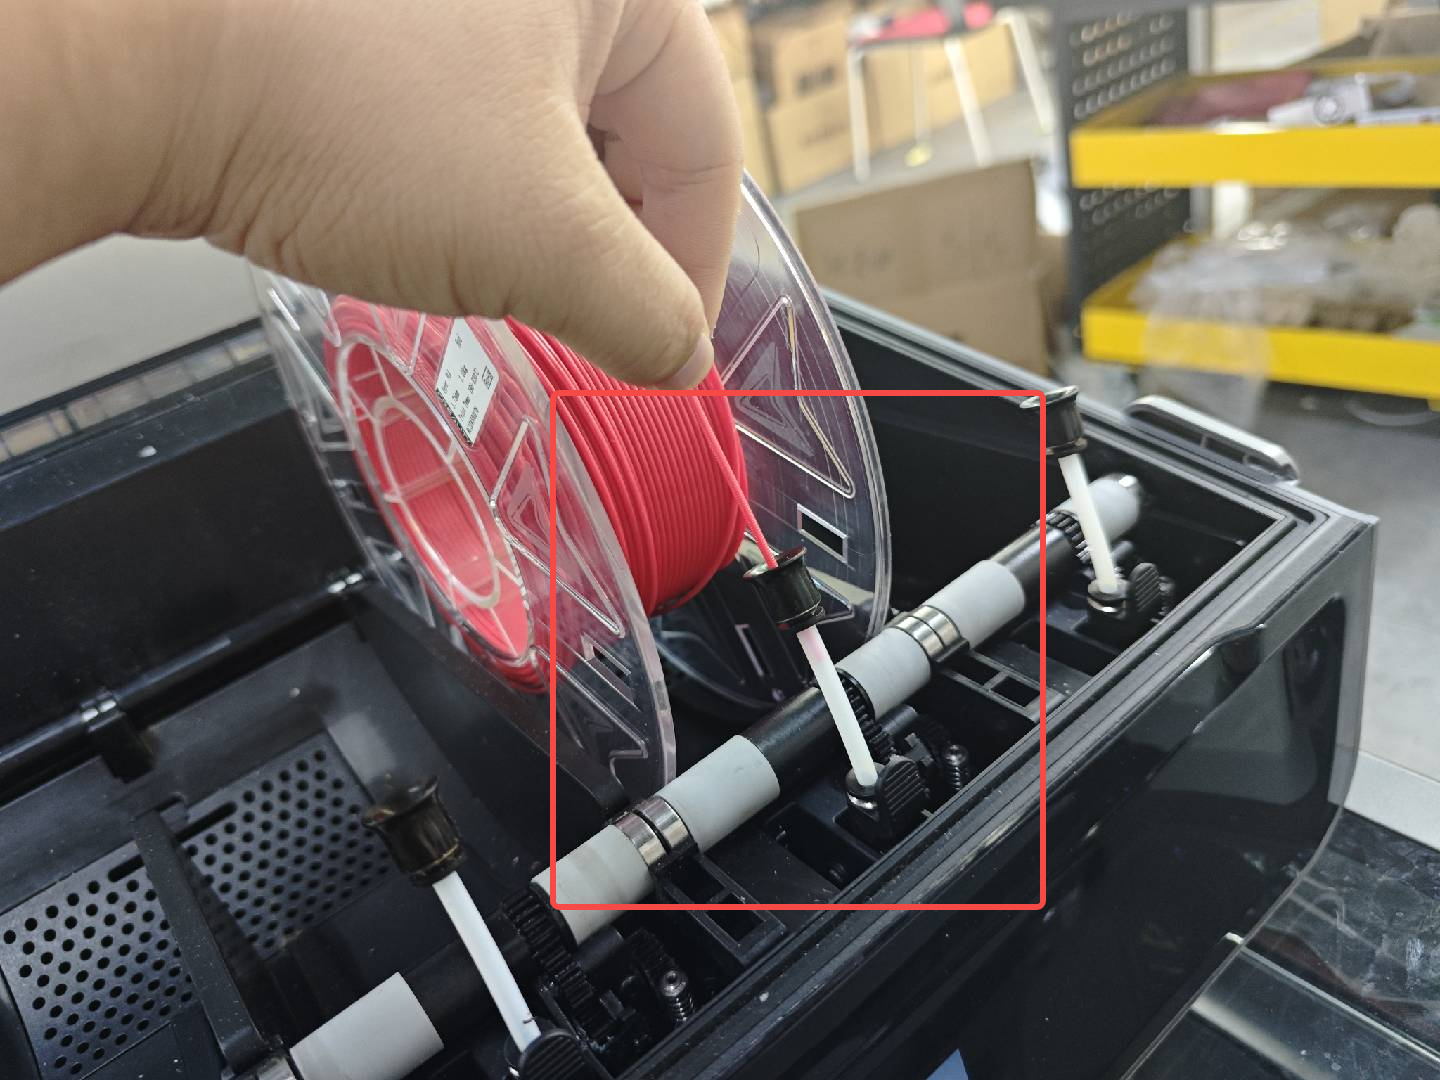
¶ 2. Edit Filament
¶ 2.1 Non-RFID Filament
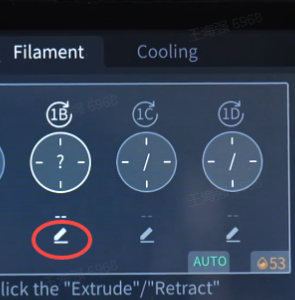
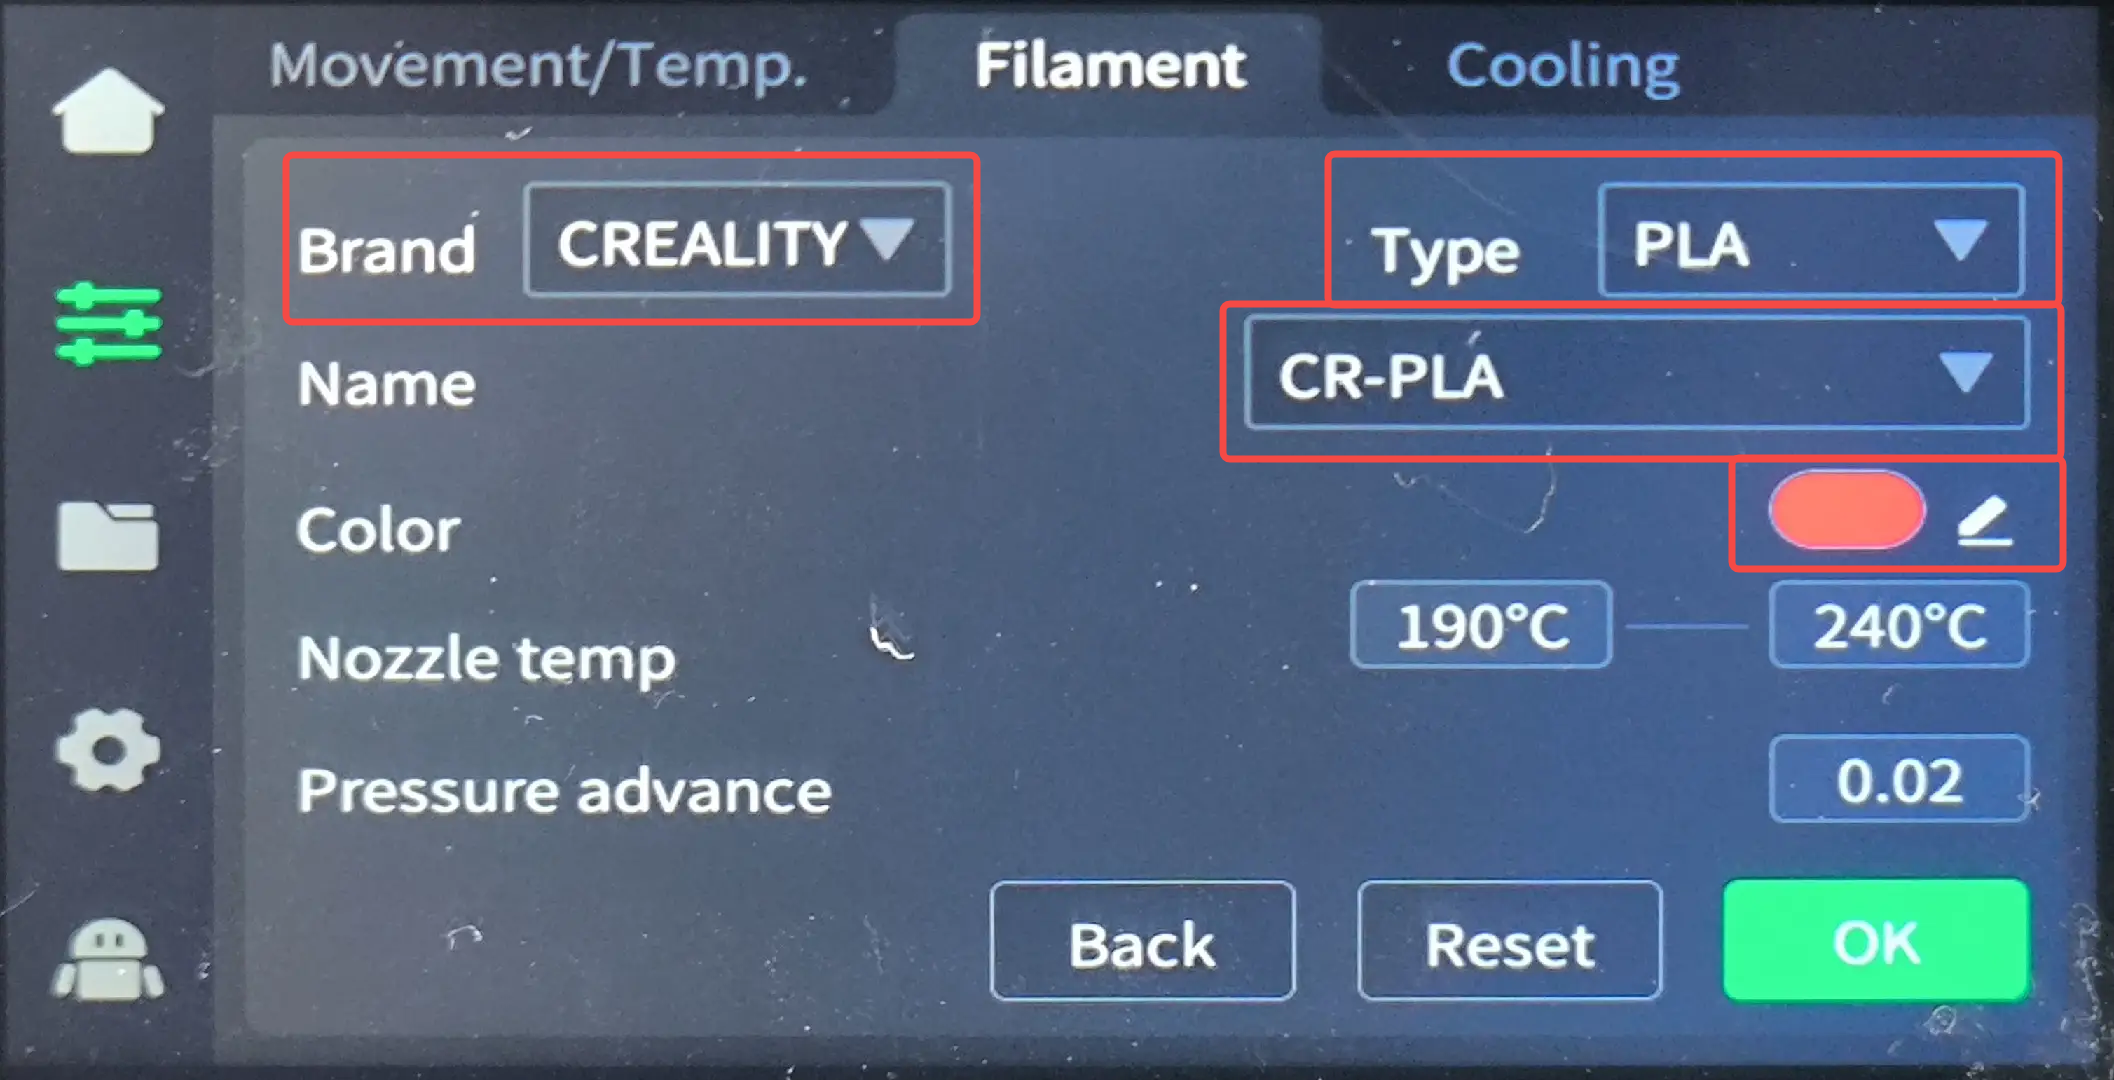
When inserting non-RFID filament, the printer will auto-tension and read it, displaying a "?" on the interface, with the edit button activated on the filament page. Click the edit button for the corresponding filament slot, then set the filament brand - filament type - filament name, and lastly the filament color. Click "OK" to save.
¶ 2.2 RFID Filament
When inserting RFID filament, the CFS will auto-read the filament information (ensure "Insertion Detection" option is enabled). No need to edit. There will be a view button instead of an edit button below the filament.
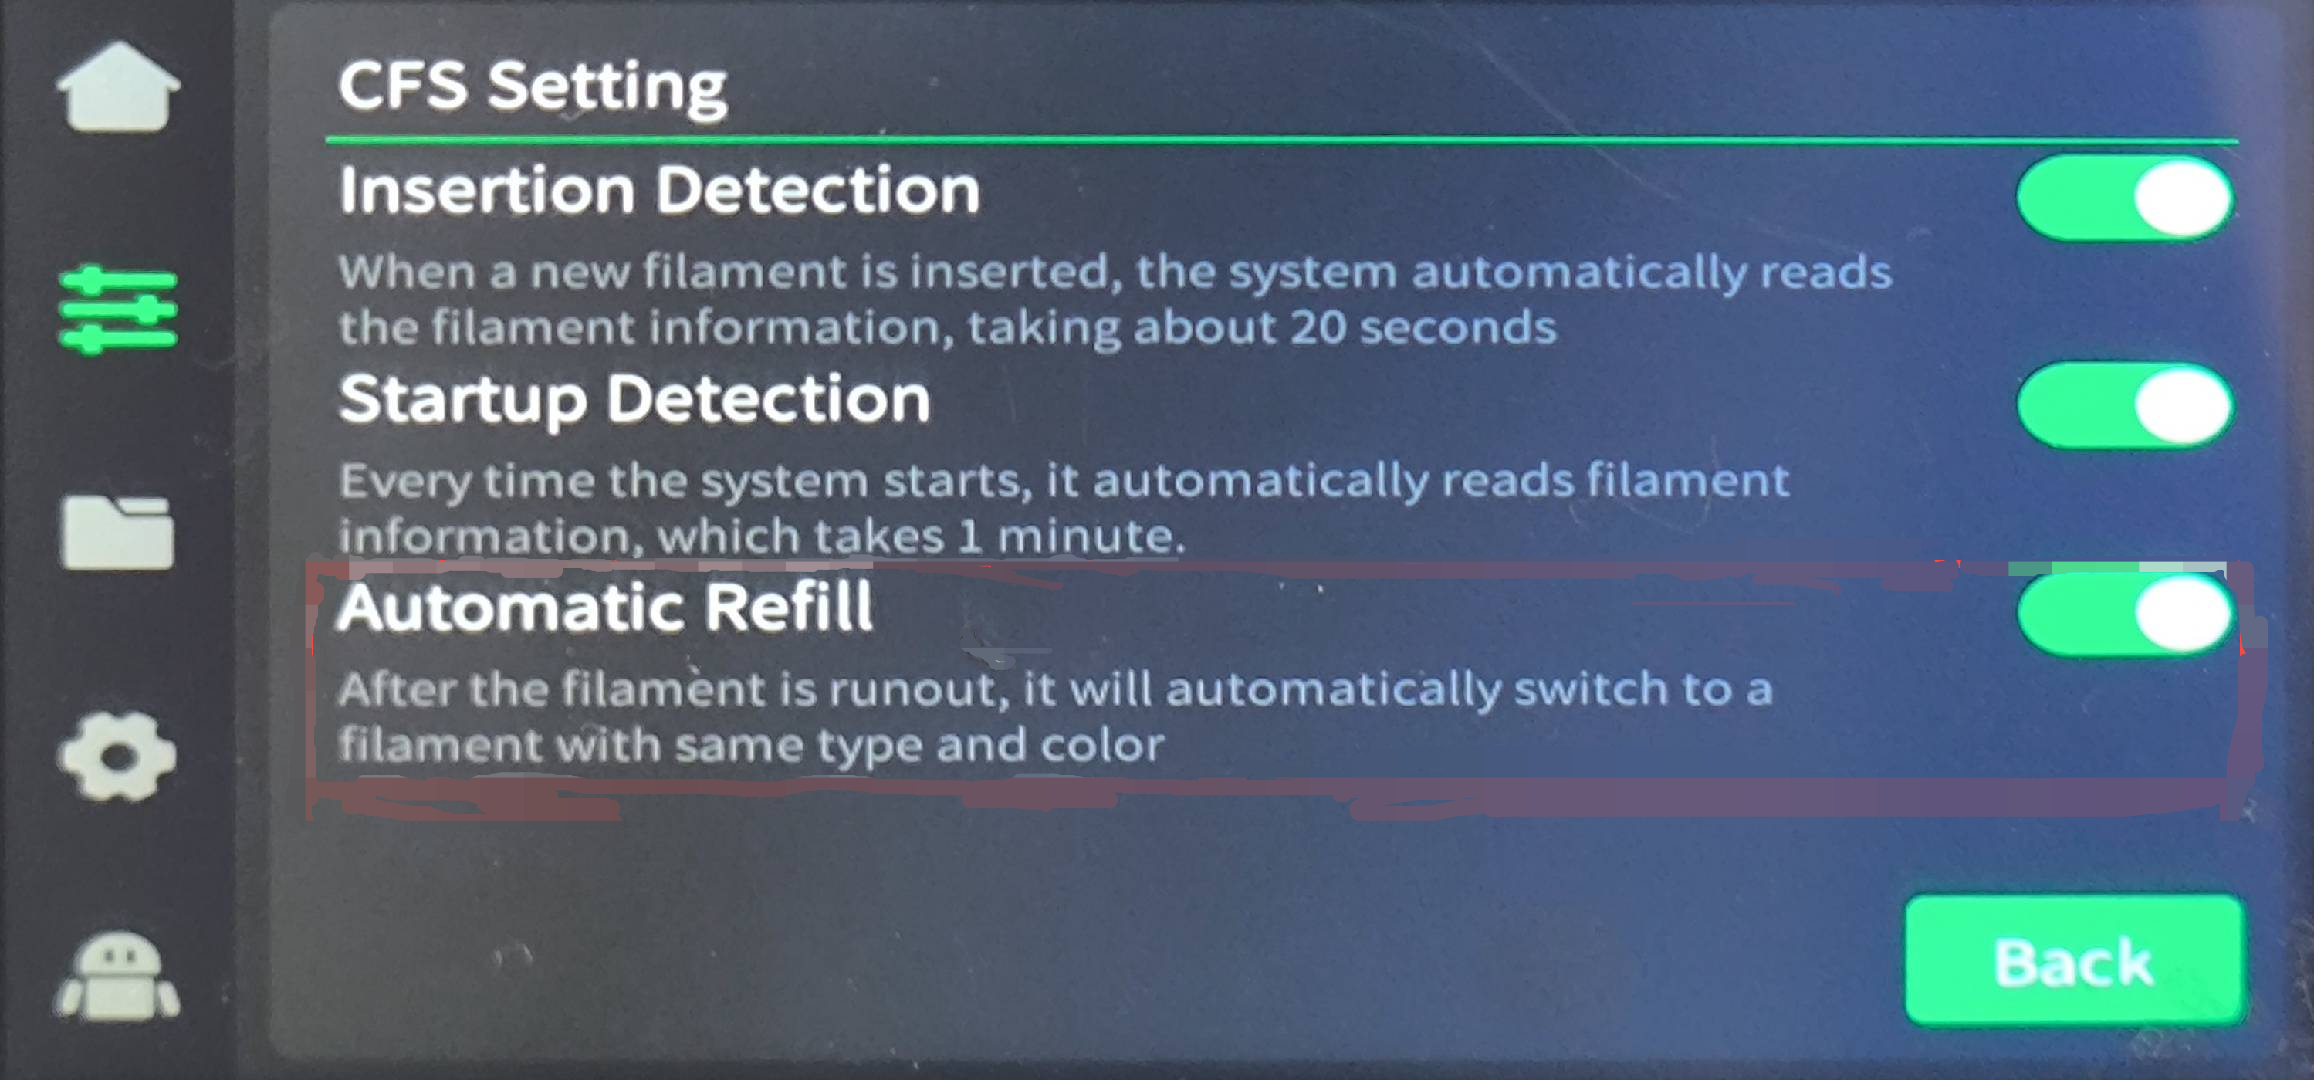
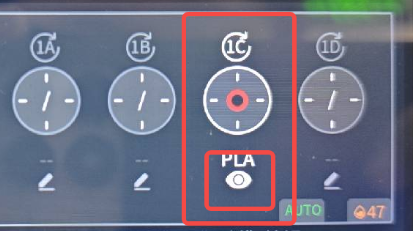
Click the view button below the filament, you cannot edit.
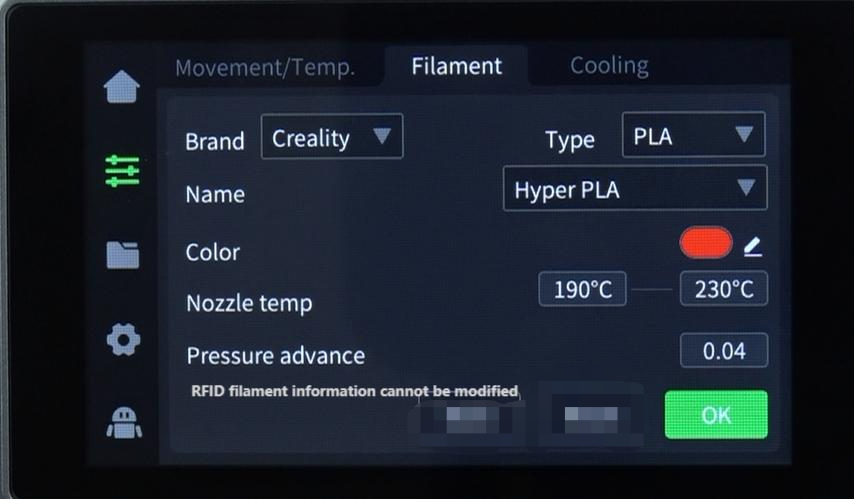
¶ 3. Load Filament
On the filament page, select the filament that needs to load. The CFS will load the filament automatically. Observe the nozzle. If filament is extruding, wait for the "Extrude" button to illuminate.
(The selected filament will have a white outline; the unselected one is grayed out)
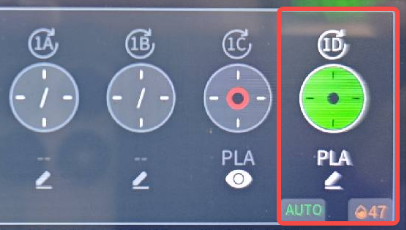
After clicking "Extrude", the nozzle will heat up to the set temperature, then the CFS will auto-feed the filament into the printer. The "Extrude"/"Retract" buttons will gray out during this process.
¶ 4. Unload Filament
-
On the filament page, click "Retract". The extruder will move to the front-left position to cut the filament, then retract it.
-
After clicking "Retract", the nozzle heats up to temperature, the printer cuts and retracts the filament. The "Extrude"/"Retract" buttons gray out during this.
-
After retraction is complete, the CFS will auto-pull back the filament, and the "Retract" button will illuminate.
¶ 5. Replace Filament
Ensure printing is paused or stopped. Check if the old filament is still inside the extruder.
¶ 5.1 Old filament Not in the extruder
If the old filament is not in the extruder, directly pull it out from the CFS, then skip to step "5.2 (6)"
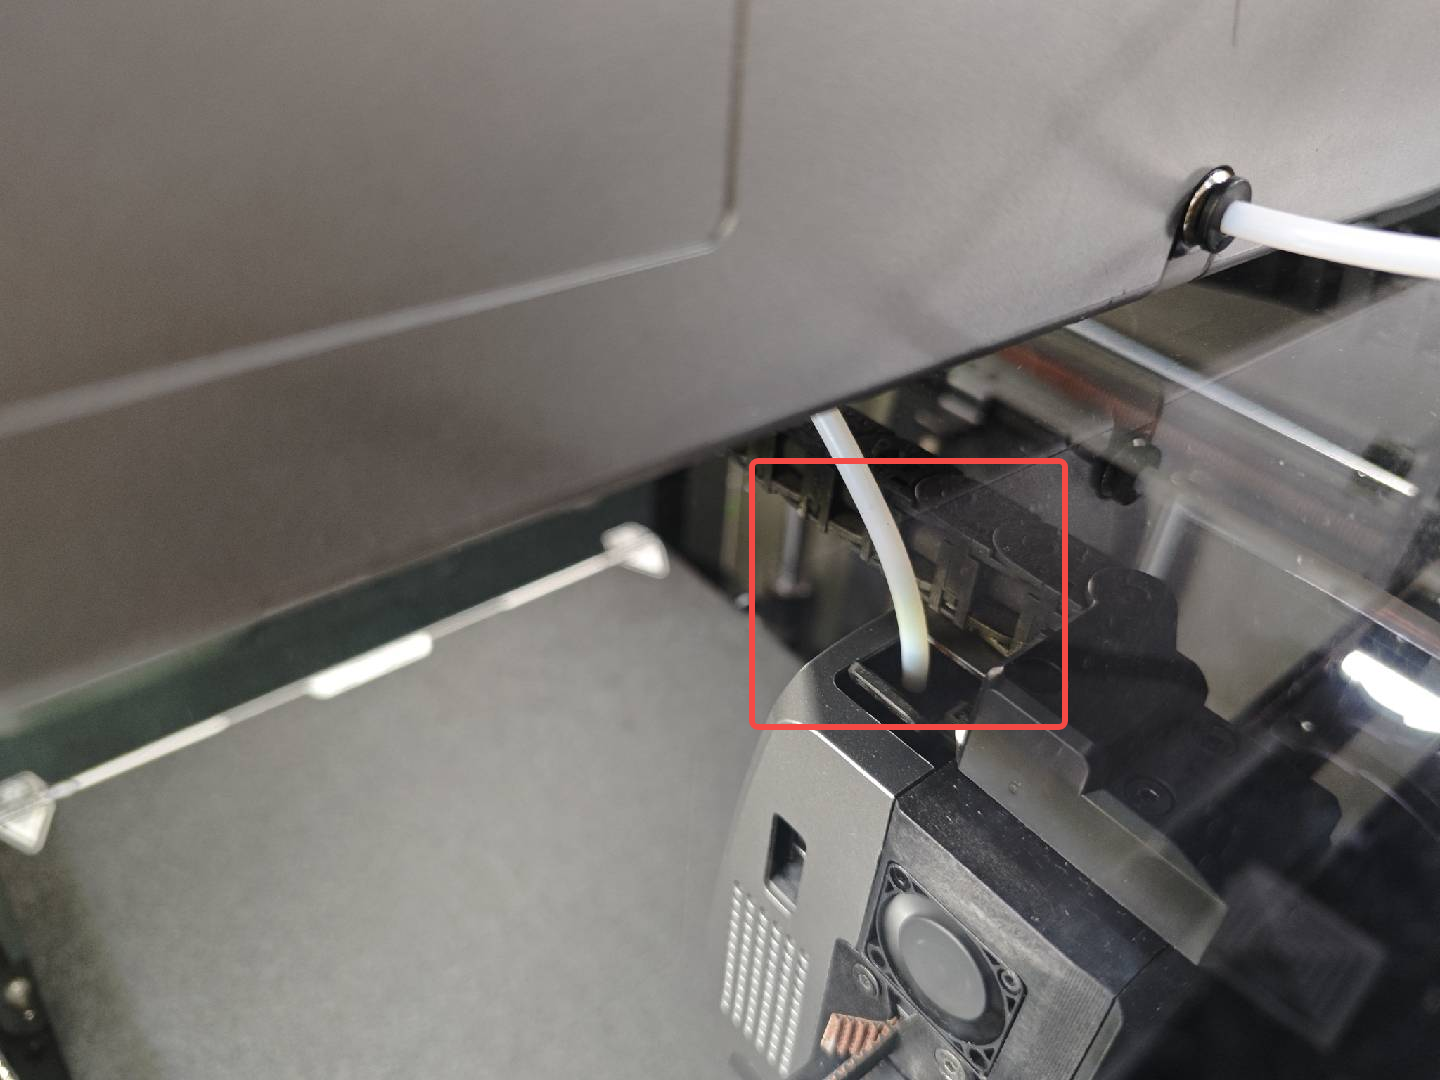
¶ 5.2 Old filament in the extruder
(1) If the old filament is in the extruder, you need to retract the filament, then proceed to step "(2)." below.
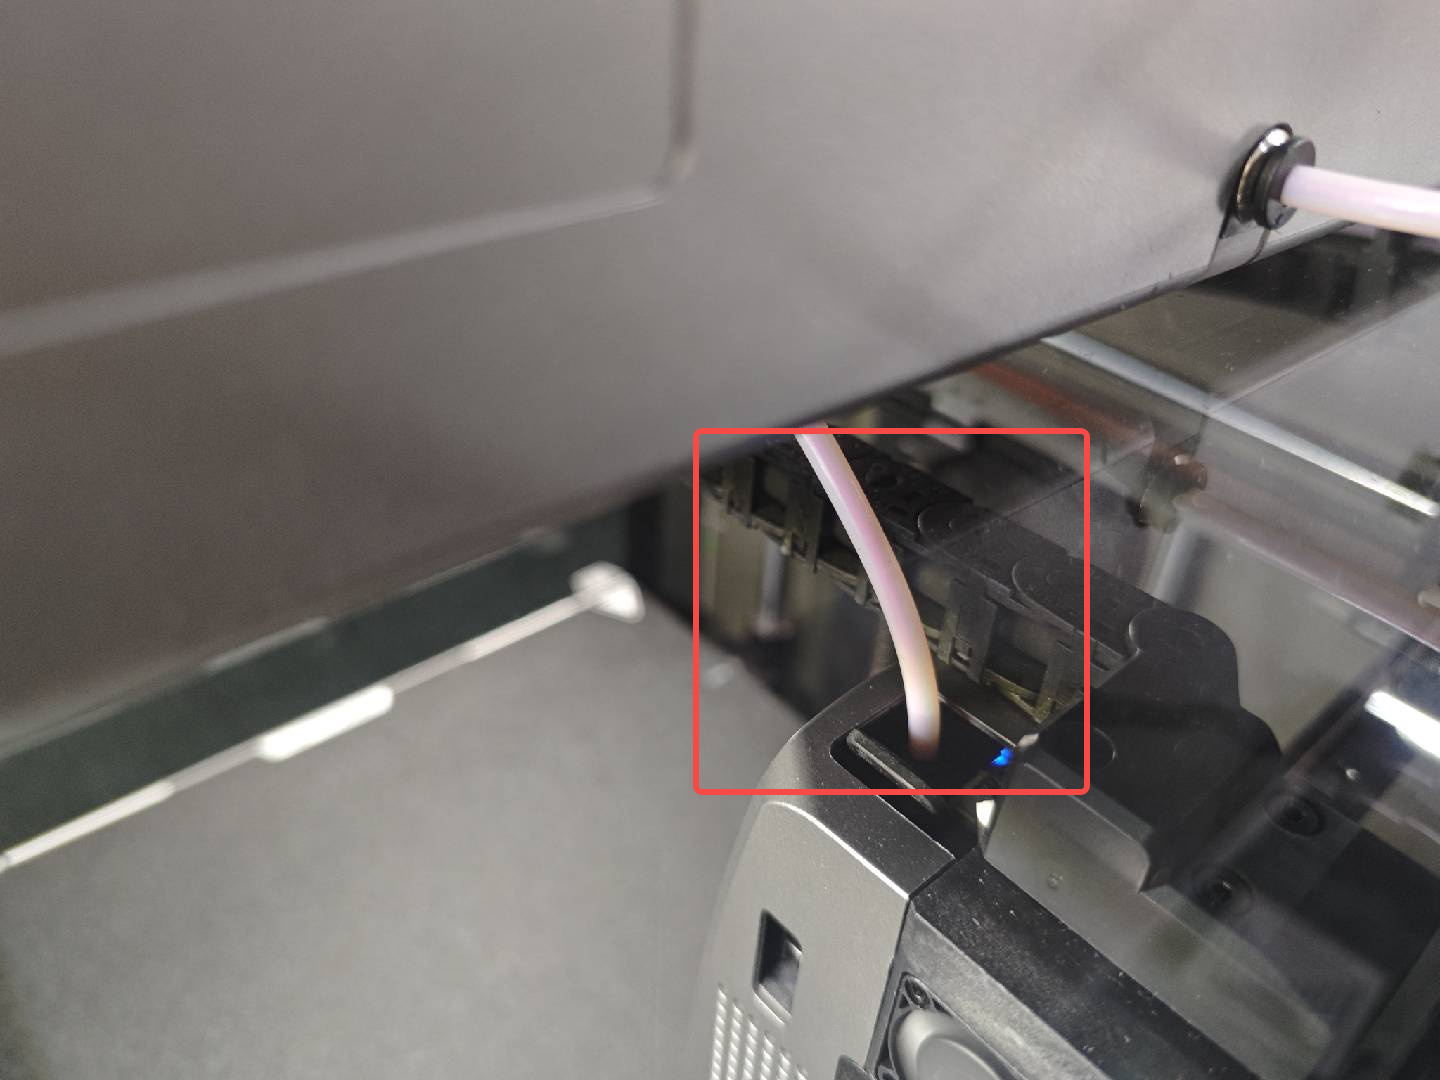
(2) On the filament page, click "Retract". The extruder will move front-left to cut the filament, then retract it.
(3) After clicking "Retract", the nozzle heats up, the printer cuts and retracts the filament. The "Extrude"/"Retract" buttons gray out during this.
(4) After retraction is complete, the CFS will auto-pull back the filament, and the "Retract" button will illuminate.
(5) When finished, you can pull out the old filament from the CFS.

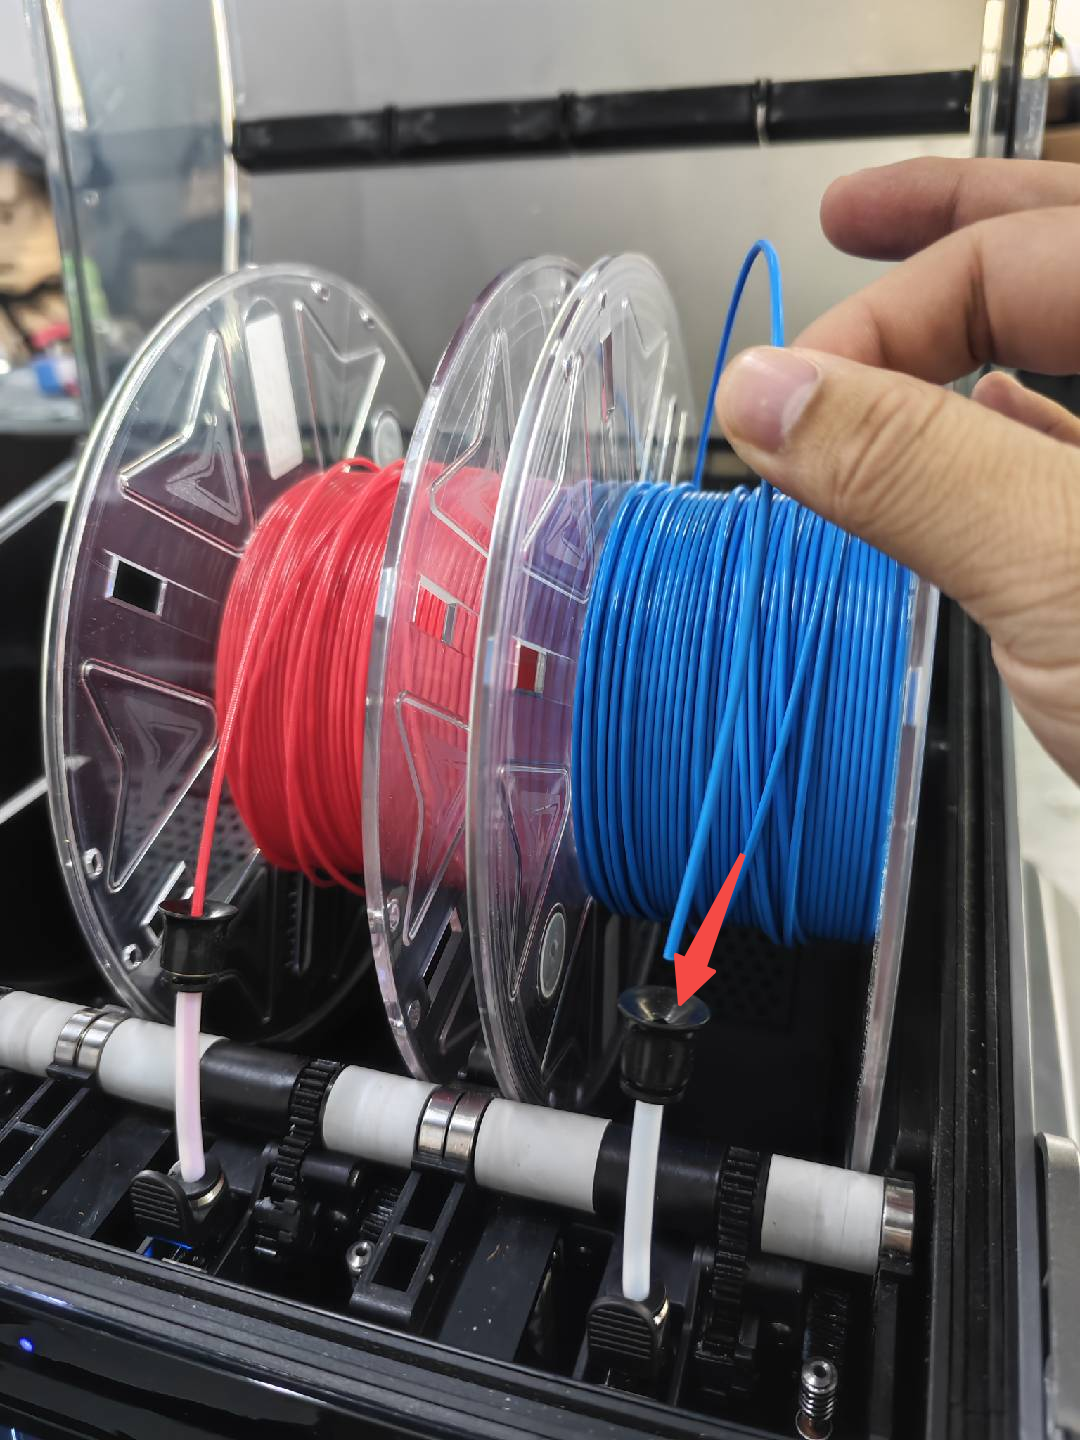
(6) Place the new filament in the CFS, insert the filament head into the corresponding slot's PTFE tube, gently push until you feel resistance, then release. The CFS indicator light will illuminate and auto-refilling will start, the filament is rotated in the spool.
¶ 6. Edit New Filament
¶ 6.1 Non-RFID Filament
When inserting non-RFID filament, the printer will read it by auto-tension, but the interface will still display the previous filament informaton. You need to re-edit the new filament info. Click the edit button for that filament slot, re-set the brand - type - name, and finally color. Click "OK" to save.


Re-edit the new filament information.
¶ 6.2 RFID Filament
When inserting RFID filament, the CFS will auto-read the info (ensure "Insertion Dection" is enabled). No need to edit, there will be a view button instead of editing.


Clicking the view button, you cannot edit

¶ 7. Extrude New Filament
On the filament page, select the filament to load by clicking on it (white outline when selected), then click "Extrude". The CFS will auto-load. Observe the nozzle, if filament extrudes, wait for "Extrude" to illuminate.
After clicking "Extrude", the nozzle heats up, then the CFS auto-feeds filament into theprinter for loading. "Extrude"/"Retract" buttons gray out.
¶ 8. Start to Print
Once filament loading is complete, you can resume printing.