¶ STEP 1
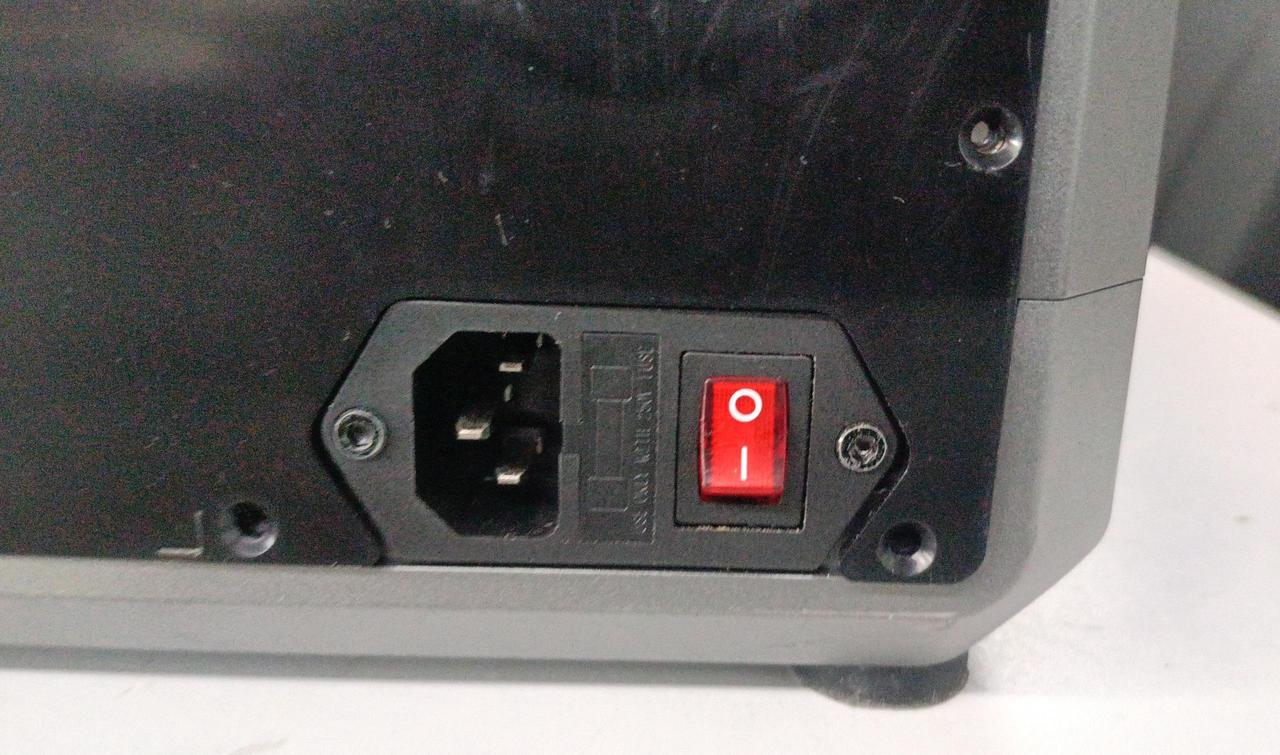
¶ Unplug the filament and turn off the power.
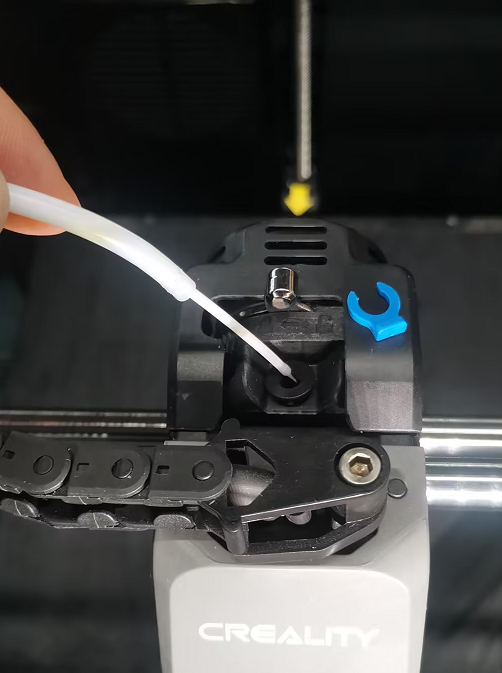
- Set the nozzle temperature to 260℃, remove the blue wire clamp on the extruder, press the claw to pull out the PTFE tube, turn the extruder to the unlock state, and pull out the filament;
Notice: Be careful of the high heat; please use cut pillars to operate for fear of hurting yourself.
- Turn off the printer, or set the nozzle temperature to 0°C.
¶ STEP 2
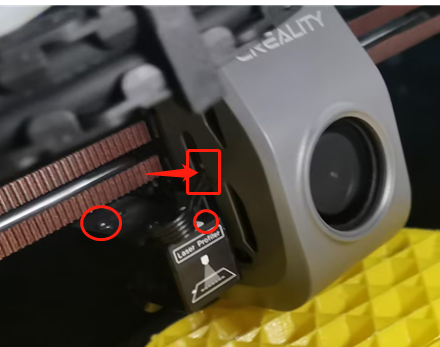
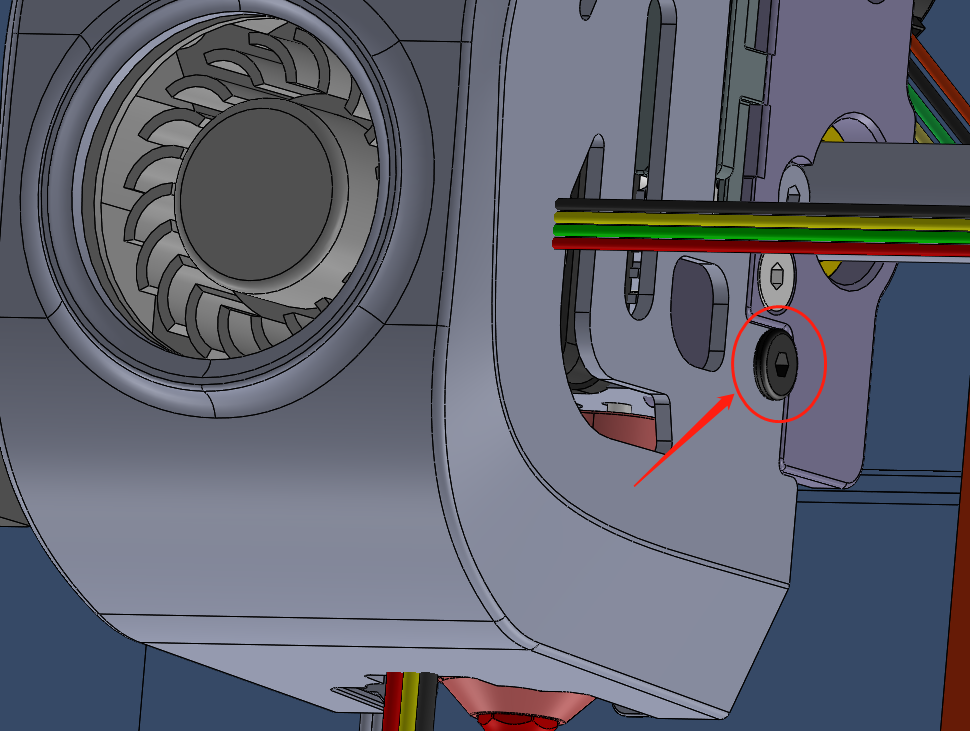
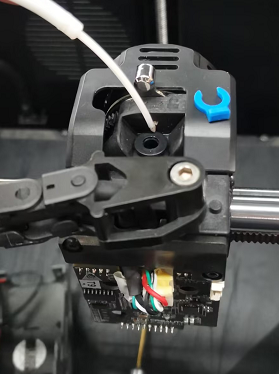
¶ Remove AI LiDAR
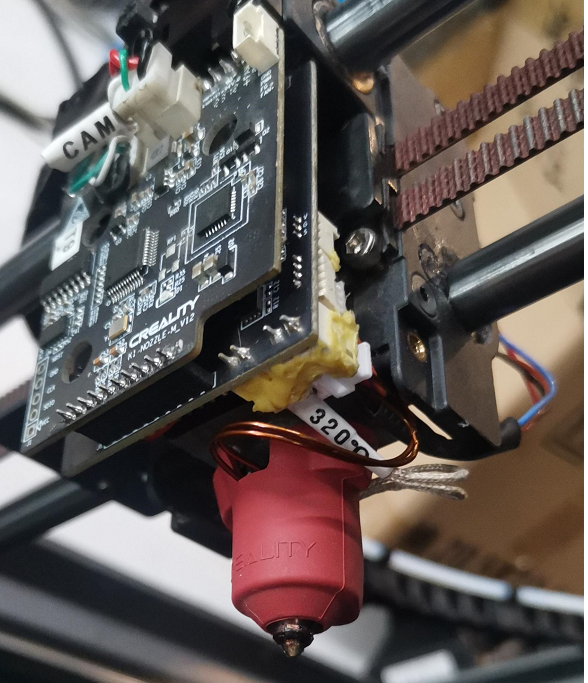
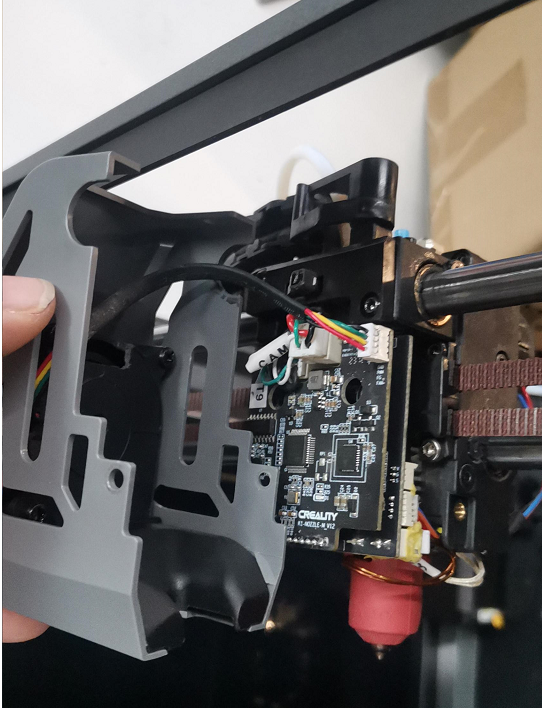
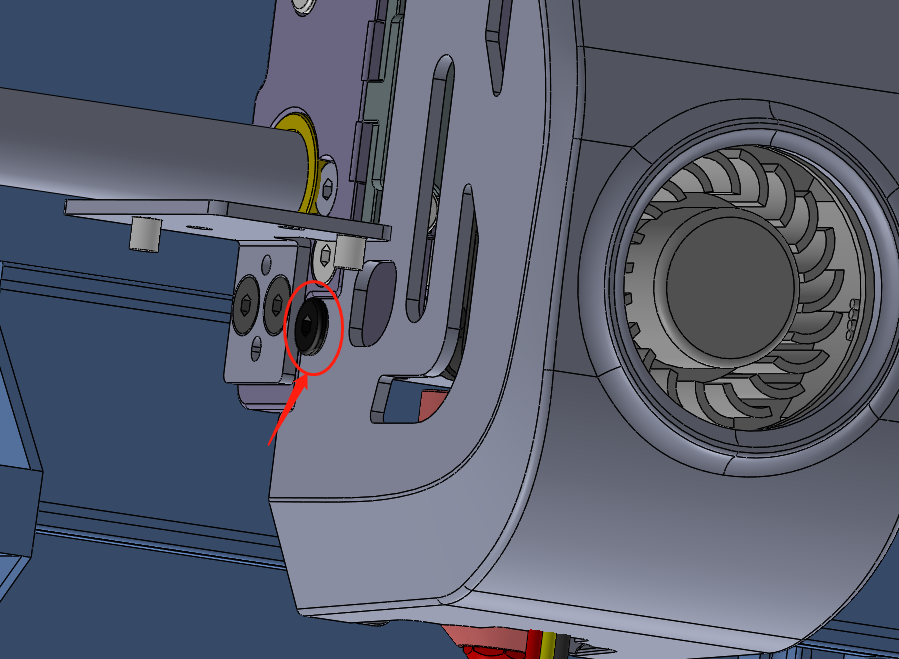
Unplug the transmission line terminal on the left side of the nozzle board, and use the Hexagon wrench to remove the two fixing screws above the AI LiDAR.

¶ STEP 3
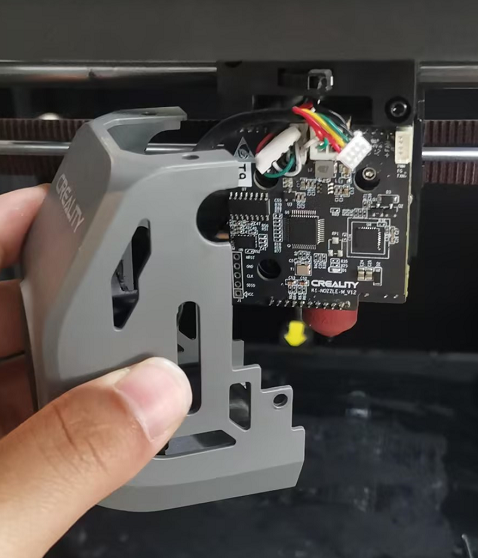
¶ Remove the extruder front cover
3.1 Remove the fixing screws on both sides of the nozzle cover;
3.2 Remove the nozzle cover and unplug the model fan terminal;

¶ STEP 4
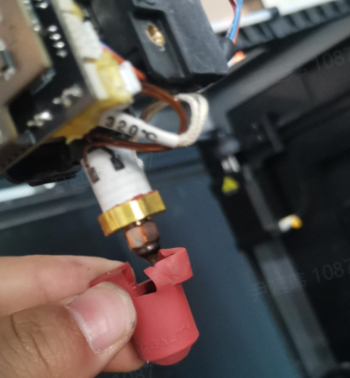
¶ Remove the nozzle silicone sleeve
¶ STEP 5
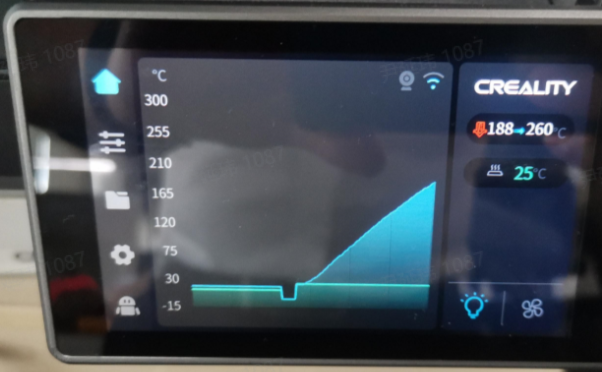
¶ Preheat the sprinkler head
5.1 Turn on the printer, set the nozzle temperature to 260℃, remove the blue wire clamp on the extruder, press the claw to pull out the PTFE tube, turn the extruder to the unlock state, and pull out the filament;
¶ STEP 6
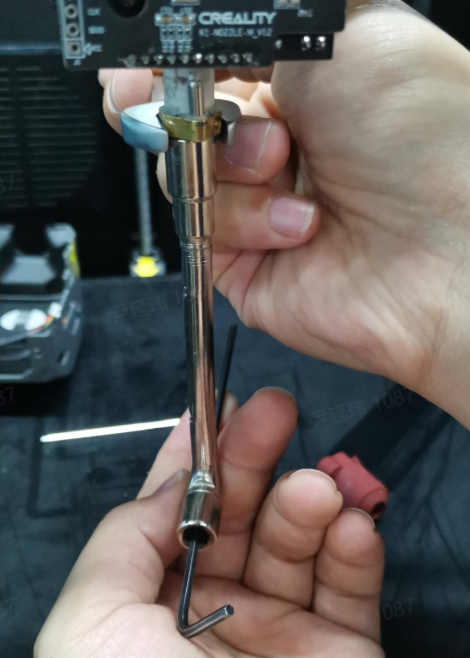
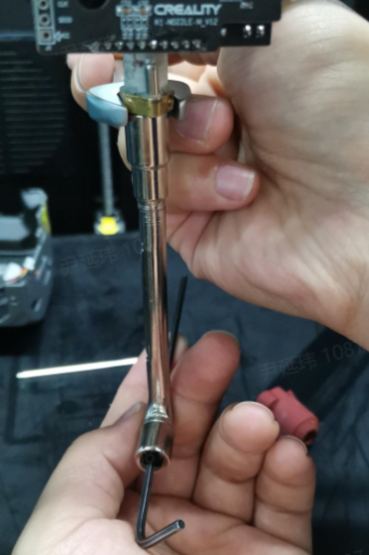
¶ Remove the old nozzle
6.1 Take out the No. 6 socket wrench and open-end wrench included in the tool kit, insert the long side of the socket wrench into the nozzle, insert the No. 7 wrench into the short side of the socket wrench, and clamp the No. 12 opening of the open-end wrench into the fixing under the heating tube.
Notice: Be careful to prevent burns from the high-temperature nozzle.
6.2 Hold the open-end wrench and turn the socket wrench forcefully to remove the nozzle.
¶ Step 7
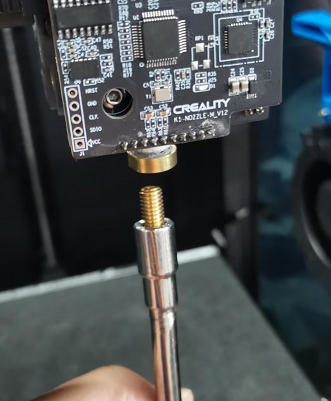
¶ Replace the new nozzle
- Take out the new nozzle, insert the nozzle head into the socket wrench groove, align it with the installation hole of the heating block, and tighten the nozzle on the heating block;
- Set the nozzle temperature to 0°C, wait until the temperature drops to room temperature, turn off the power, unplug the power cord, and align the heat insulation sleeve with the nozzle and cover it upward on the nozzle surface, so that the heat insulation sleeve completely covers the nozzle;
¶ STEP 8
¶ Reinstall the extruder front housing
8.1 Pick up the nozzle cover, insert the cooling fan terminal into the corresponding terminal holder on the front of the nozzle board, fasten the fan cover, and tighten the two left and right fan covers fixing screws;

¶ STEP 9
¶ Reinstall AI LiDAR
Insert the terminal of the AI laser module connection cable into the corresponding mounting socket on the nozzle board, insert the directional column on the upper end of the module into the directional hole on the mounting bracket, and tighten the two countersunk screws on the upper end for fixing;