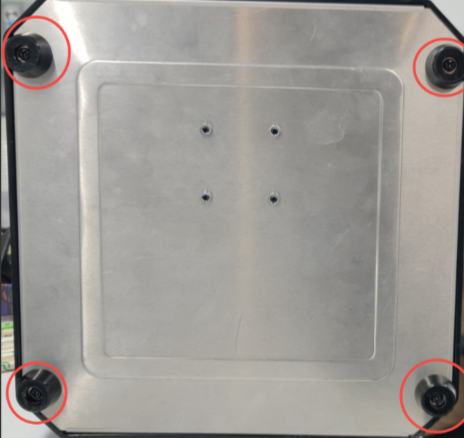
¶ Step One:
- Loosen and remove the four screws on the bottom cover by using a Phillips screwdriver.
¶ Step Two:
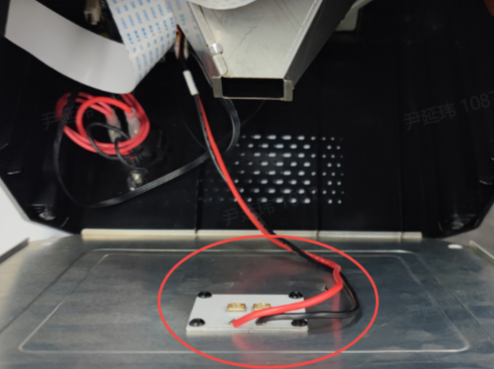
- Unplug the UV lamp power cord and remove the bottom shell.
Note: Do not tear the UV lamp power cord when removing the bottom shell.
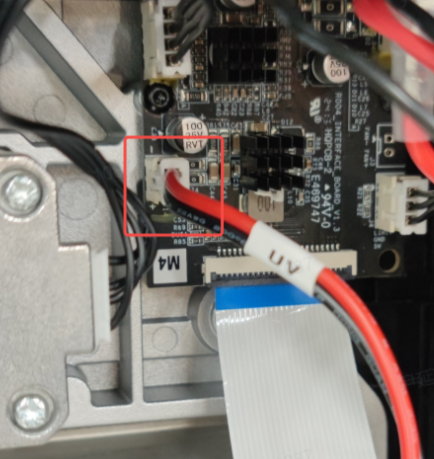
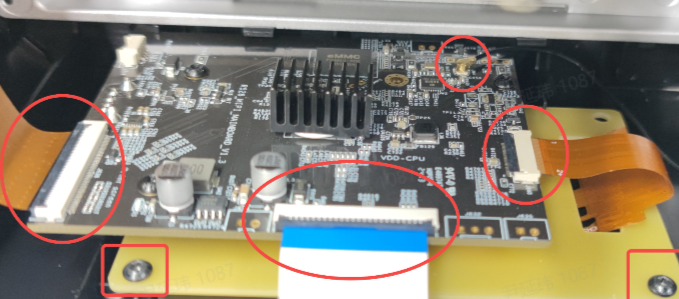
¶ Step Three:
- Take a picture of the cable. Remove the cable, loosen the screws, and take out the mainboard and touchscreen.

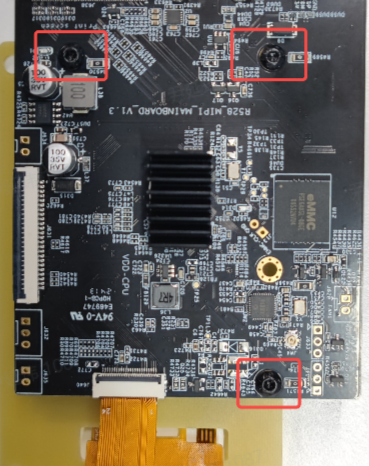
¶ Step Four:
-
- Loosen the three screws on the mainboard, remove the touchscreen, and replace it with a new one.
¶ Step Five:
-
- Tighten the three screws to secure the touchscreen.
¶ Step Six:
- Connect the cable to the mainboard and fasten the two screws to secure the touch screen.
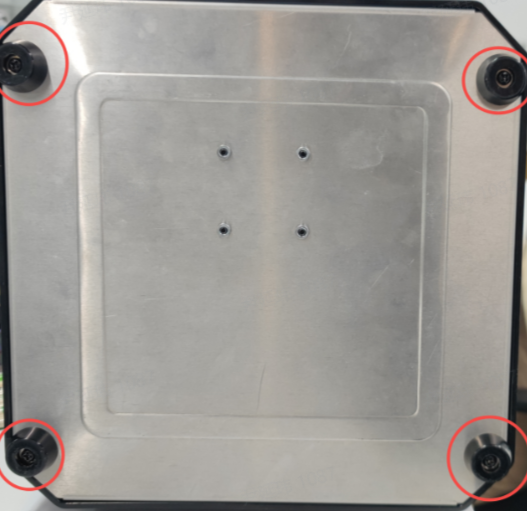
¶ Step Seven:
- Install the bottom shell back on the machine, connect the UV lamp power cord, and tighten the four screws of the bottom shell.