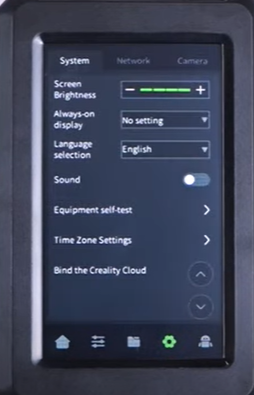
¶ Tools
H2.0 hexagonal wrench
Cutting plier
Open spanner
New nozzle
¶ Replacement Steps
Note: Before proceeding, ensure the nozzle temperature is at room temperature.
¶ Disassembly
Note: Before proceeding, ensure the nozzle temperature is at room temperature.
Power off and unplug the power cord.
Remove the fan cover (unscrew 2 screws).
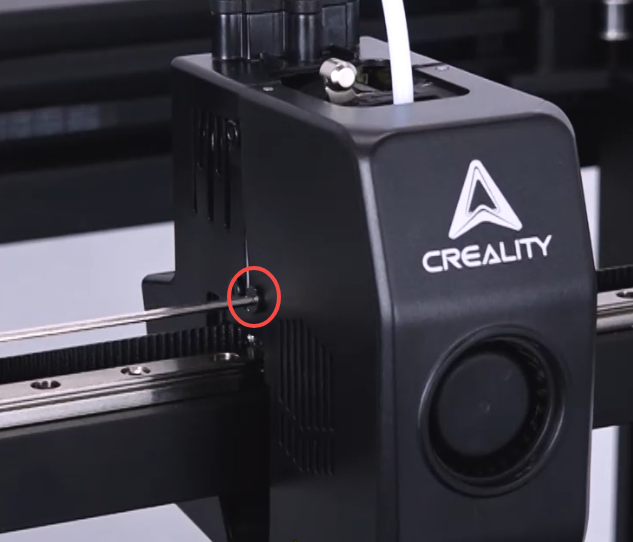
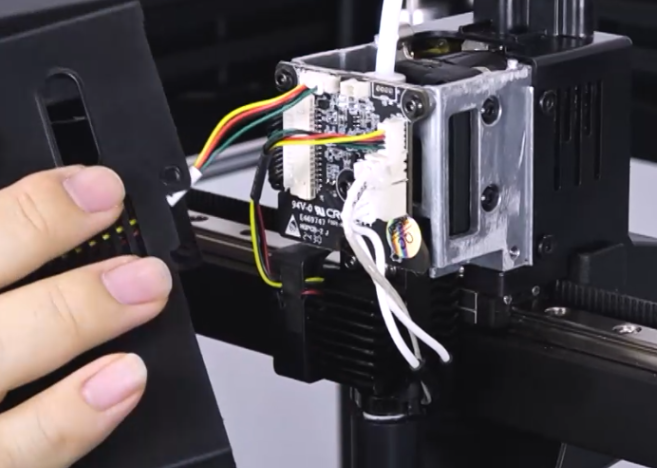
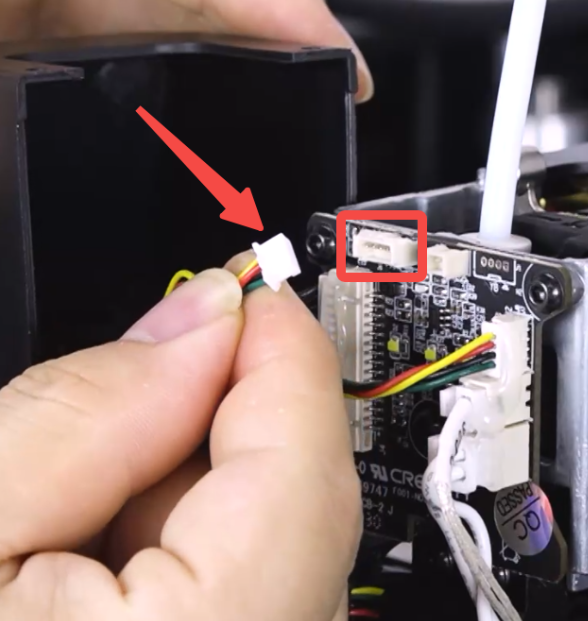
Use cutting pliers to cut off the hot glue (be careful not to cut the wires), and unplug the fan wires
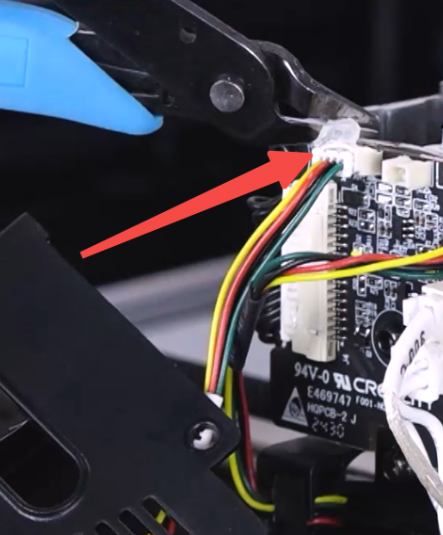
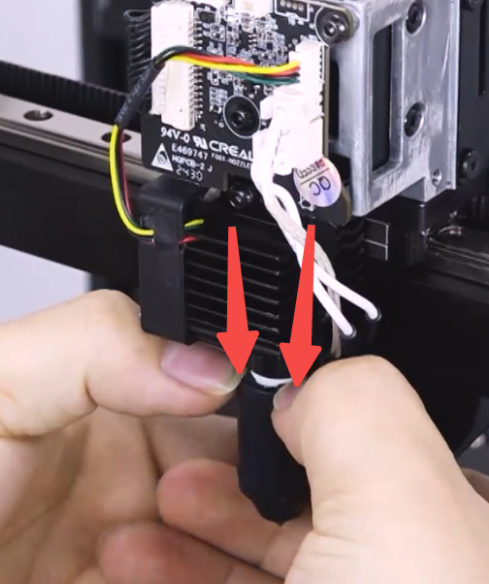
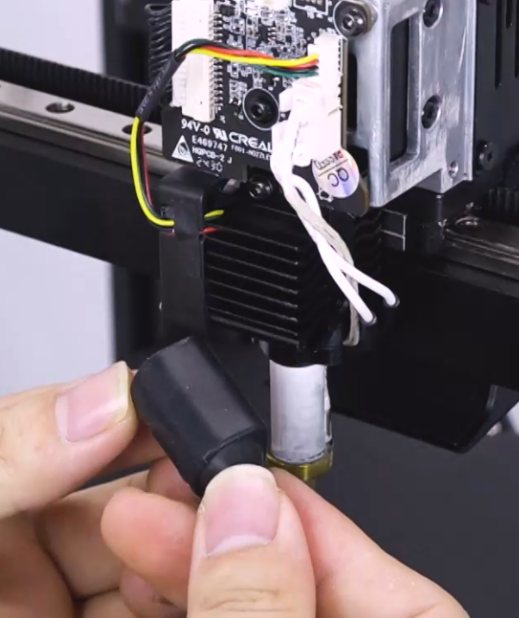
Remove the silicone sleeve
Plug in the power cord and turn on the machine
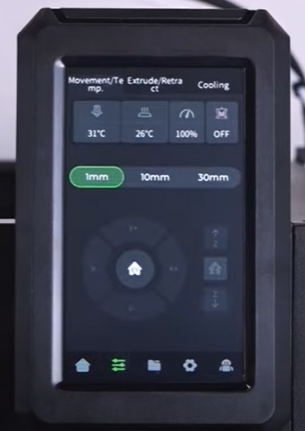
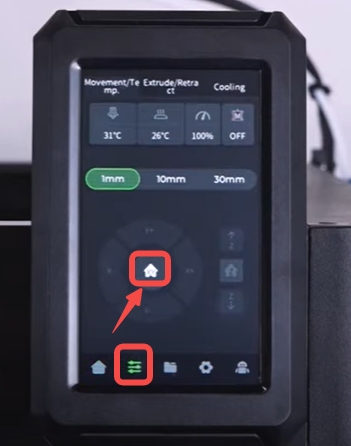
Click "Prepare" - "Homing", wait for the machine to complete homing
 |
 |
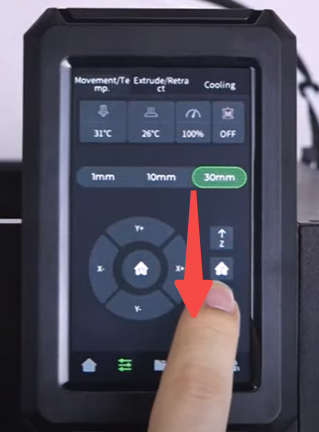
Click - "30mm" - "Z-axis downward", after homing is complete, lower the machine's print platform to the middle position.
 |
 |
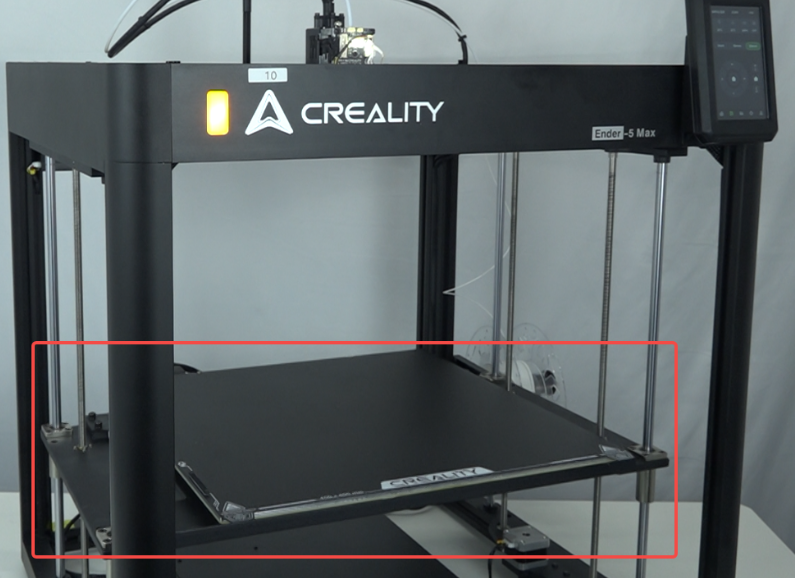
Click "Extrude/Retract" - "Retract", wait for the machine to complete filament retraction
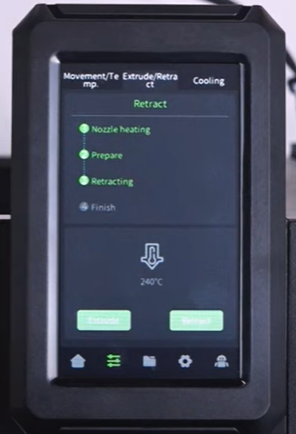
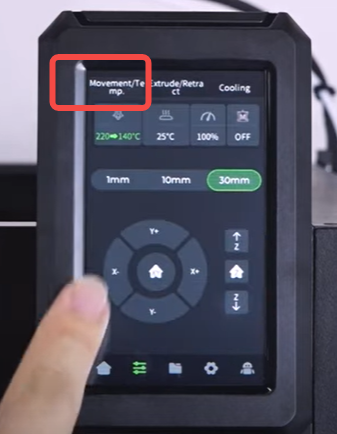
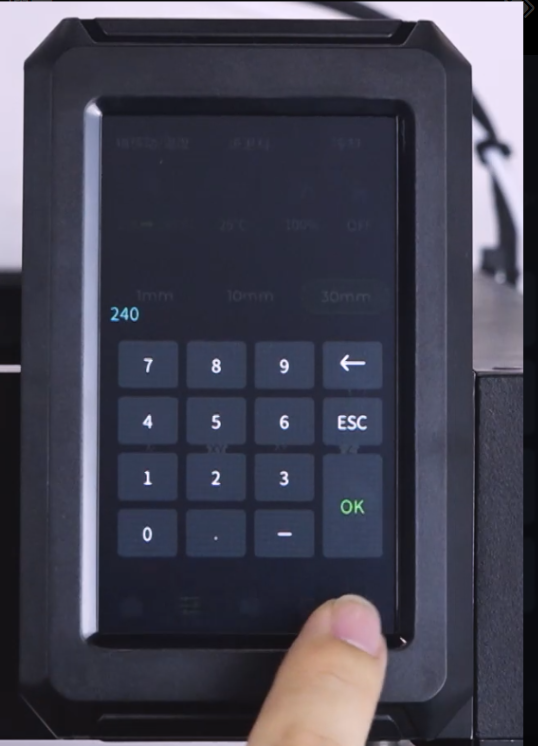
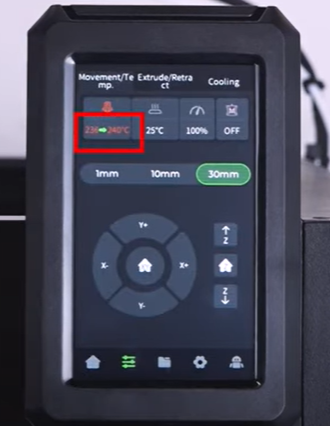
Click "Axis Movement/Temperature" and set the nozzle temperature to 240°, wait for the machine to heat up.
Open the extruder clamp and remove the filament
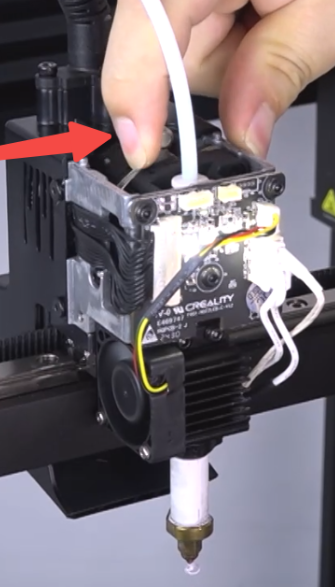
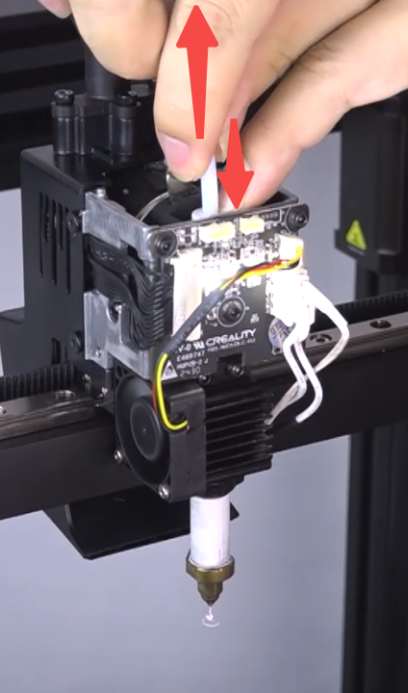
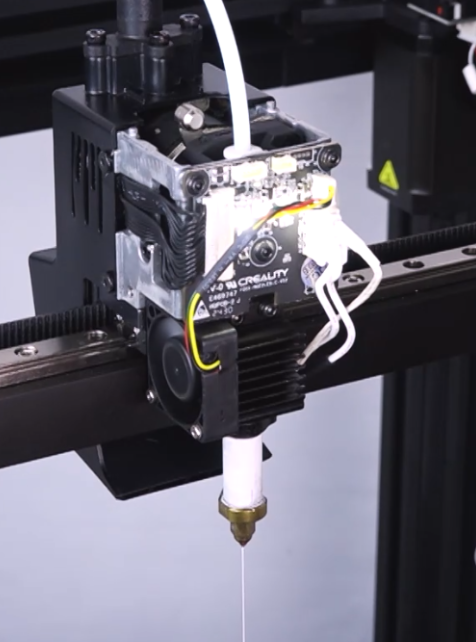
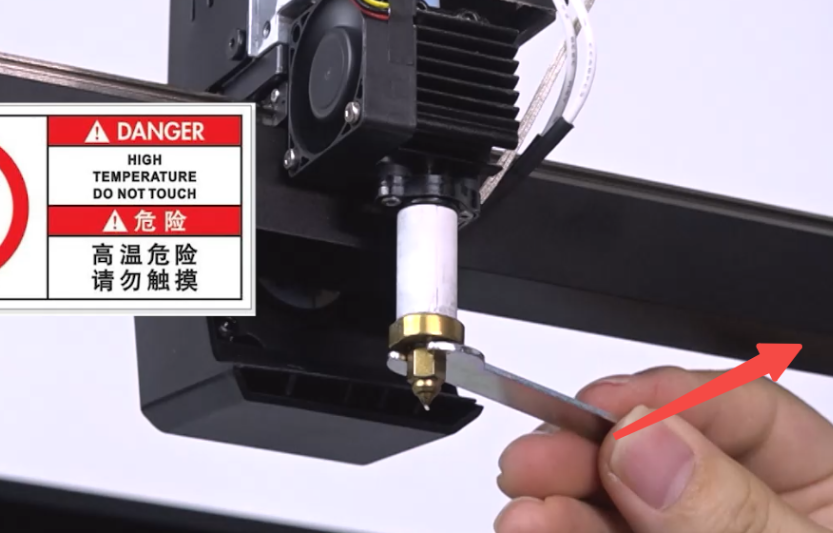
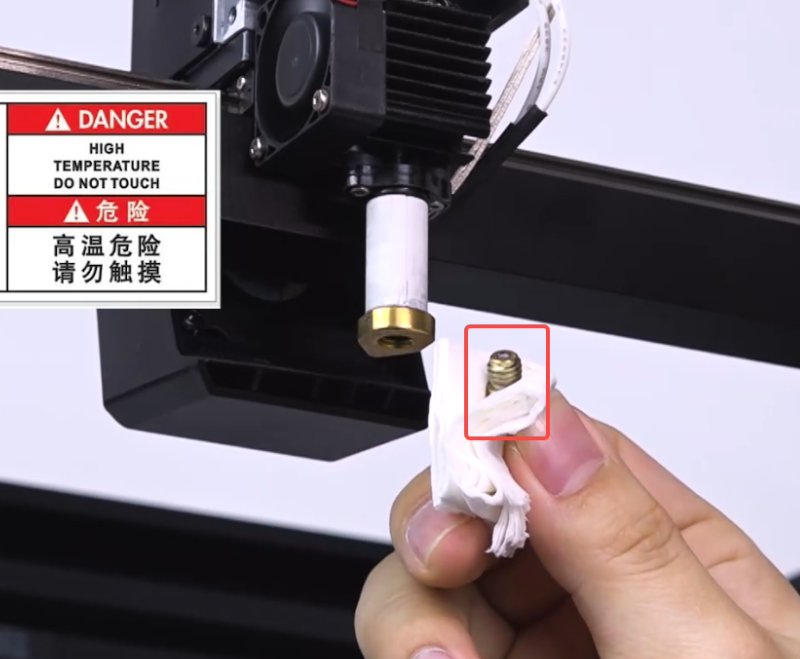
Use an open spanner to remove the nozzle. You can wrap the nozzle with thick paper towels when unscrewing it. Be careful of burns.
¶ Installation
Install the new nozzle (make sure it's tightened), use thick paper towels to screw in the nozzle, be careful of burns, use an open spanner to secure it.
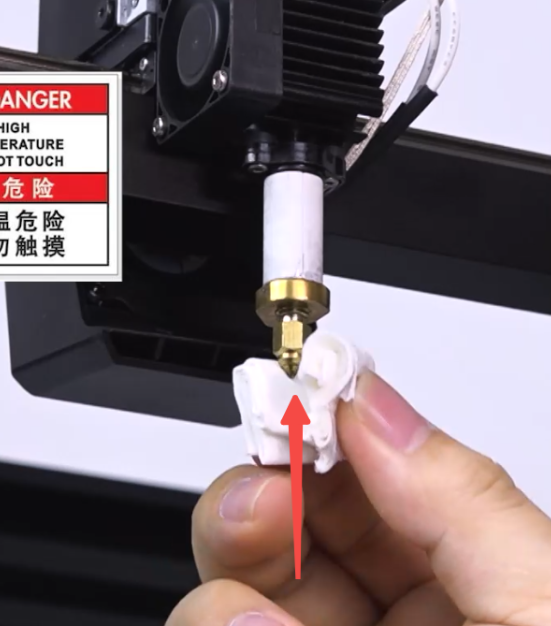
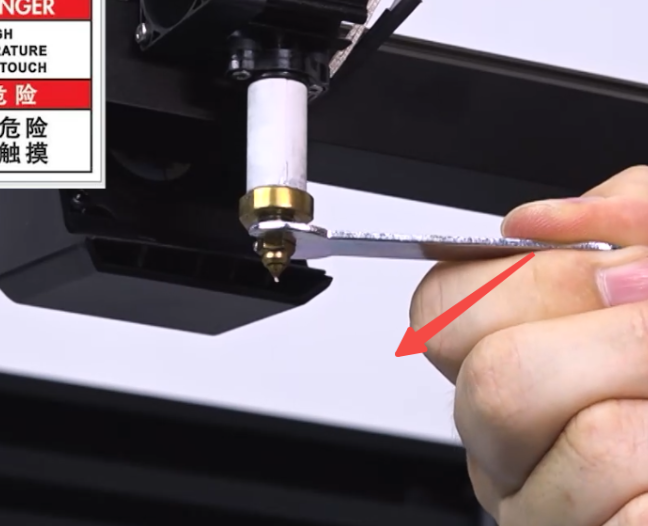
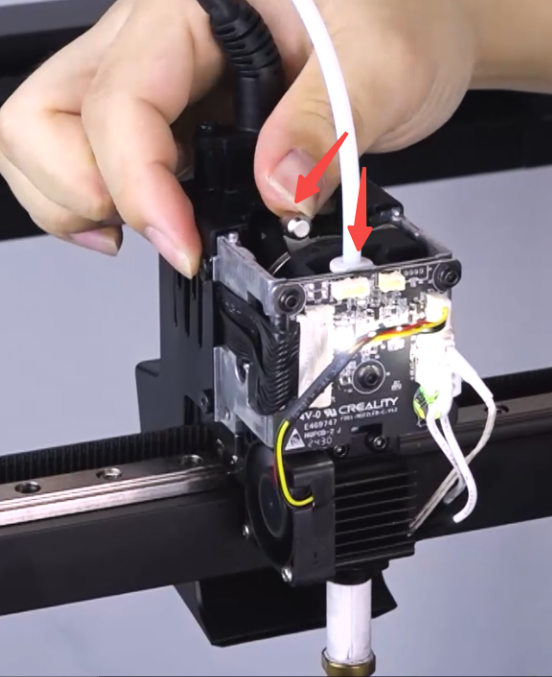
Use cutting pliers to cut the filament at a 45° angle, load the filament.
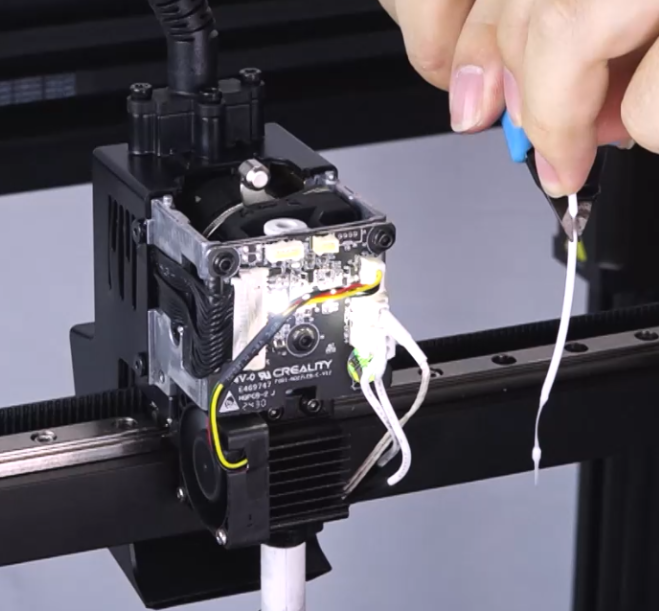
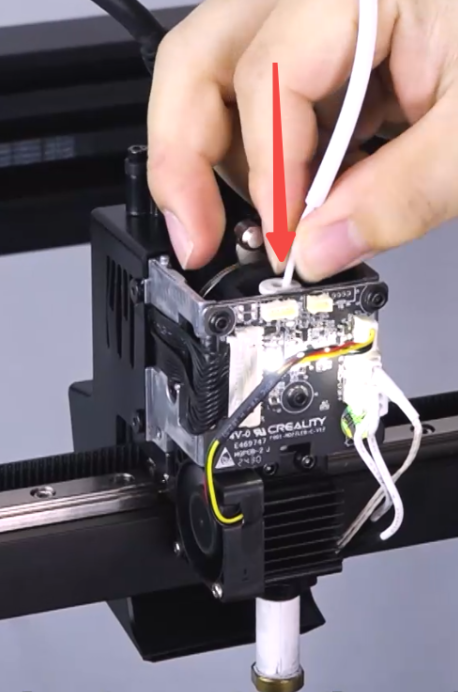
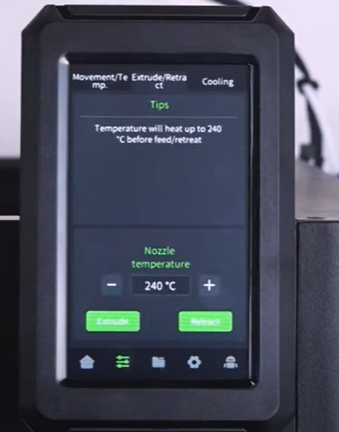
Click "Extrude/Retract" - "Extrude"
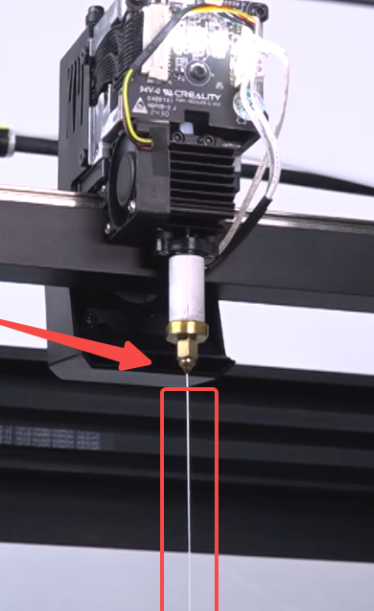
Observe if the extruded filament from the nozzle is smooth.
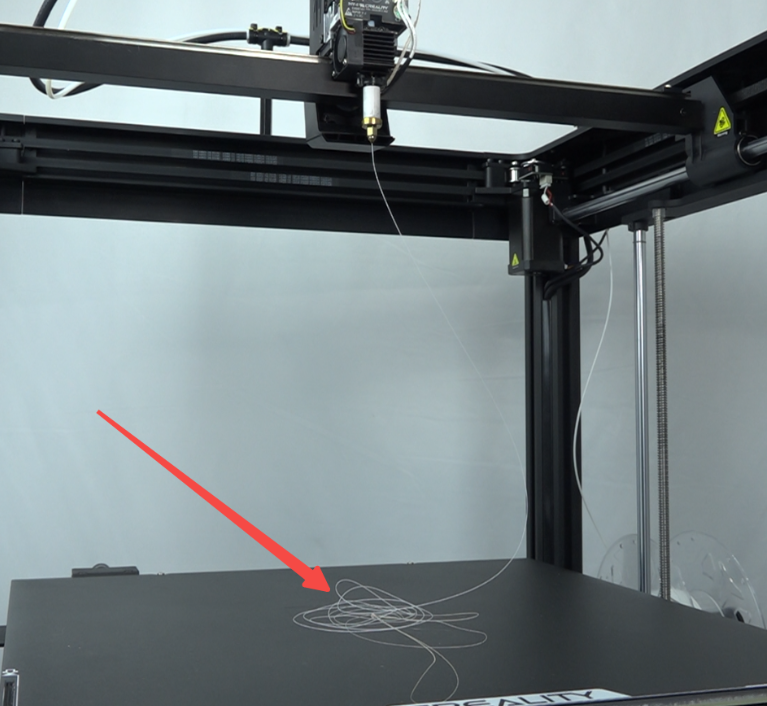
Clean up the extruded filament
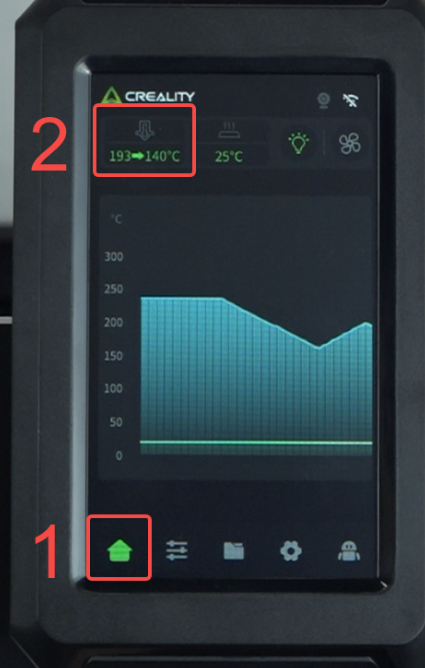
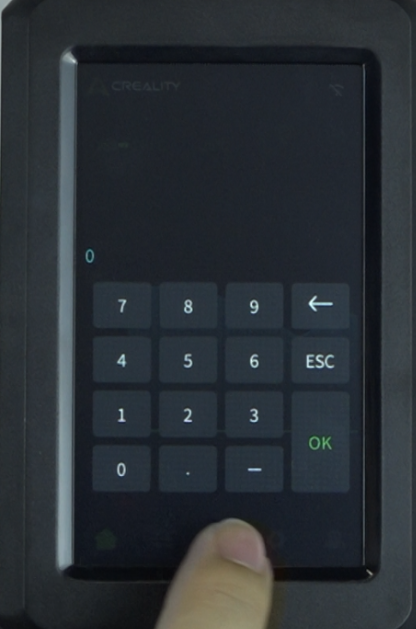
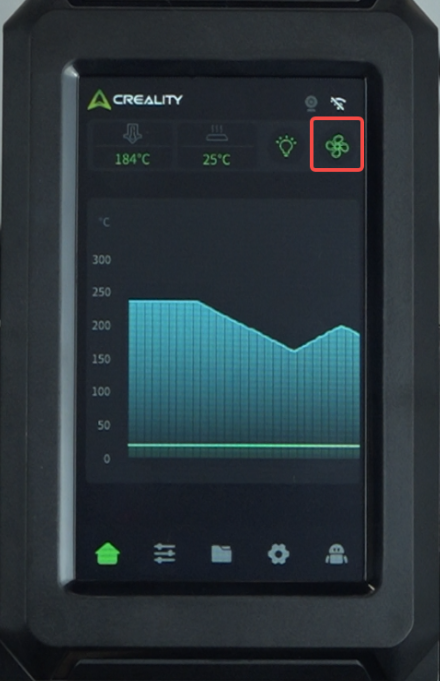
Click "Home", set the nozzle temperature to 0° and turn on the cooling fan to accelerate cooling, wait for the machine to cool down to room temperature.
Power off
Install the silicone sleeve
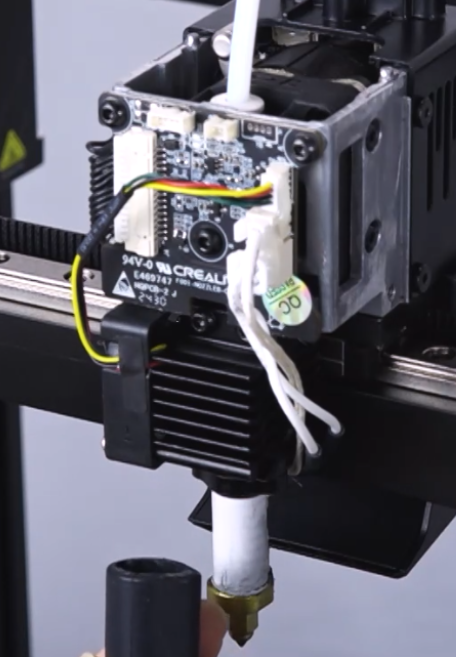
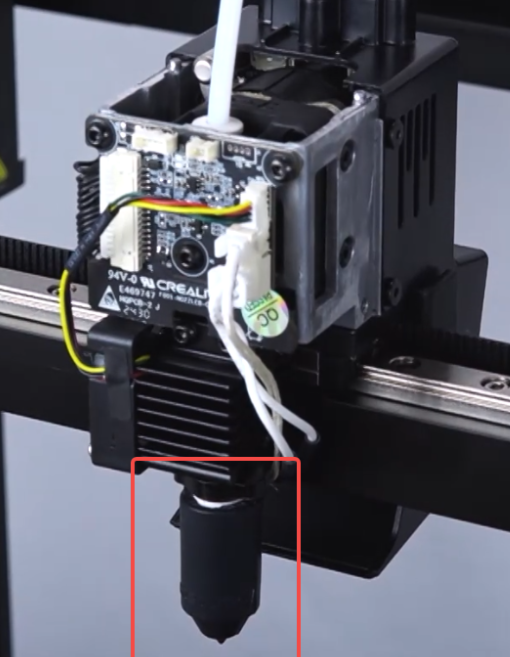
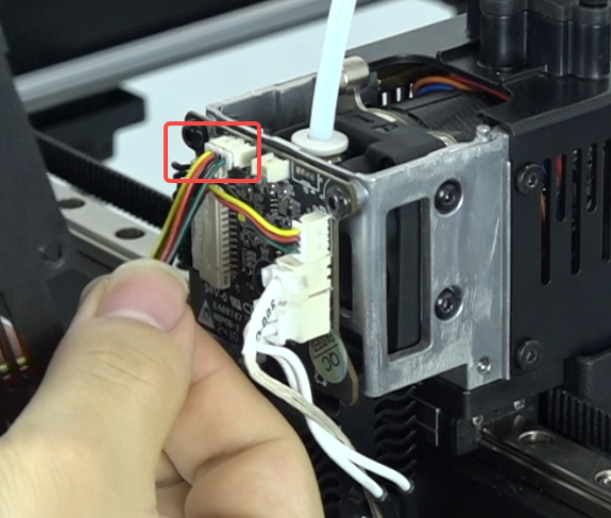
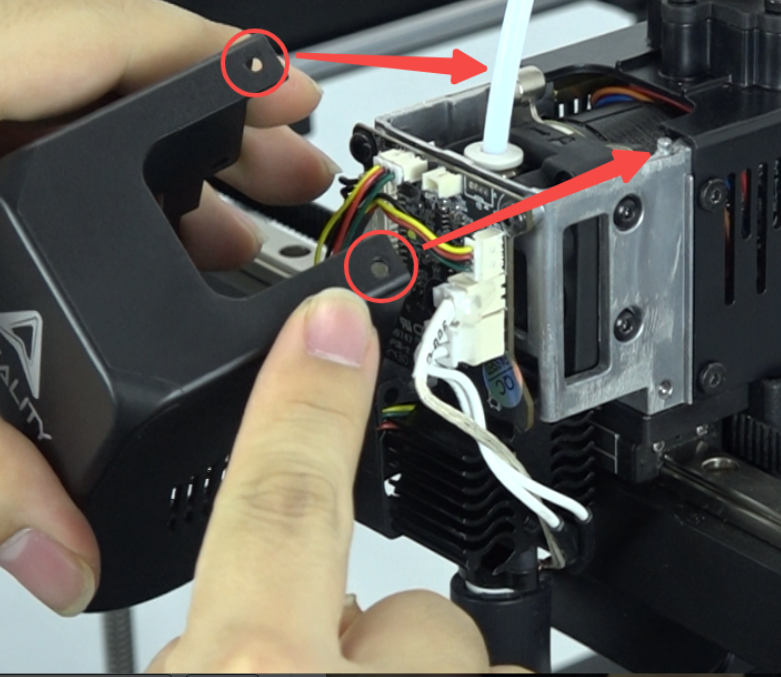
Plug in the fan wires, install the fan cover. When installing, make sure the two holes on the top are aligned with the positioning posts.
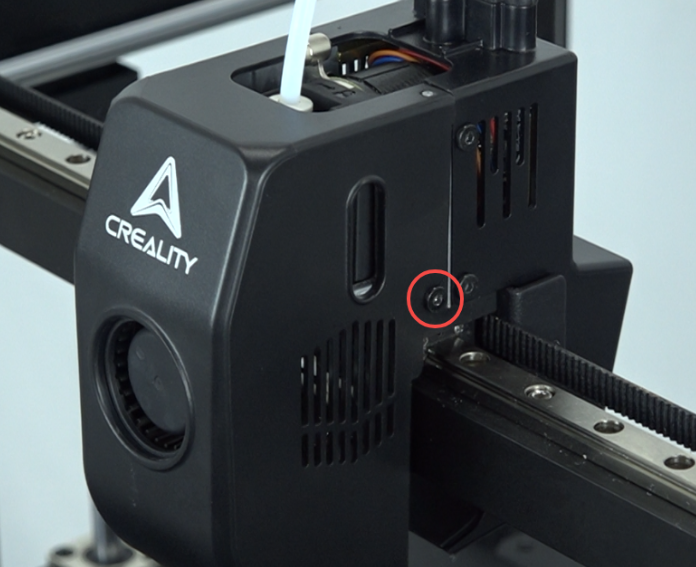
Tighten the screws on both sides.
¶ Start-up Self-check
Power on
Click "Settings" - "Device Self-check" - "Select All" - "Start check"
