¶ Tools
H2.0 hexagonal wrench
H2.5 hexagonal wrench
7mm socket spanner
Cutting plier
New hot bed assembly
¶ Replacement Steps
¶ Disassembly
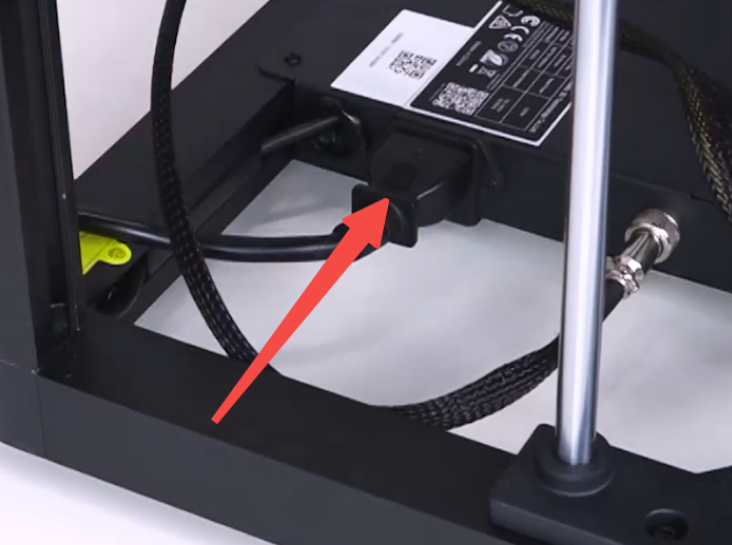
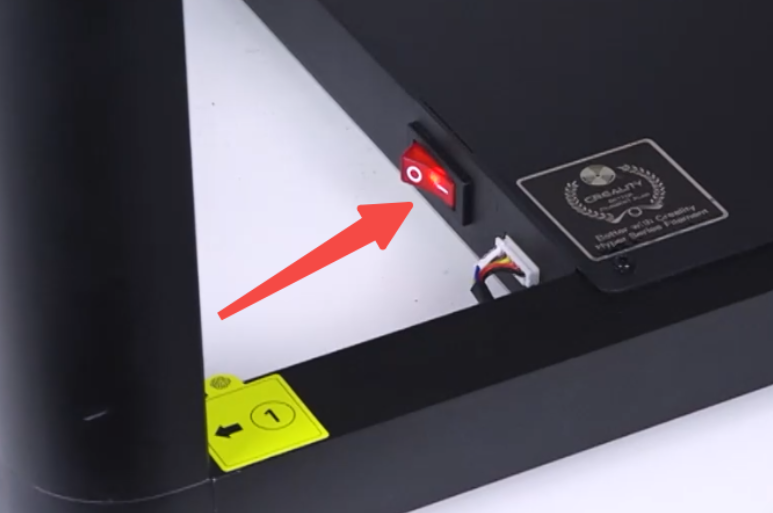
Plug in the power cord and turn on the printer.
Click "Prepare" - "Homing", wait for the machine to complete homing.
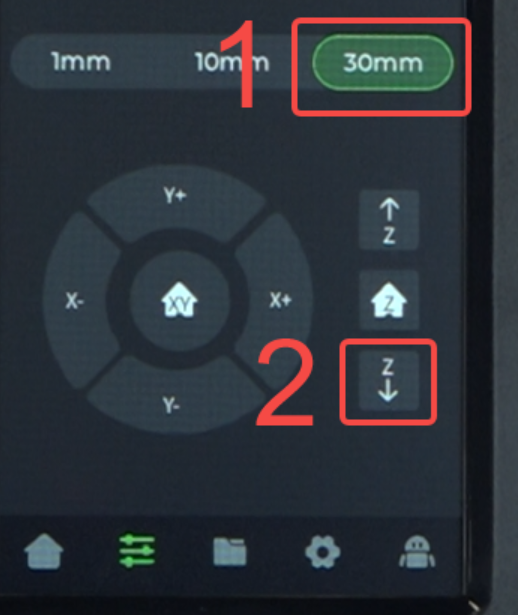
Click - "30mm" - "Z-axis downward", after homing is complete, lower the machine's print platform to the middle position.
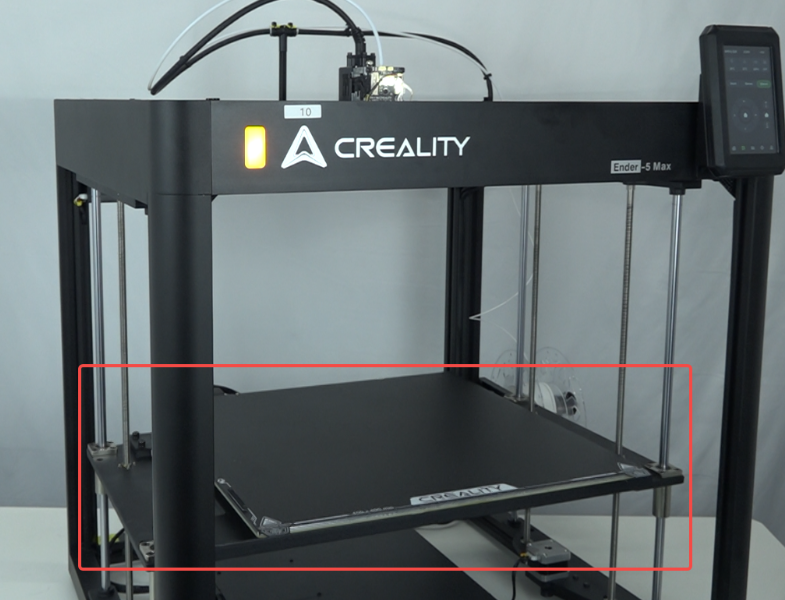
Turn off the power and unplug the power cord.
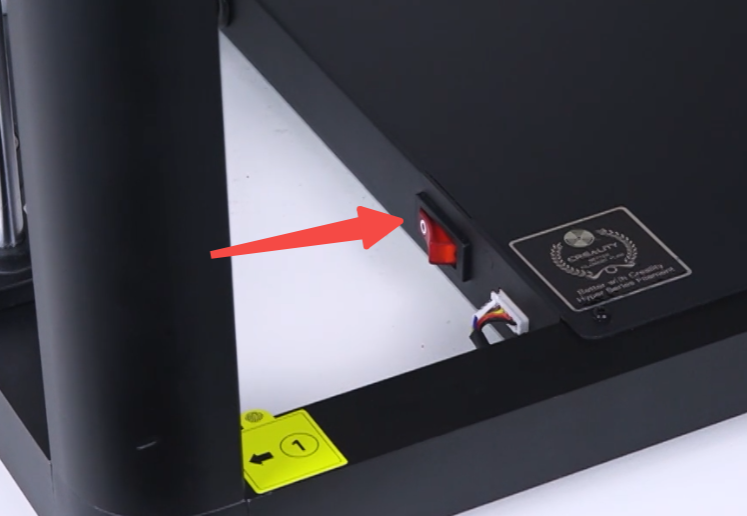
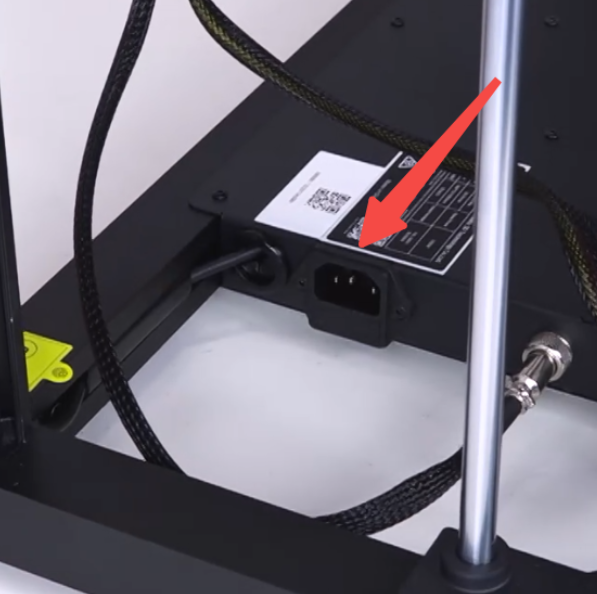
Unscrew 4 screws and remove the hot bed power cover plate.
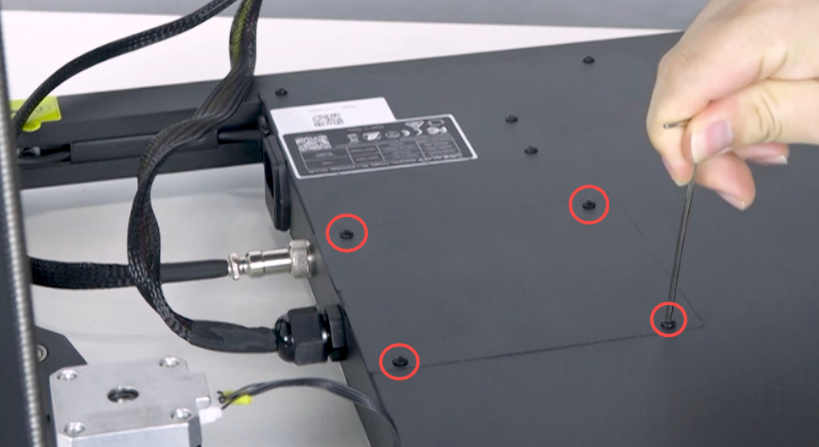
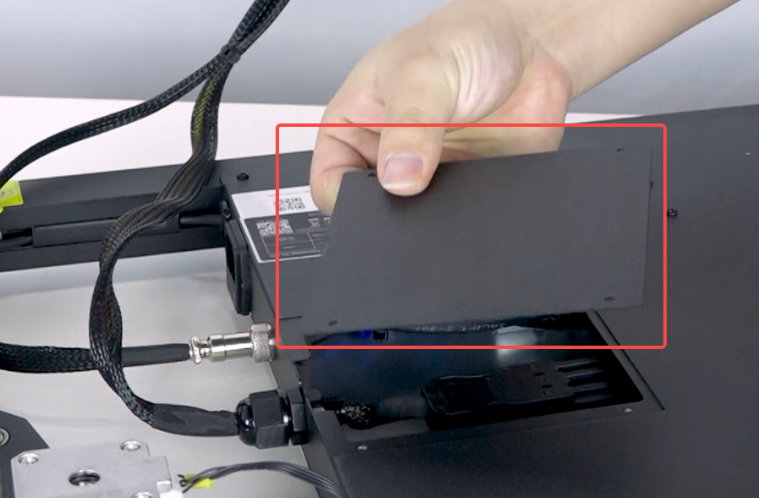
Loosen the nuts and unplug the two hot bed wires.
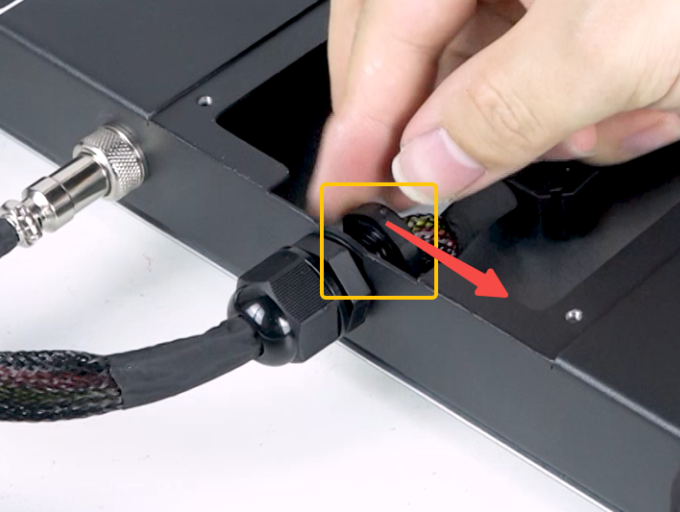
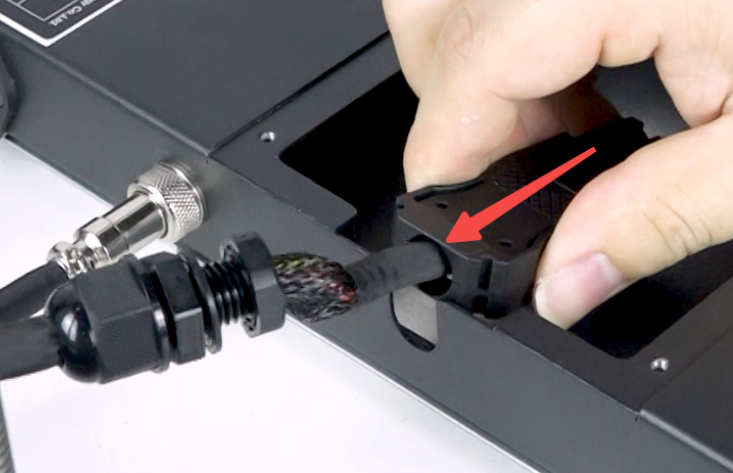
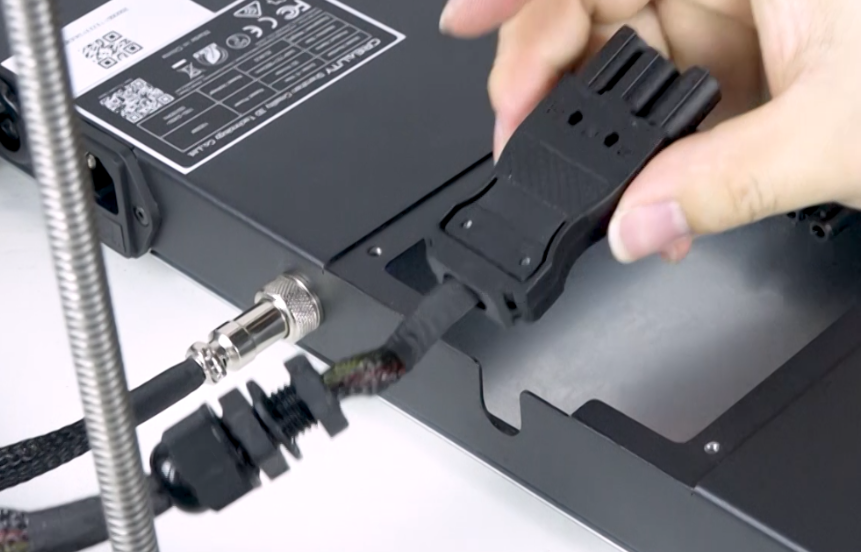
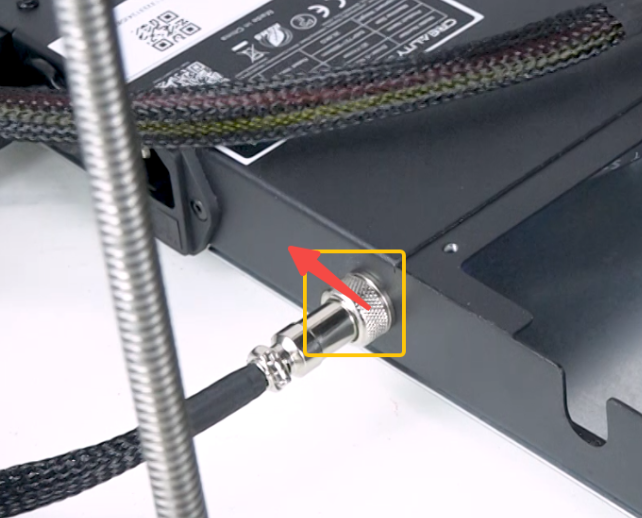
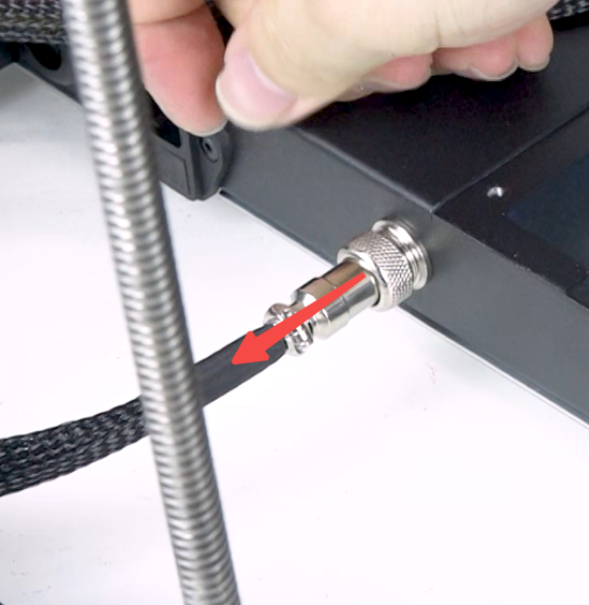
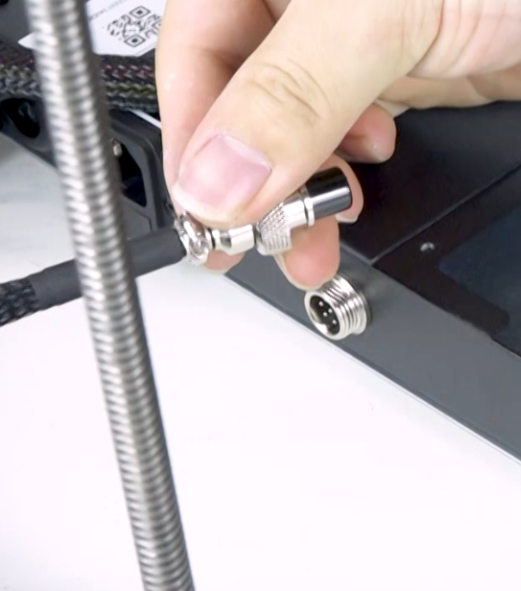
Remove the platform plate
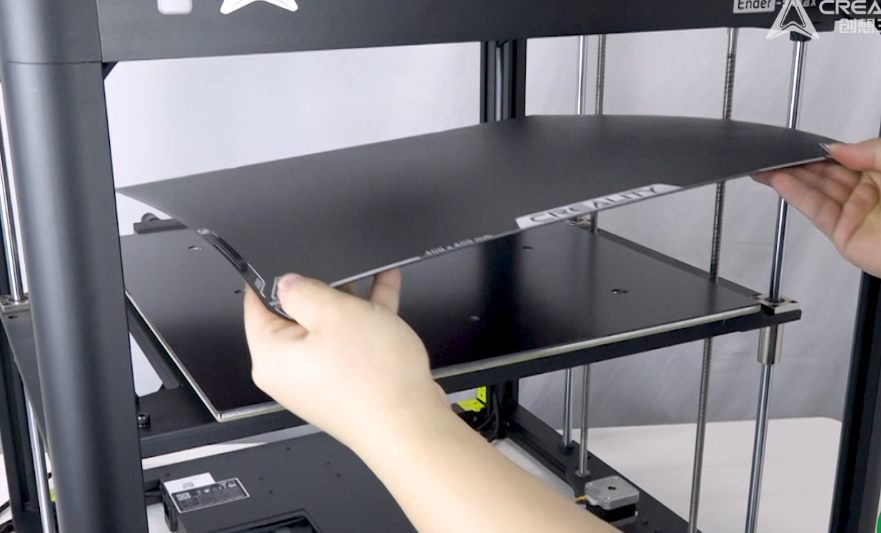
Disassemble the hot bed, use the socket tool to hold the nut at the bottom, and unscrew 4 screws
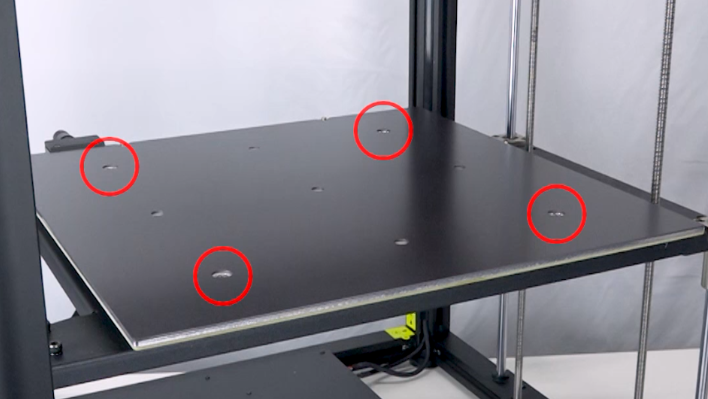
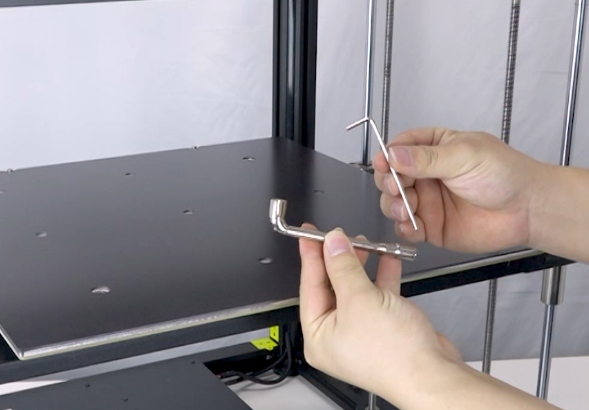
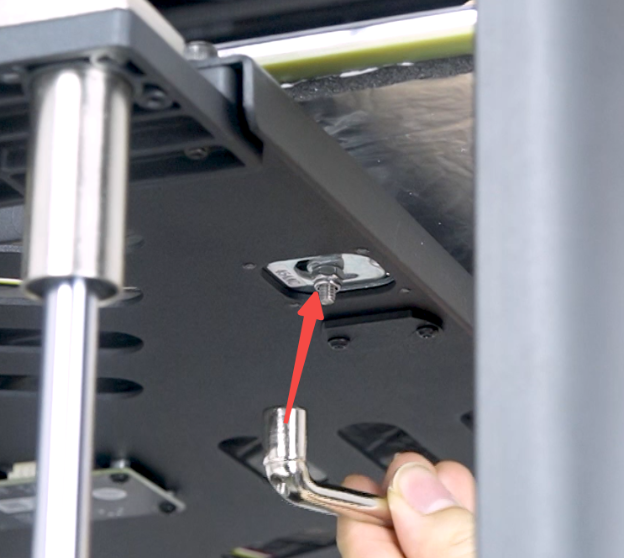
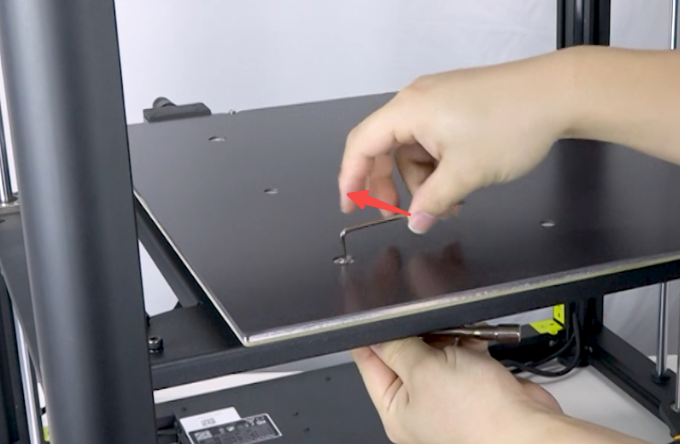
Remove the hot bed and place it diagonally against the hot bed tray in front, be careful not to pull hard as there are still wires to be unplugged.

Remove 4 isolation columns, prevent losing them.
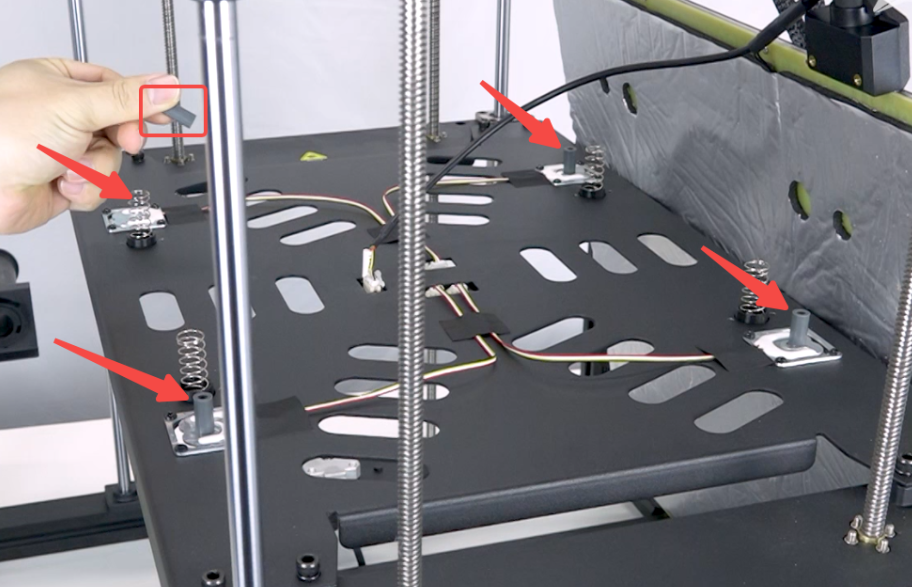
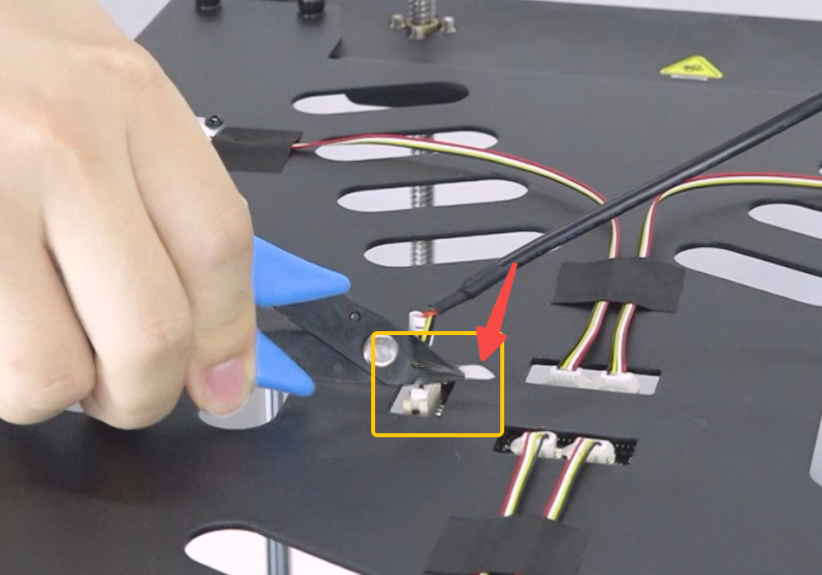
Use cutting pliers to remove the hot glue from the port, note: do not damage the port and wires.
Unplug the wires
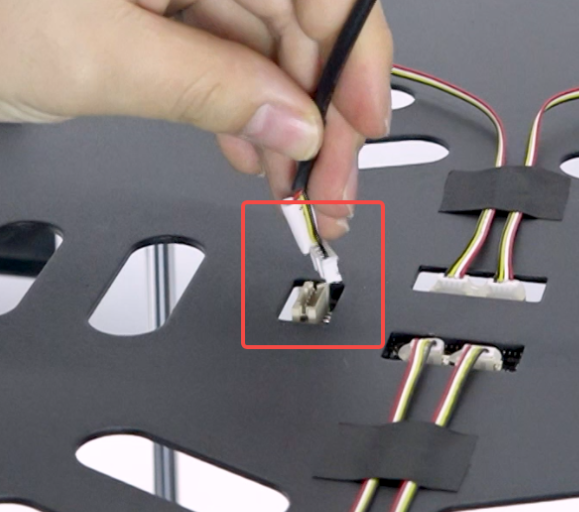
Remove the damaged hot bed assembly

¶ Installation
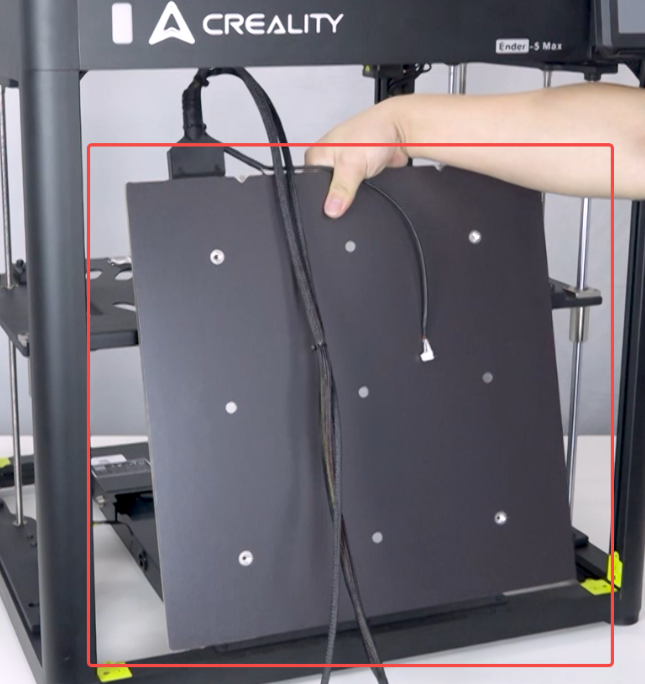
Replace with the new hot bed, place the new hot bed diagonally against the hot bed tray
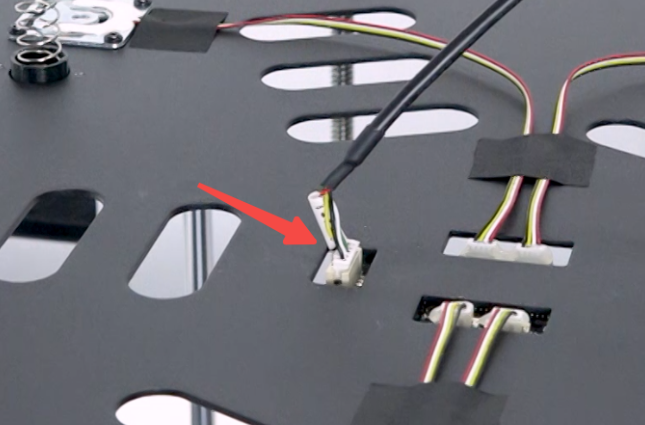
Plug in the wires
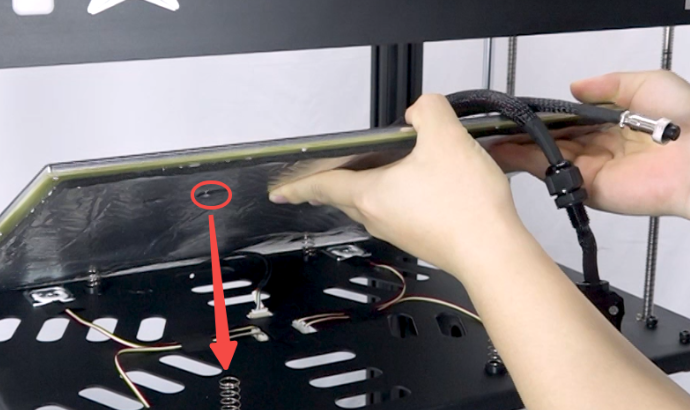
Place the hot bed flat, align the four holes on the insulation cotton with the springs.
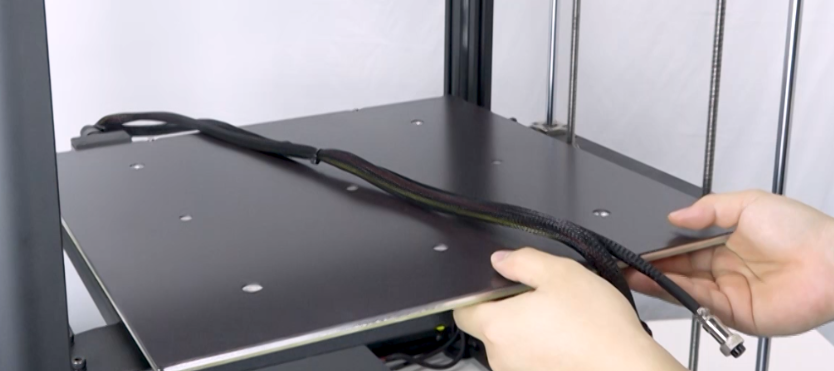
Place isolation columns in the four corners, pass the screws through the hot bed, isolation columns, and strain gauge.
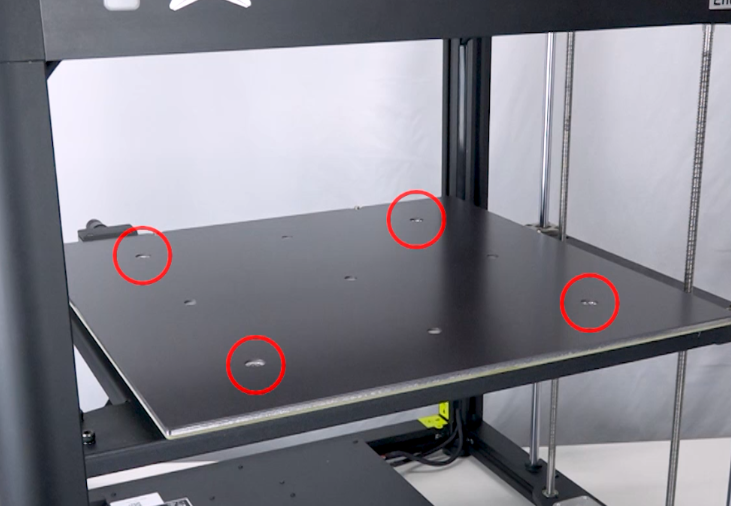

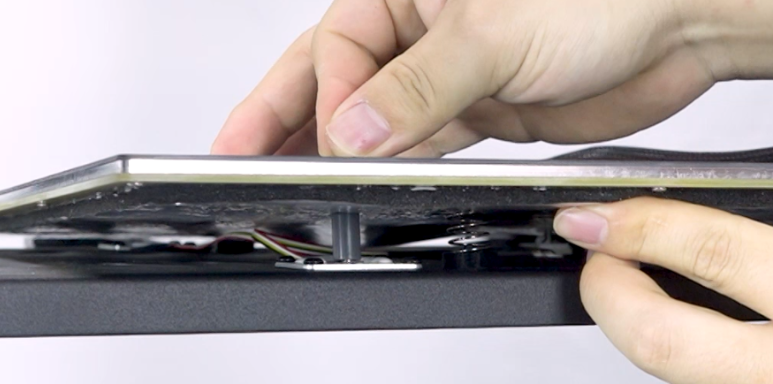
Put on the nuts and tighten the screws.
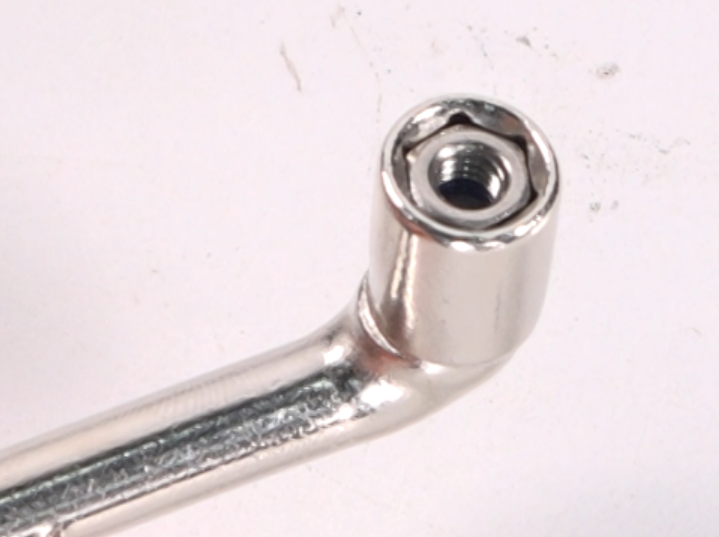
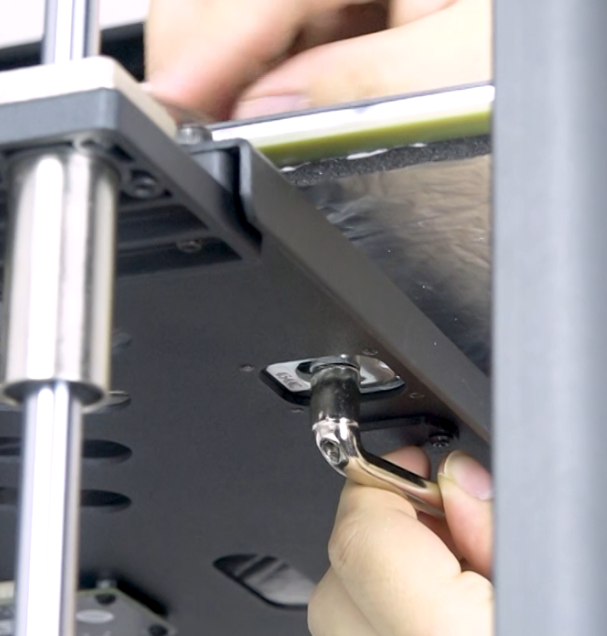
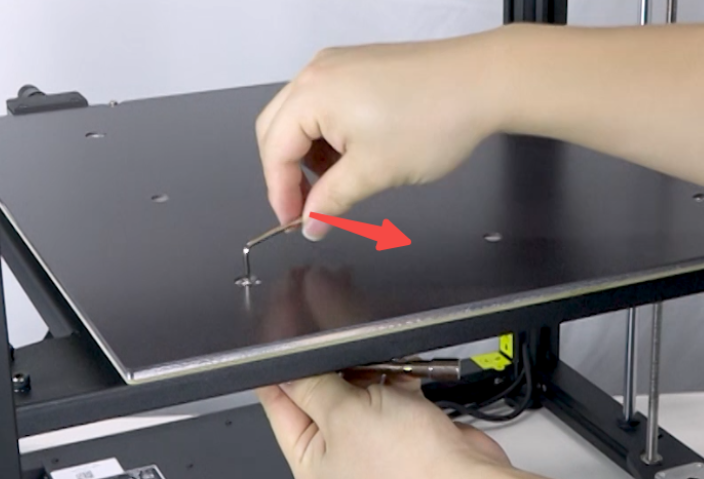
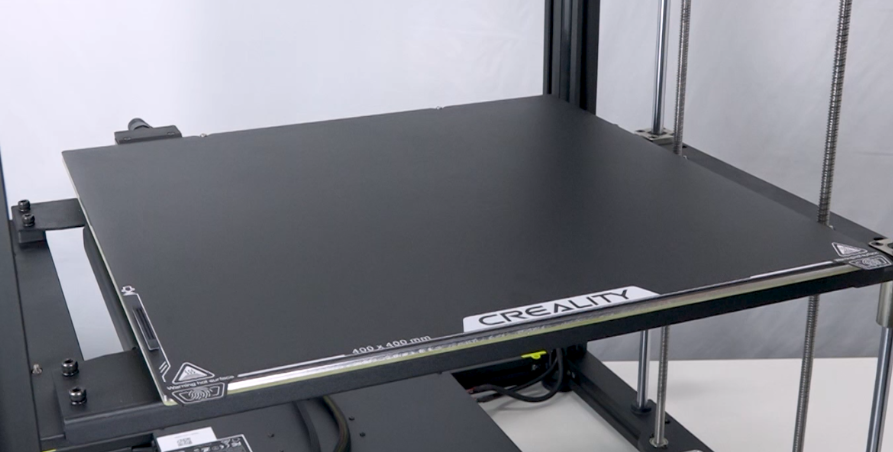
Reinstall the platform plate.
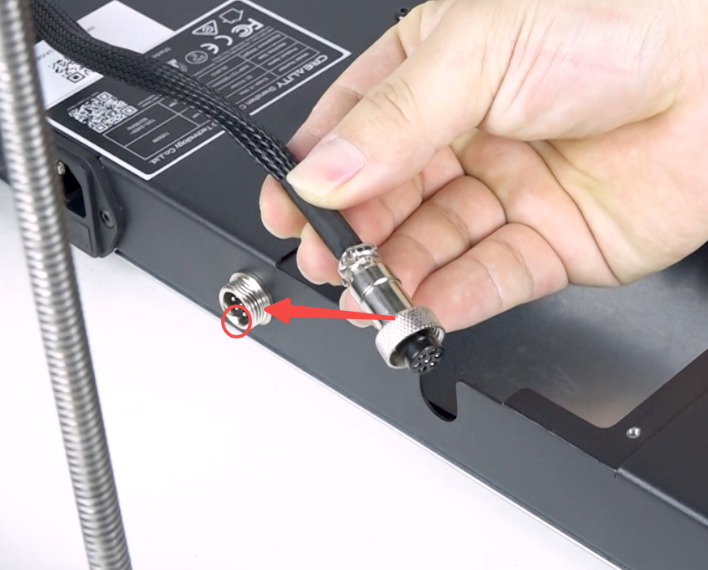
Plug in the hot bed wires, make sure to align with the notch on the connector, keep the sealing ring on the inside of the profile, and tighten the locking ring.
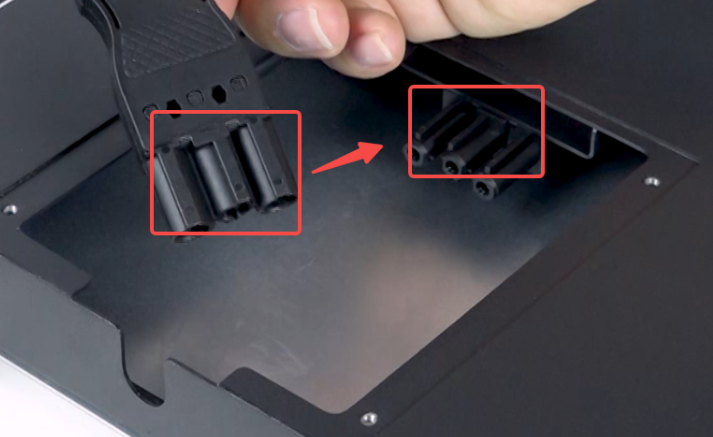
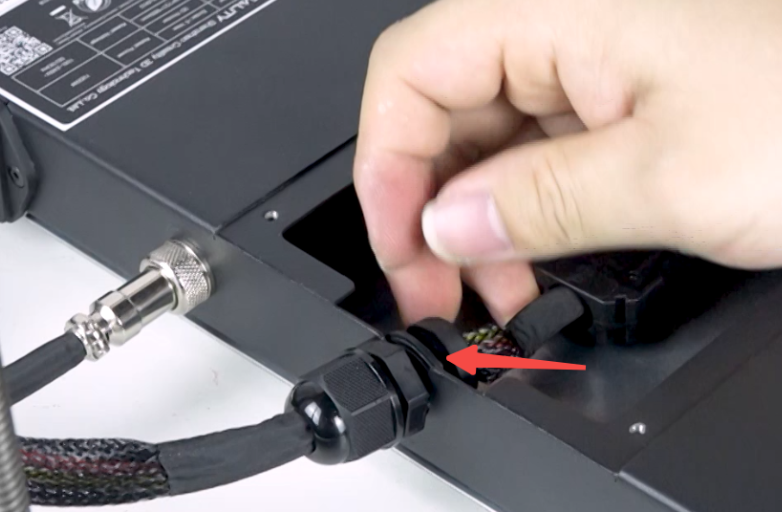
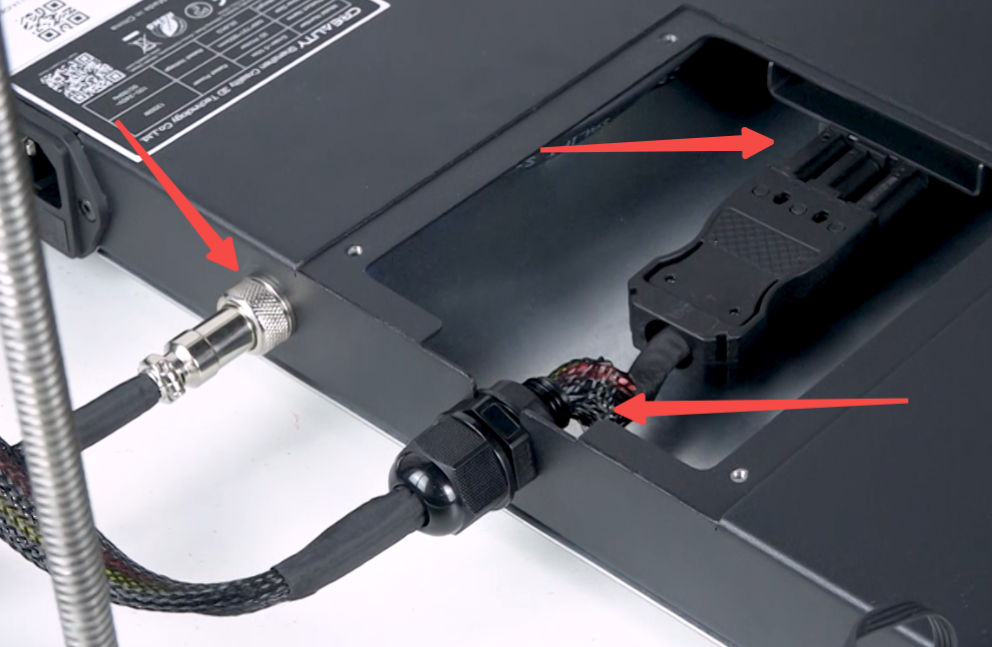
Install the power cover plate and tighten 4 screws.
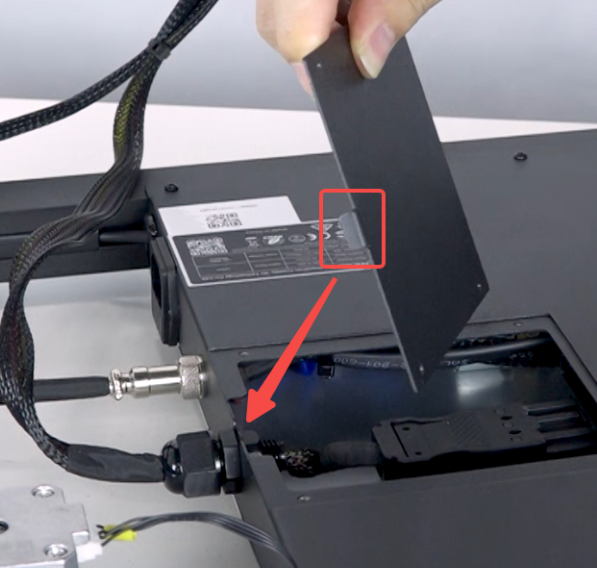
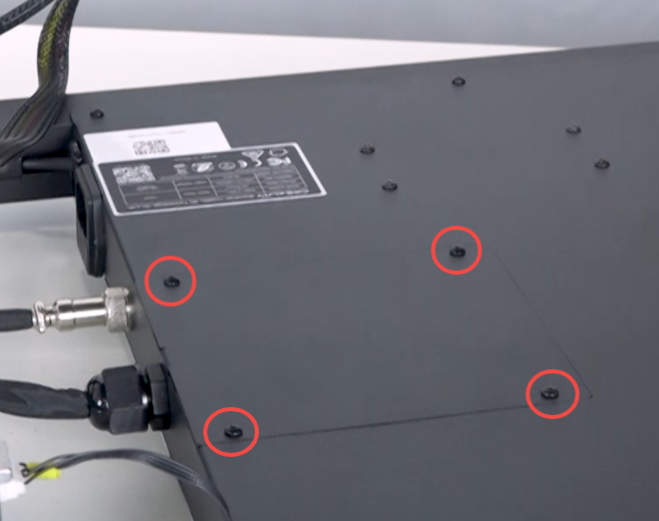
¶ Install the power cover plate and tighten 4 screws.
Plug in the power cord and turn on the machine.
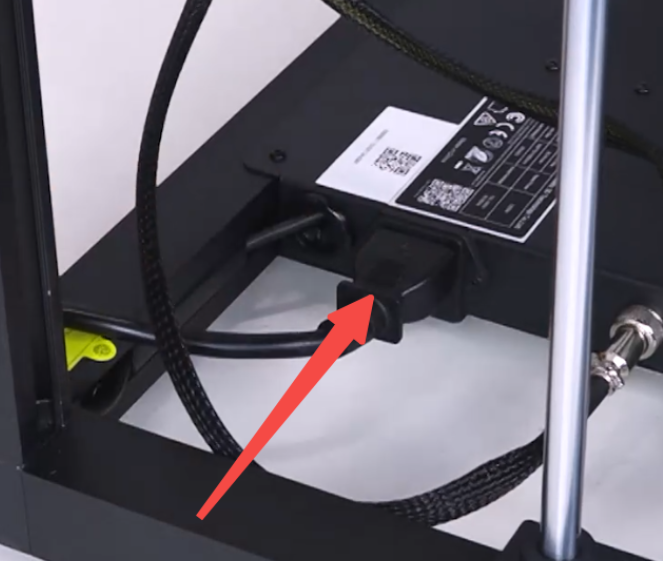
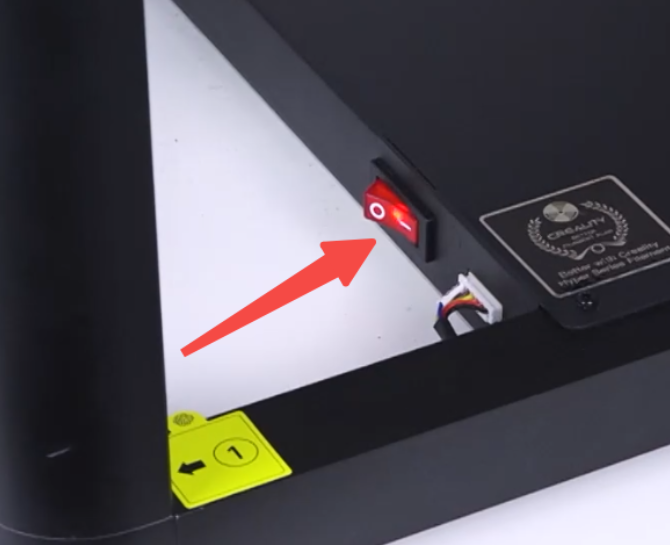
Set the hot bed temperature to 80°C and check if it heats up normally.
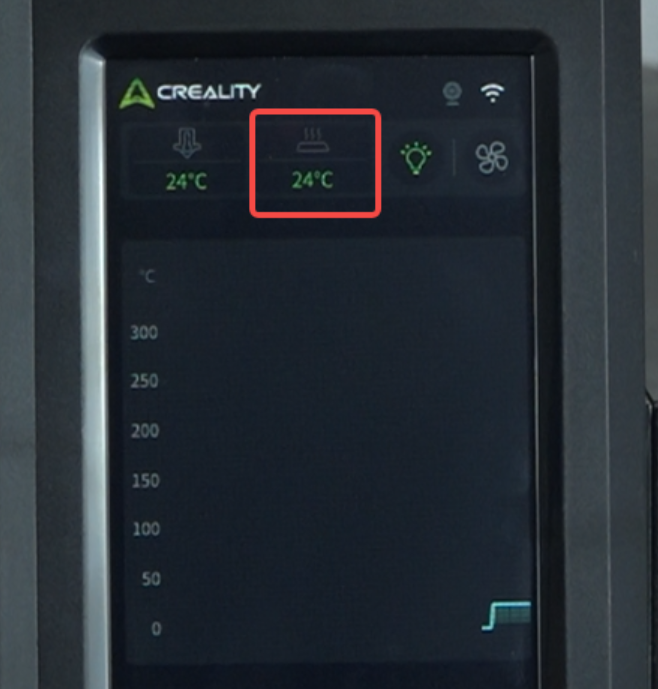
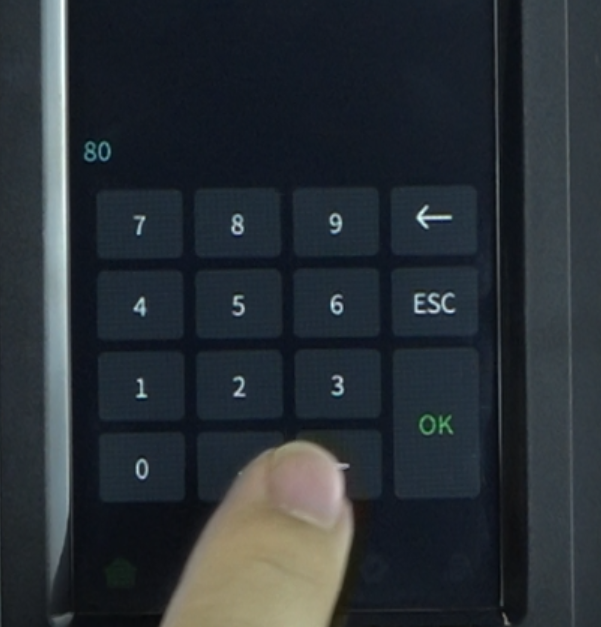
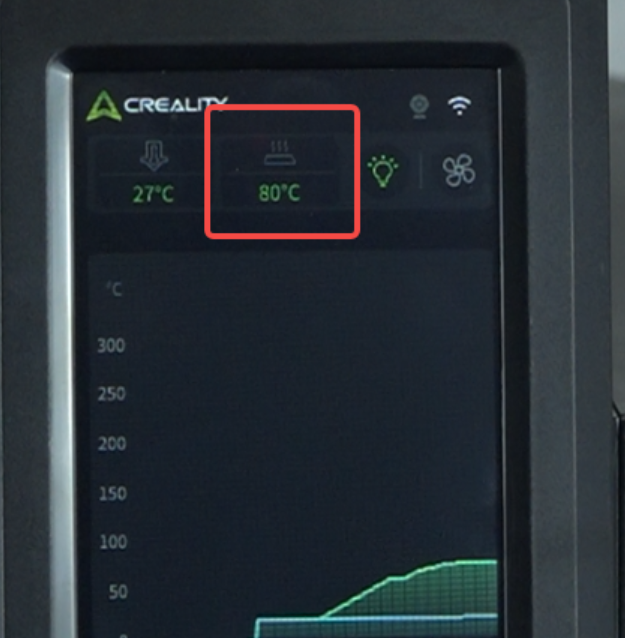
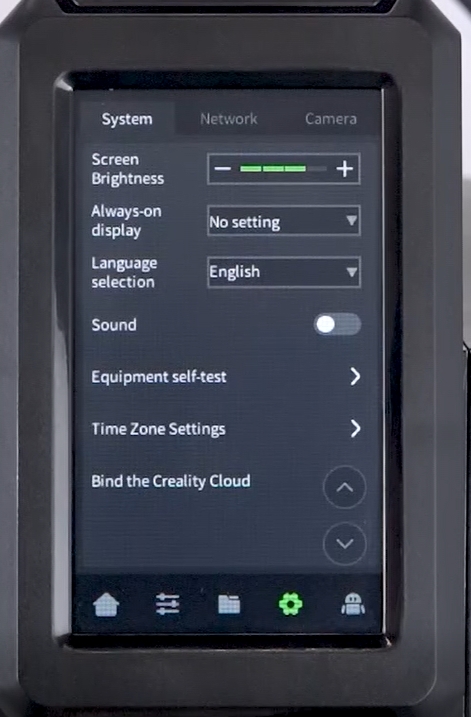
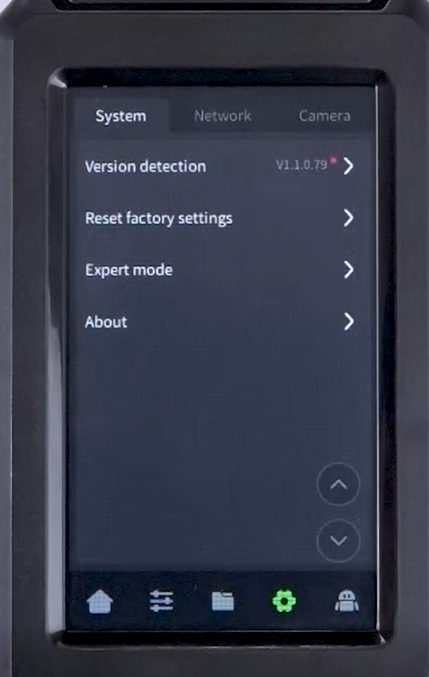
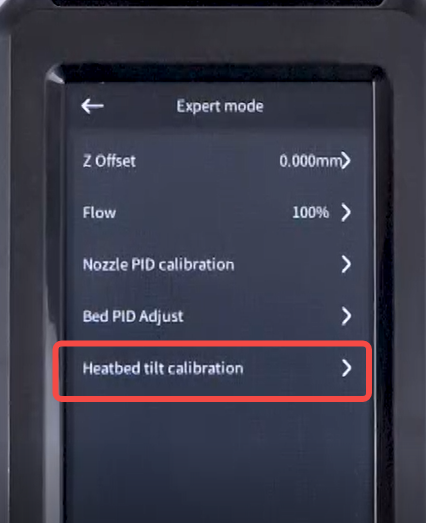
After the heating test is complete, you need to calibrate the hot bed tilt. Click - "Settings"-"System"- "Expert Mode" - "Heatbed Tilt Calibration" - "Start"
 |
 |
|
 |
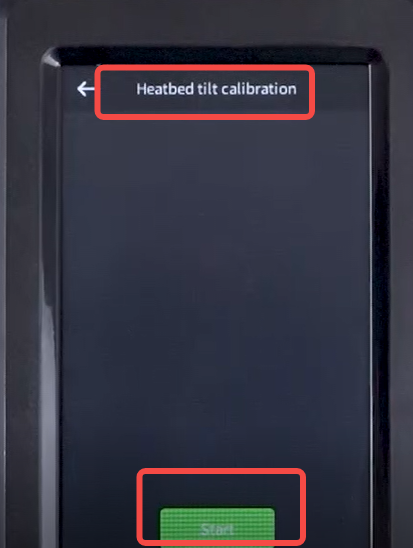 |
Wait for the heatbed tilt calibration to complete.
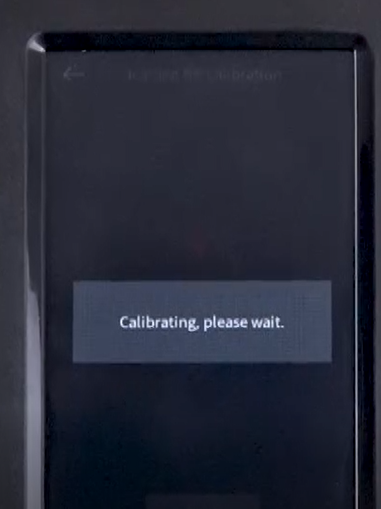
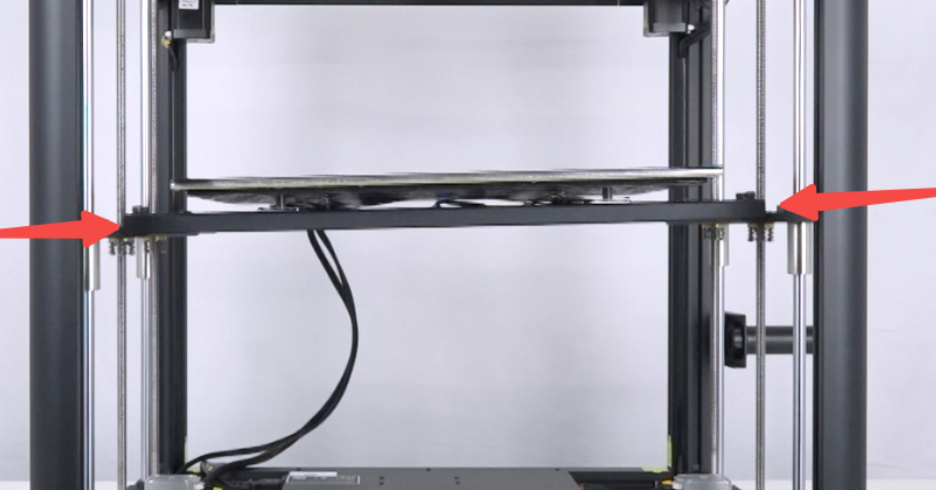
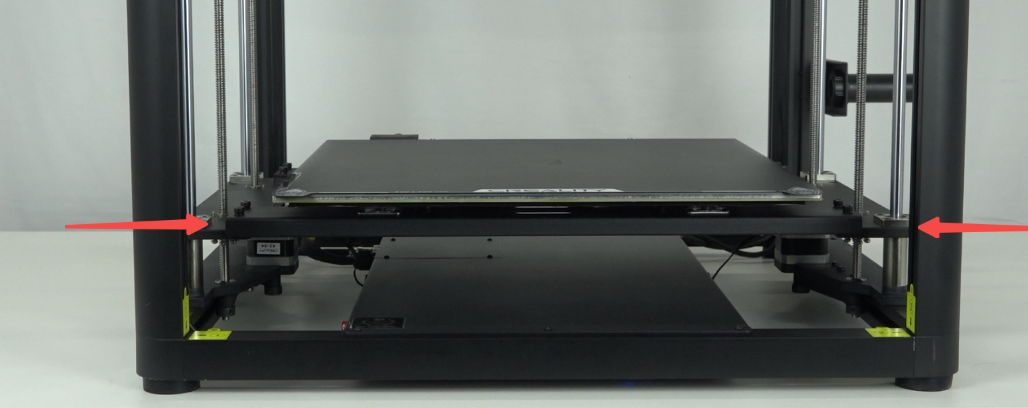
After the tilt calibration is complete, you need to perform an auto-leveling. Click - "Confirm" to start auto-leveling.
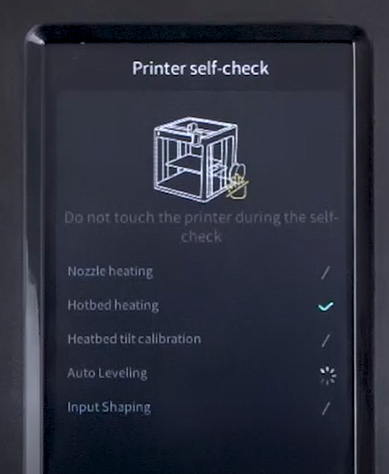
Wait for the machine self-check to complete.
