¶ 1. Tools
H2.0 hexagonal wrench
New extrusion assembly
¶ 2. Replacement Steps
¶ 2.1 Disassembly
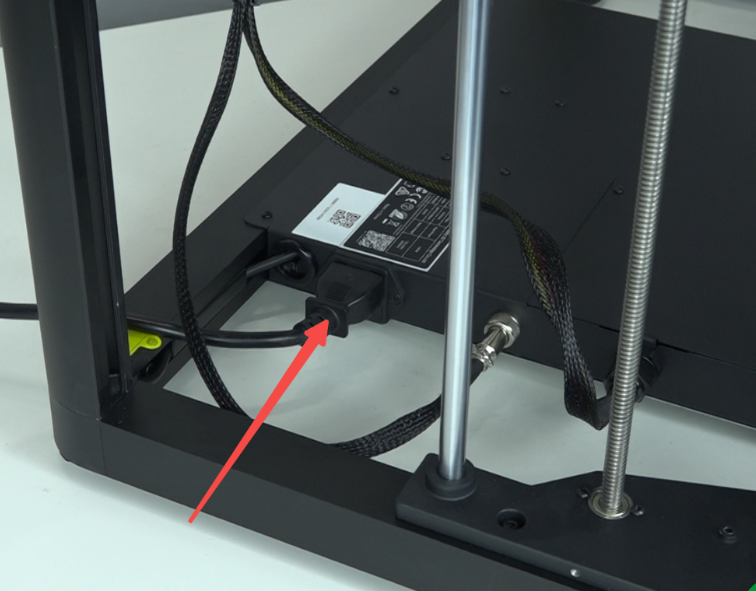
Plug in the power cord and turn on the machine

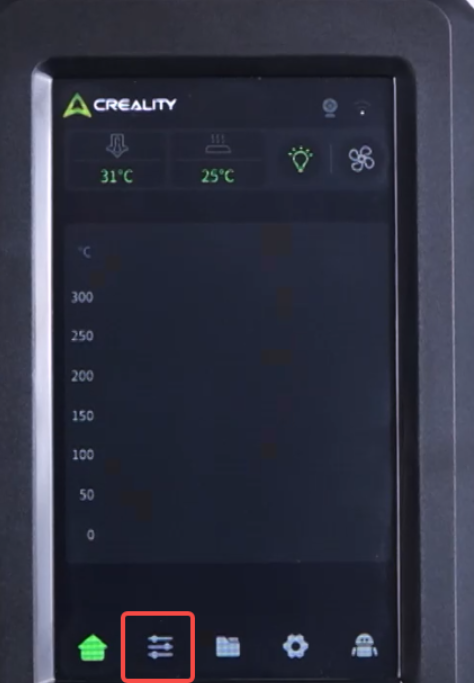
Click "Prepare" - "Extrude/Retract" - "Retract", wait for unloading to complete
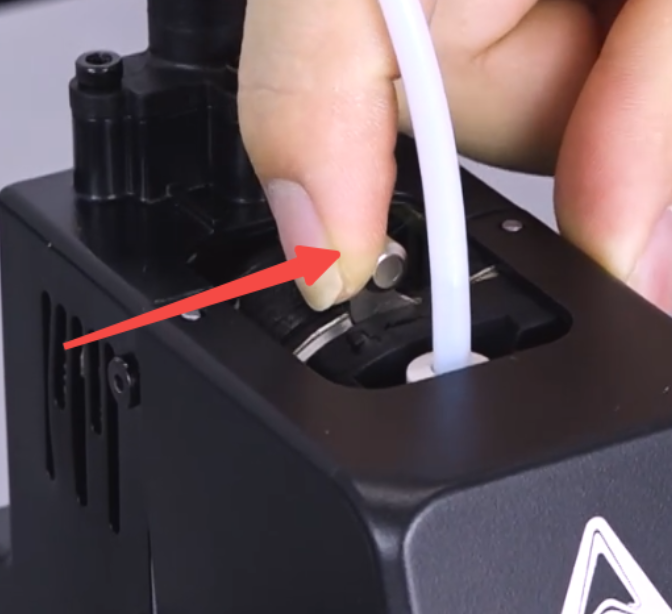
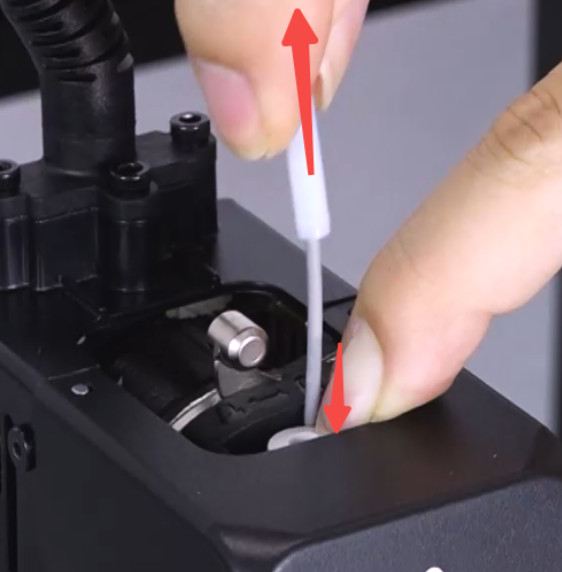
Open the extruder clamp and remove the filament
Click "Homepage", set nozzle temperature to 0° and turn on cooling fan to accelerate cooling
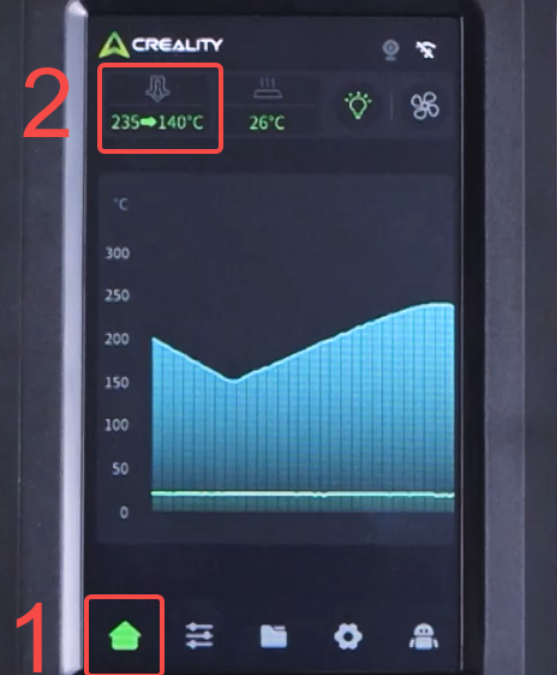
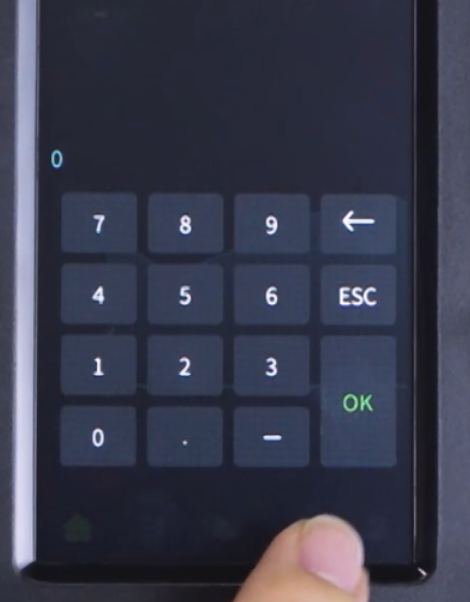
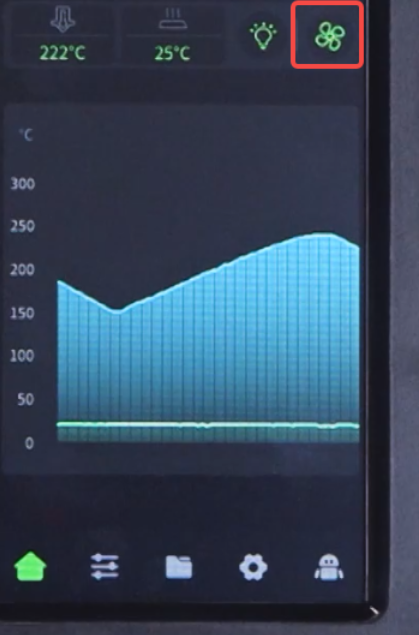
Wait for the machine to cool down to room temperature
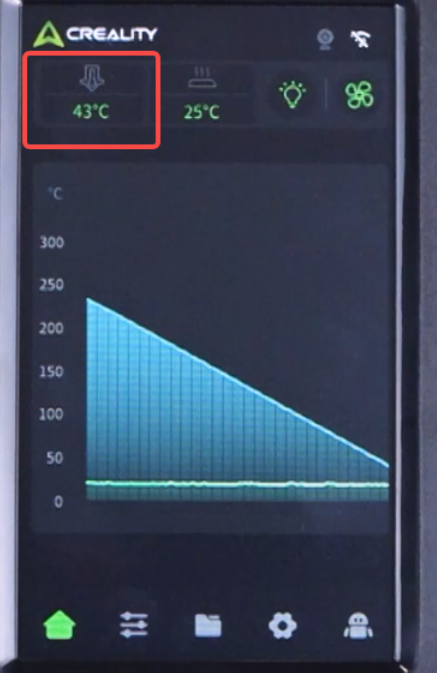
Power off
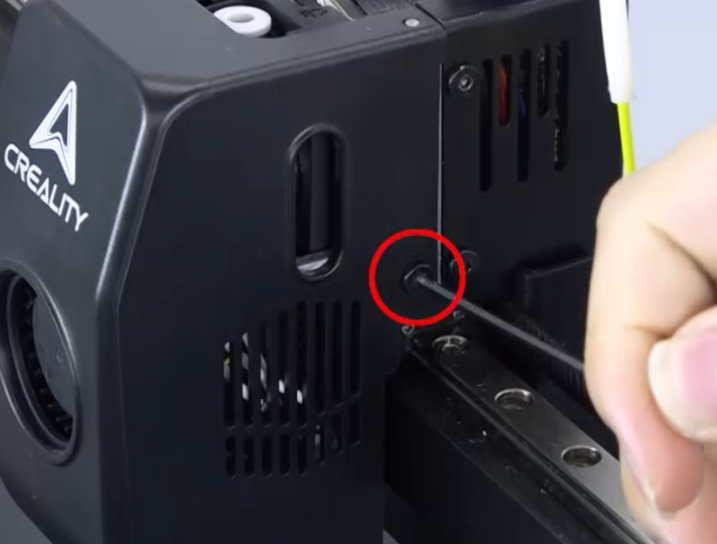
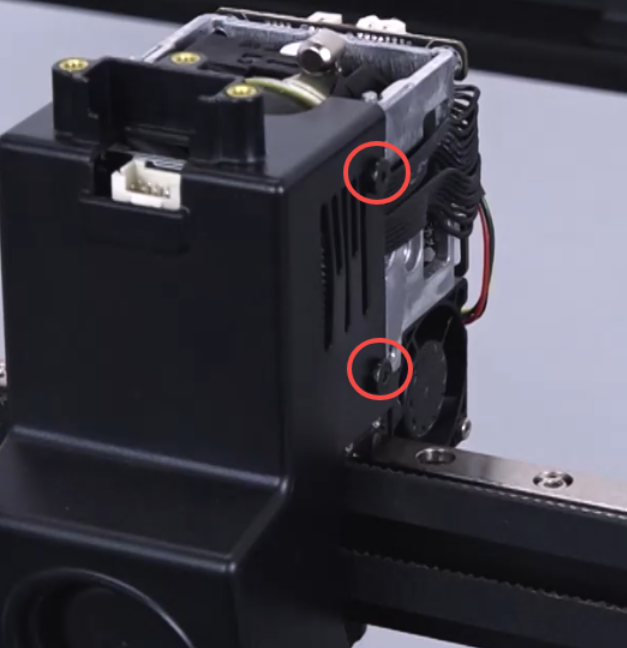
Unscrew the screws on both sides and remove the fan cover
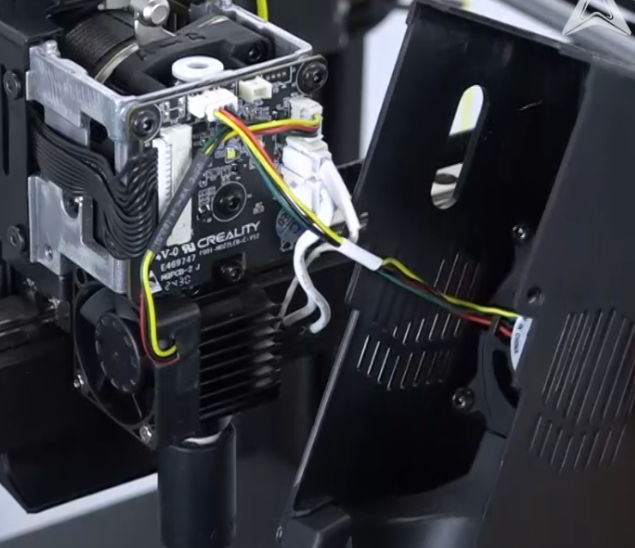
Use cutting pliers to remove the hot glue from the port. Note: Do not damage the port and wires
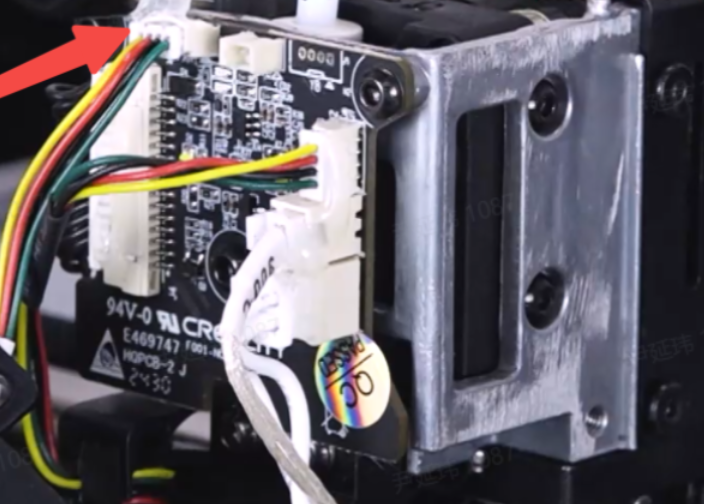
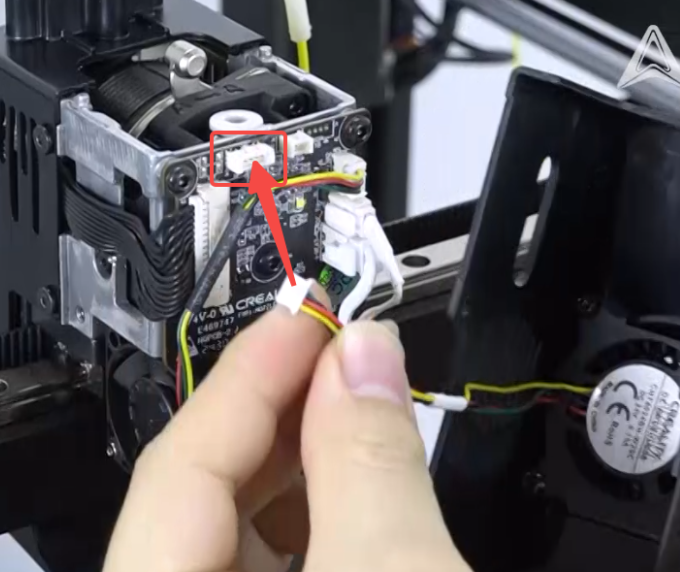
Unplug the fan wires
Unscrew the 3 screws fixing the extruder clamp
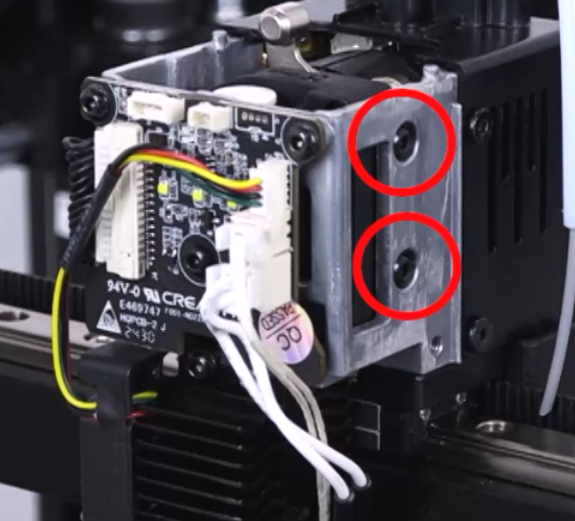
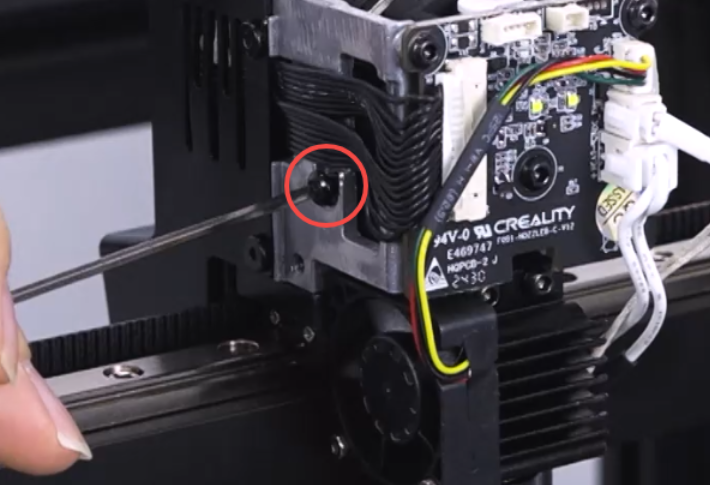
Unscrew the 3 screws fixing the hotend wires.

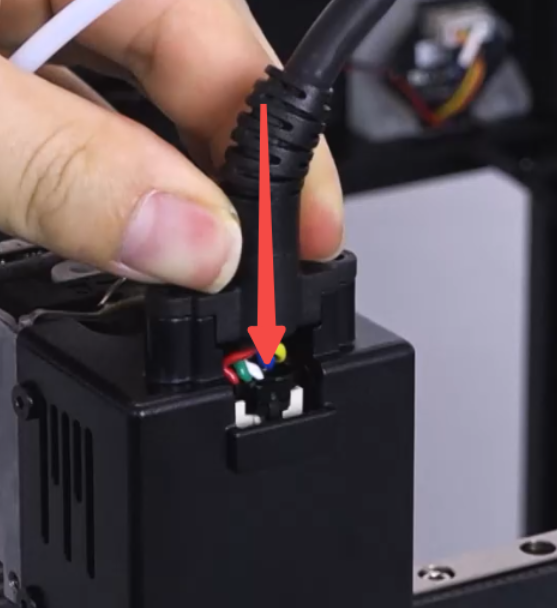
Unplug the hotend wires, press the clamp on the terminal when unplugging
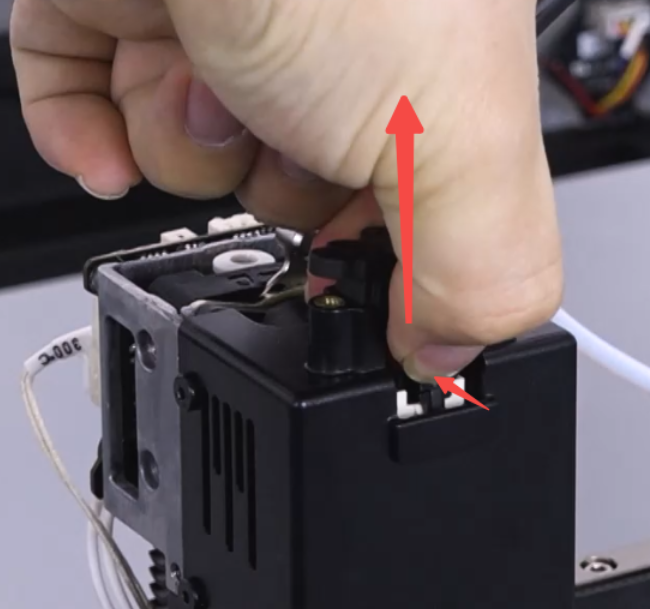 |
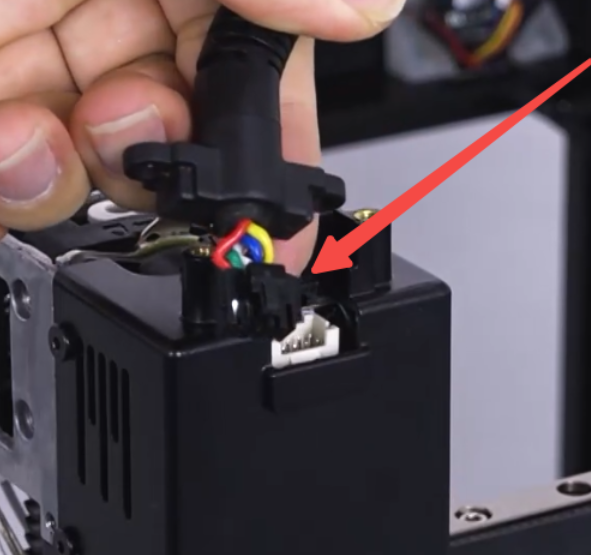 |
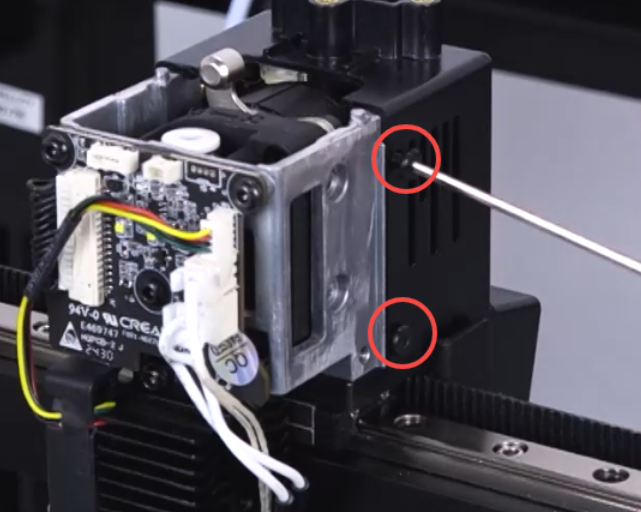
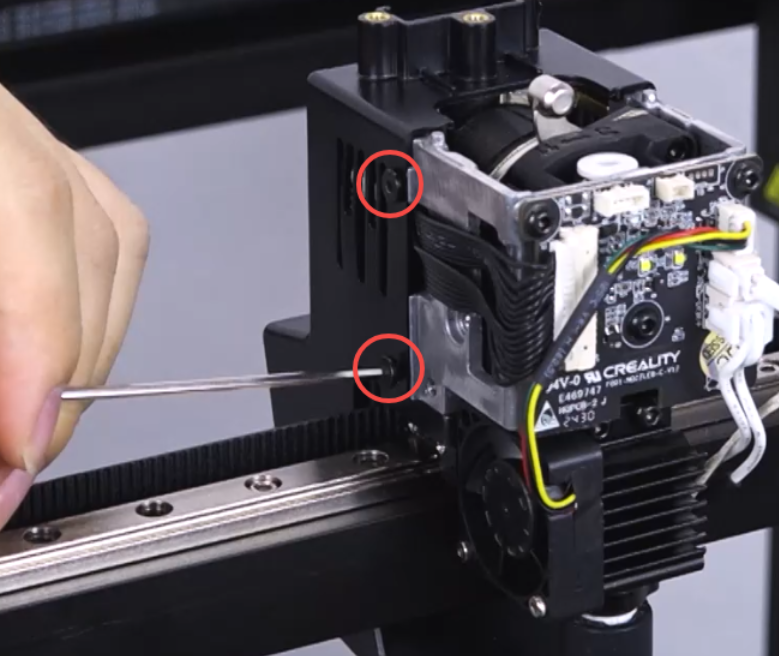
Unscrew the 4 screws fixing the rear fan cover.
 |
 |
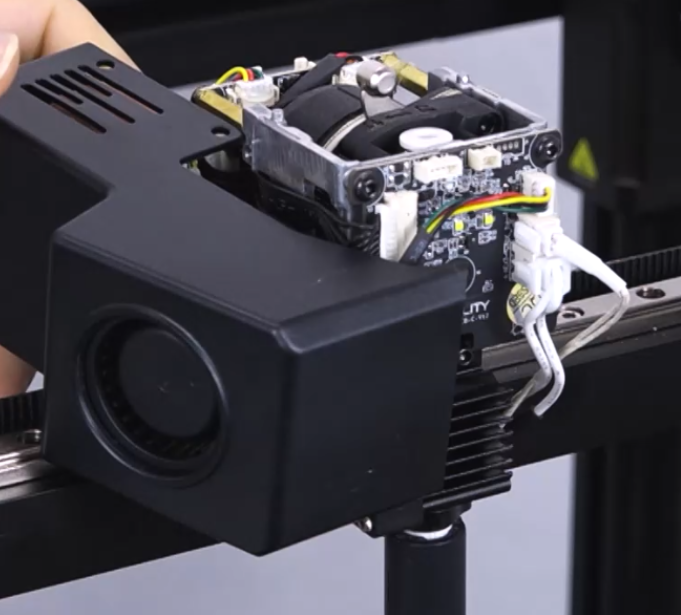
Remove the rear fan cover (be careful not to pull the wires)
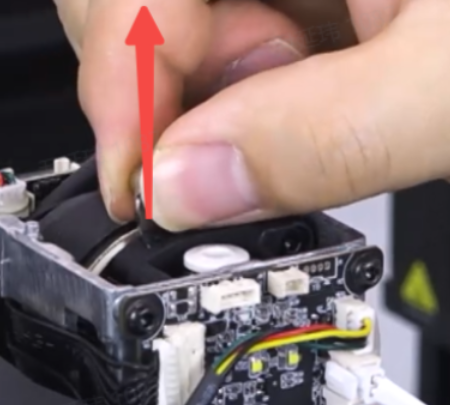
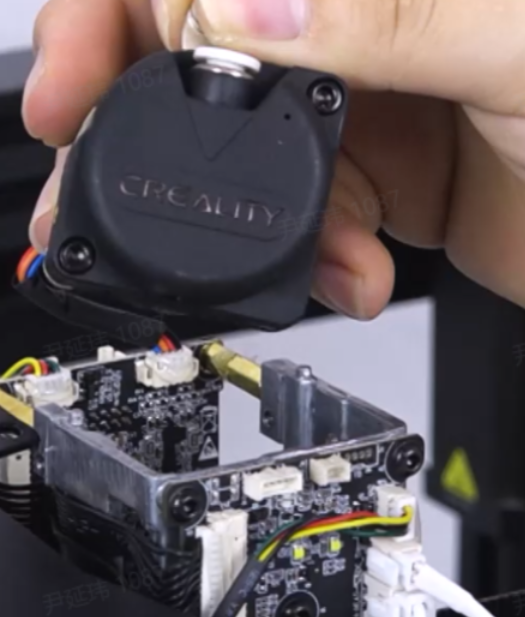
Take out the extruder assembly, be careful not to pull the motor wires.
 |
 |
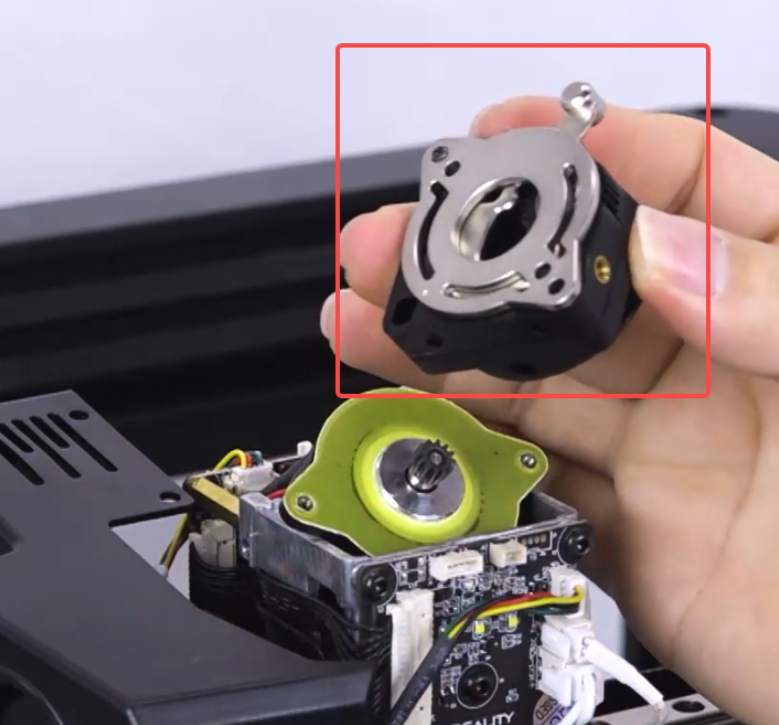
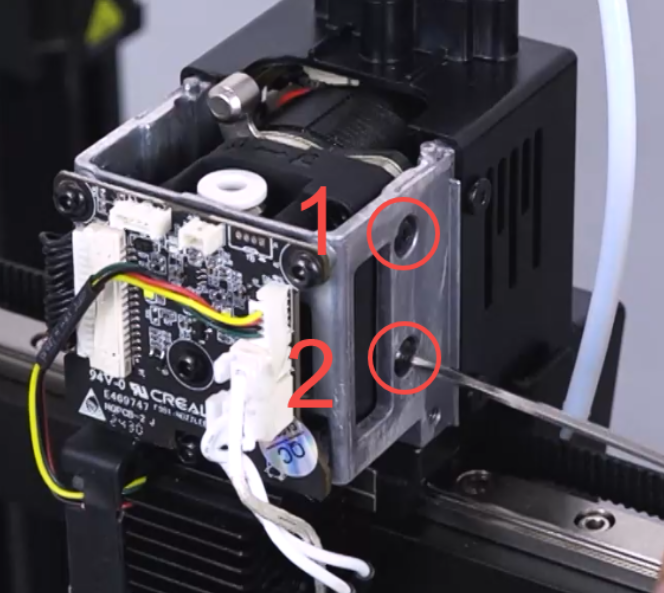
Disassemble the extruder clamp (unscrew 2 screws)
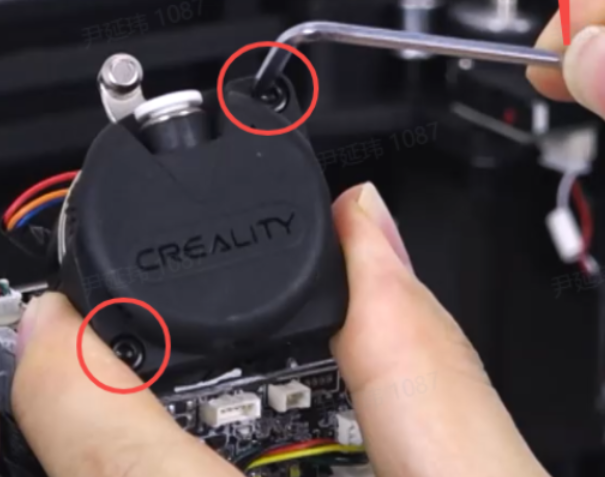
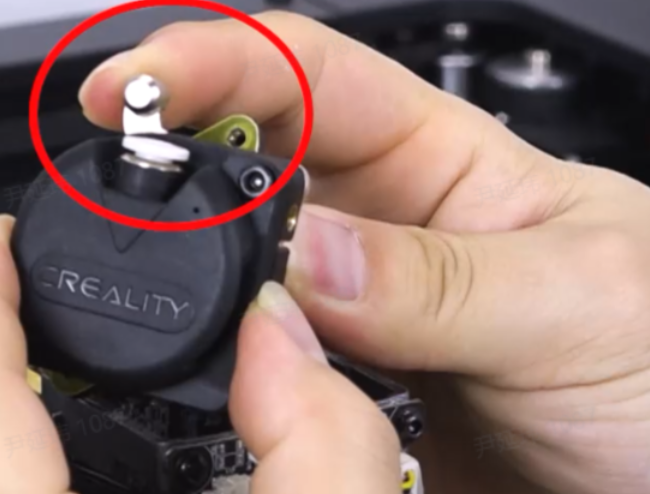
Note that you need to open the extruder clamp lever to remove the extruder clamp.
 |
 |
¶ 2.2 Installation
Install the new extruder clamp, note that you need to open the extruder clamp lever to install it in place
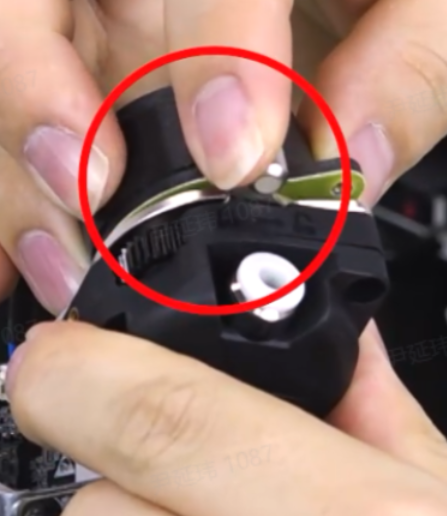
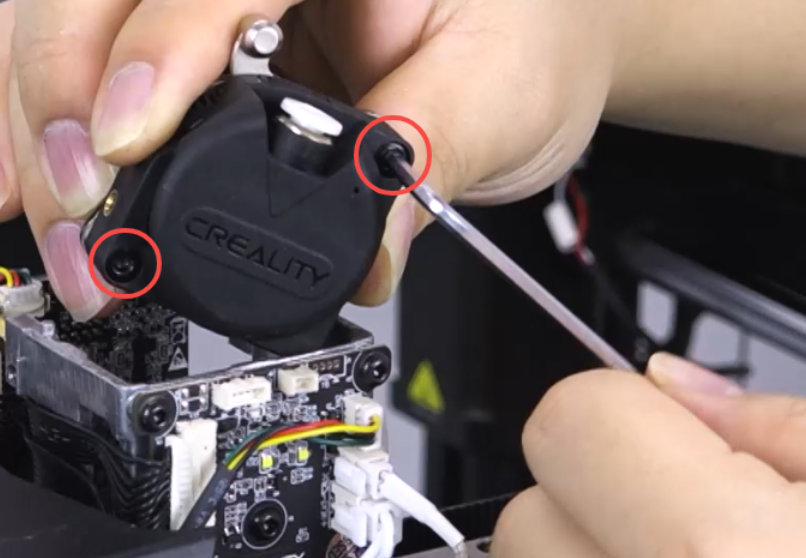
Align the holes and tighten the 2 screws
Place the extruder assembly and organize the extruder motor wires
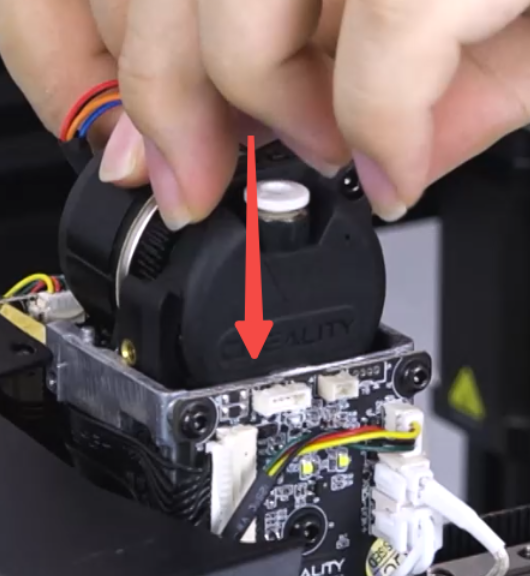 |
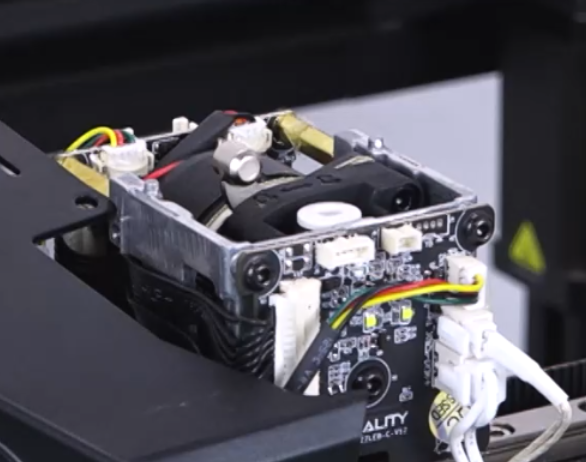 |
Install the rear fan cover (arrange the wires properly and tighten 4 screws)
 |
 |
Install the hotend wires
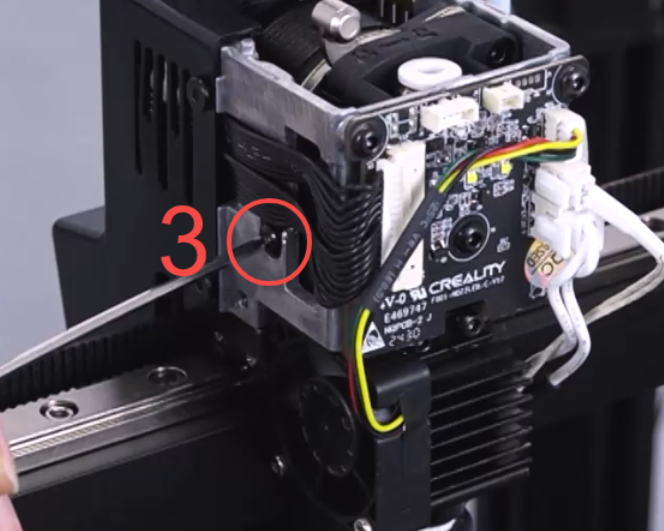
Tighten the 3 screws fixing the hotend wires
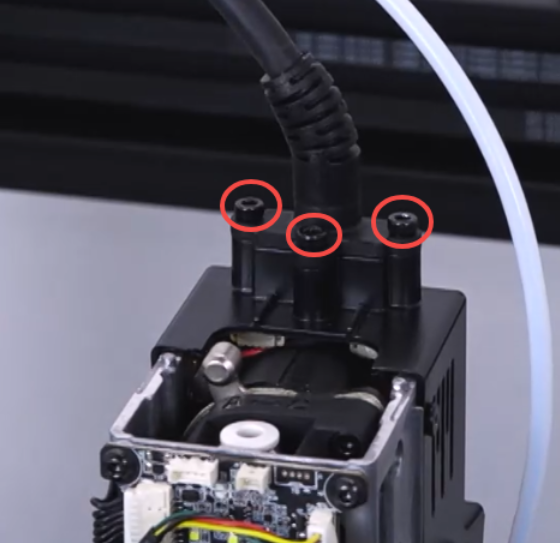
Tighten the 3 screws fixing the extruder clamp
 |
 |
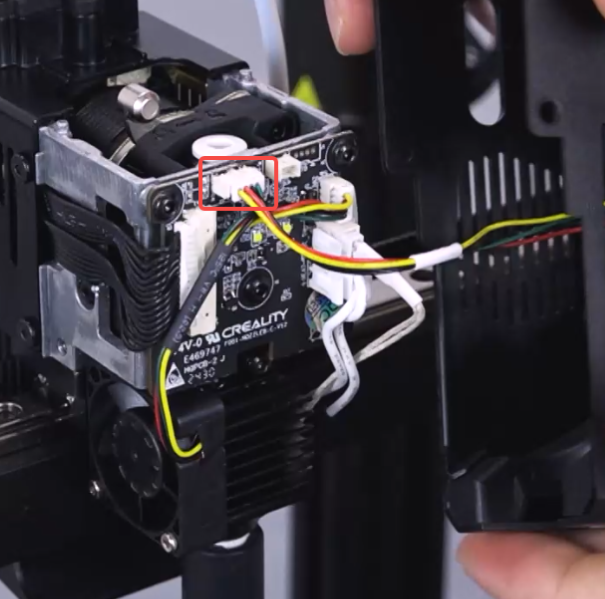
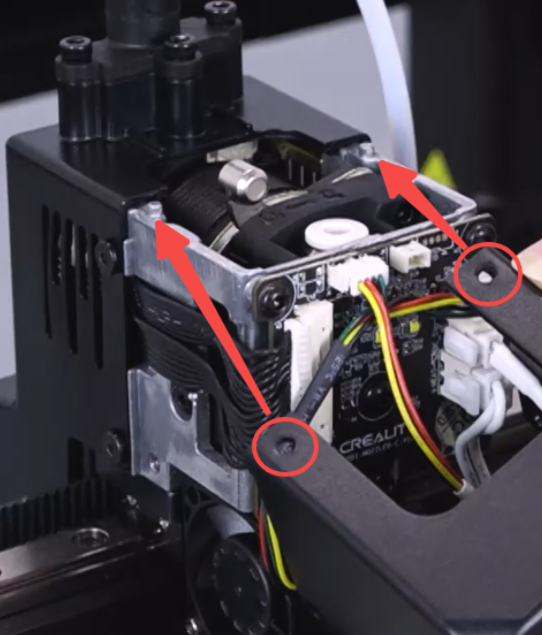
Plug in the fan wires, install the fan cover, make sure the two top holes are aligned with the positioning posts.
 |
 |
 |
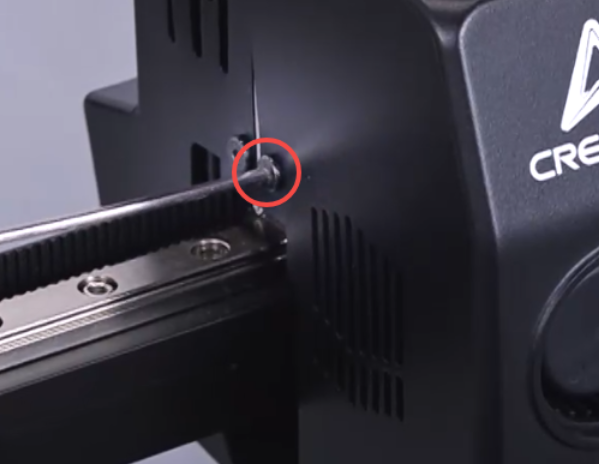
Tighten the screws on both sides
¶ 2.3 Test and Device Self-test
Use cutting pliers to cut the filament at a 45° angle, load the filament.
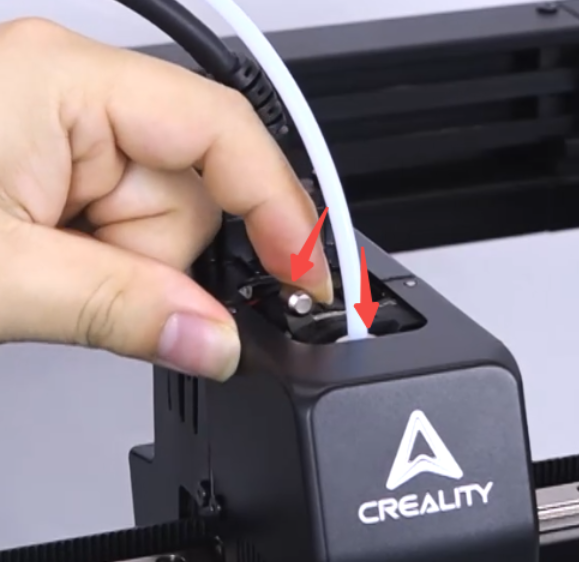
Plug in the power cord and turn on the machine.
Click "Prepare" - "Extrude/Retract" - "Extrude".
|
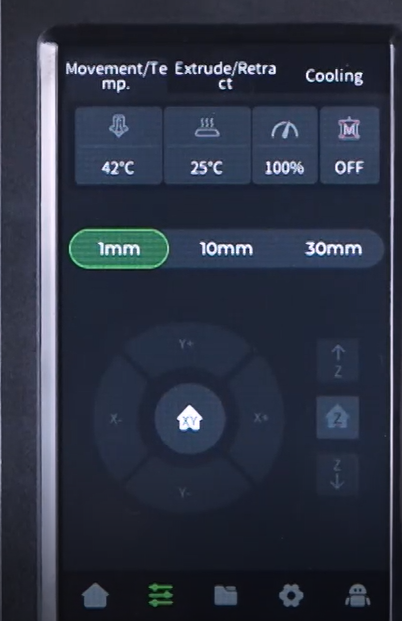 |
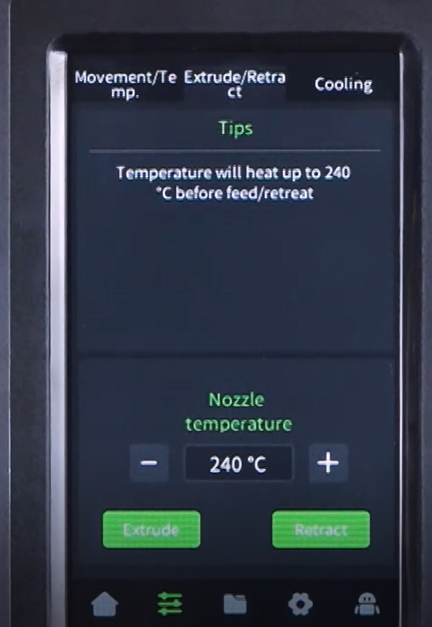 |
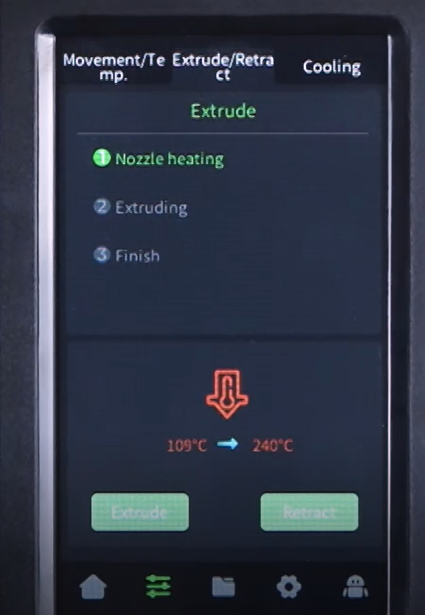 |
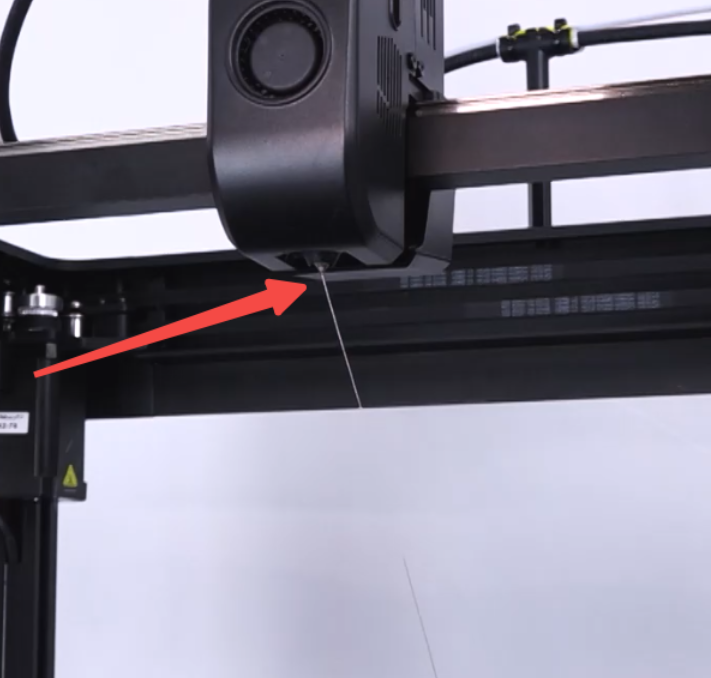
Observe if the nozzle extrudes smoothly.
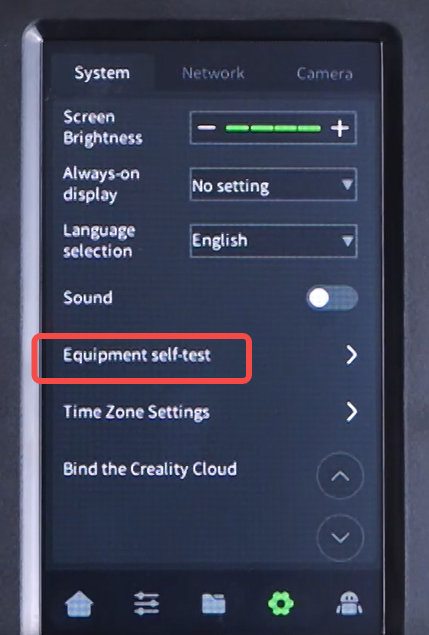
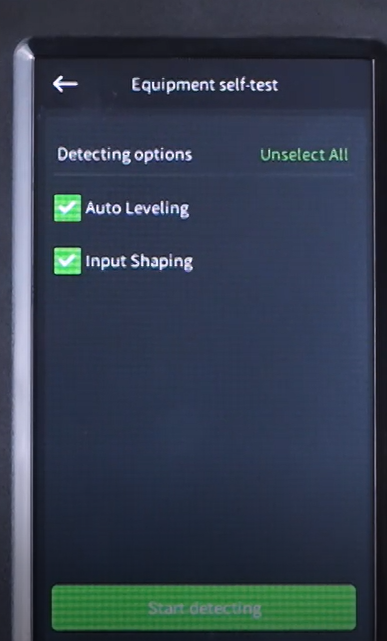
Click "Settings" - "Device Self-test" - "Select All" - "Start Detection"
 |
 |