¶ 1. Overview
Ender-5 Max Nebula Camera Installation Guide
¶ 2. Tools
Nebula camera mounting bracket
3mm hex screwdriver
4mm hex screwdriver
2 x M3*8 screws
1 x M6*8 screw
¶ 3. Operation Steps
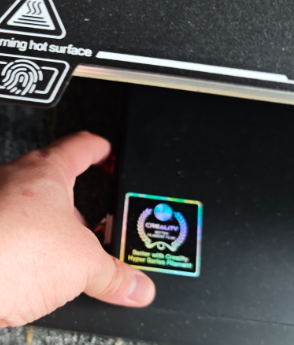
Power off the device
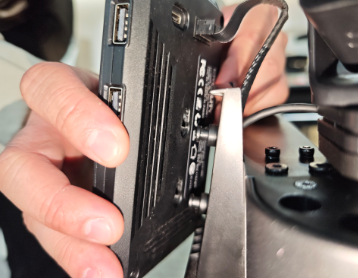
Unplug the screen cable and remove the screen
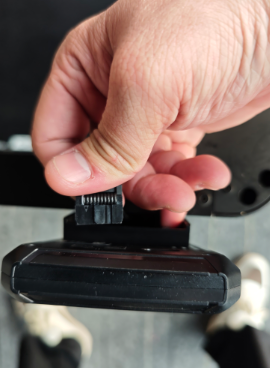
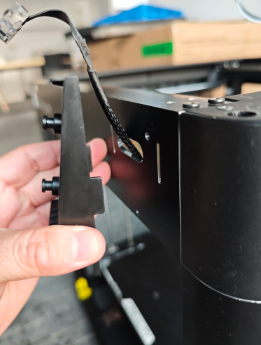
Use 3mm hex screwdriver to remove the screen mounting bracket.
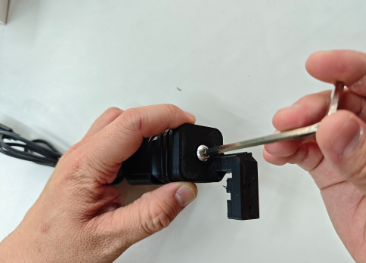
Take out the Nebula camera and connect it to the modified mounting bracket (need to print it first) using M6*8 screw.
Nebula camera modified mounting bracket downloads
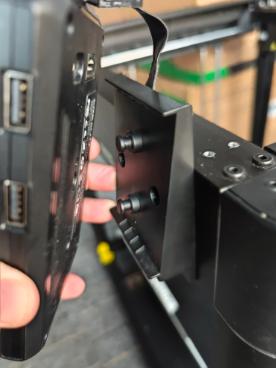
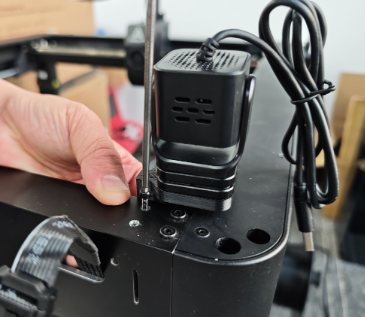
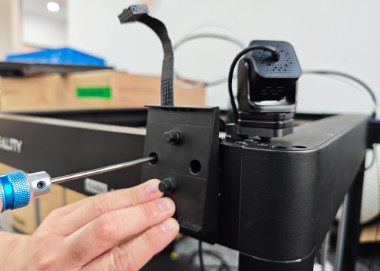
Use 3mm hex screwdriver and M3*8 screws to secure the camera mounting bracket to the device;
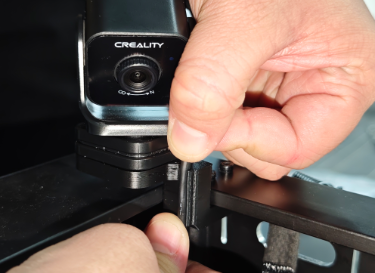
Loosen the camera connection cable;
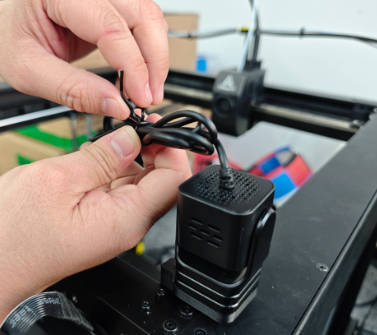
After loosening the cable, adjust camera shooting direction and secure the cable bundle on the mounting bracket buckle.
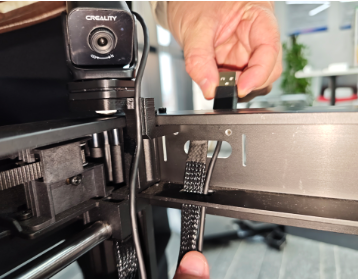
Thread the USB cable end through the wire hole.
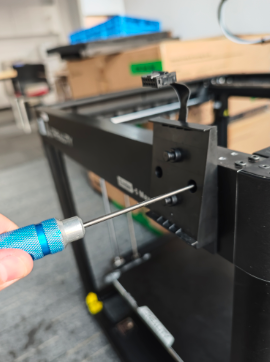
Use 3mm hex screwdriver to reinstall the screen mounting bracket.
Connect the screen with the cable.
Reinstall the screen to the screen mounting bracket.
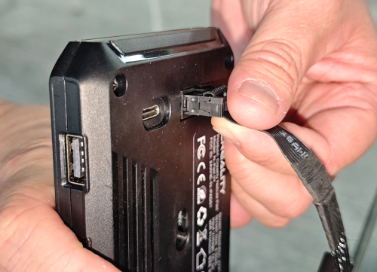
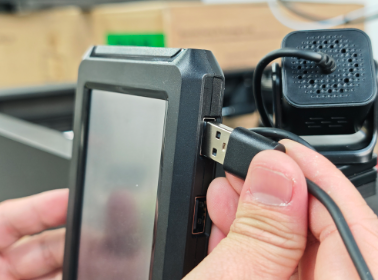
Connect the camera USB cable end to the screen USB port.
Restart the device, you can view the camera content through Creality Cloud or PC slicing software.