¶ Background
Since the Ender-3 V3 Mega's camera configuration supports the Nebula Camera as an optional accessory, installing it on the Ender-3 V3 Mega requires printing an auxiliary mounting bracket and auxiliary mounting screws before it can be attached to the machine. This tutorial has been created to serve as an installation guide.
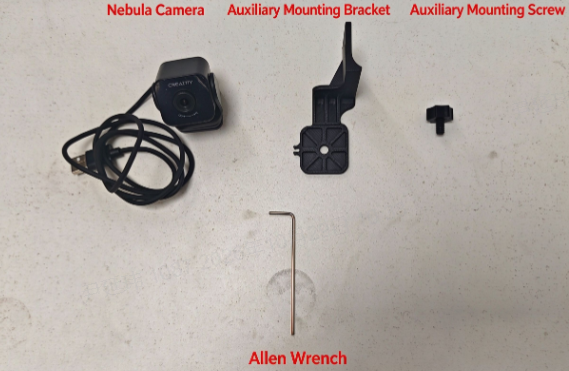
¶ Installation Accessories
The auxiliary mounting bracket and auxiliary mounting screws need to be printed by the user. The auxiliary mounting components can be found in the machine's built-in local models.
Ender-3 V3 Mega Nebula Camera Mounting Screws.stl
¶ Installation Tutorial
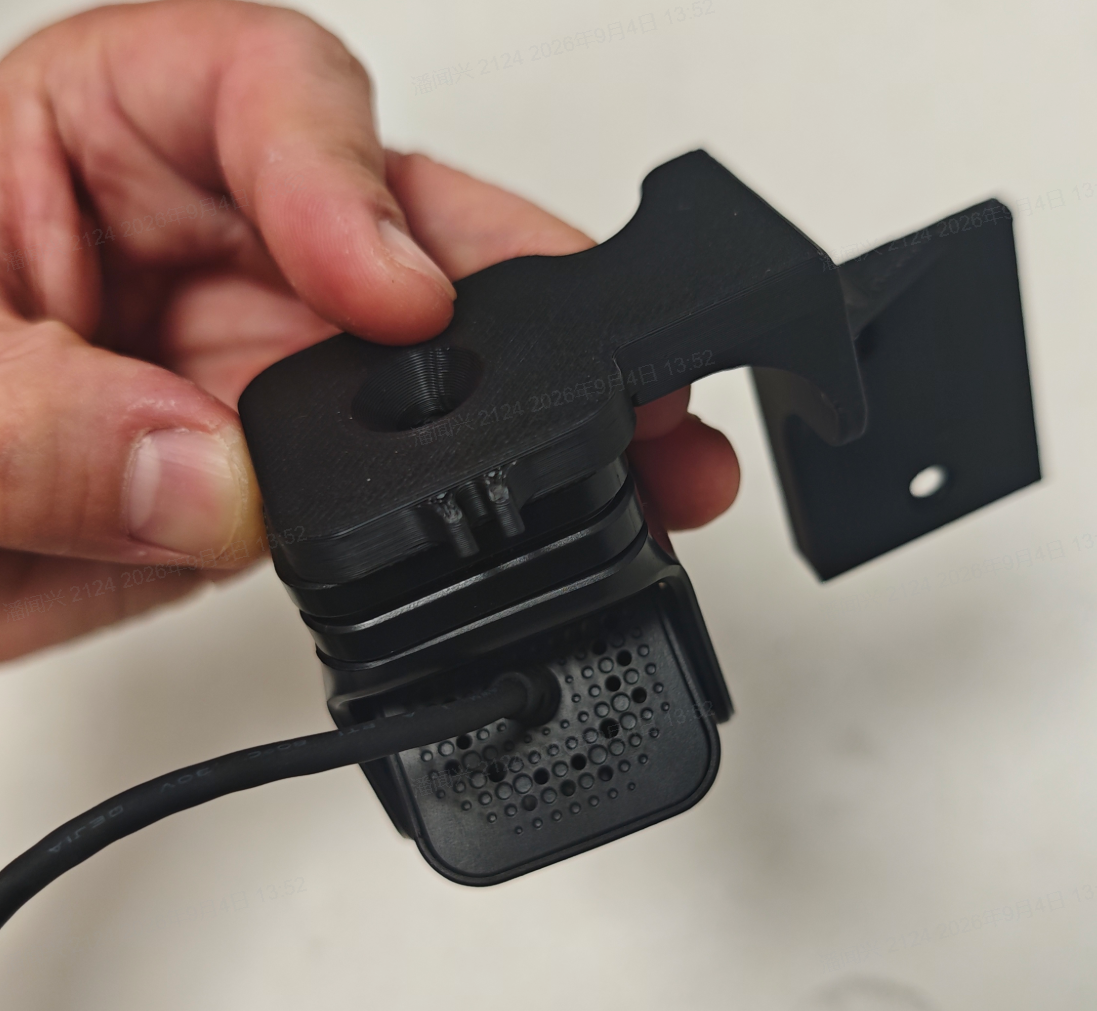
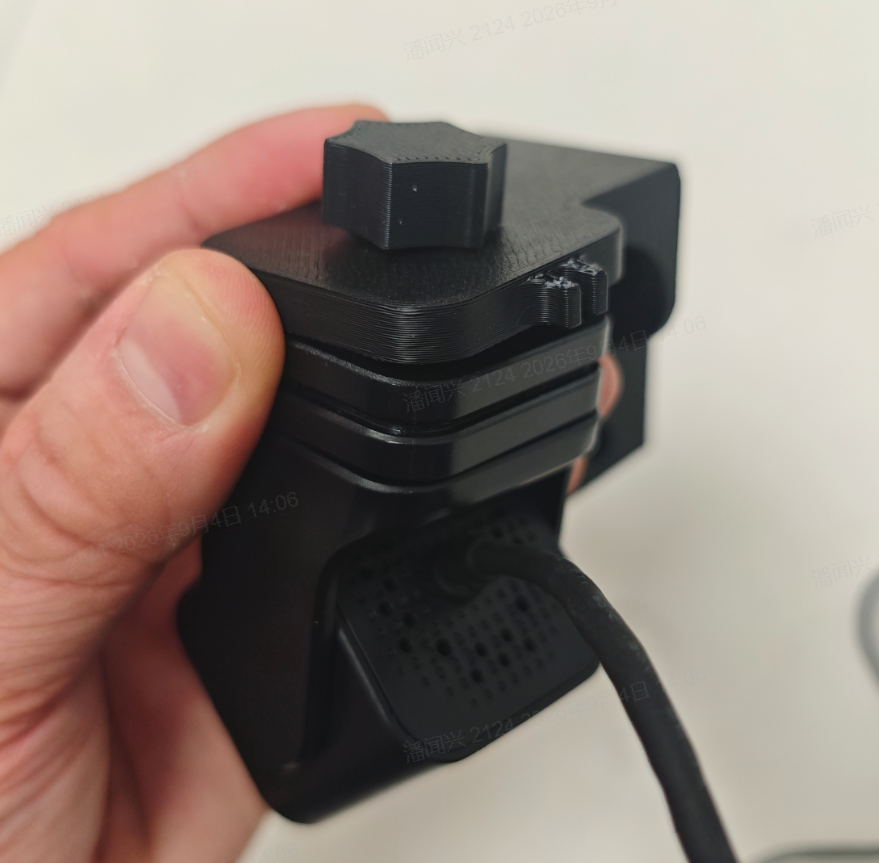
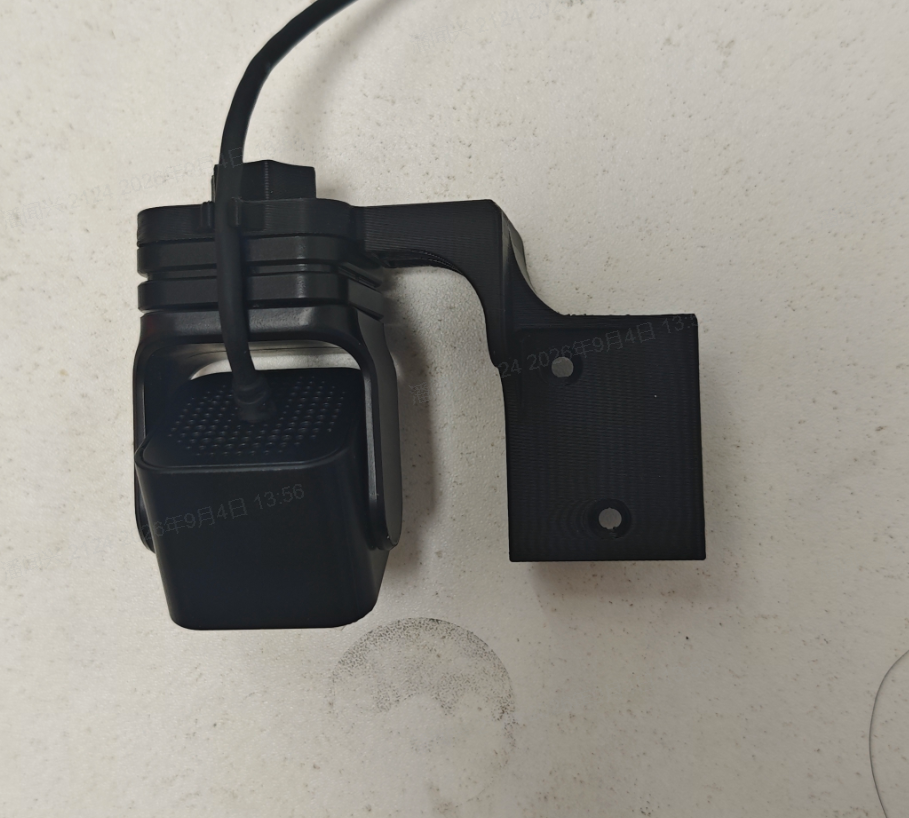
Use the auxiliary mounting screws to assemble the Nebula Camera and the auxiliary mounting bracket into a single unit.
 |
 |
 |
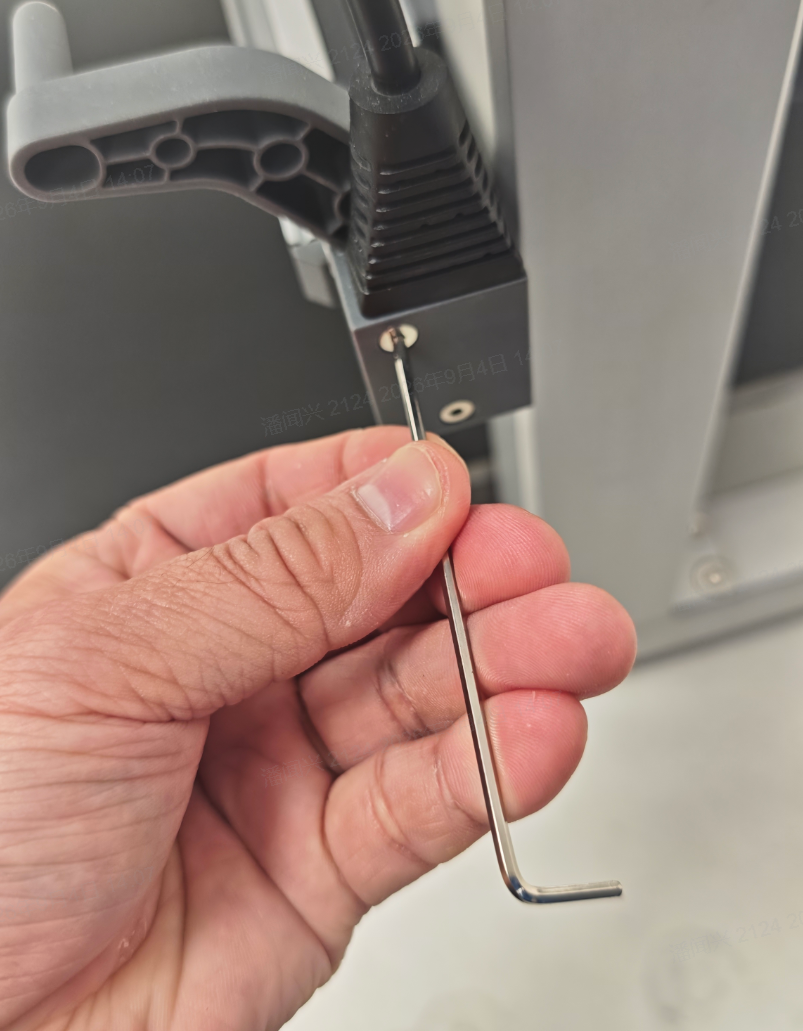
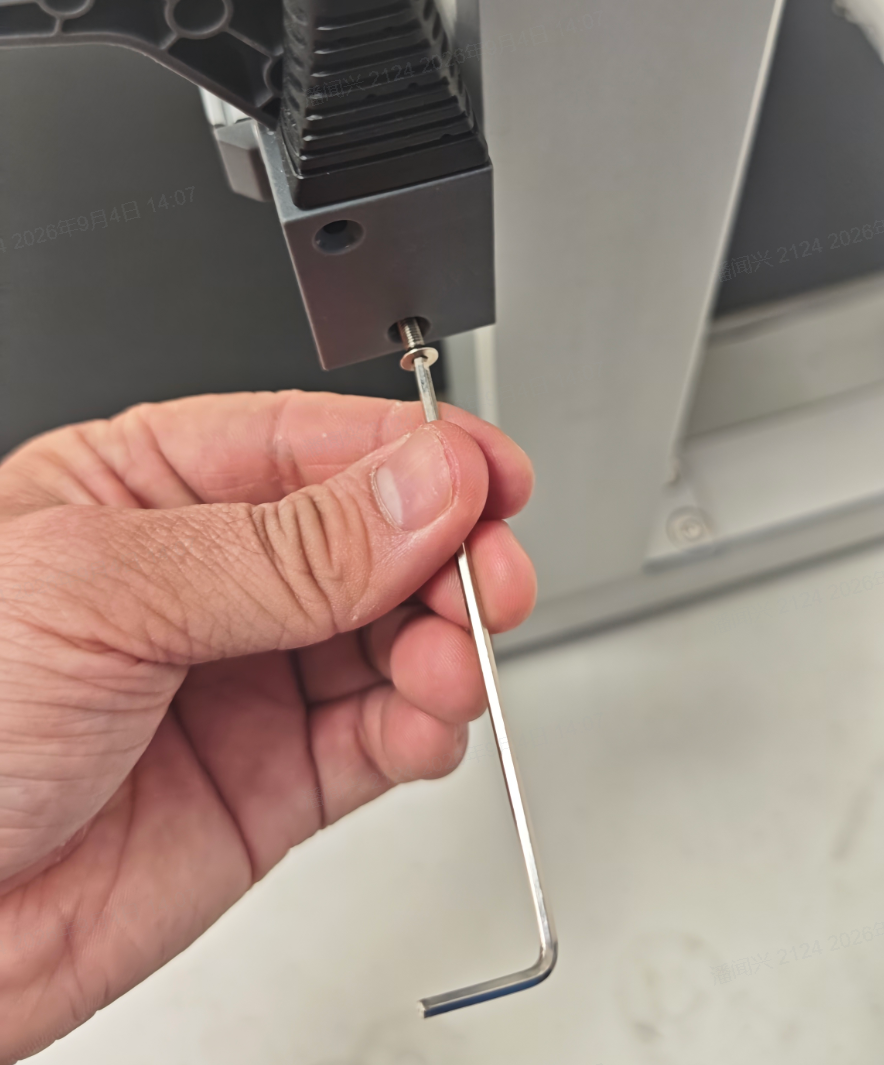
Remove the two screws on the right side of the Ender-3 V3 Mega X-axis.
 |
 |
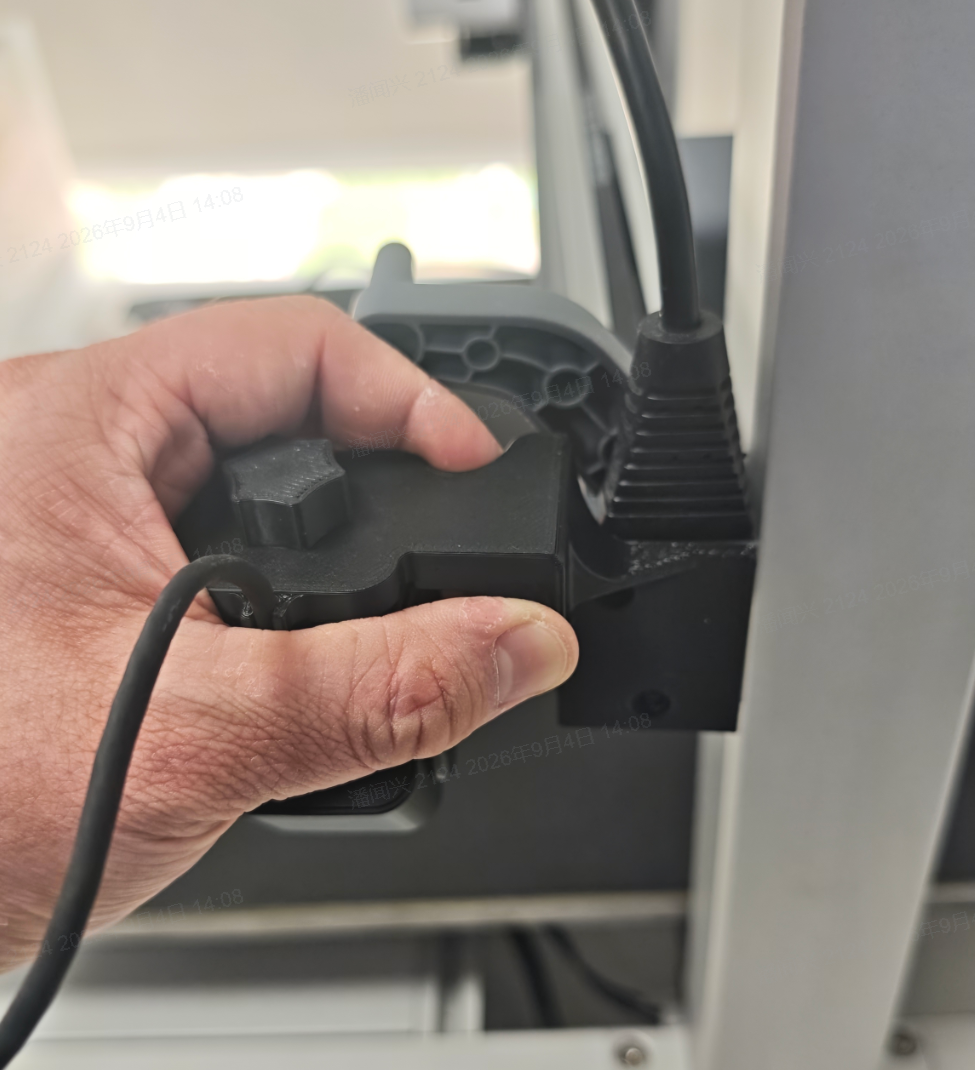
Install the camera assembly onto the right side of the Ender-3 V3 Mega X-axis.
 |
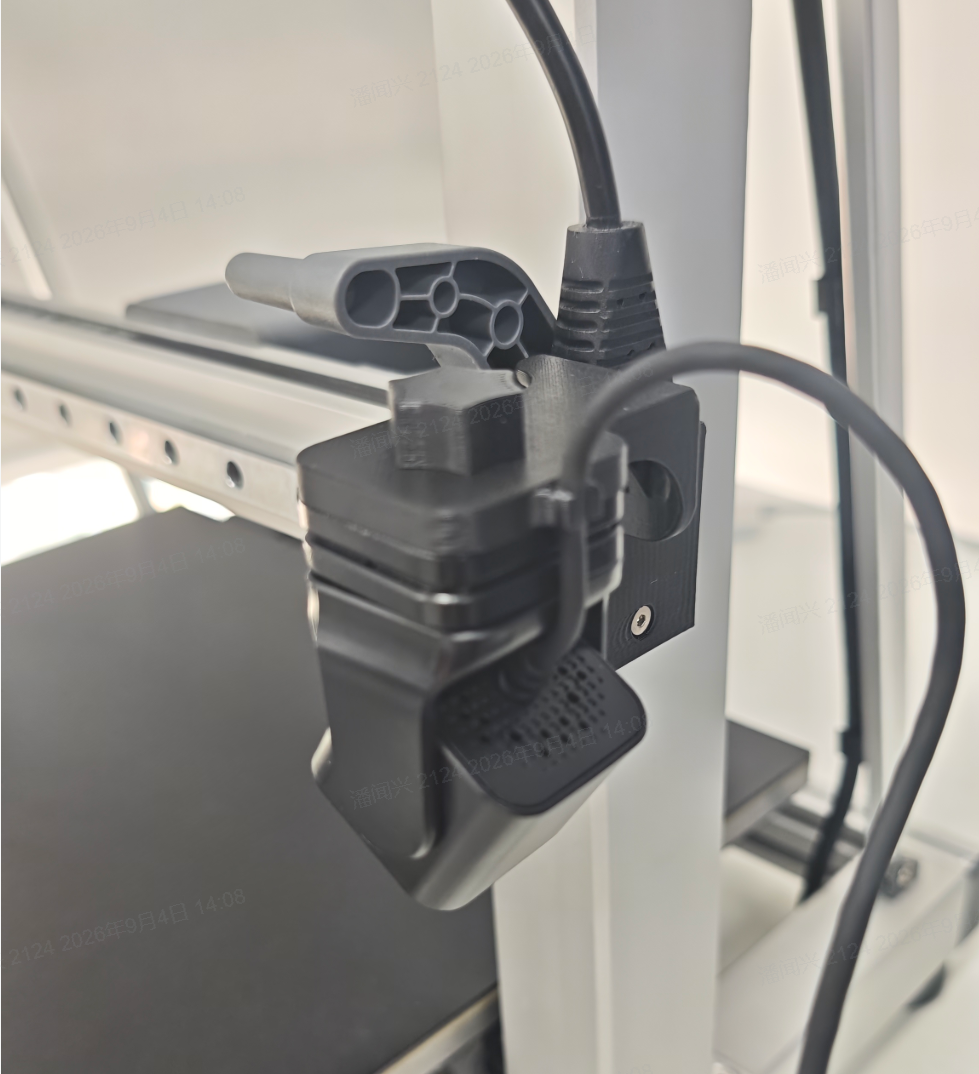 |
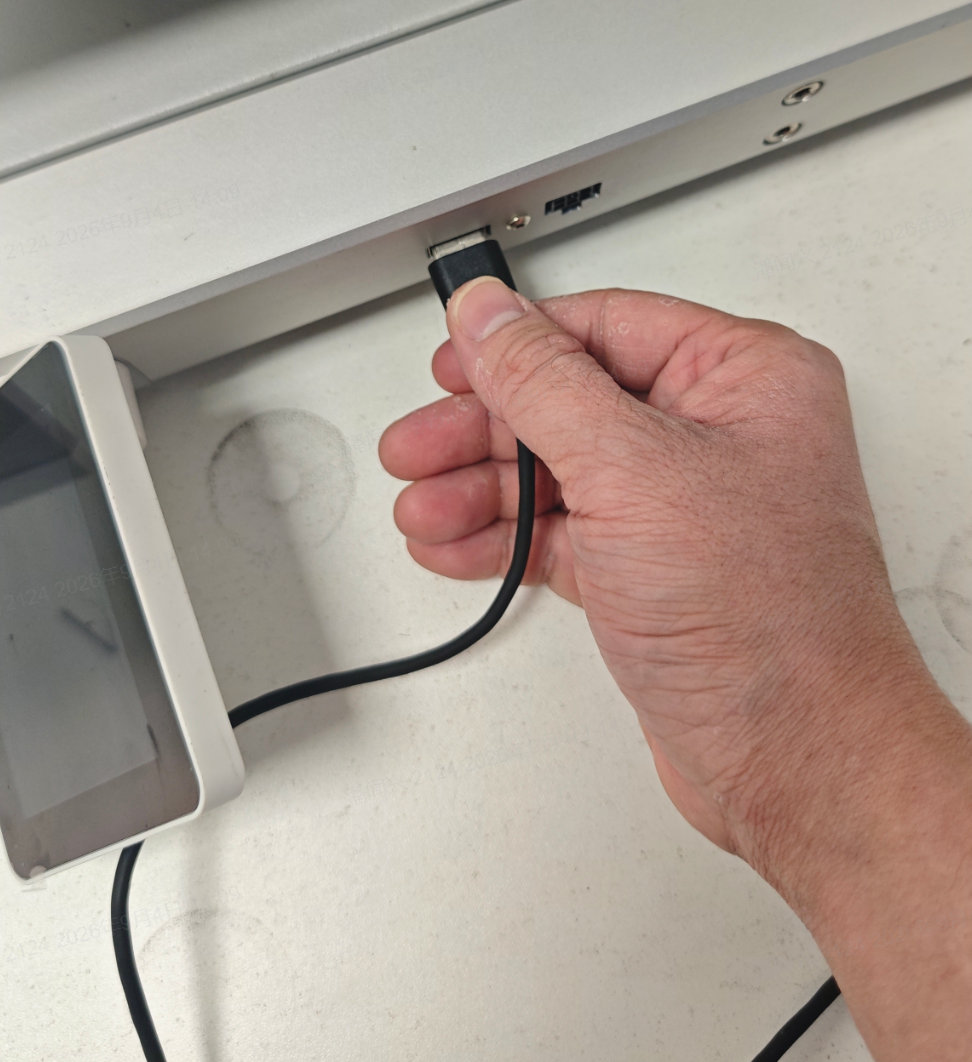
Connect the Nebula Camera USB data cable to the device's USB port.
(Note: After installation, ensure the camera cable is not tangled to prevent the cable from being pulled or caught during the printing process.)