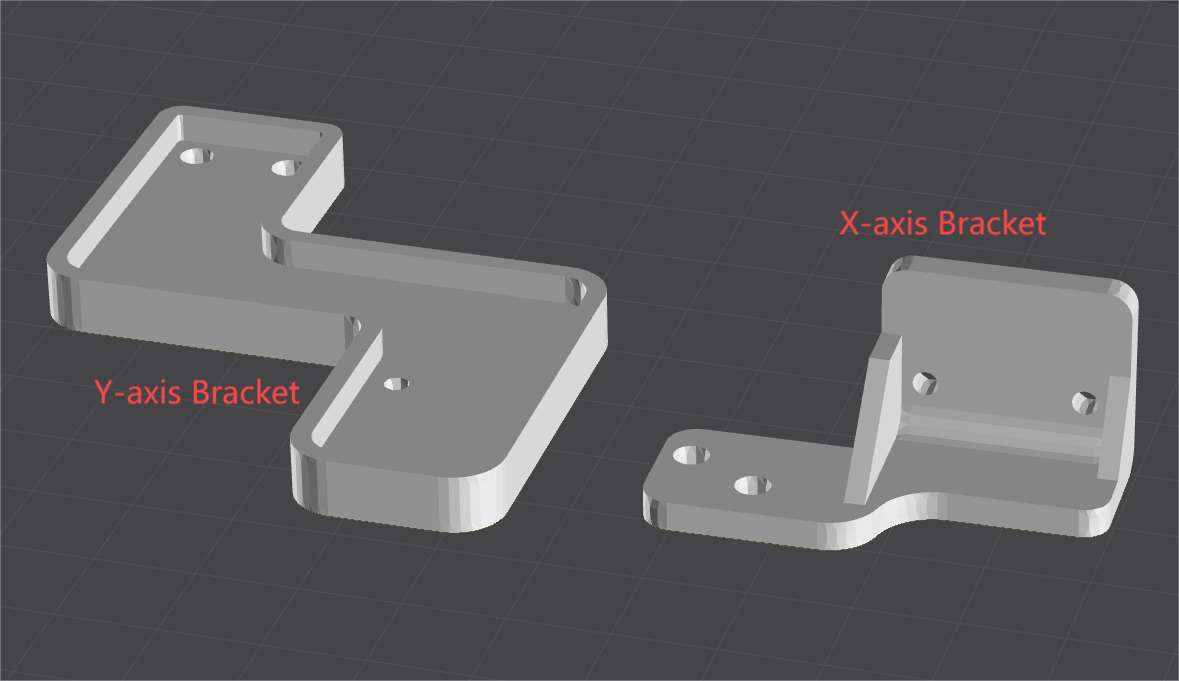
¶ 1. Download and print the G-Sensor bracket
Please view and download the installation model file at
https://vip.creality.com/en/goods-detail/2098
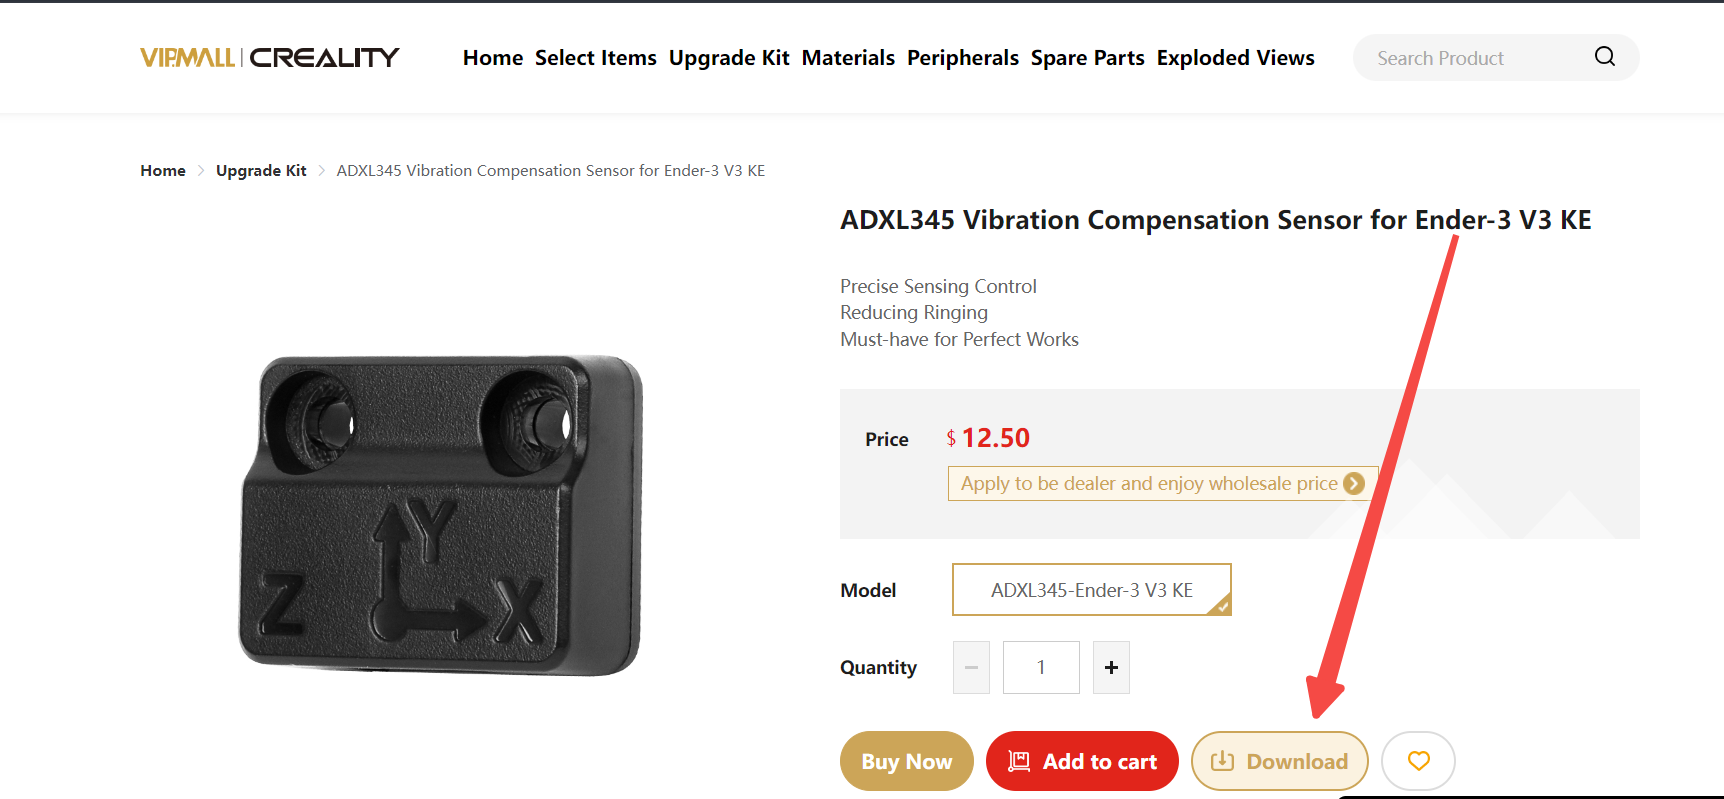
It's recommended to use PETG filament, with over 30% infill, using honeycomb pattern infill.
¶ 2. Install X-axis G-Sensor bracket
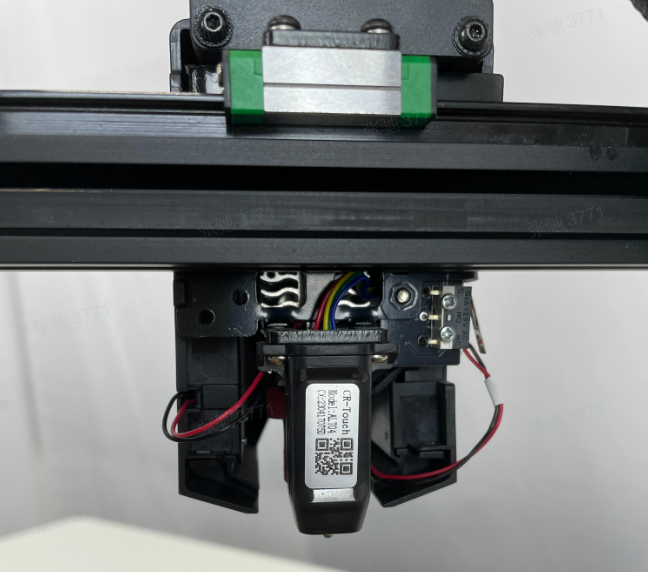
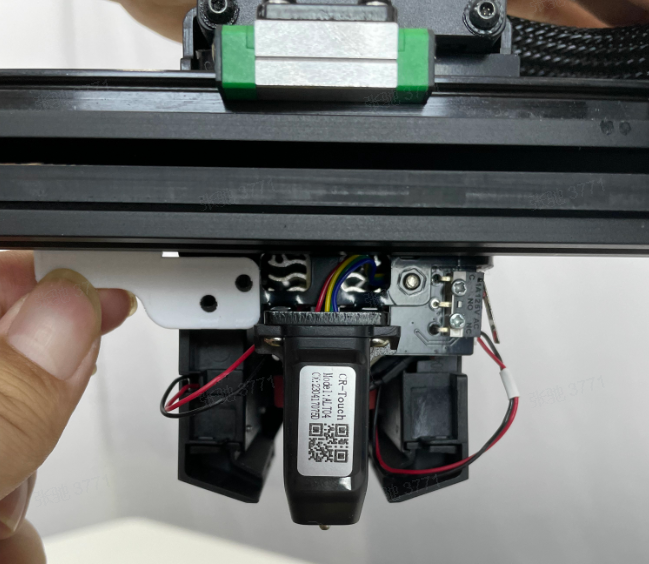
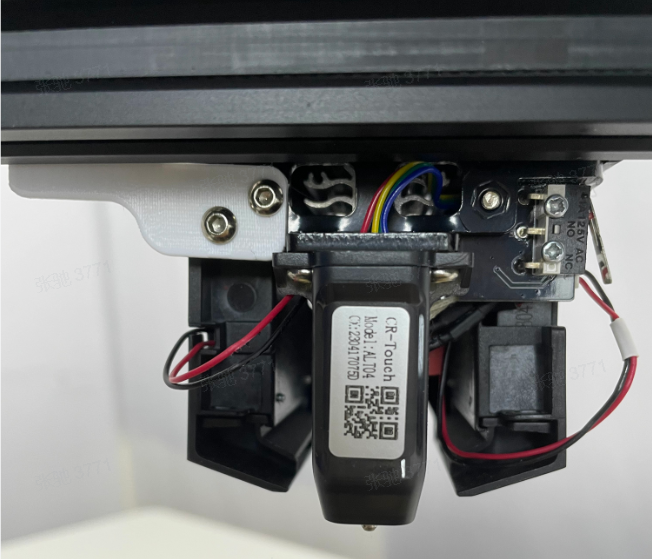
Use 2 M3*6 hexagonal flat head screws to install the X-axis G-Sensor bracket on the back plate of the hotend (installation from the rear of the machine).
¶ 3. Install Y-axis G-Sensor bracket
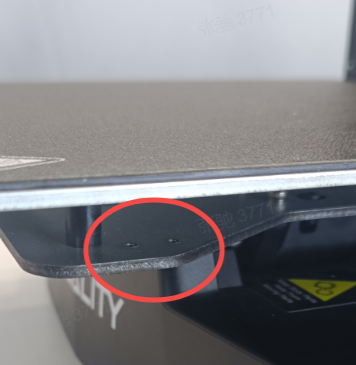
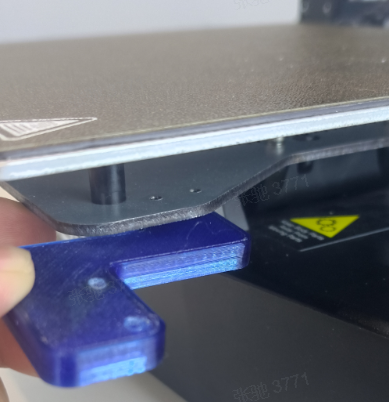
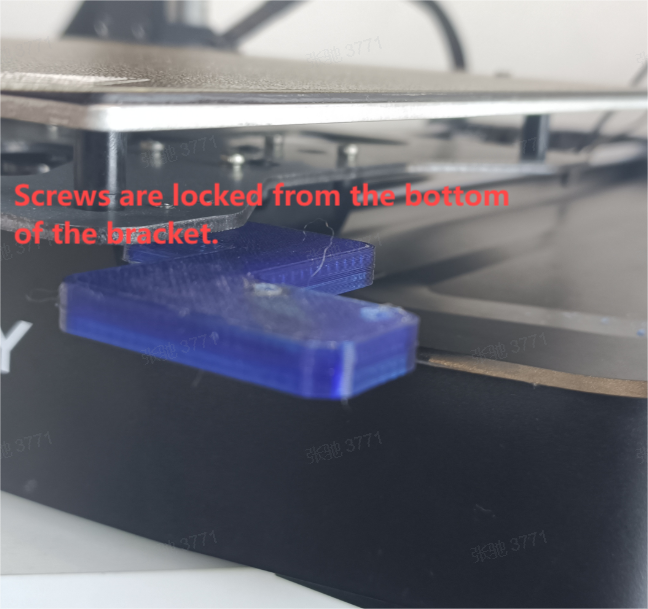
Use 2 M3*6 hexagon socket head screws to install the Y-axis G-Sensor bracket on the bottom of the hot bed slide plate (lower right side of the hot bed).
¶ 4. Install the Sensor
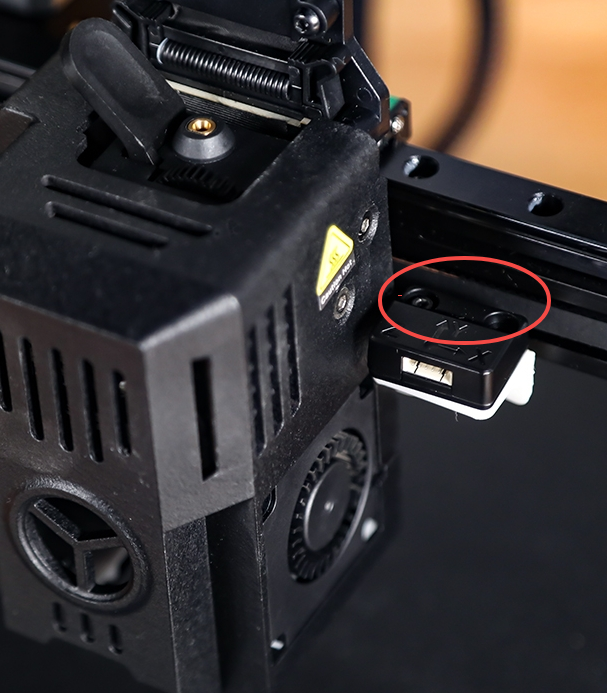
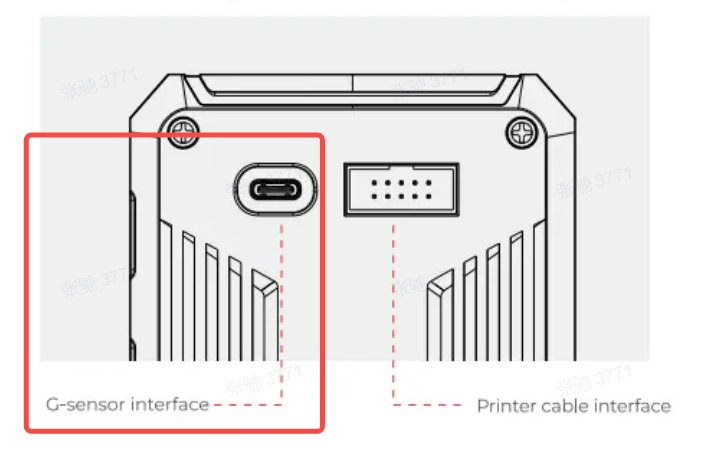
Use two M3*8 hexagonal flat head screws to install the sensor on the X-axis bracket; install the 6Pin port on the sensor port, and install the Type-C port of the vibration sensor cable on the back port of the Nebula screen.
¶ 5. Hotend Test
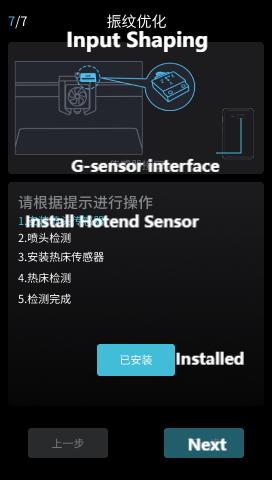
Click Settings-Input Shaping to perform X-axis test (Hotend Test).
¶ 6. Install Sensor on Y-axis bracket
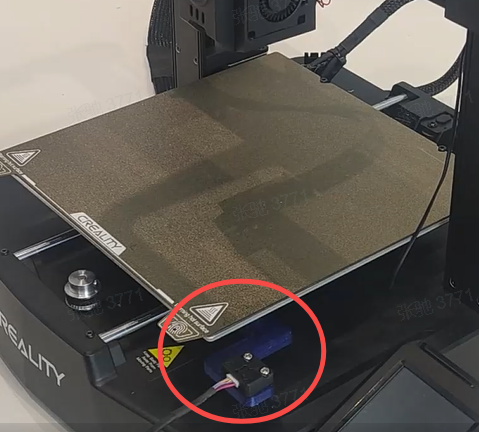
After the X-axis test is completed, remove the sensor from the X-axis bracket and install it on the Y-axis bracket.
¶ 7. Hotbed Test
After installation, click on "Installed", and begin the Y-axis test (Hotbed Test).
¶ 8. Remove Sensor and bracket
After the test is completed, you can turn off the machine and remove the sensor and related brackets.They don't need to be constantly placed on the machine. It is recommended to self-check and optimize the vibration every 500 hours of printing; moreover, every time the firmware is upgraded, it needs to be re-detected.