¶ Tools
H2.0 hexagonal wrench
New cutter
¶ Steps
Before proceeding with the following operations, please keep the machine at room temperature.
If there is filament in the machine, please unload it first and ensure the machine has cooled to room temperature before continuing with the subsequent steps.
¶ Disassembly
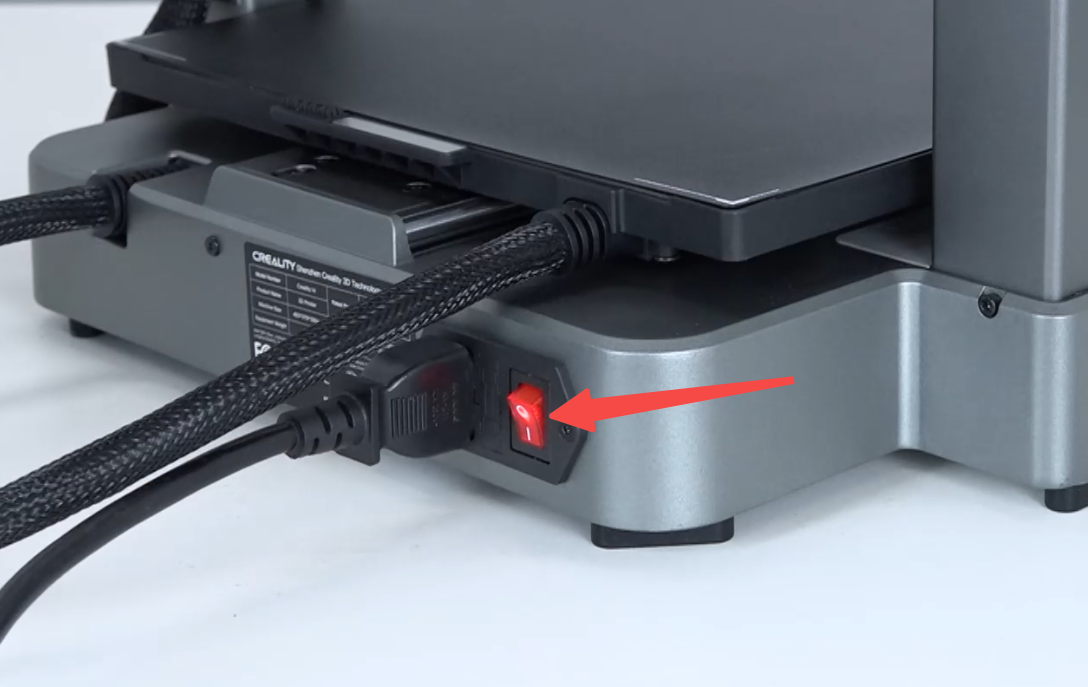
1. Power off
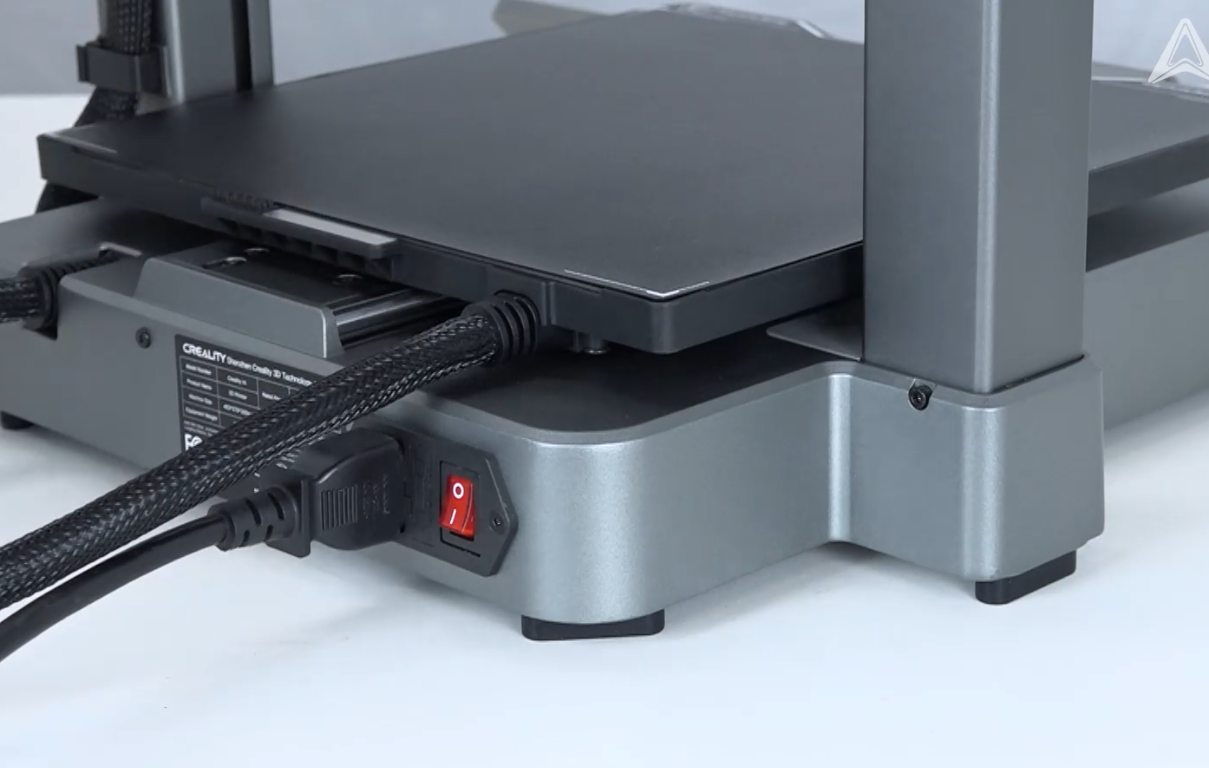
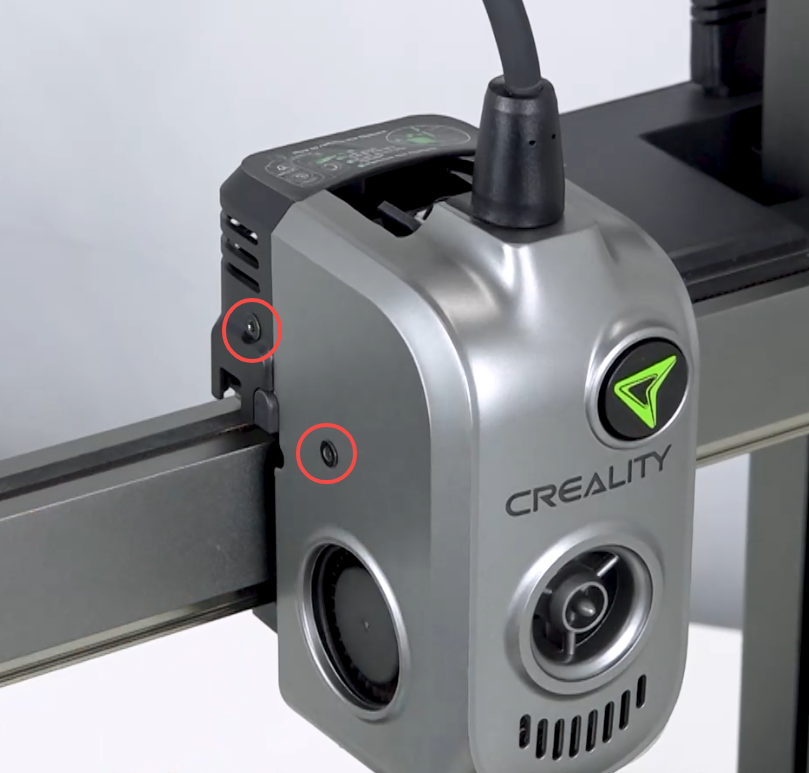
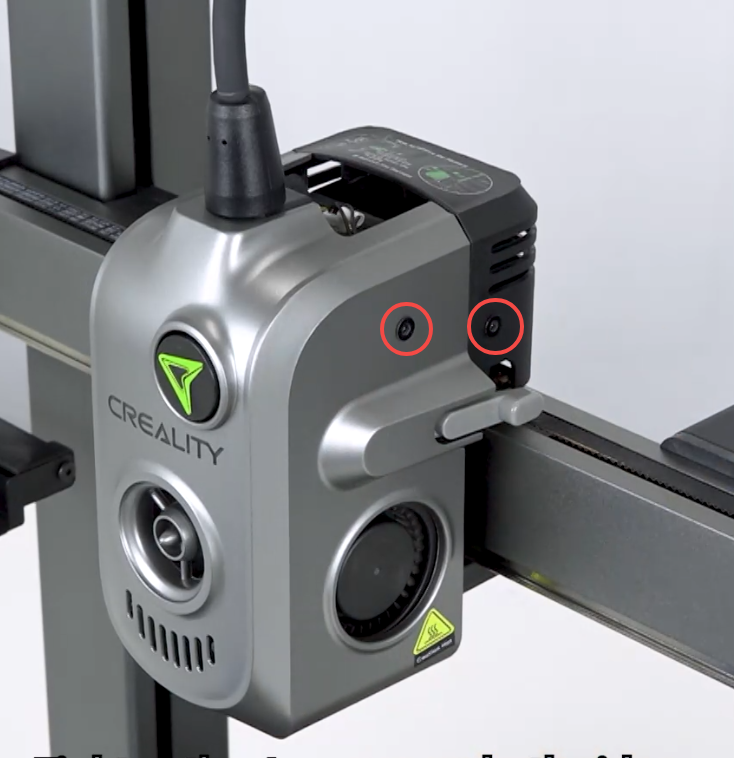
2. Unscrew the 4 screws on both sides of the outer casing
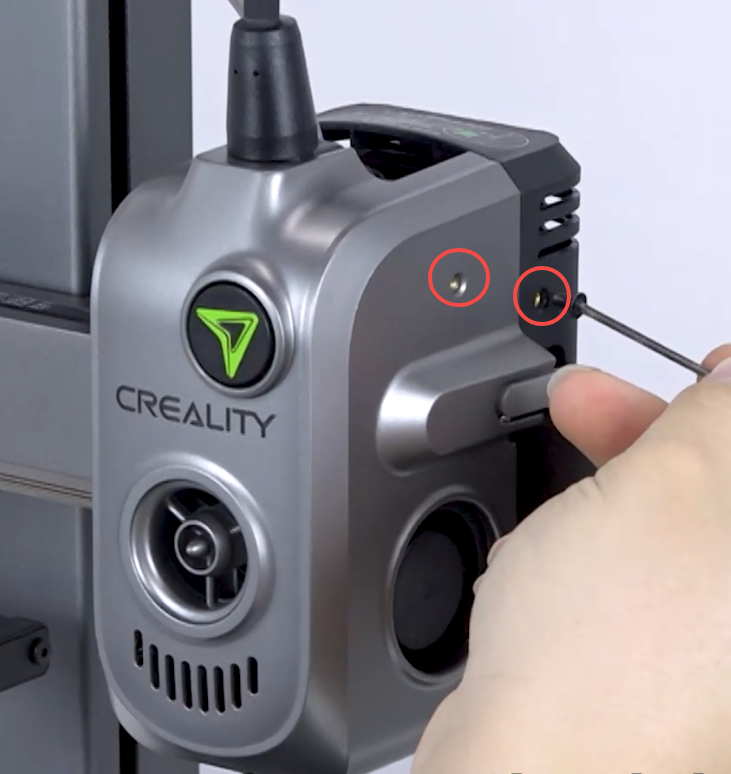
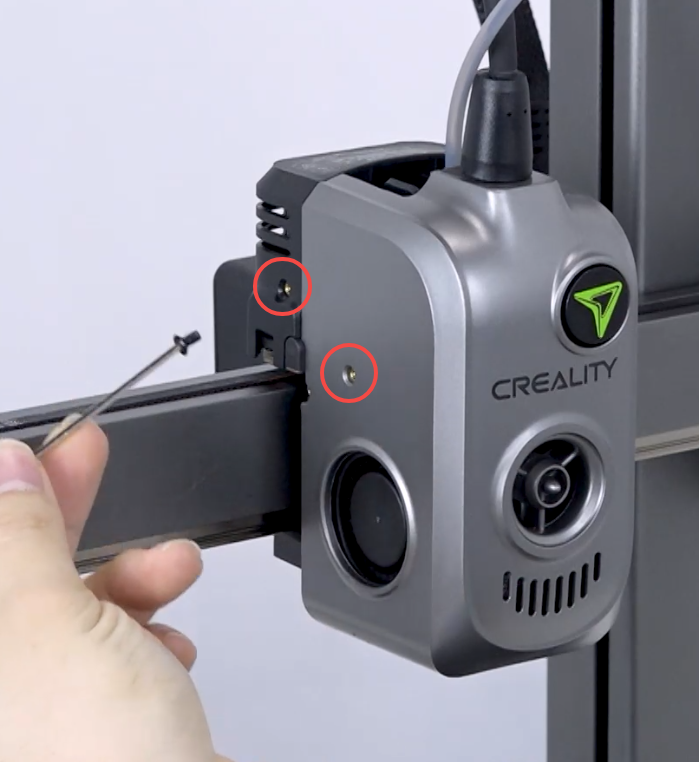
3. Remove the outer casing and LOGO rotating plate
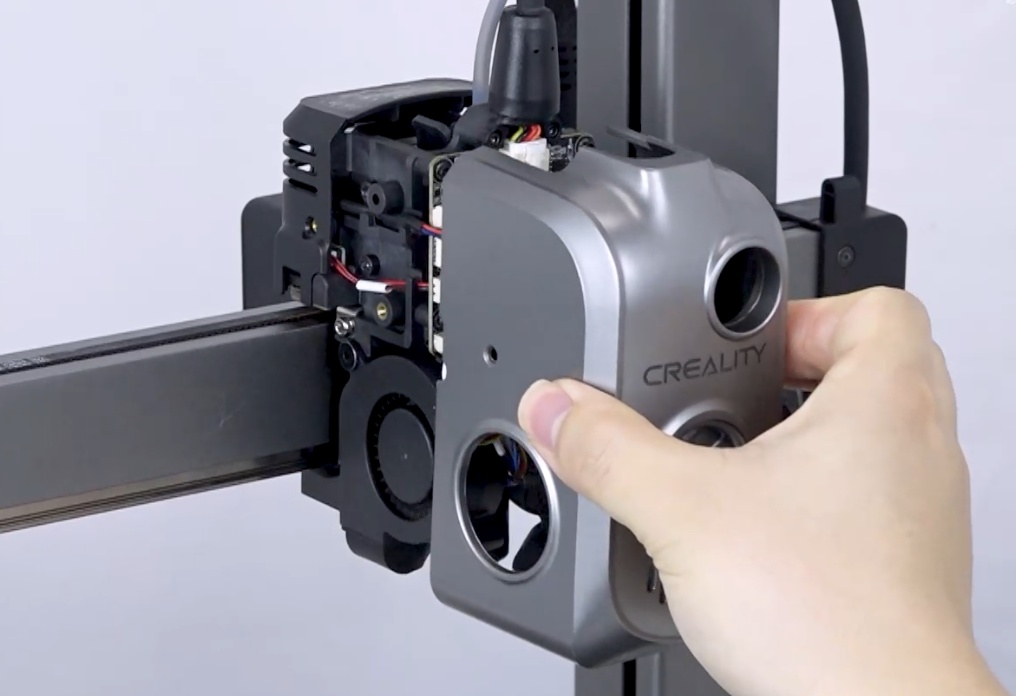
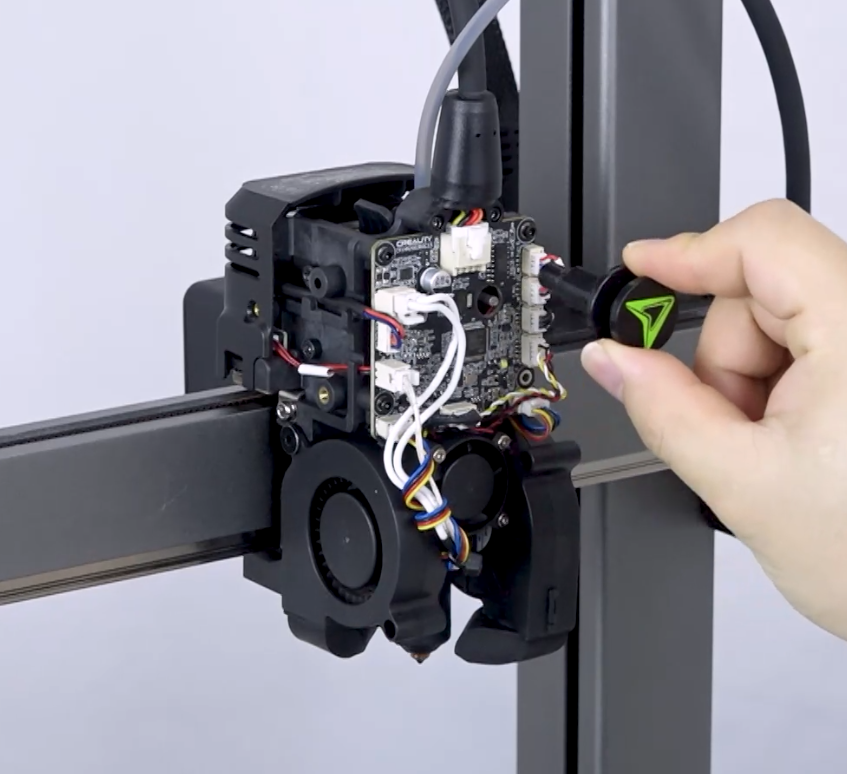

4. Unplug the extruder motor wire, cutter wire, and filament detection wire
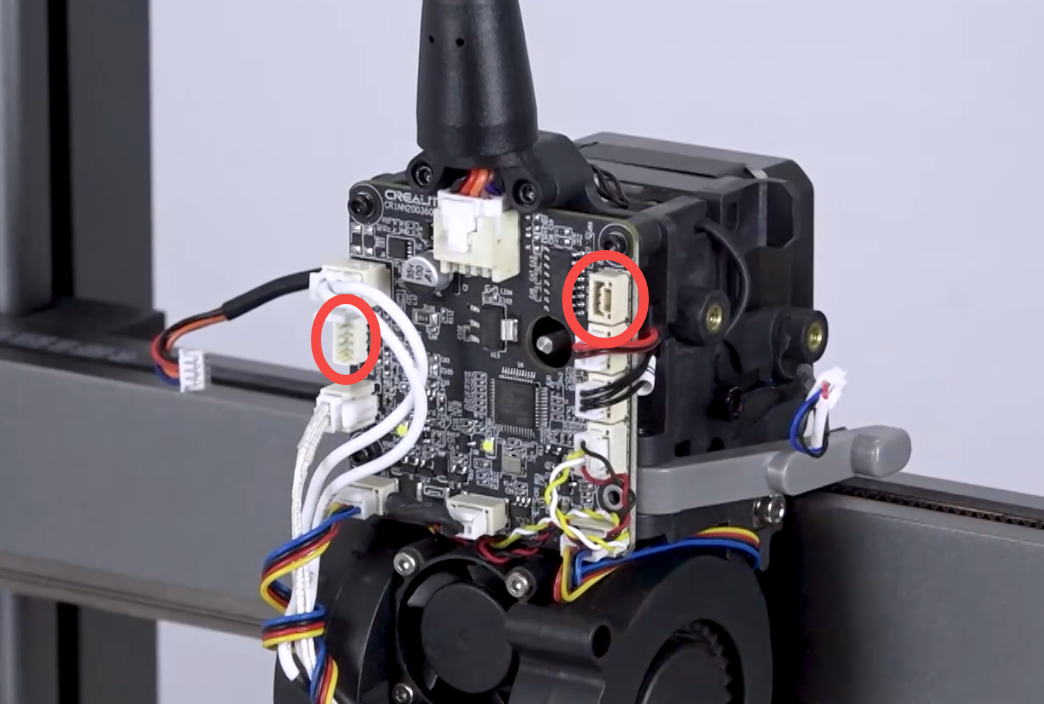
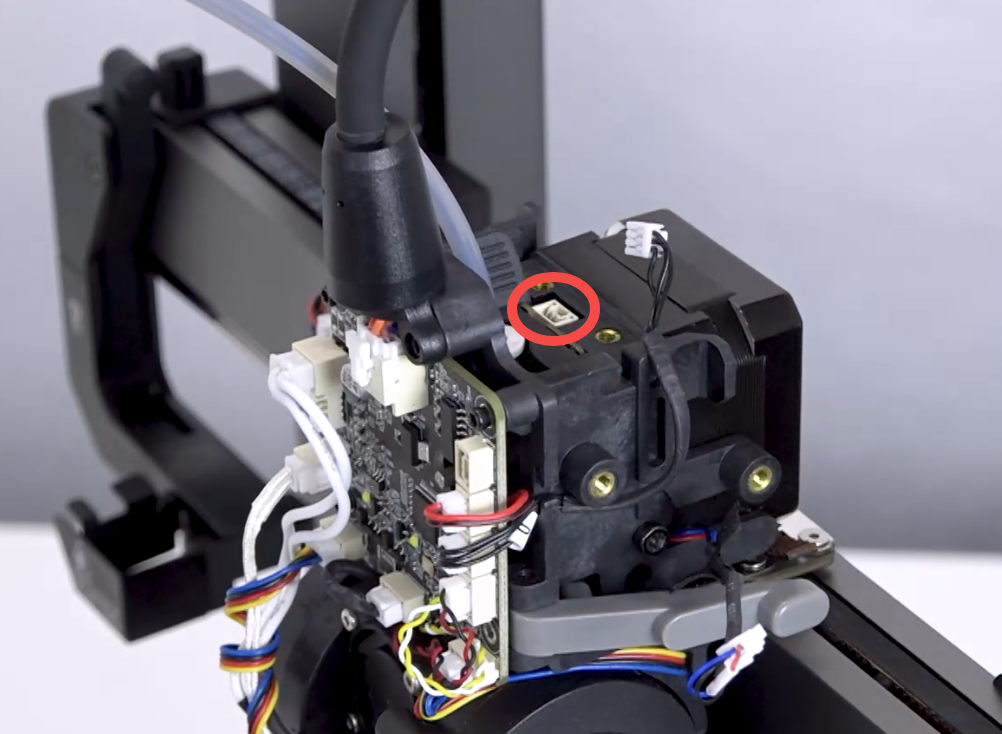
5. Disassemble the extruder (unscrew 3 screws)
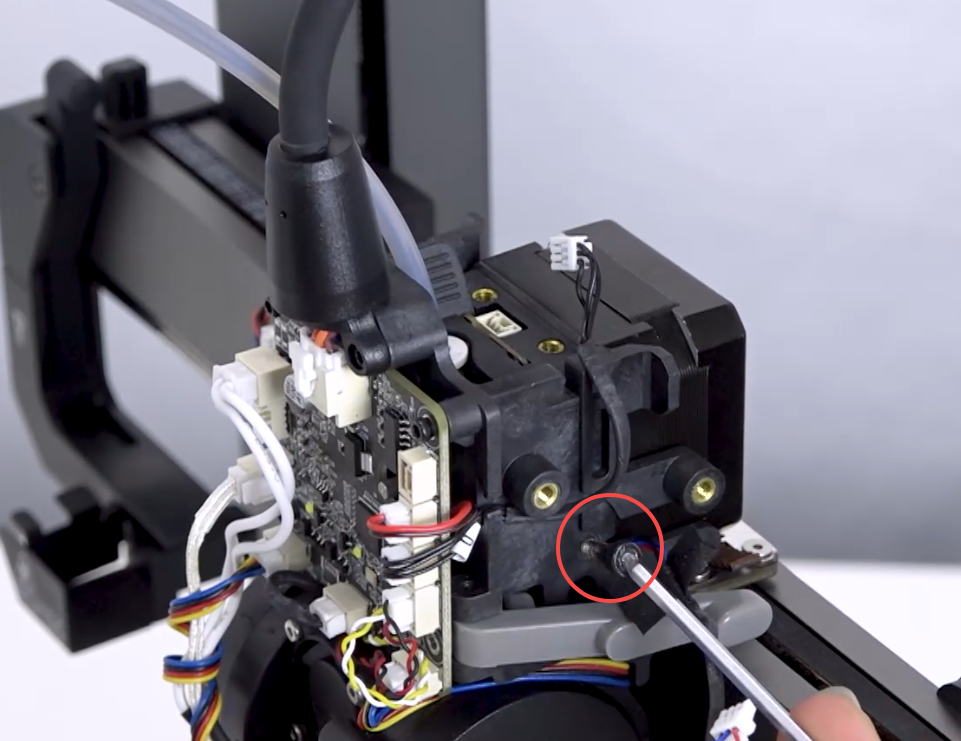
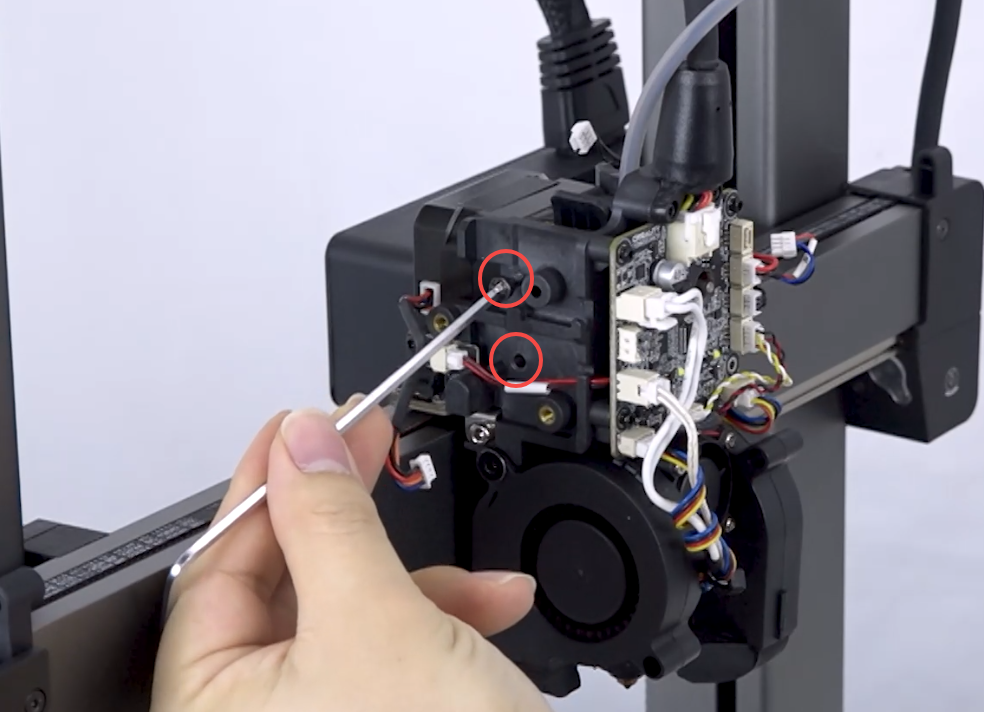
6. After removing the extruder, press the tube connector and pull out the PTFE tube
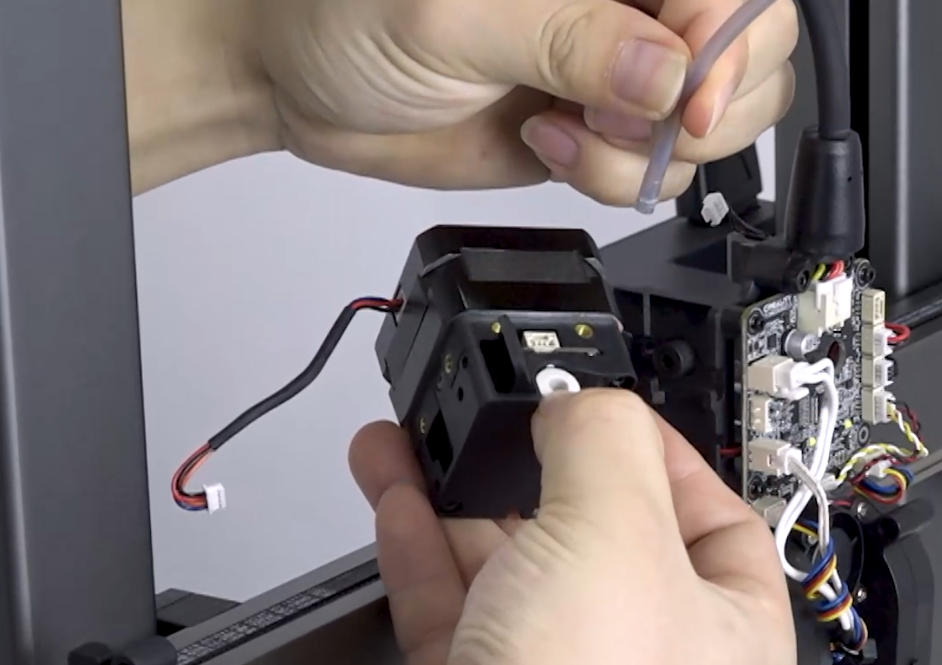
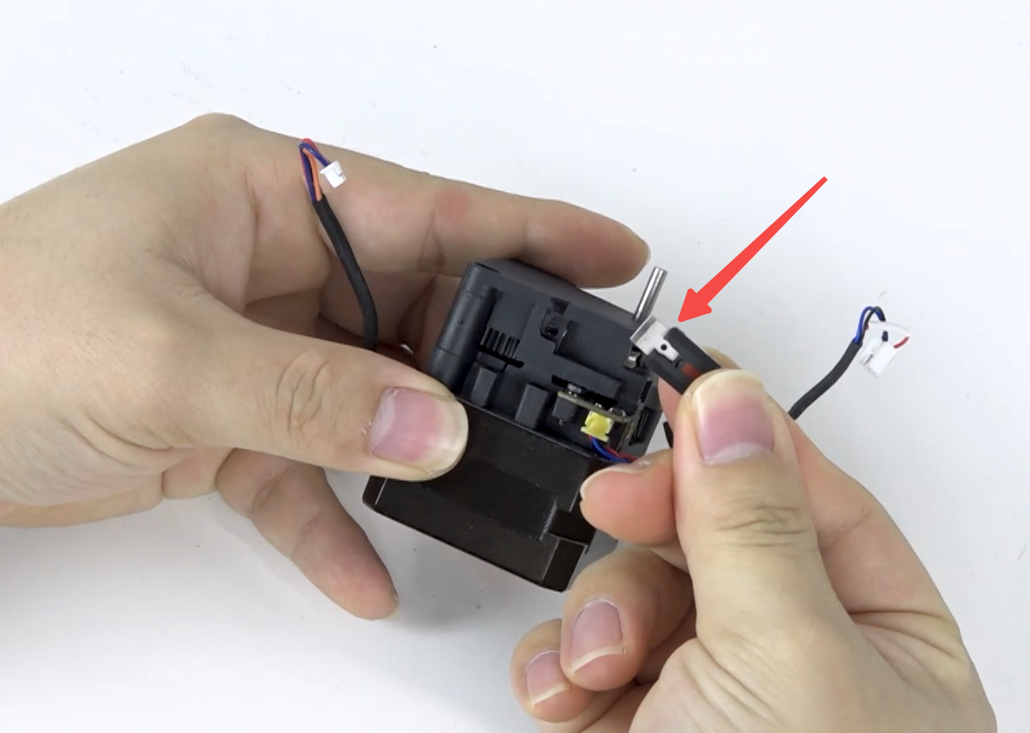
7. Pull out the damaged cutter
¶ Installation
1. Install the new cutter (note the cutter direction: the side with a notch on the blade holder should face down)
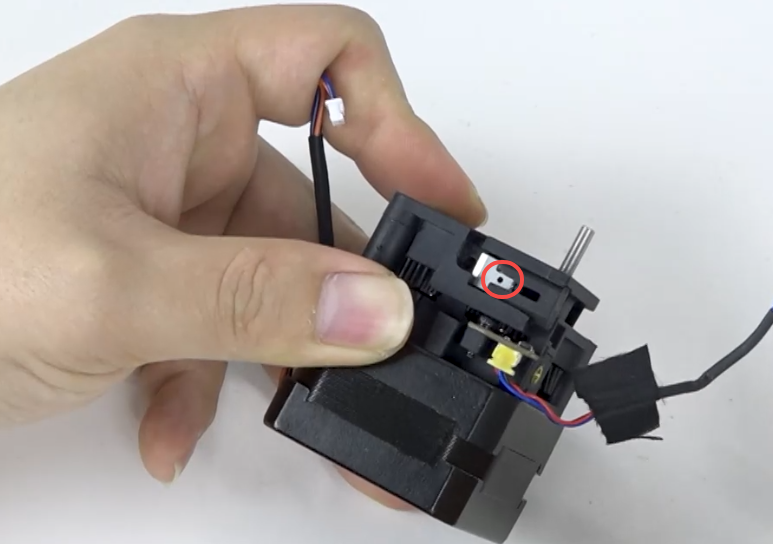
2. Install the extruder. Before installing, flip open the cutter rod.
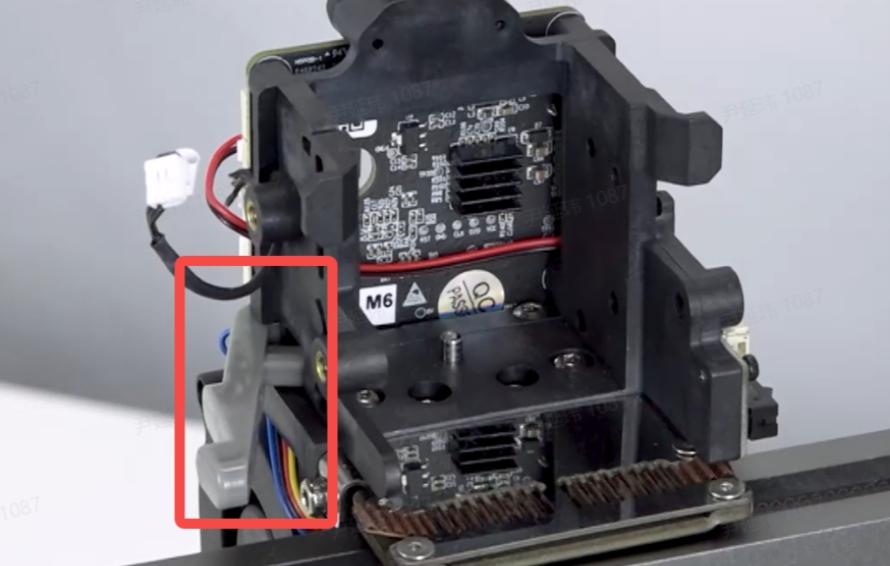
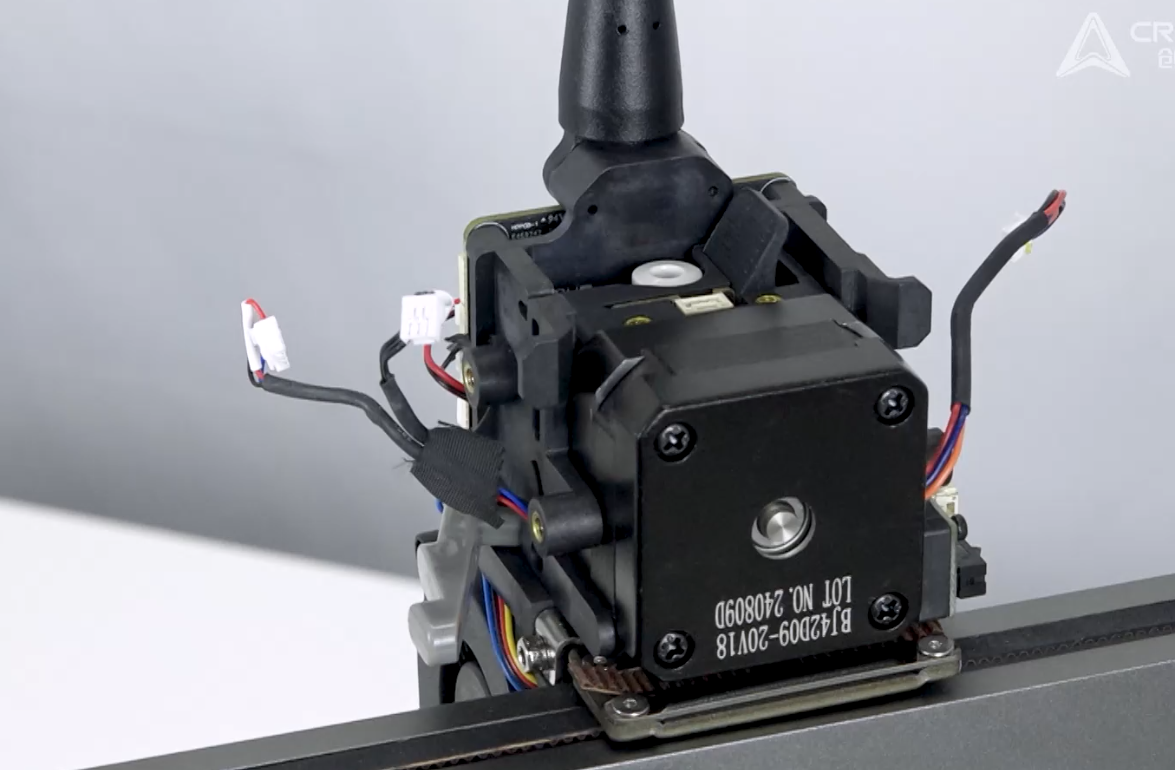
3. Press to check if the cutter push rod rebounds normally. If it does, the extruder is installed properly
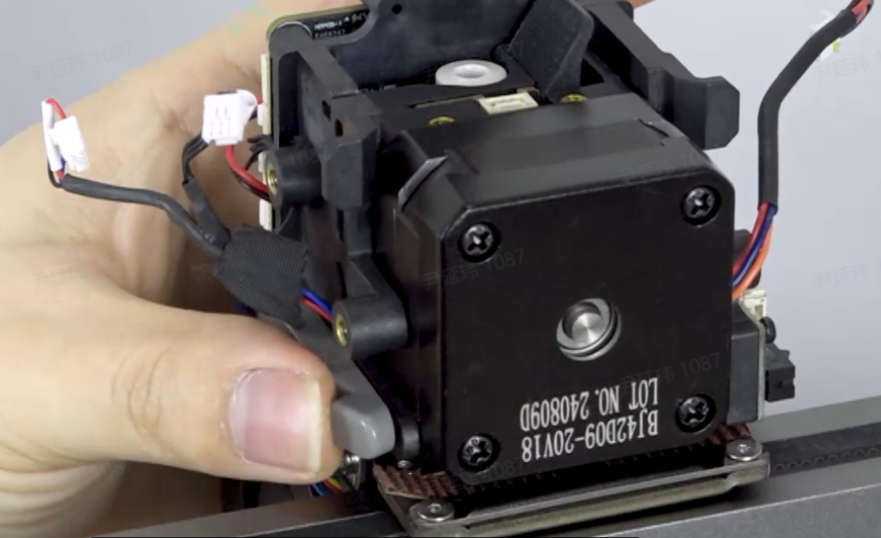
4. Tighten the 3 screws on both sides in the order marked 1, 2, 3

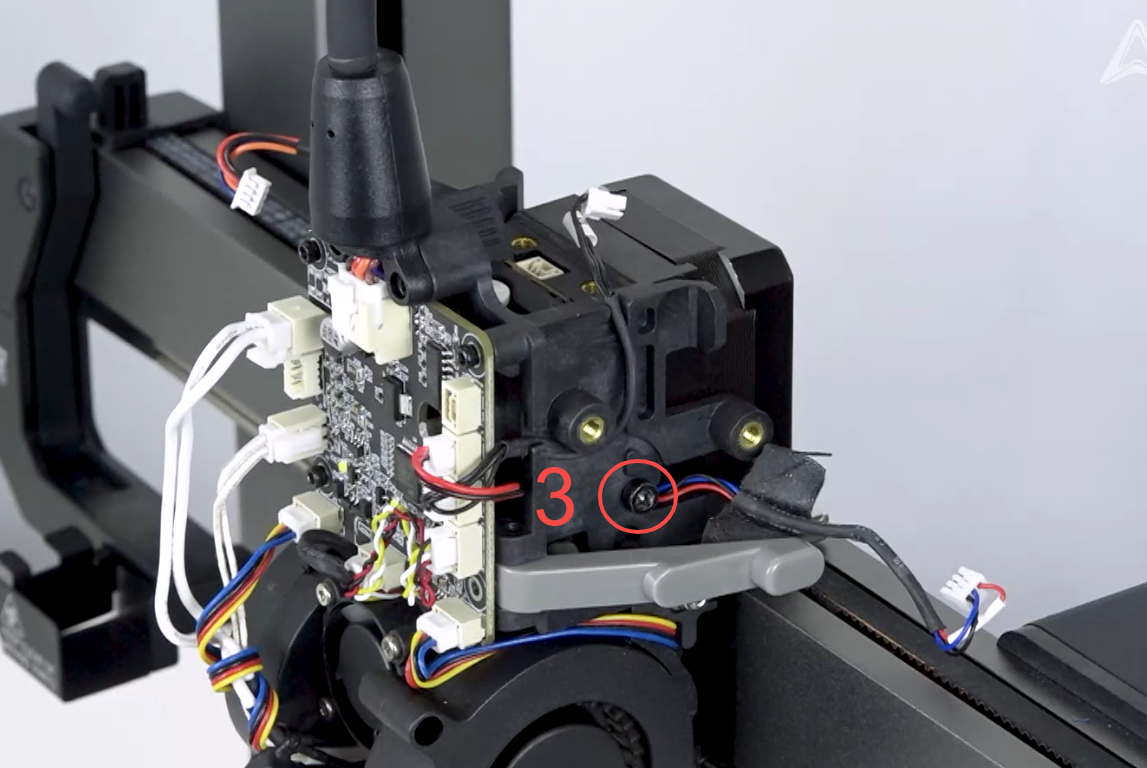
5. Plug in the wires and organize them neatly
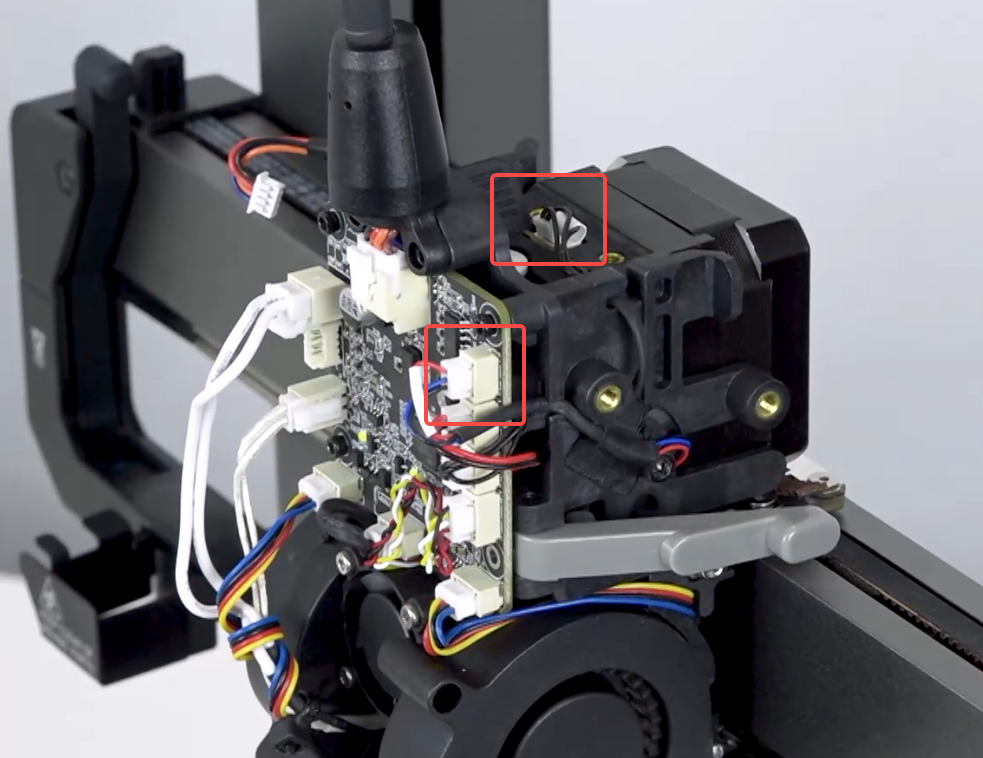
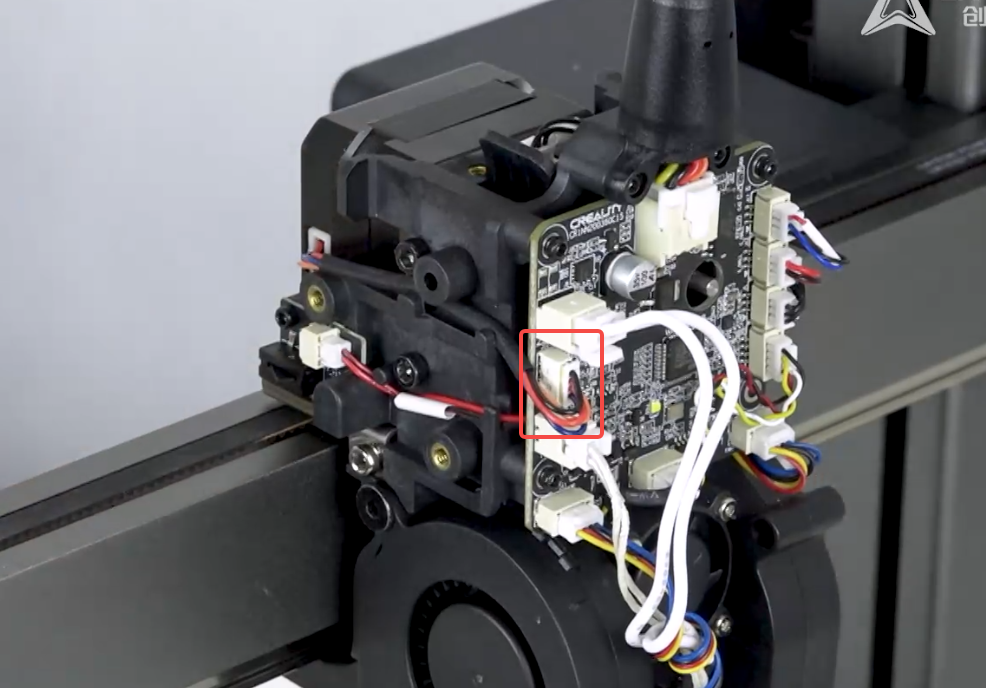
6. Install the LOGO rotating plate and outer casing (ensure proper alignment)
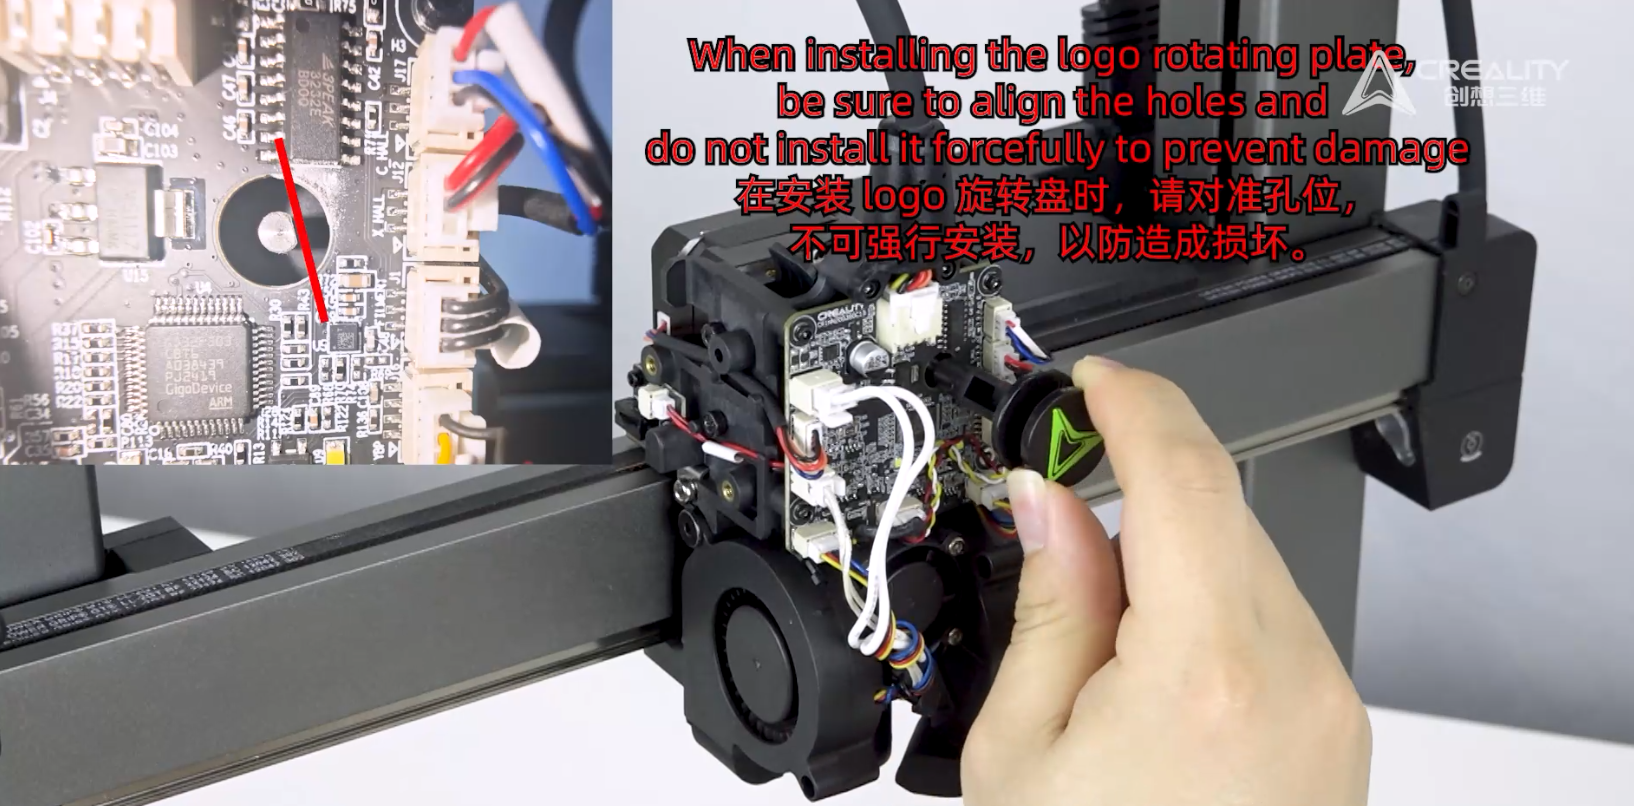
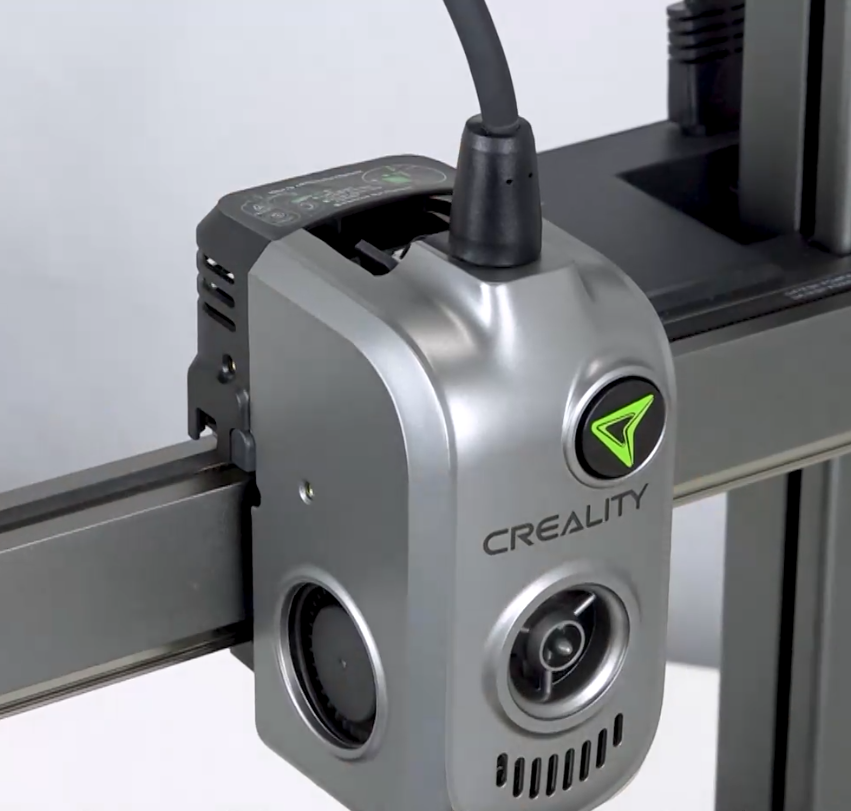
7. Tighten the 4 screws on both sides
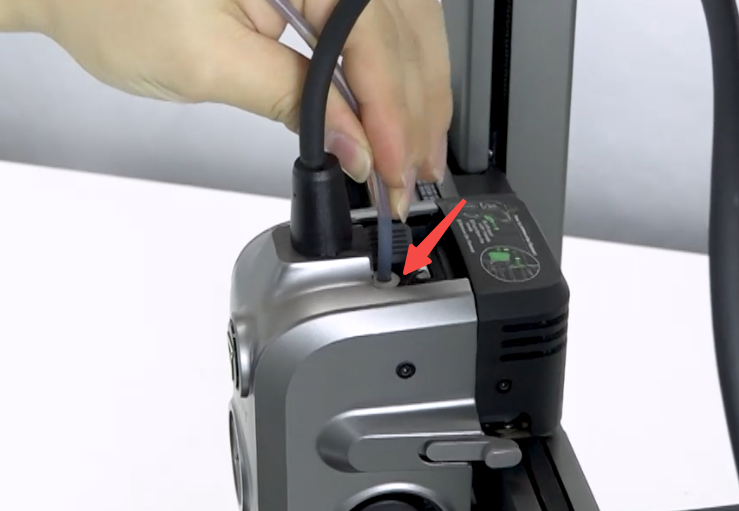
8. Insert the PTFE tube
¶ Device Self-Check
1. Power on
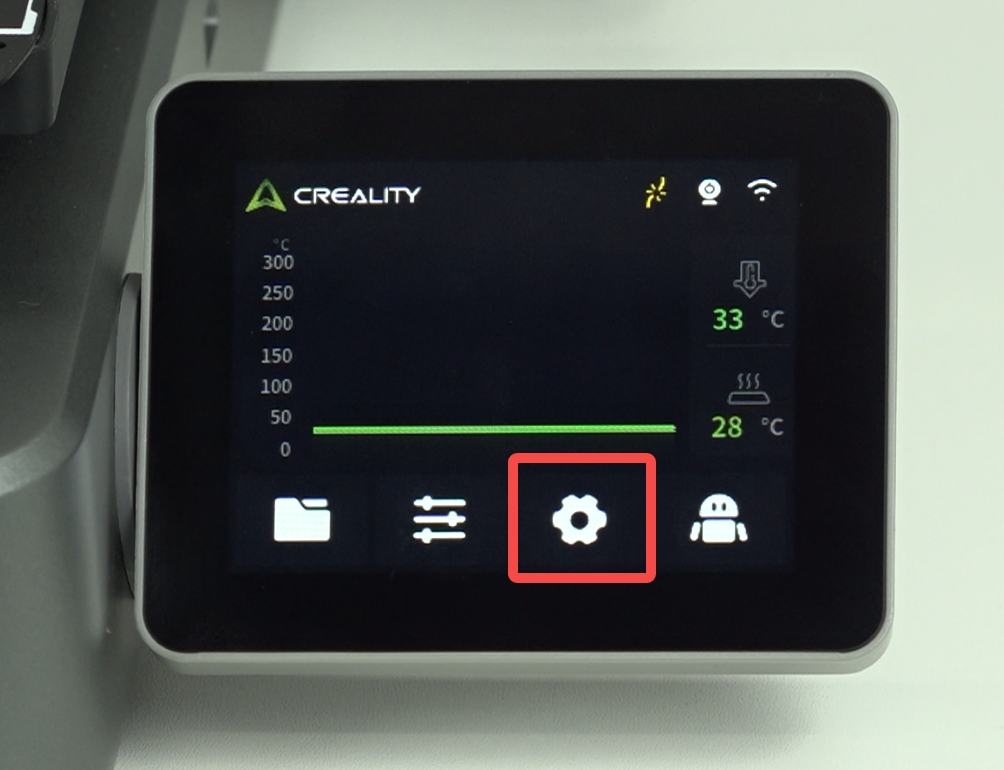
2. Click - "Settings" - "Device Self-Check" - "Input Shaping" - "Auto Leveling" - "Start Detection"
