¶ Packaging Contents
|
Accessory
|
Qty. | |
|
CFS nano
|
1 | |
|
CFS Nano Mounting Bracket
|
1 | |
|
Spool Holder Assembly
|
Main Bracket | 2 |
| Bridge Connector | 2 | |
| Slide Lock | 2 | |
| Spool Roller | 4 | |
| Pneumatic Connector Adapter | 4 | |
|
Installation Screw Kit
|
M3 × 6 Screw | 4 |
| Shoulder Screw | 4 | |
| H2.0 Hex Wrench | ||
|
485 Cable
|
1m | 1 |
|
PTFE Tubes
|
520mm | 6 |
| 290mm | 2 | |
| 35mm | 4 | |
| 5-Way Tube Clip | 1 | |
¶ Installation
¶ Assemble the Spool Holder
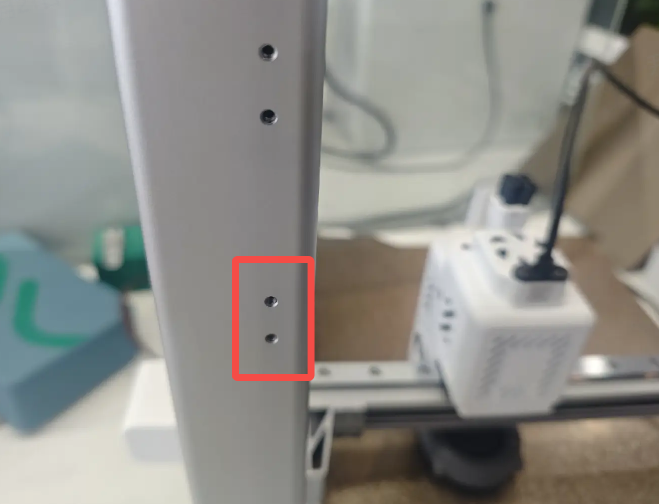
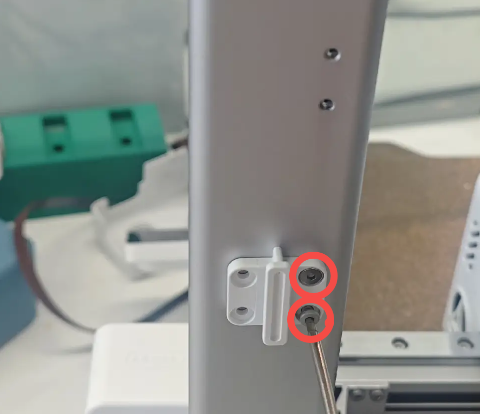
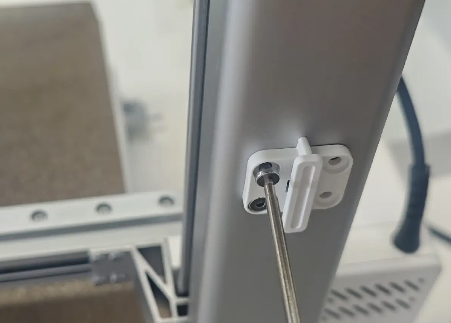
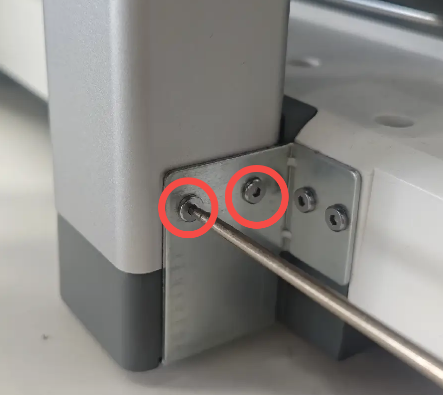
Take out the M3×6 screws and Slide Locks. Using an H2.0 Hex Wrench, install the Slide Locks onto the screw holes at the rear of the Gantry. Note: Install them in the lower two screw holes. Repeat the same procedure on the opposite side.
 |
 |
 |
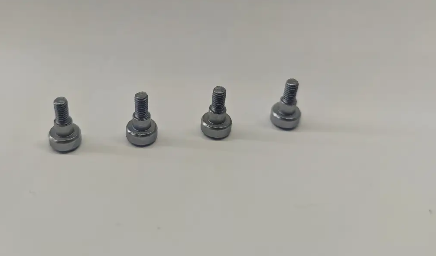
Remove the four screws from the bottom of the Gantry and replace them with the supplied Shoulder Screws. Repeat the same procedure on the opposite side.
 |
 |
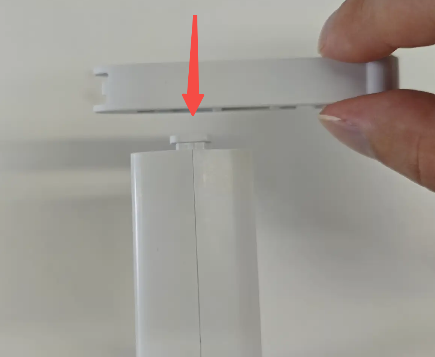
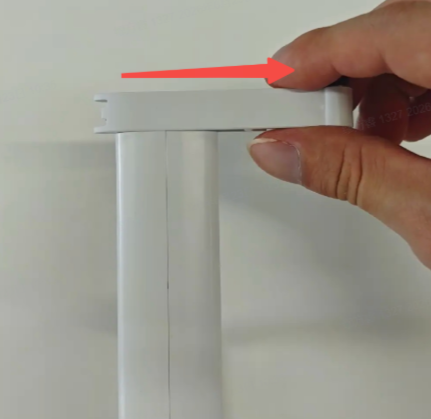
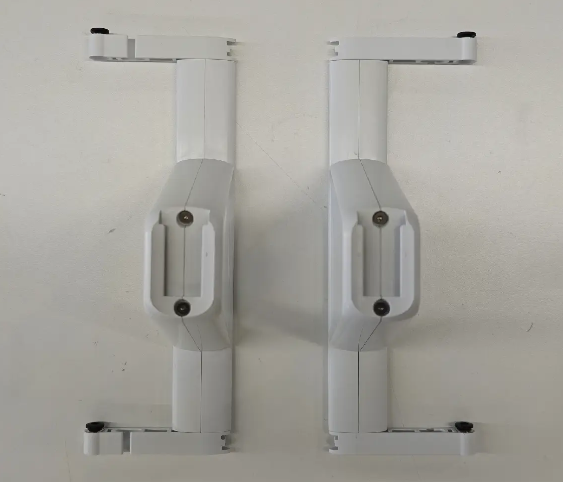
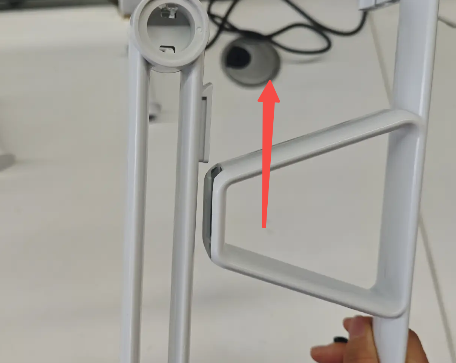
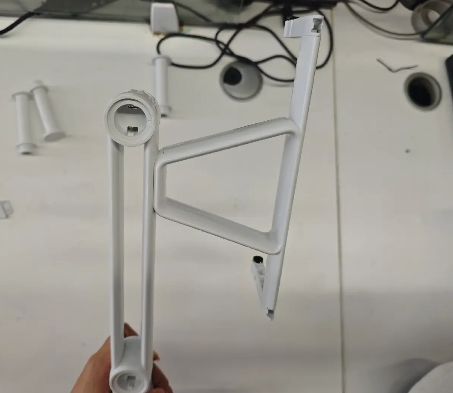
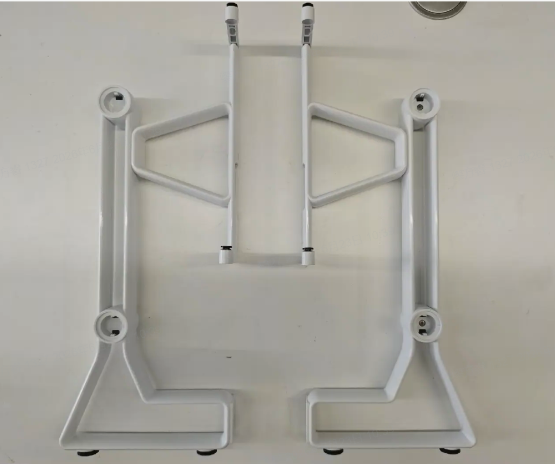
Install the four Pneumatic Connector Adapters onto the Bridge Connectors, making sure they are oriented correctly. Then install the Bridge Connectors onto the Main Brackets in the direction shown in the illustration.
 |
 |
 |
 |
 |
 |
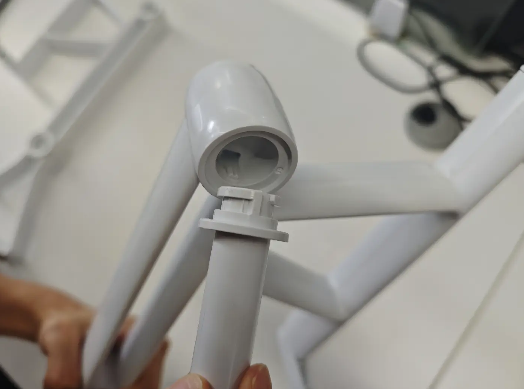
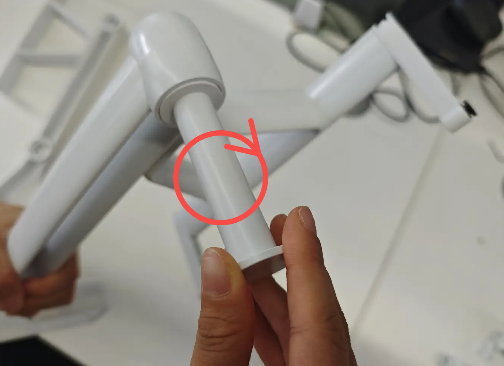
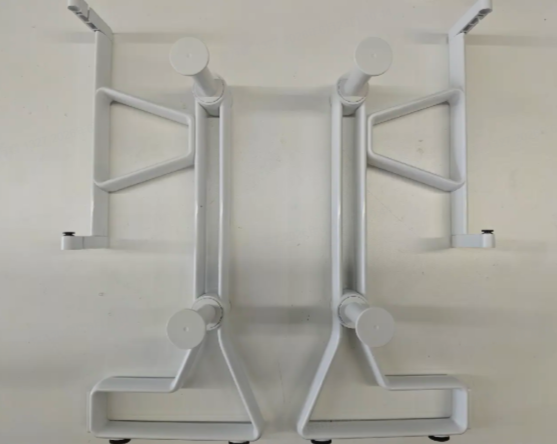
Install the four Spool Rollers and rotate them until they are securely locked in place. Note: The Spool Rollers should be on the same side as the Pneumatic Connector Adapters. The assembled Spool Holder should look as shown in the illustra
 |
 |
 |
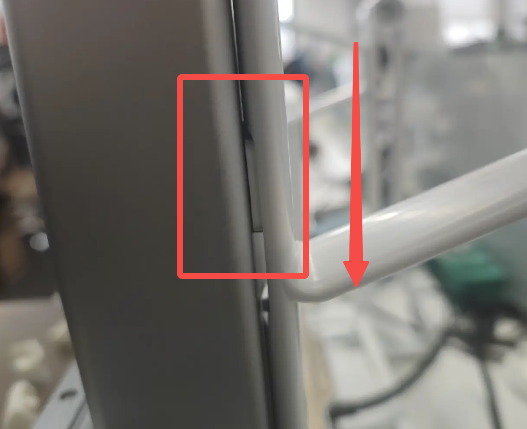
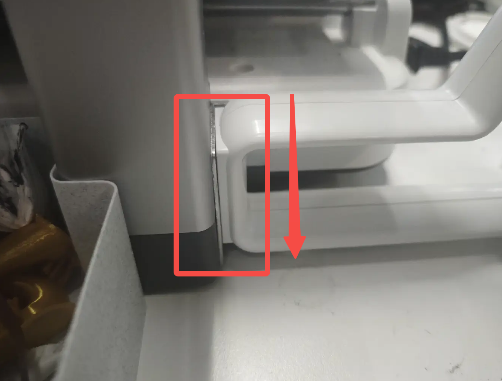
Align the assembled Spool Holder with the Slide Locks and Shoulder Screws, then slide it downward into place from the top. Make sure it is fully seated and securely installed.
 |
 |
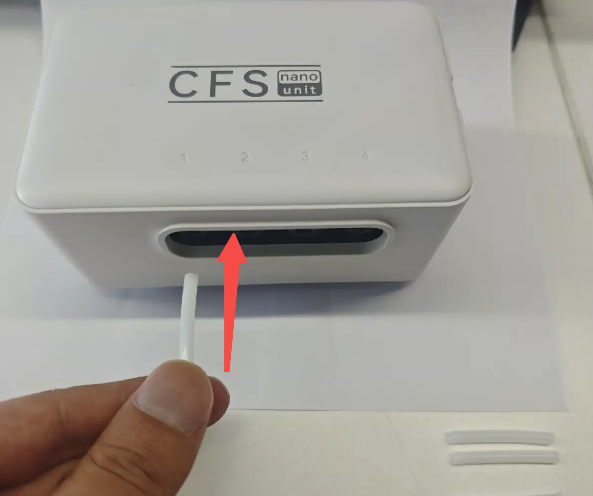
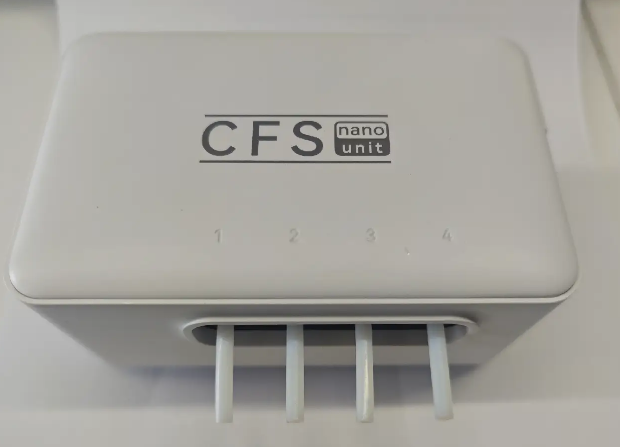
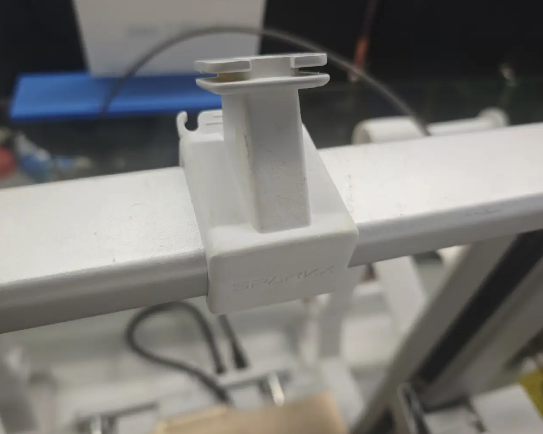
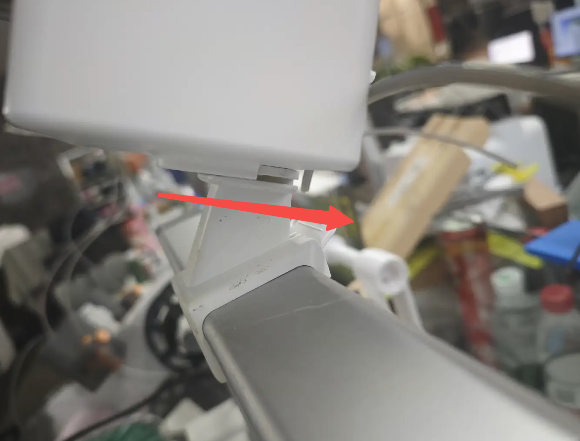
Take the four 35 mm PTFE Tubes and install them into the filament inlets of the CFS Nano. Install the CFS Nano Mounting Bracket onto the top of the Gantry, then mount the CFS Nano onto the bracket as shown in the illustration.
 |
 |
 |
 |
¶ Install the CFS Nano on the Printer
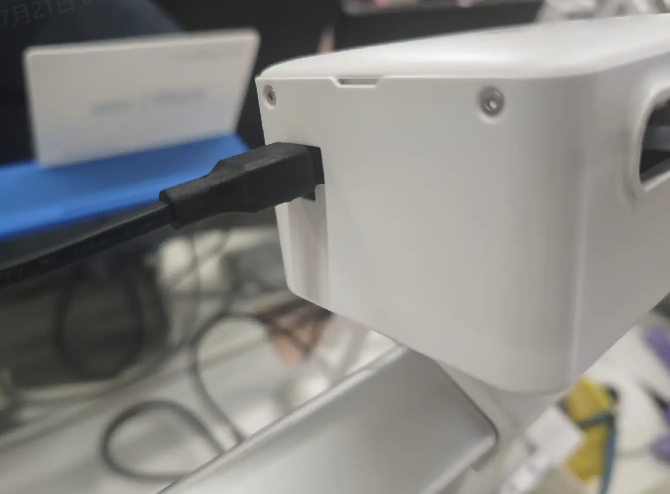
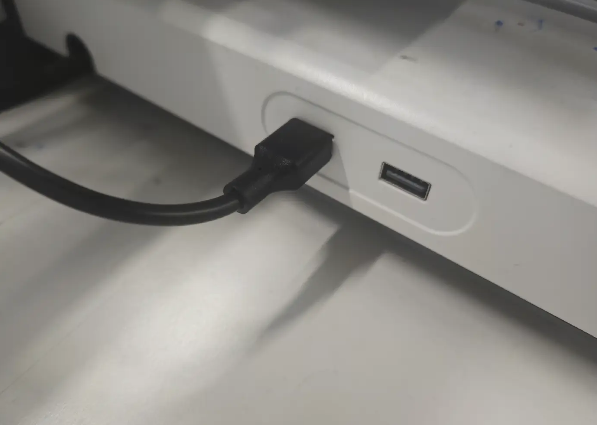
Take the 485 Communication Cable from the package. Connect one end to the port on the left side of the CFS Nano, and connect the other end to the corresponding port on the printer.
Note: If the i7 does not recognize the CFS Nano after connecting the 485 Communication Cable, please update the i7 firmware to the latest version.
 |
 |
Take the PTFE Tubes and connect them to the corresponding Pneumatic Connectors.
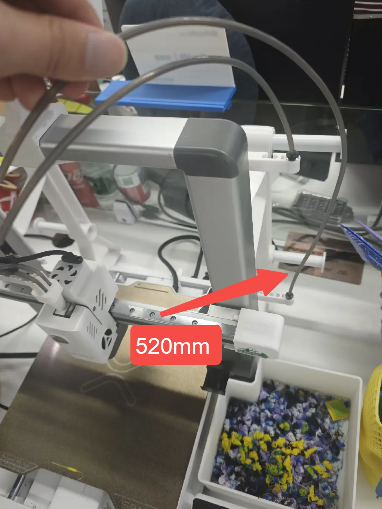
Connect the four long PTFE Tubes (520 mm) between the filament outlets of the CFS Nano and the Toolhead 5-Way Connector on the i7.
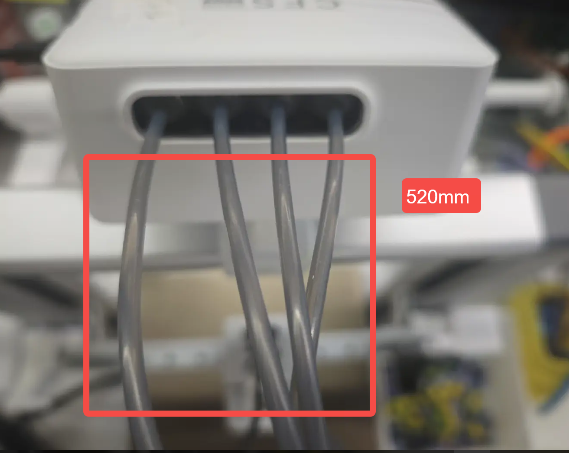
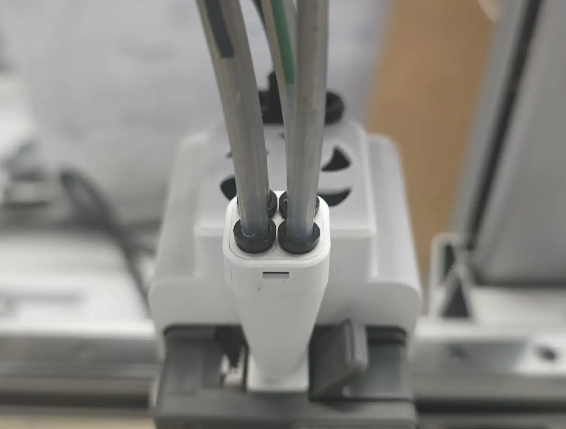
Connect the remaining two long PTFE Tubes (520 mm) between the two Pneumatic Connectors beneath the Spool Holder and the two side filament inlets of the CFS Nano.
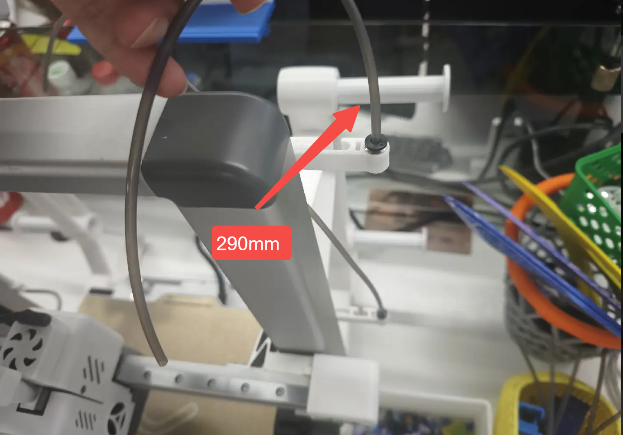
Connect the two short PTFE Tubes (290 mm) between the two Pneumatic Connectors above the Spool Holder and the two center filament inlets of the CFS Nano.
¶ Load Filament
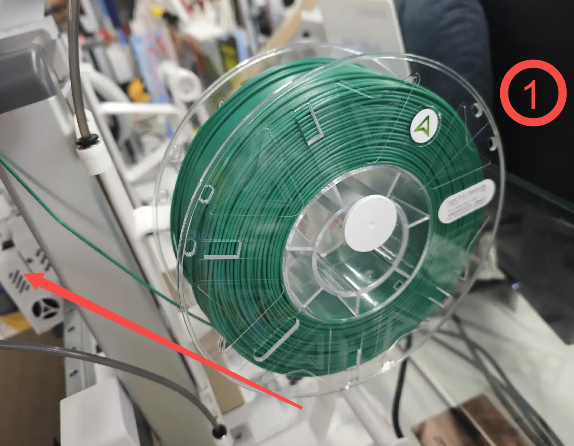
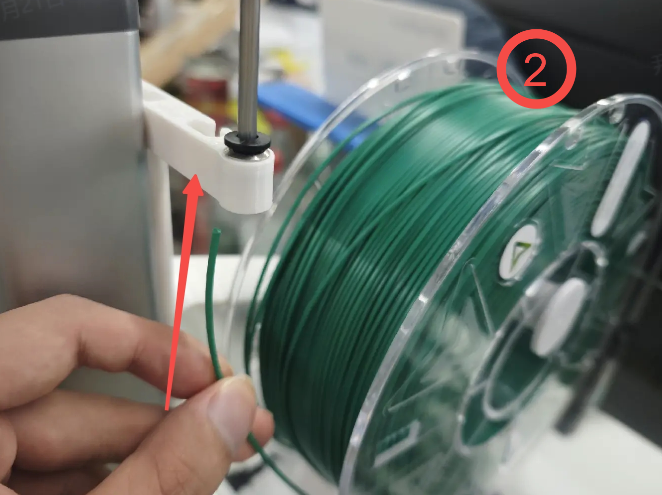
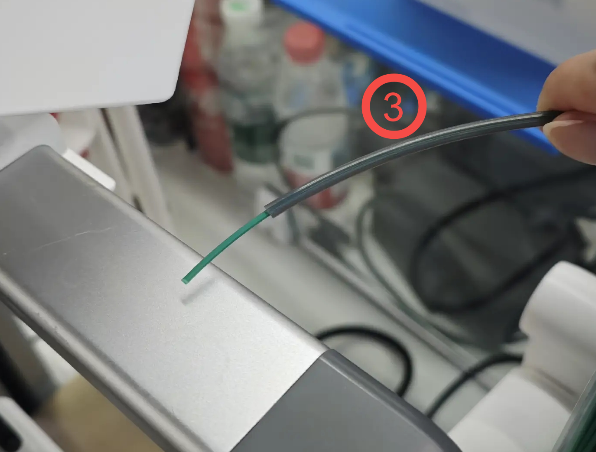
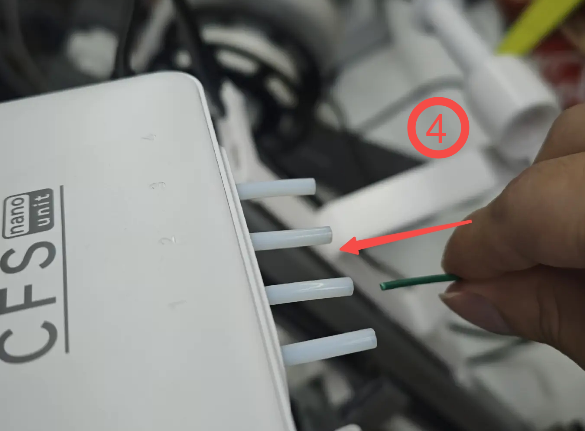
Hang the filament spool onto the Spool Roller as shown in the illustration. Feed the filament end through the PTFE Tube, then insert it into the 35 mm PTFE Tube leading into the CFS Nano. Once the CFS Nano detects the filament, it will automatically perform Filament Preloading.
 |
 |
 |
 |
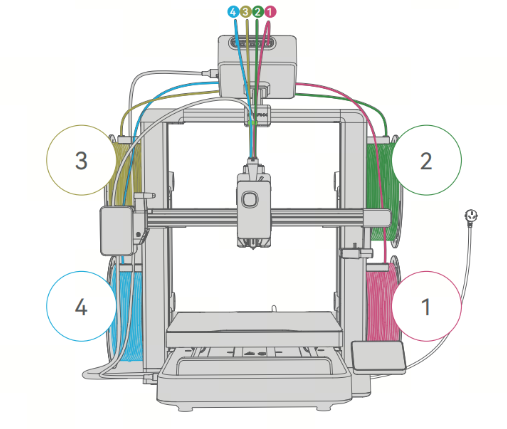
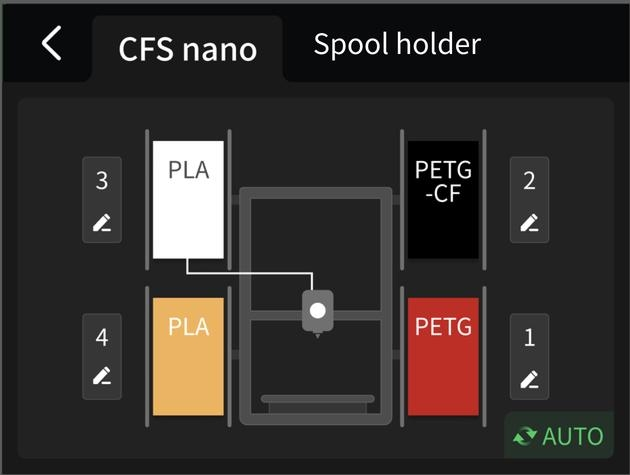
The correspondence between the Spool Holder positions and the CFS Nano channels is shown in the illustration below. Please load the filaments in the correct order.
 |
 |