¶ Body scanning
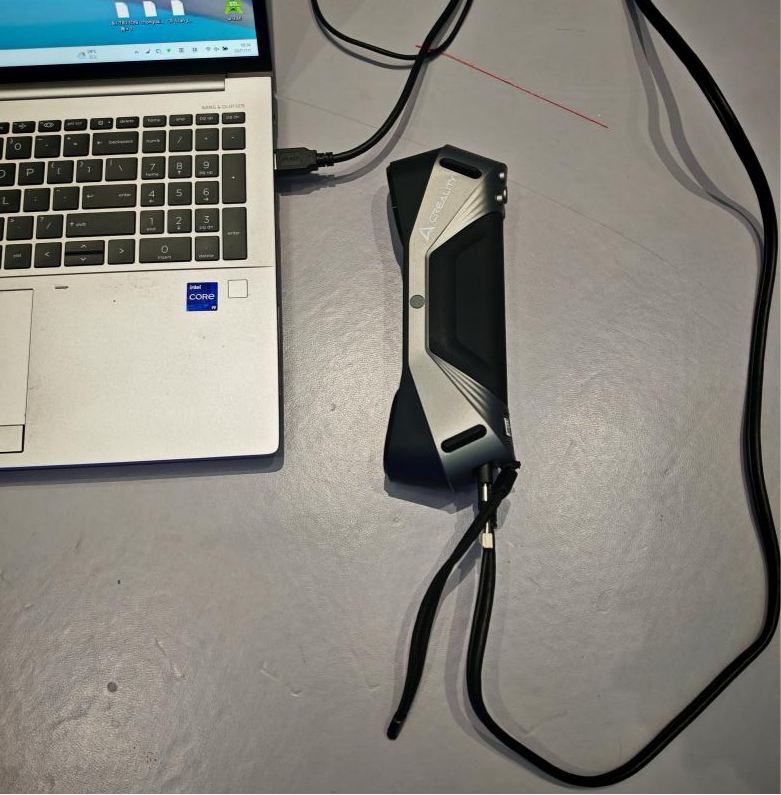
¶ Connecting device
1)Follow the instruction to connect the Raptor device via cable.
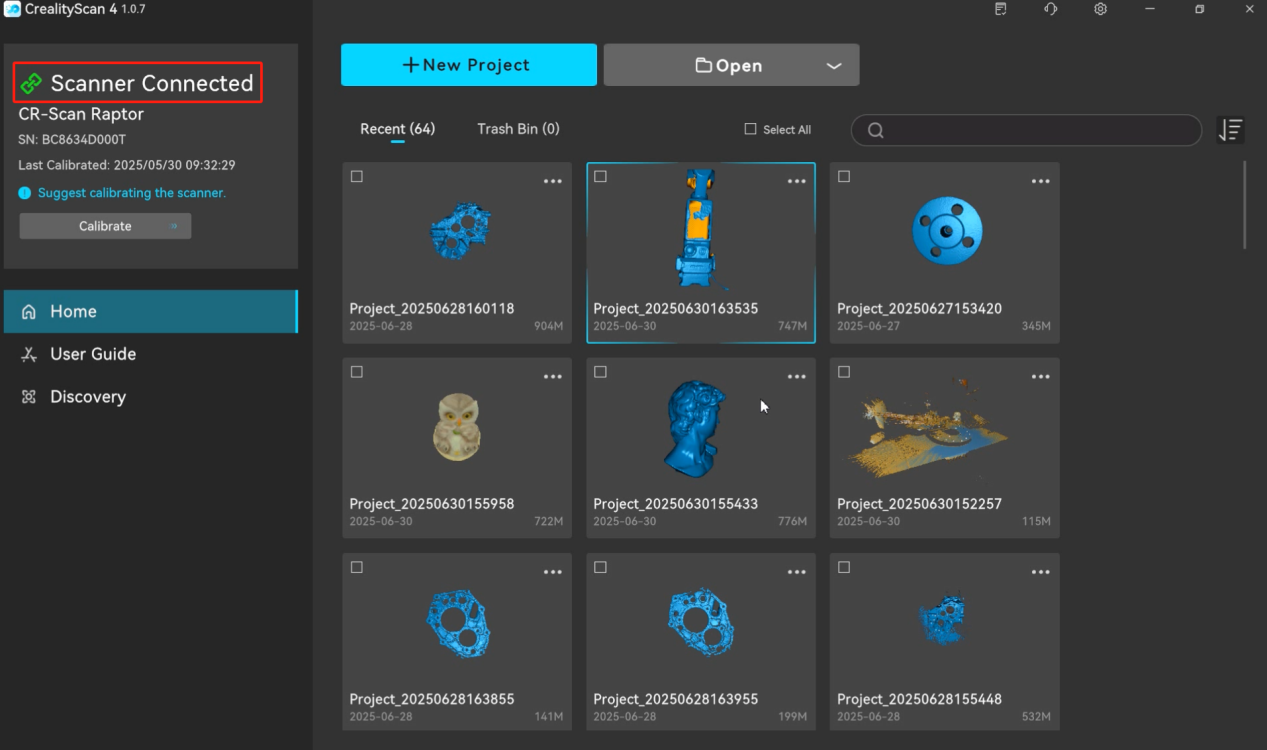
2)Open the CrealityScan software and wait for the software to prompt that the
scanner is connected.
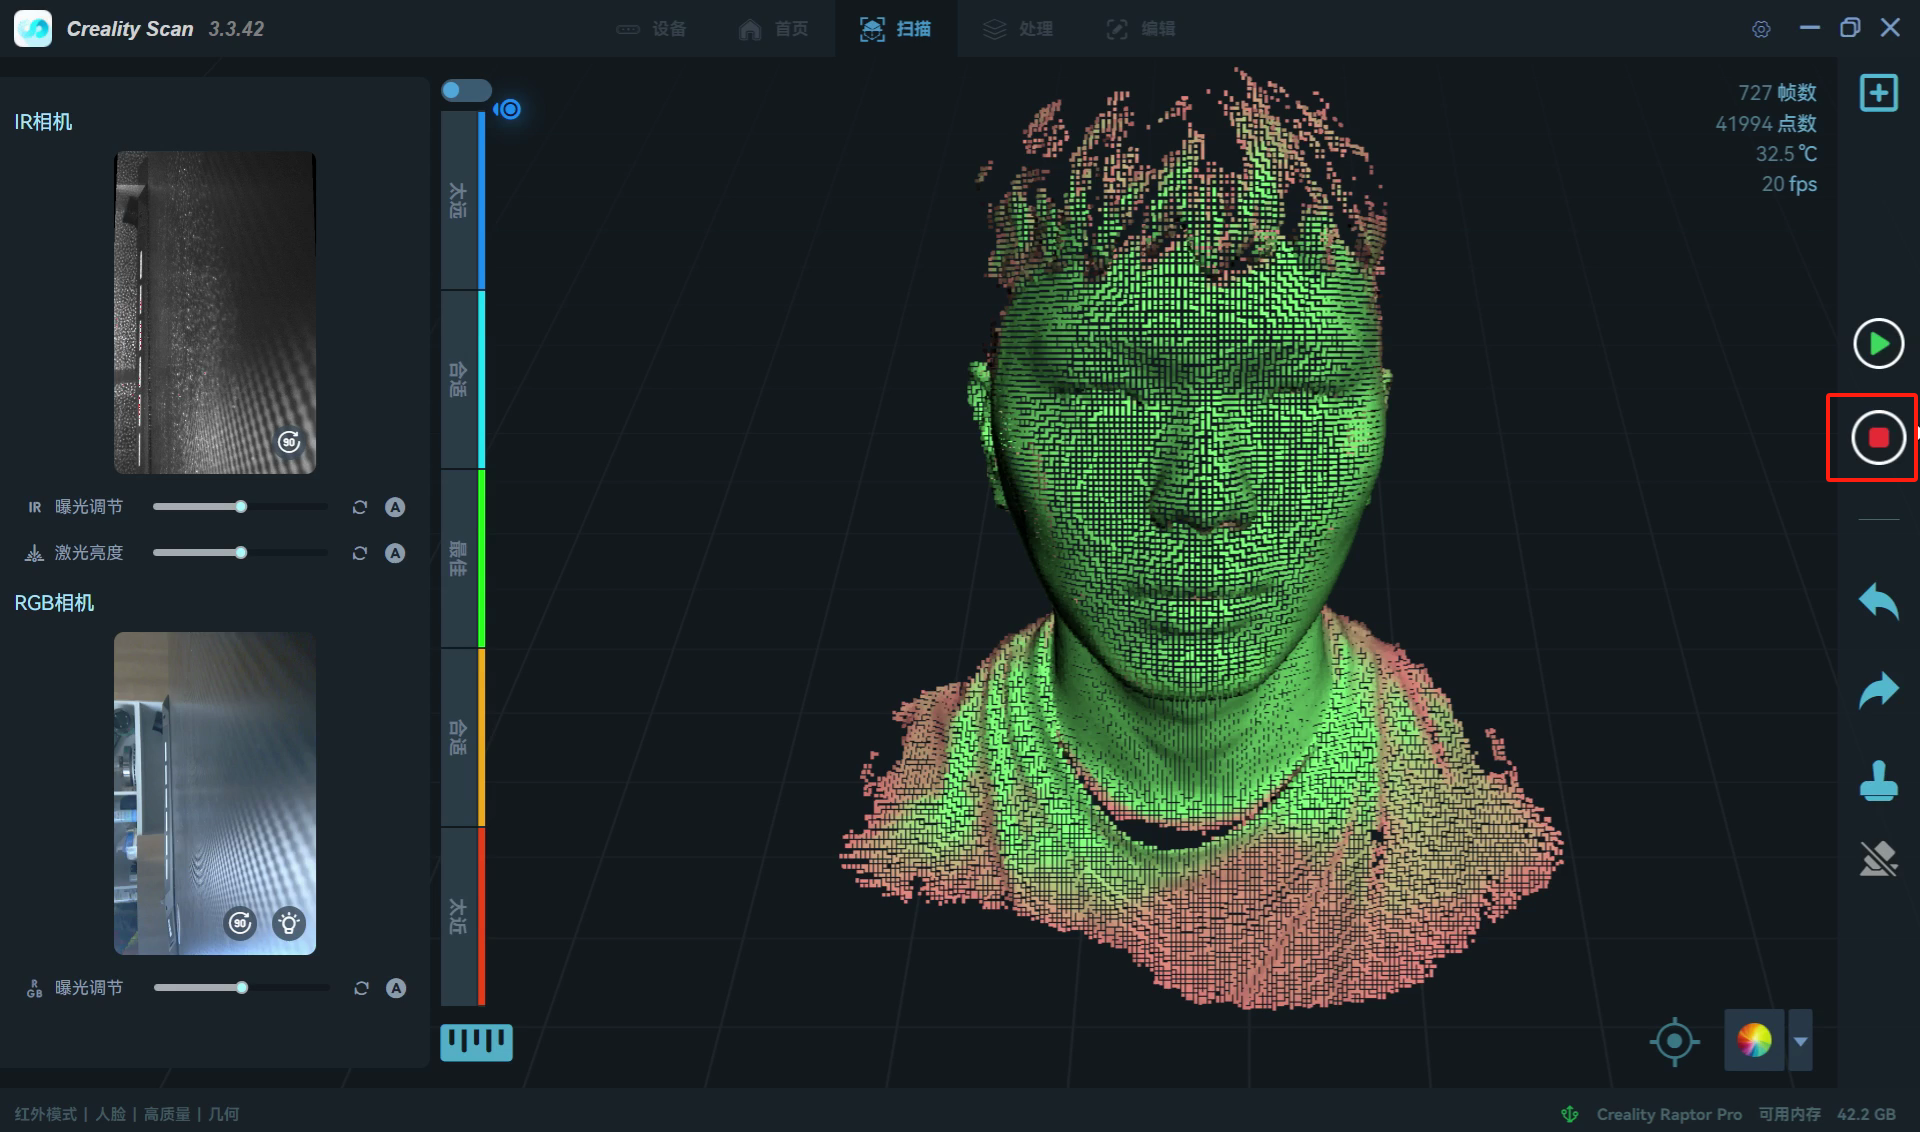
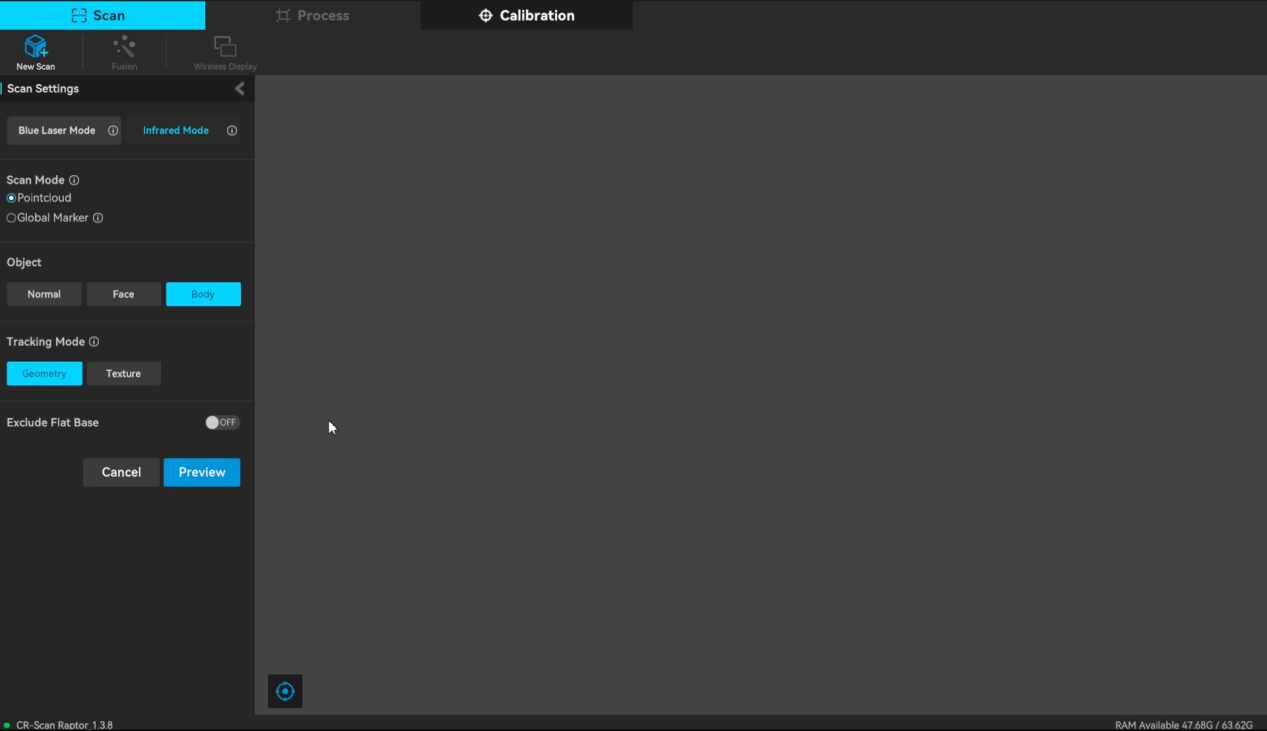
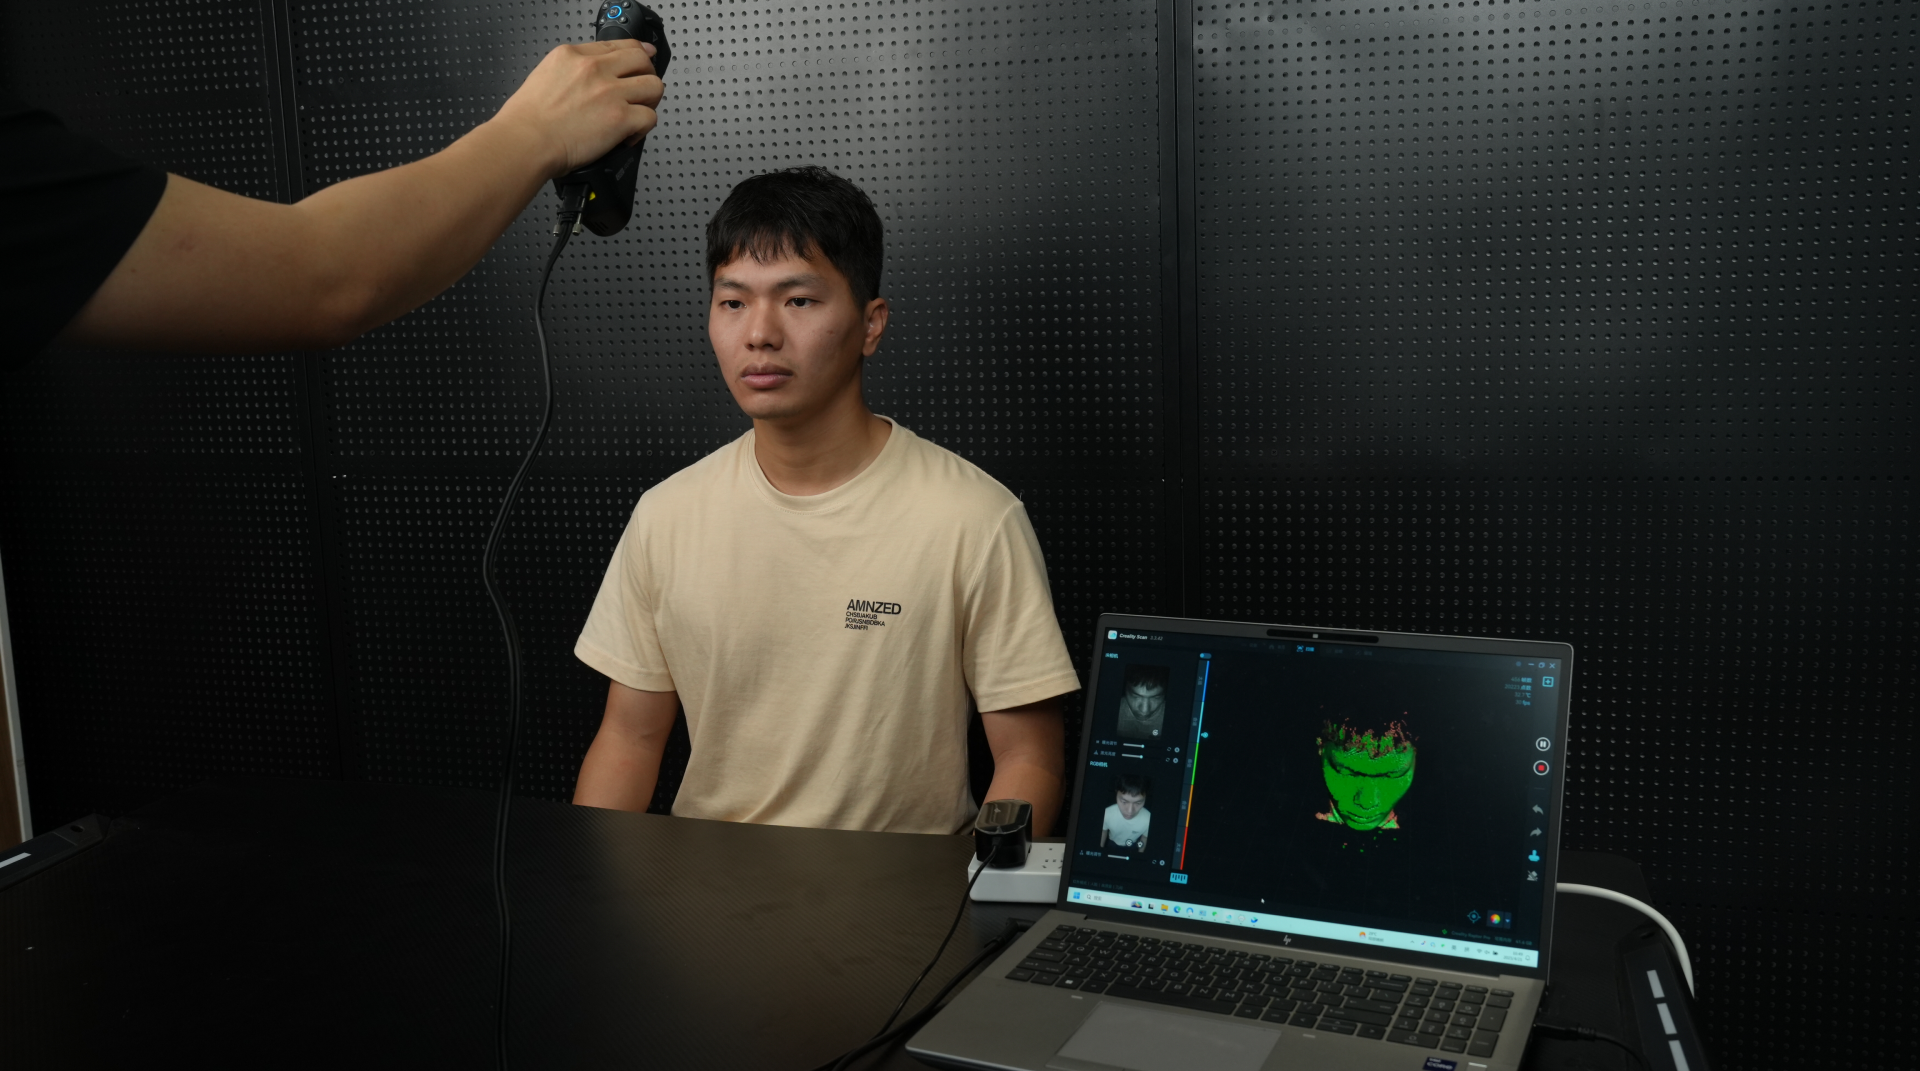
¶ Set scan mode and preview
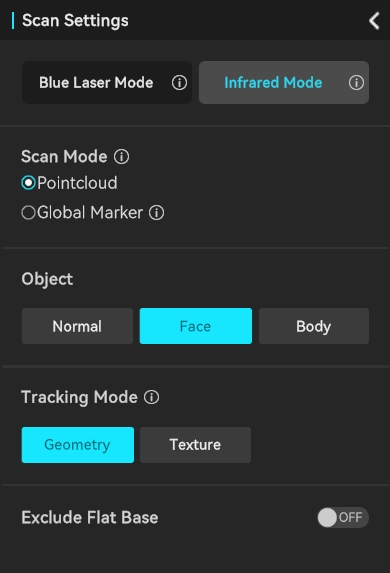
1)Set Scan Mode - Infrared Mode: Body, Geometry
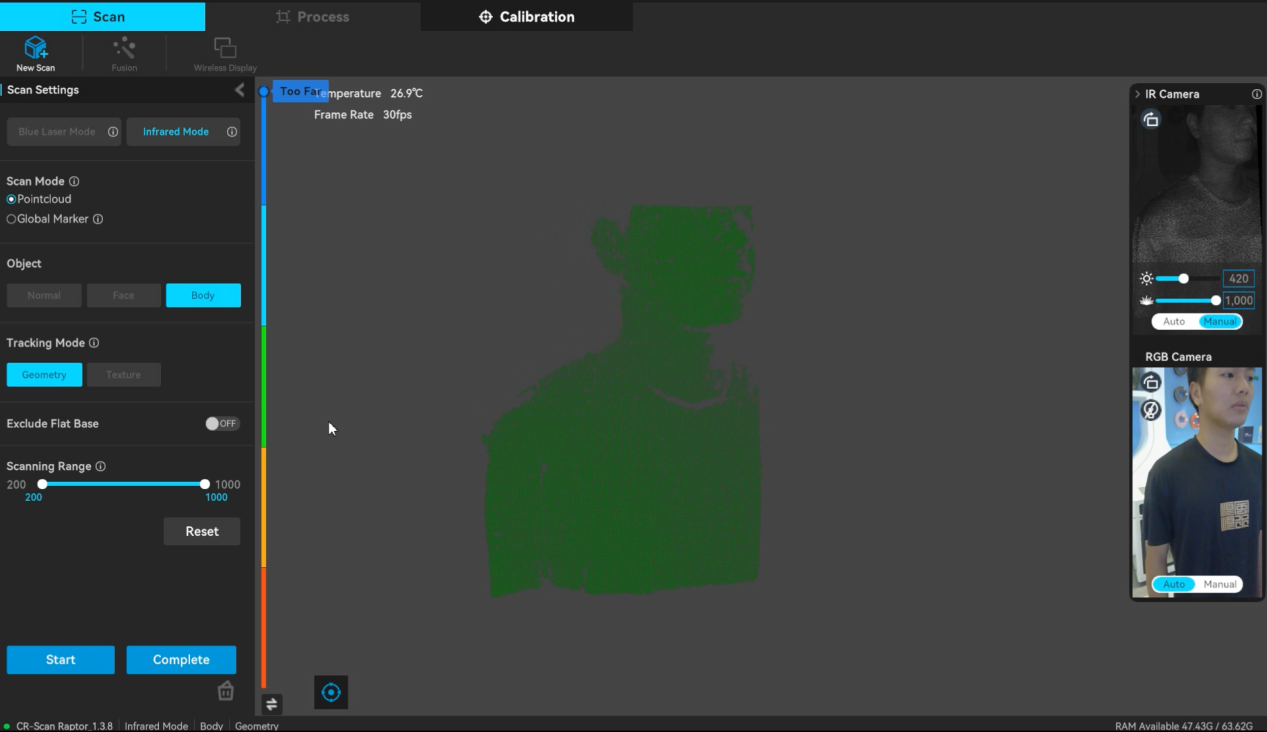
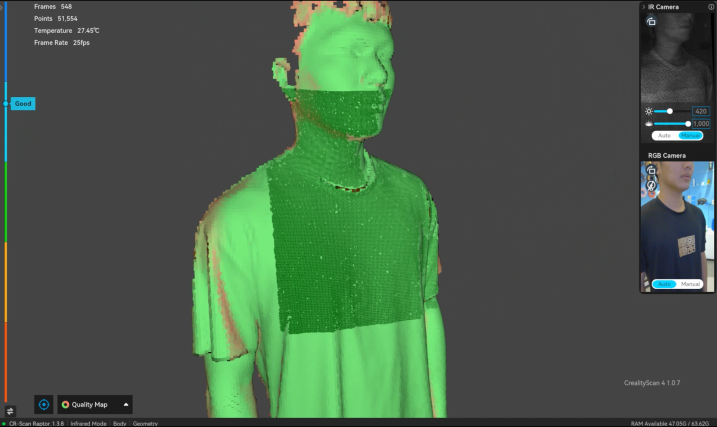
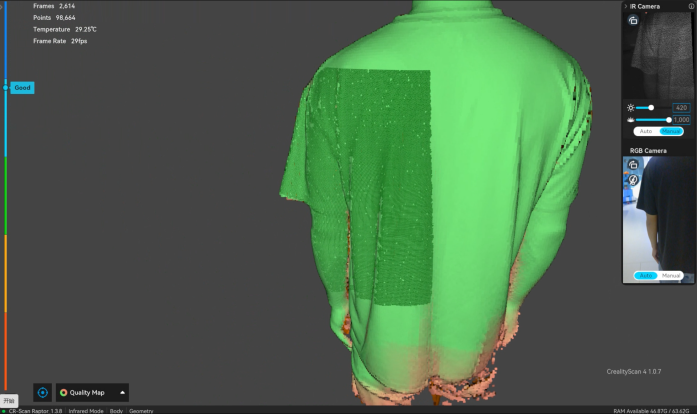
2)Click “Preview” and check whether the exposure & brightness are appropriate.
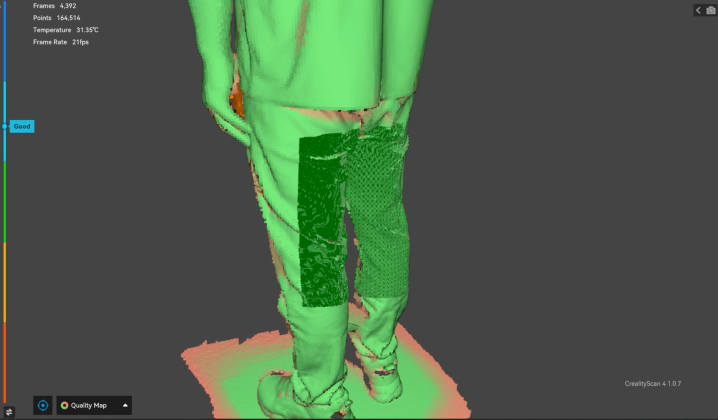
If the point clouds in the preview model is too sparse, you can manually adjust the exposure & brightness to make the preview model complete (green).
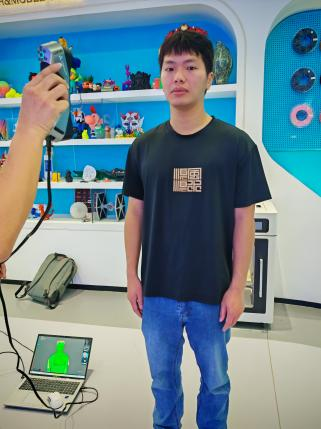
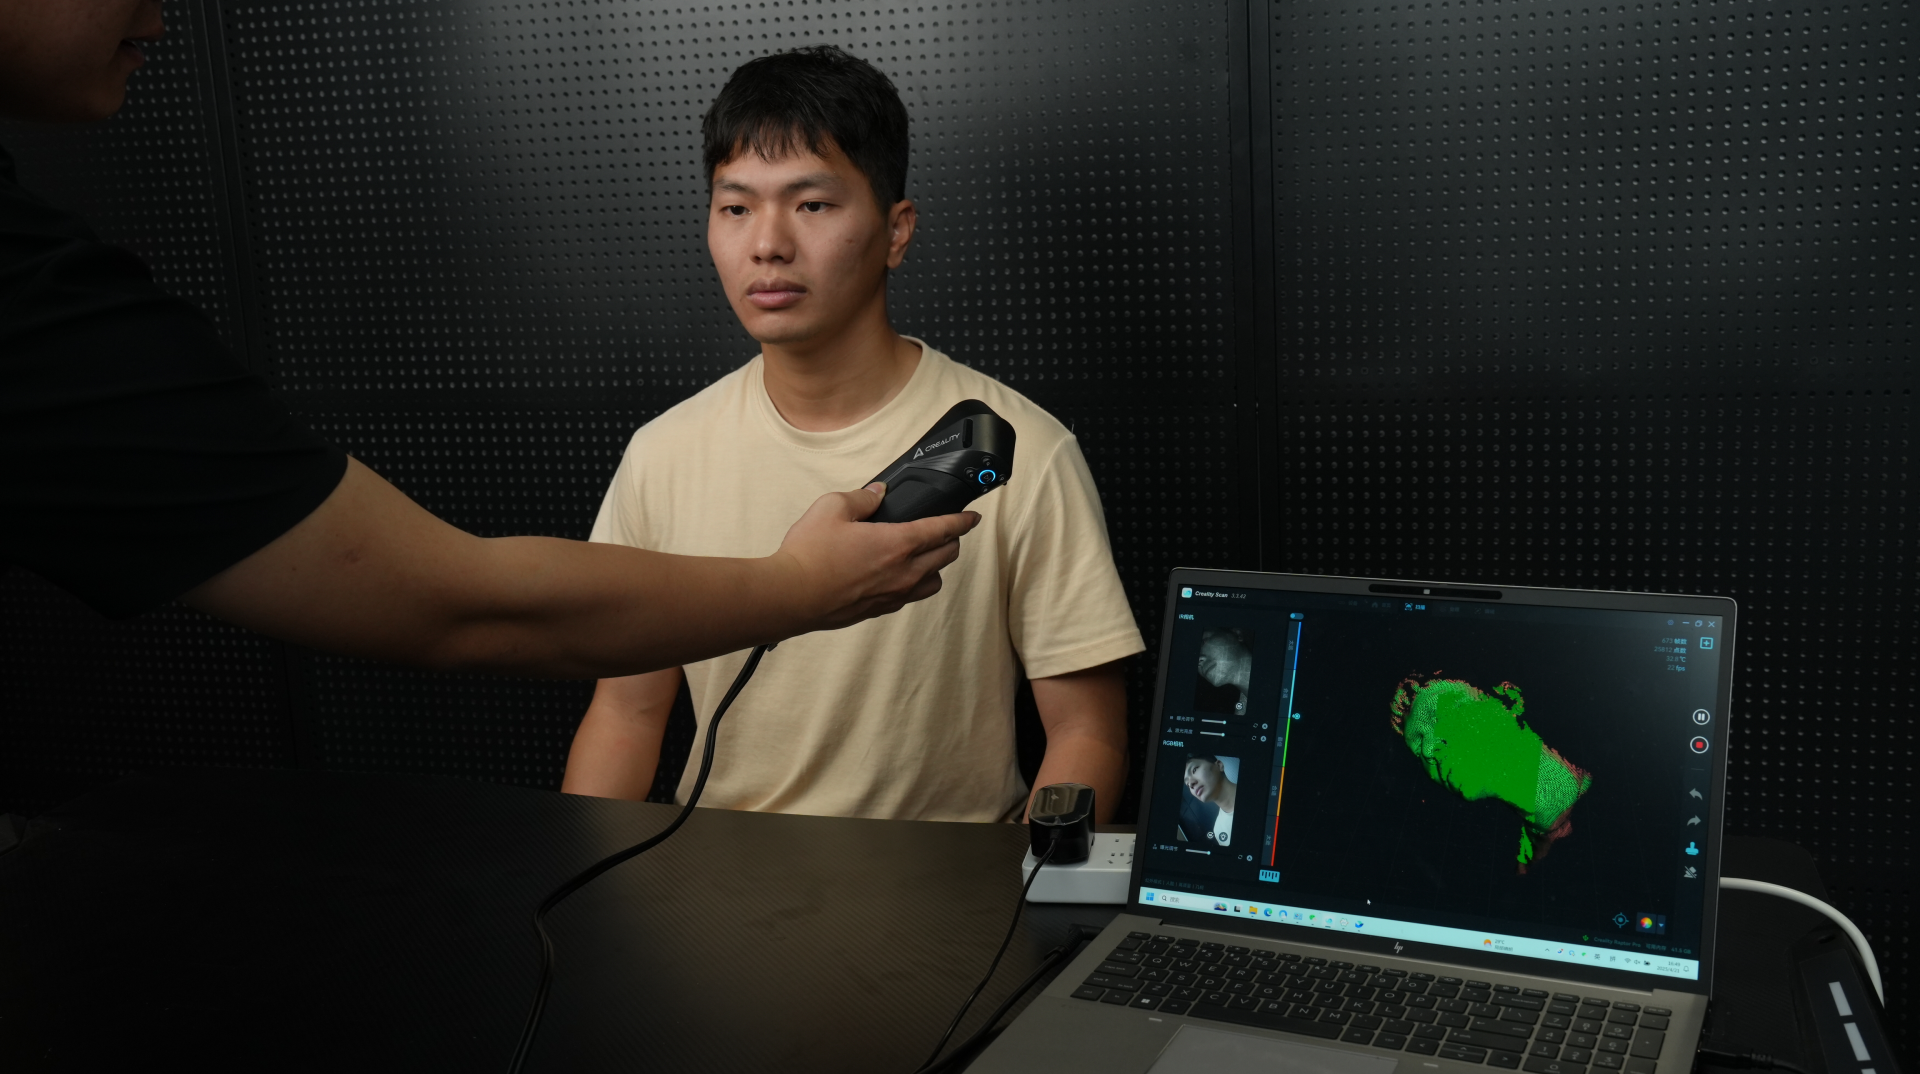
¶ Body Scanning - Start scanning
The human body is divided into upper and lower parts at the waist. Each part can be divided into front and back. Scan in order. The order is as follows:
1)Front scan of the upper body:
Scan the face data first. After the face data is scanned, try to avoid the face in subsequent scans.
If the hair data is difficult to scan, increase the exposure and try scanning again. In addition, when the tracking is lost, you can use features other than hair to assist tracking to ensure that scanning is not impossible due to too few hair features.
Pro tip for scanning hair, feathers, or similar materials: if your scanner has a sensitivity setting in the software, you’ll want to turn it up very high, so that the scanner will detect the hair’s subtle geometries.
And if you’re doing a head scan, be sure to scan “from ear to ear,” moving the scanner upwards towards the crown of the head and over the top to the other side. It will also help if you keep the neck and shoulders in the scanner’s field of view as much as possible, so the scanning software will track these features as references, which will allow the scanner to much more easily track the hair and capture it.
Reference: https://www.artec3d.com/learning-center/structured-light-3d-scanning
2)Back scan of the upper body: slowly transition from the side arms to the back to complete the scan of the back data.
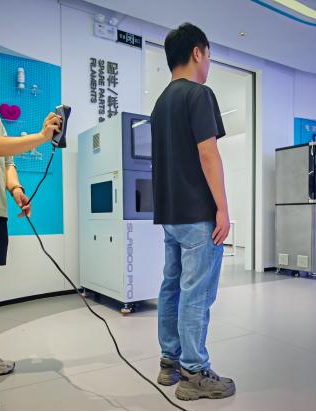
3)Back scan of the lower body: Move the scanner downward from the back to scan the back of the legs completely.
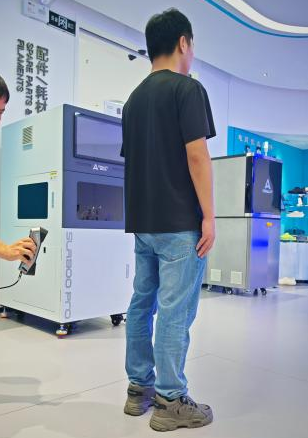
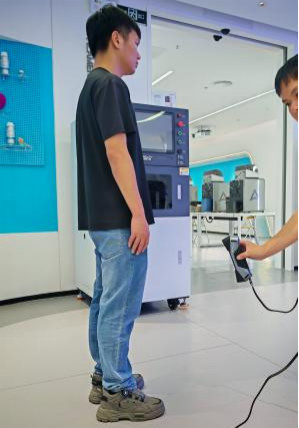
4)Front scan of the lower body: Slowly transition from the side leg to the front, and complete the scan of the front leg data.
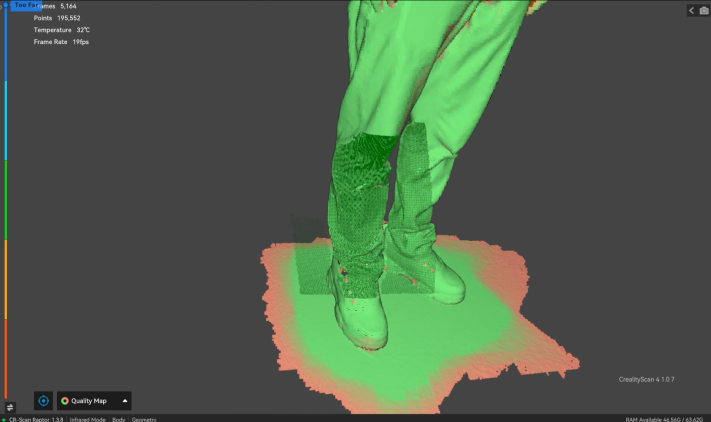
Finally check if there is any missing data and scan it again.
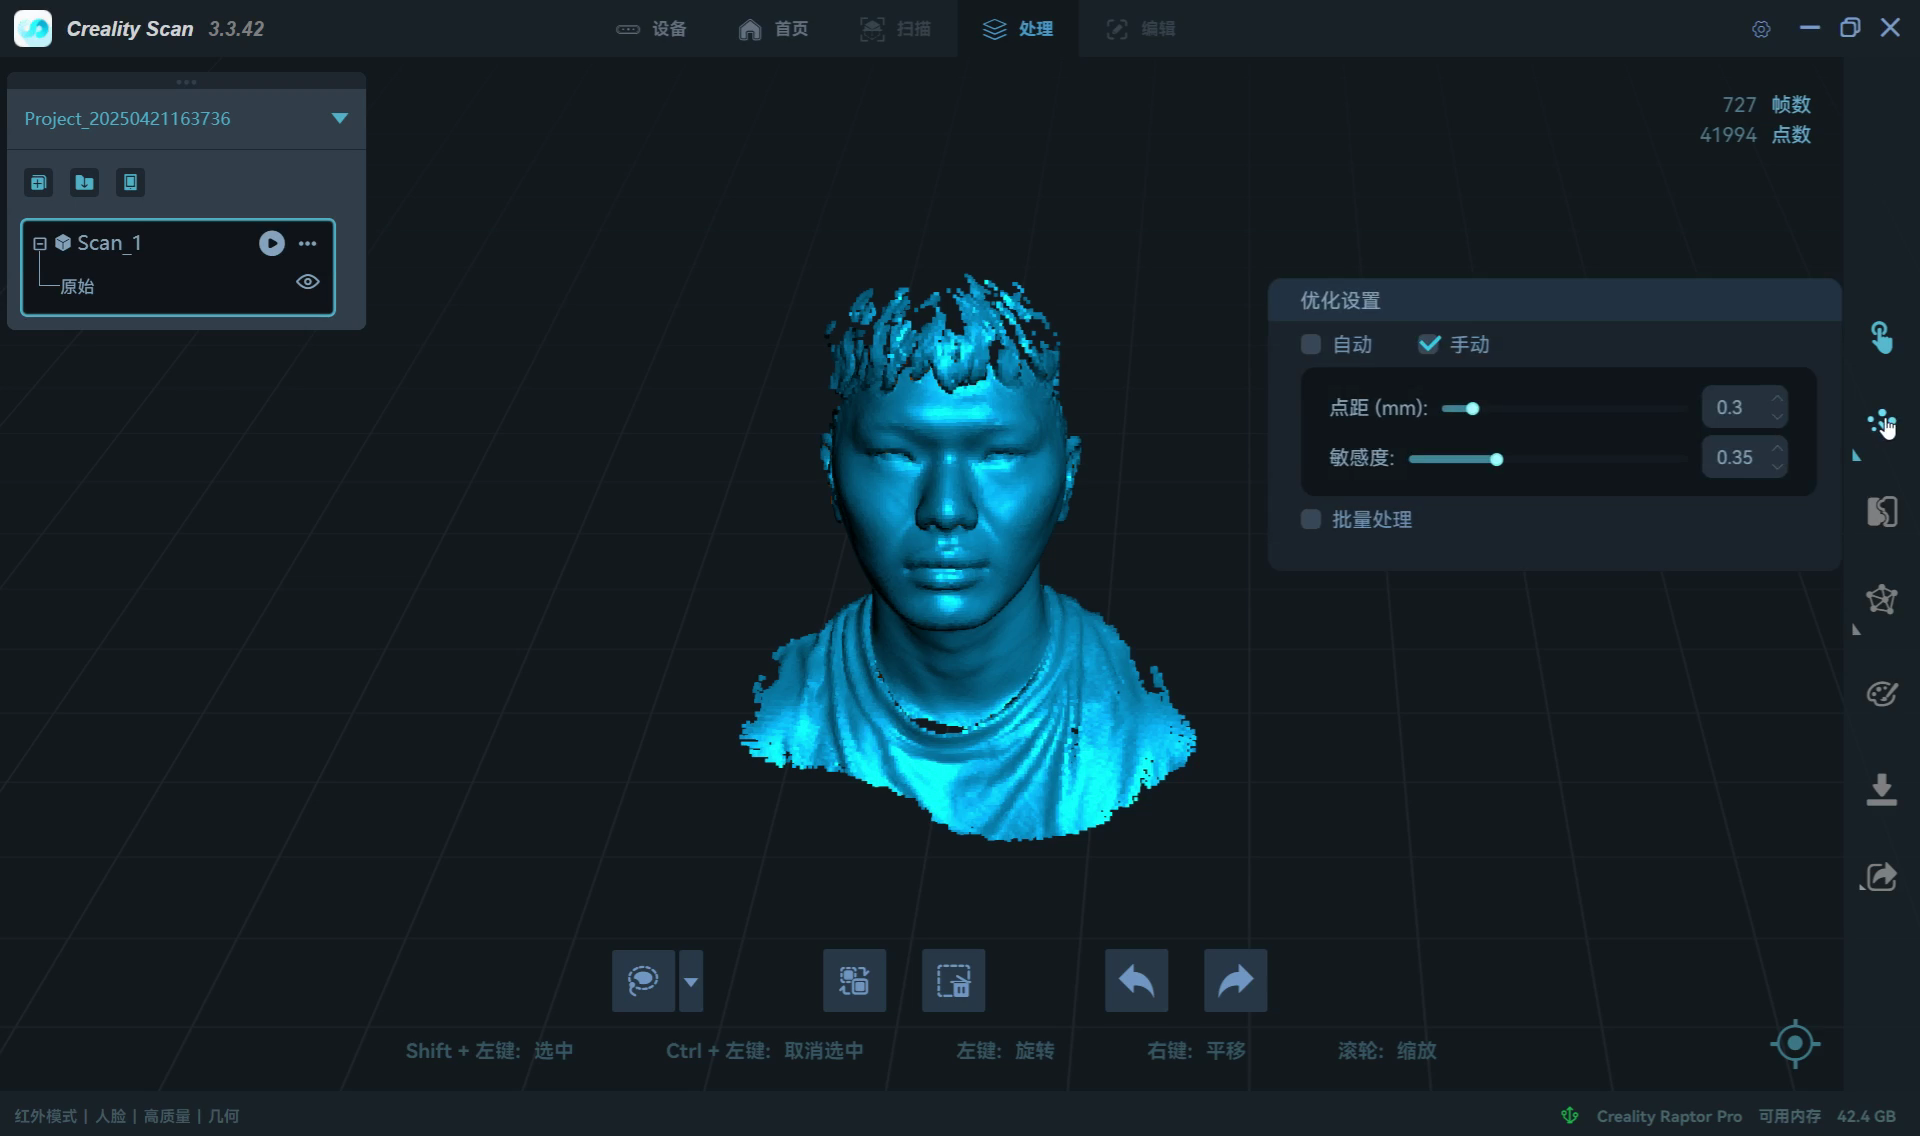
¶ Data post-processing
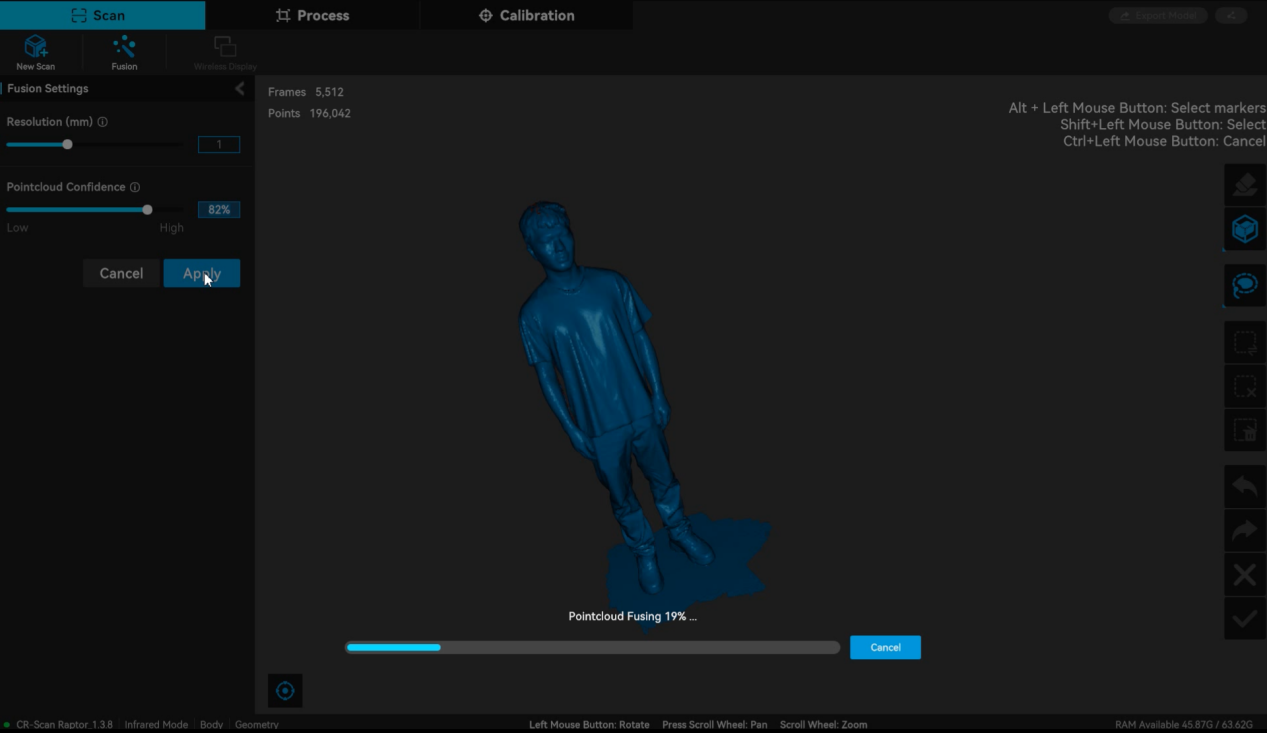
1)End the scan, delete the redundant point clouds, and set the appropriate resolution for point cloud fusion processing. The resolution can be adjusted according to the requirements for details, generally between 1-1.6mm.
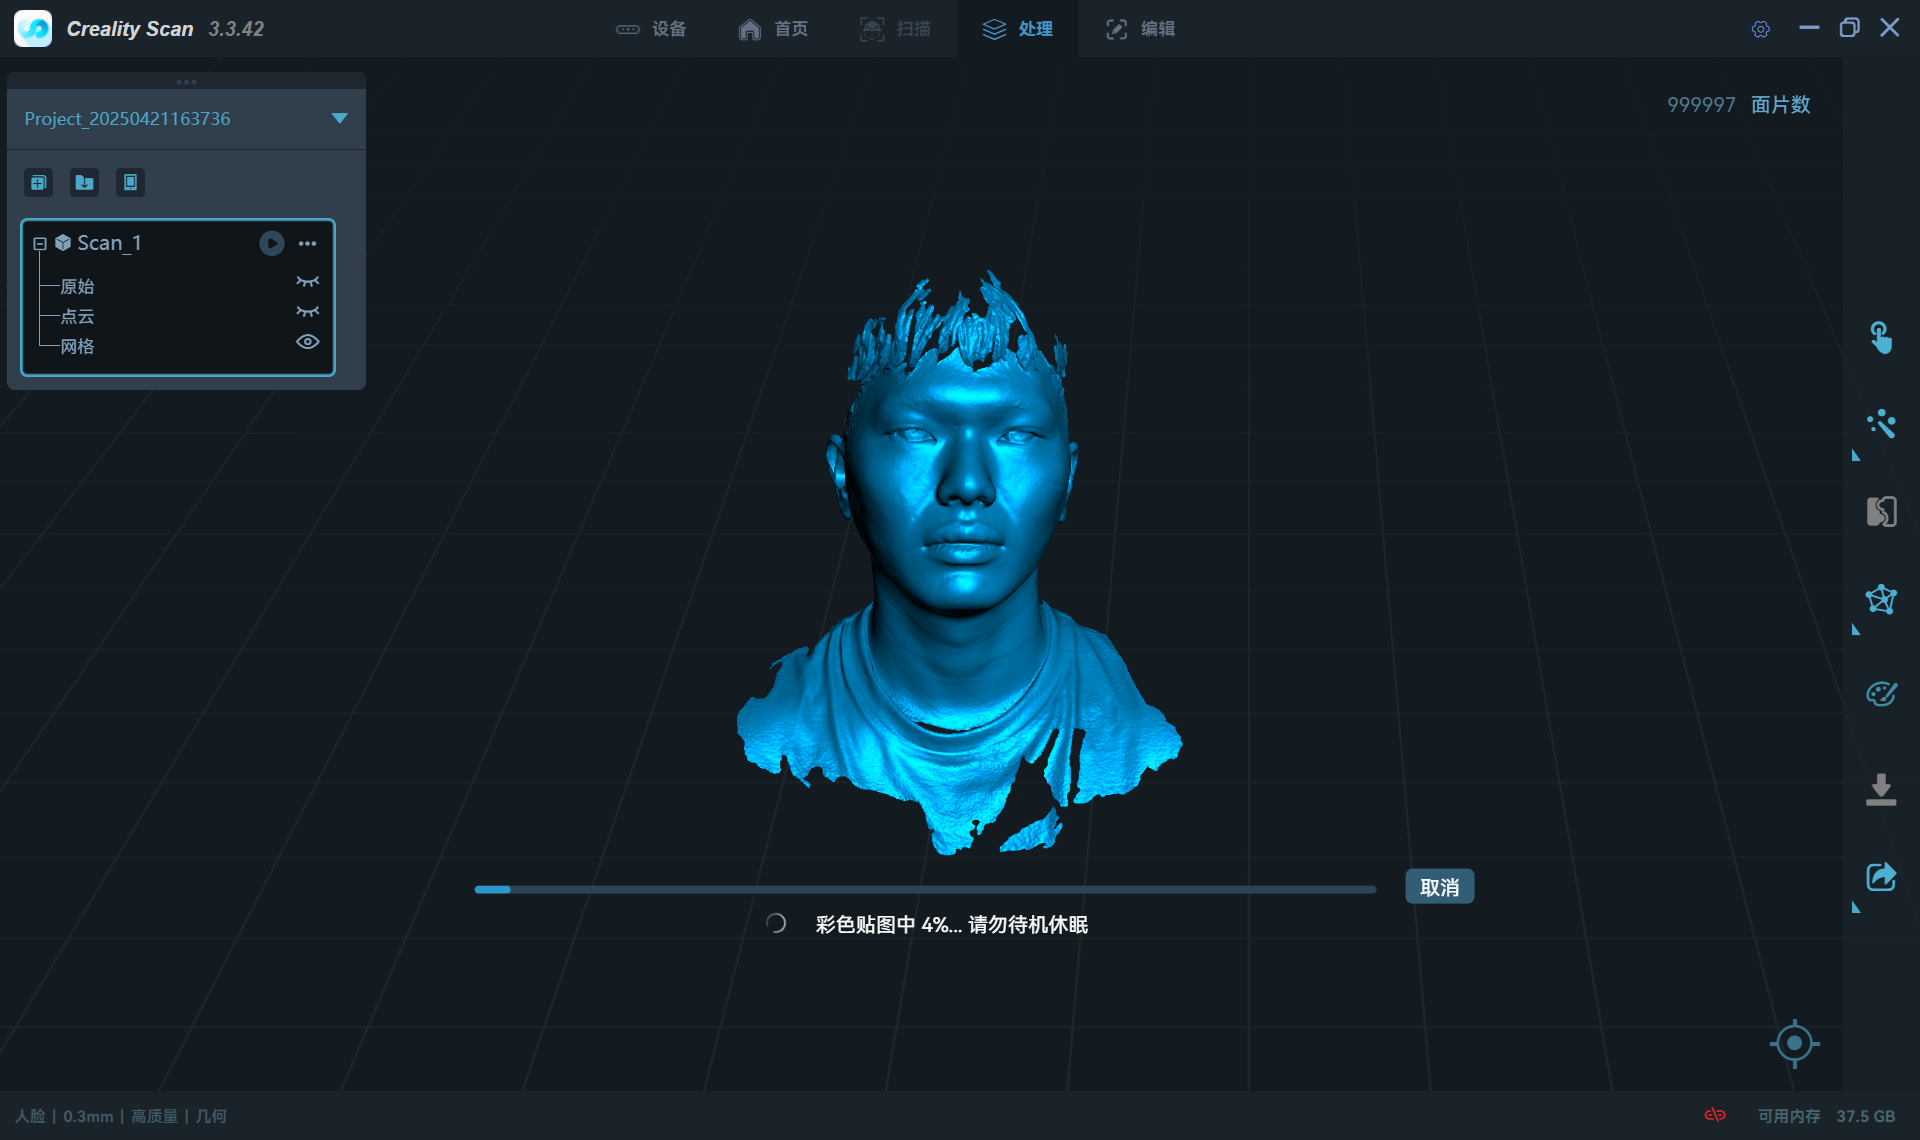
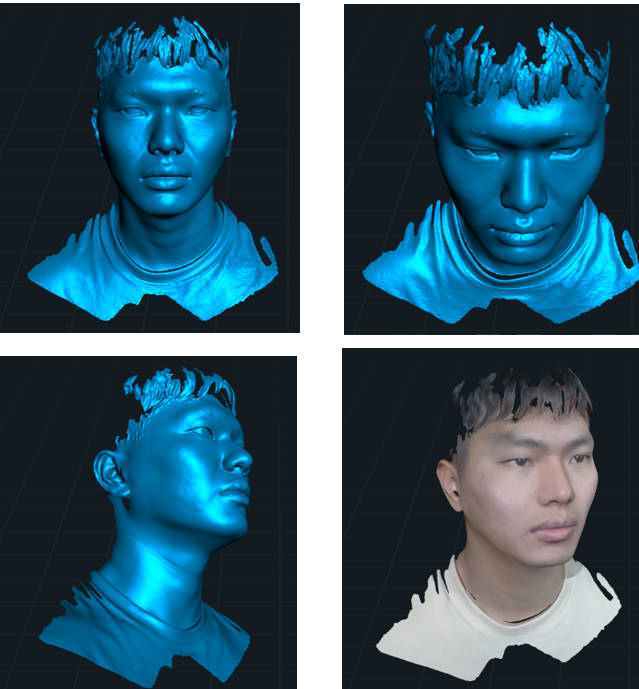
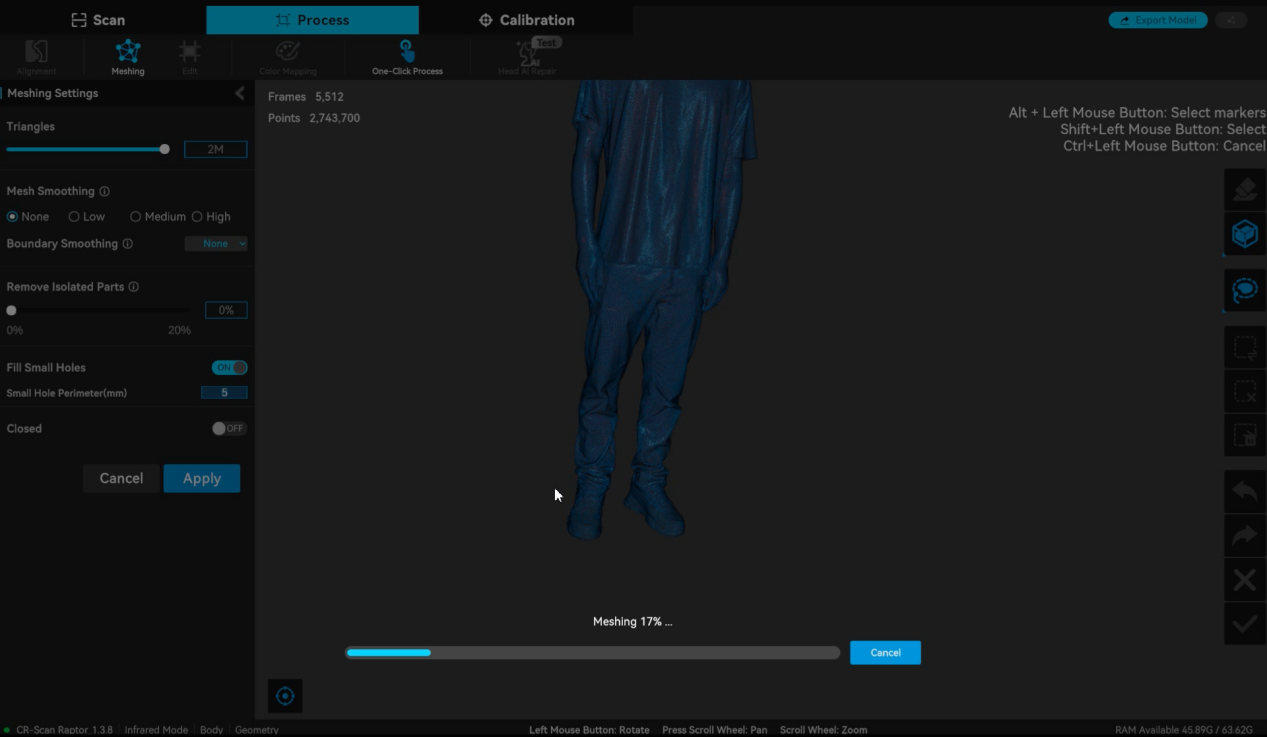
2)Meshing
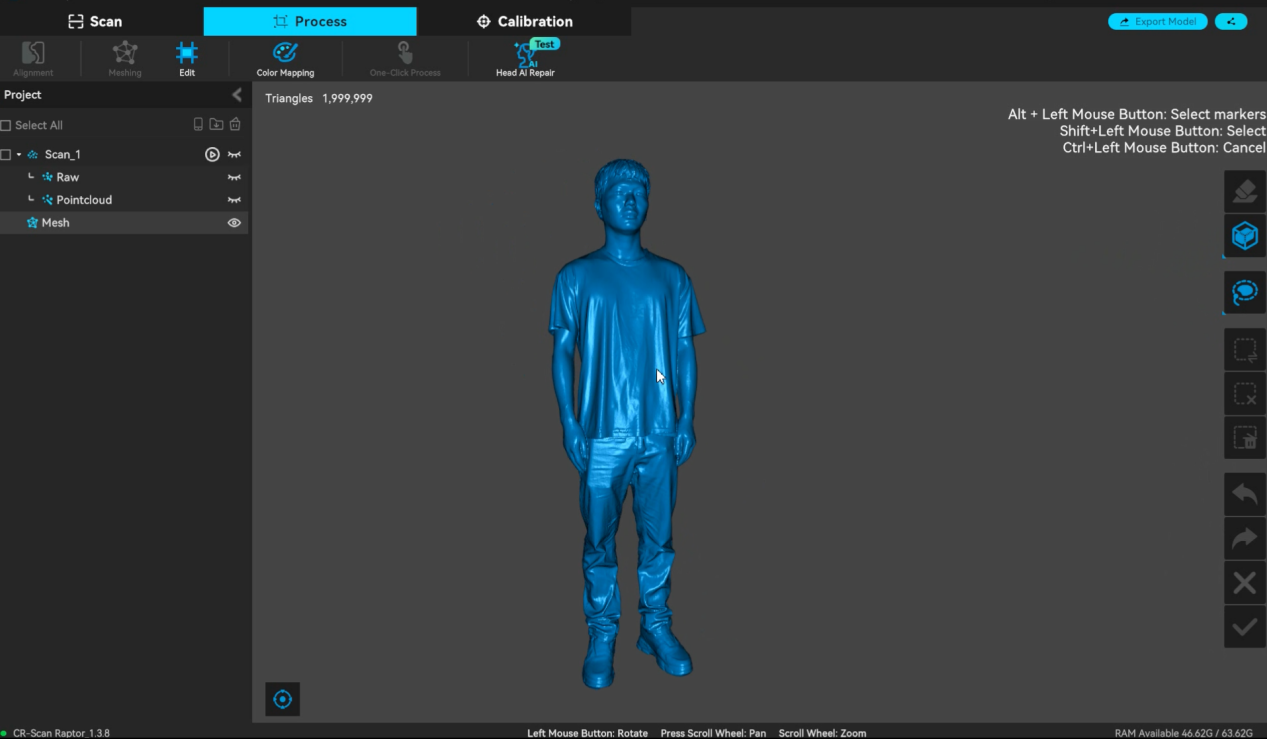
3)Final human body mesh data
4)Color mapping if necessary
¶ Face scanning
¶ 1. Connect the Device:
Connect the device to the computer via a data cable and plug in the power supply.

¶ 2. Set Parameters:
Select "Face" mode, select "Geometry" for Feature, and click “Scan”.
¶ 3. Point Cloud Preview:
Aim the scan at the face and keep a moderate distance, observe the preview model to see if the point cloud is complete. If the point cloud is sparse, adjust the exposure to obtain a more complete point cloud.

¶ 4. Start Scanning:
Click the "Start/Pause" button on the machine to start scanning and collect data from all angles.


¶ 5. Data Processing:
Click the "End Scan" button and enter the processing module.