| Through this article, you will learn about the magnetic marker ball designed specifically for 3D scanning (also called magnetic marker sphere or marker-point ball), and master its placement and usage techniques. |
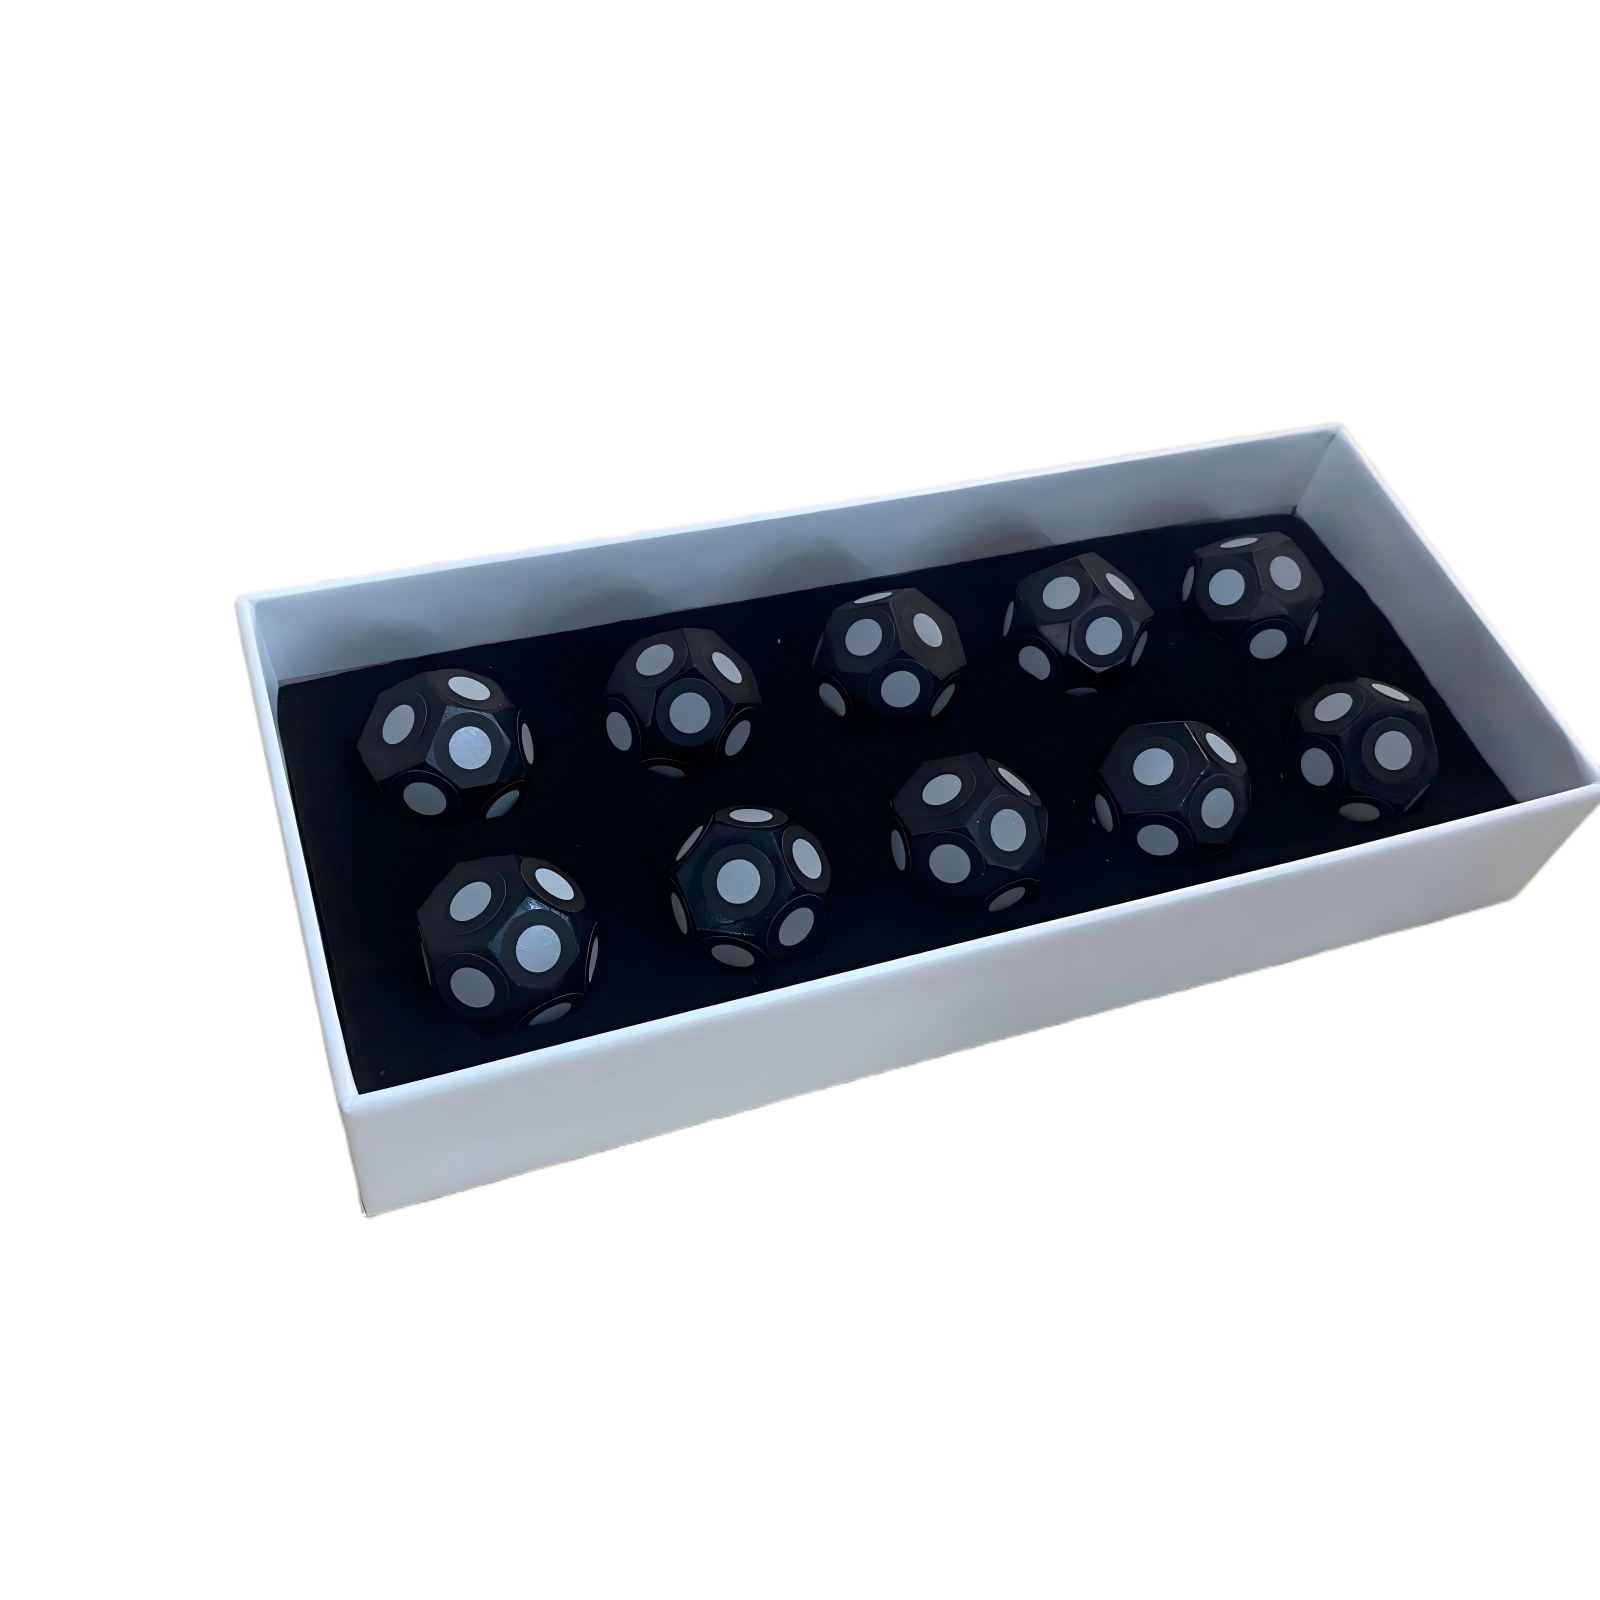
3D Scanning Magnetic Marker Ball: Quick Point Placement · Precise Tracking · Efficient Scanning
¶ What Is a Magnetic Marker Ball (and Why Use It)
A magnetic marker ball is a scanning accessory that integrates multiple highly reflective marker points onto a rigid 13-faced sphere. The scanner determines coordinate information by recognizing the circular reflective areas on the sphere, enabling spatial positioning and alignment. Compared with individual adhesive marker points, the marker ball provides reference markers from multiple angles and heights at once; its magnetic base allows instant placement and reuse, making arrangement and removal more convenient—especially suitable for rapid scanning of metal workpieces.
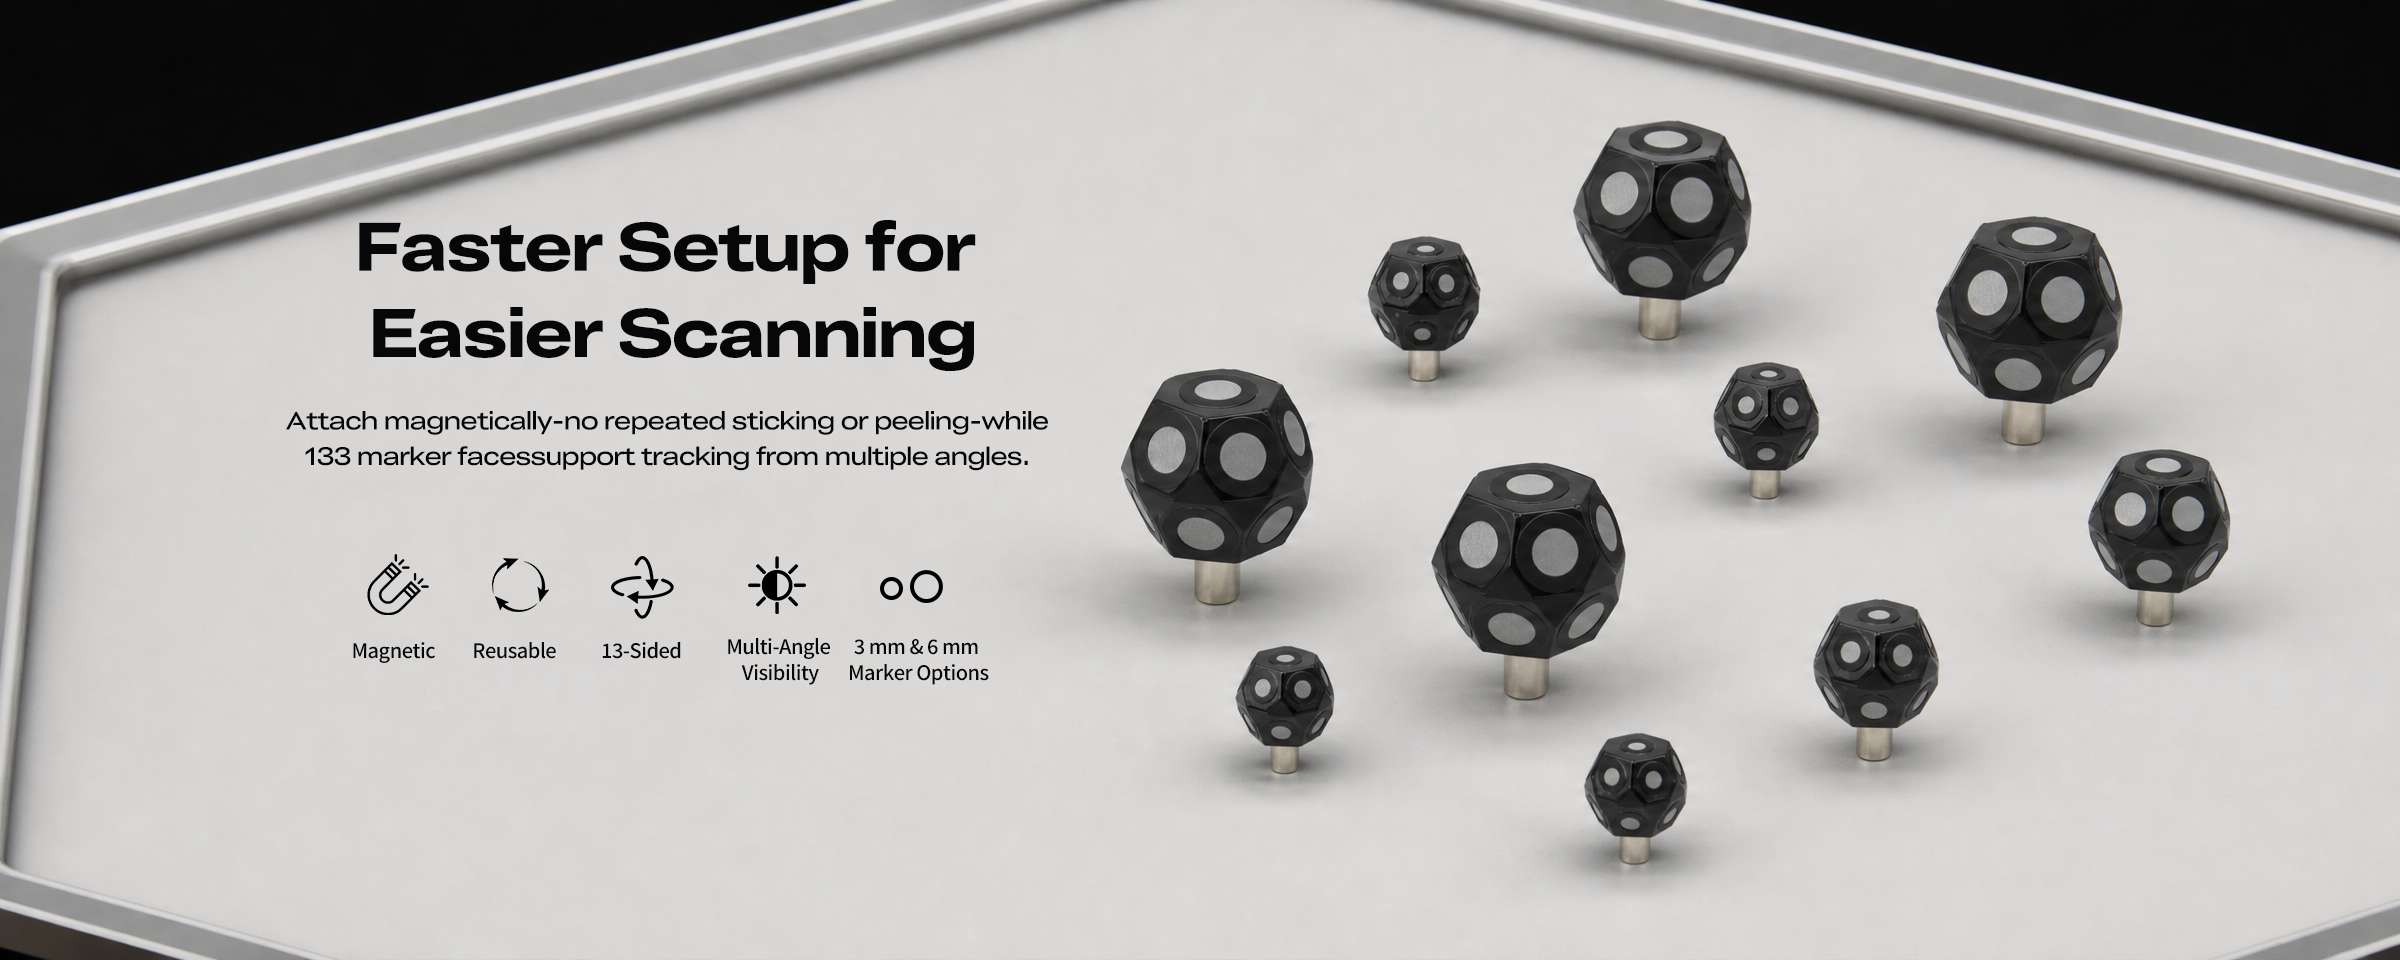
Two sizes available—3 mm and 6 mm—with highly reflective marker points evenly distributed across the sphere
¶ When to Use Marker Balls
- When scanning in blue line-laser mode, marker points / marker balls must be used to assist tracking.
- When scanning in infrared mode and the object has limited geometric or texture features (e.g., reflective, transparent, or solid-color metal), geometry/texture tracking is prone to loss; it is recommended to use the marker point (marker ball) tracking mode.
- Whether the scanner uses laser mode or infrared marker-point mode, marker balls must be arranged on or around the scanned object before scanning.
- Typical scenarios:Metal workpieces (brake discs, sheet-metal parts, castings, etc.) often have reflective, textureless, and feature-poor surfaces, making them ideal for directly attaching magnetic marker balls to the workpiece for tracking assistance.
¶ How to Use Marker Balls

1. Placement
For small objects, the marker ball does not necessarily need to stick to the object surface—it can be placed around the scanning mat, desktop, or turntable. For larger objects, the marker ball should be attached to the object surface, placed randomly. The magnetic marker ball relies on magnetism and can only attach to ferromagnetic metal surfaces (steel, iron); it cannot adhere to non-ferromagnetic materials such as aluminum, copper, plastic, or wood. In such cases, use adhesive marker points or pair with a magnetic plate / rigid carrier.
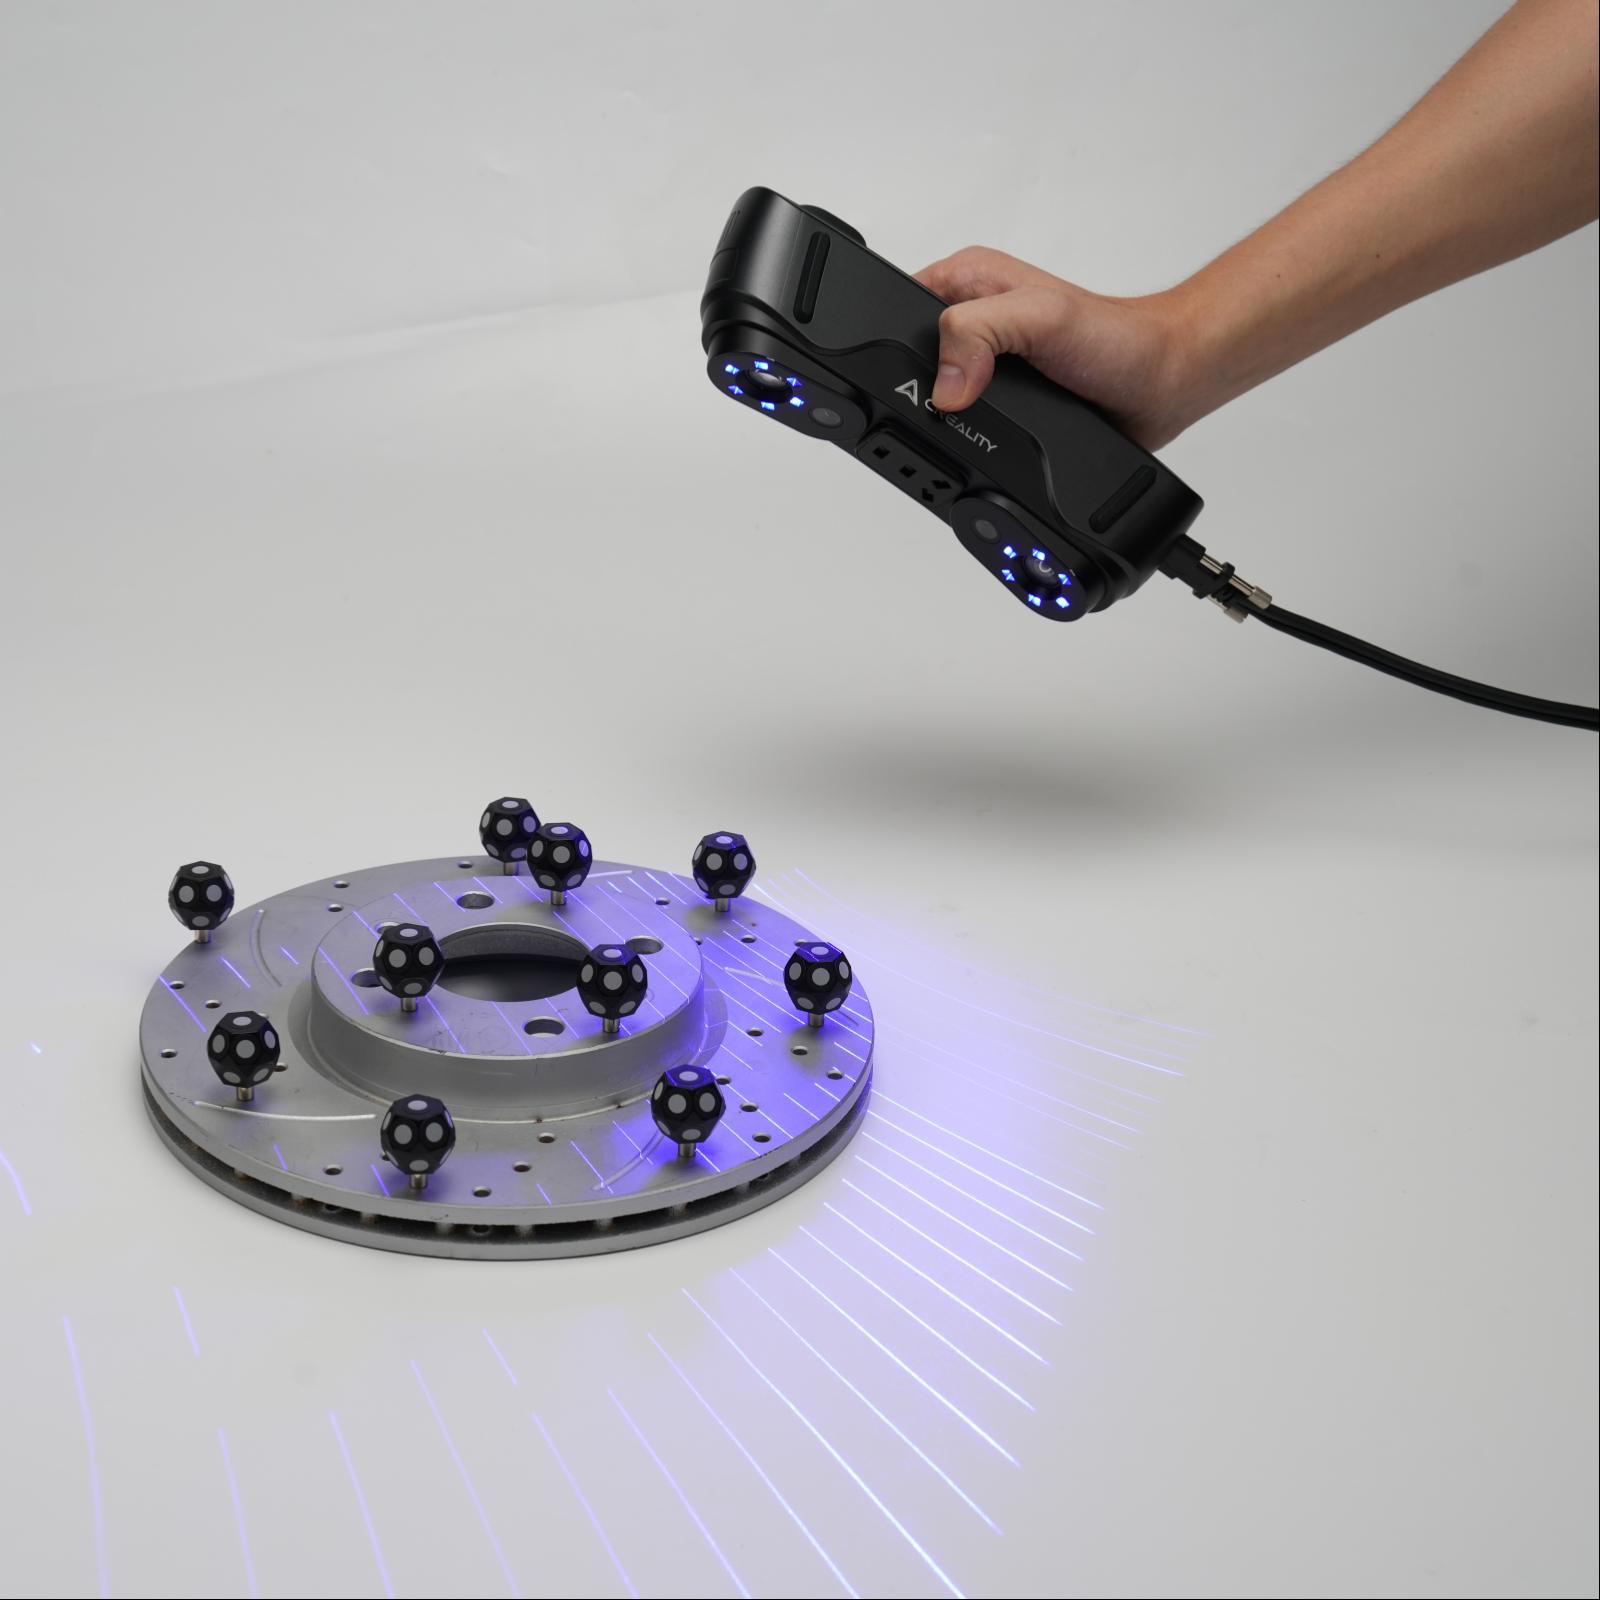 In practice: A handheld scanner scans a metal brake disc, with multiple magnetic marker balls attached to the disc surface |
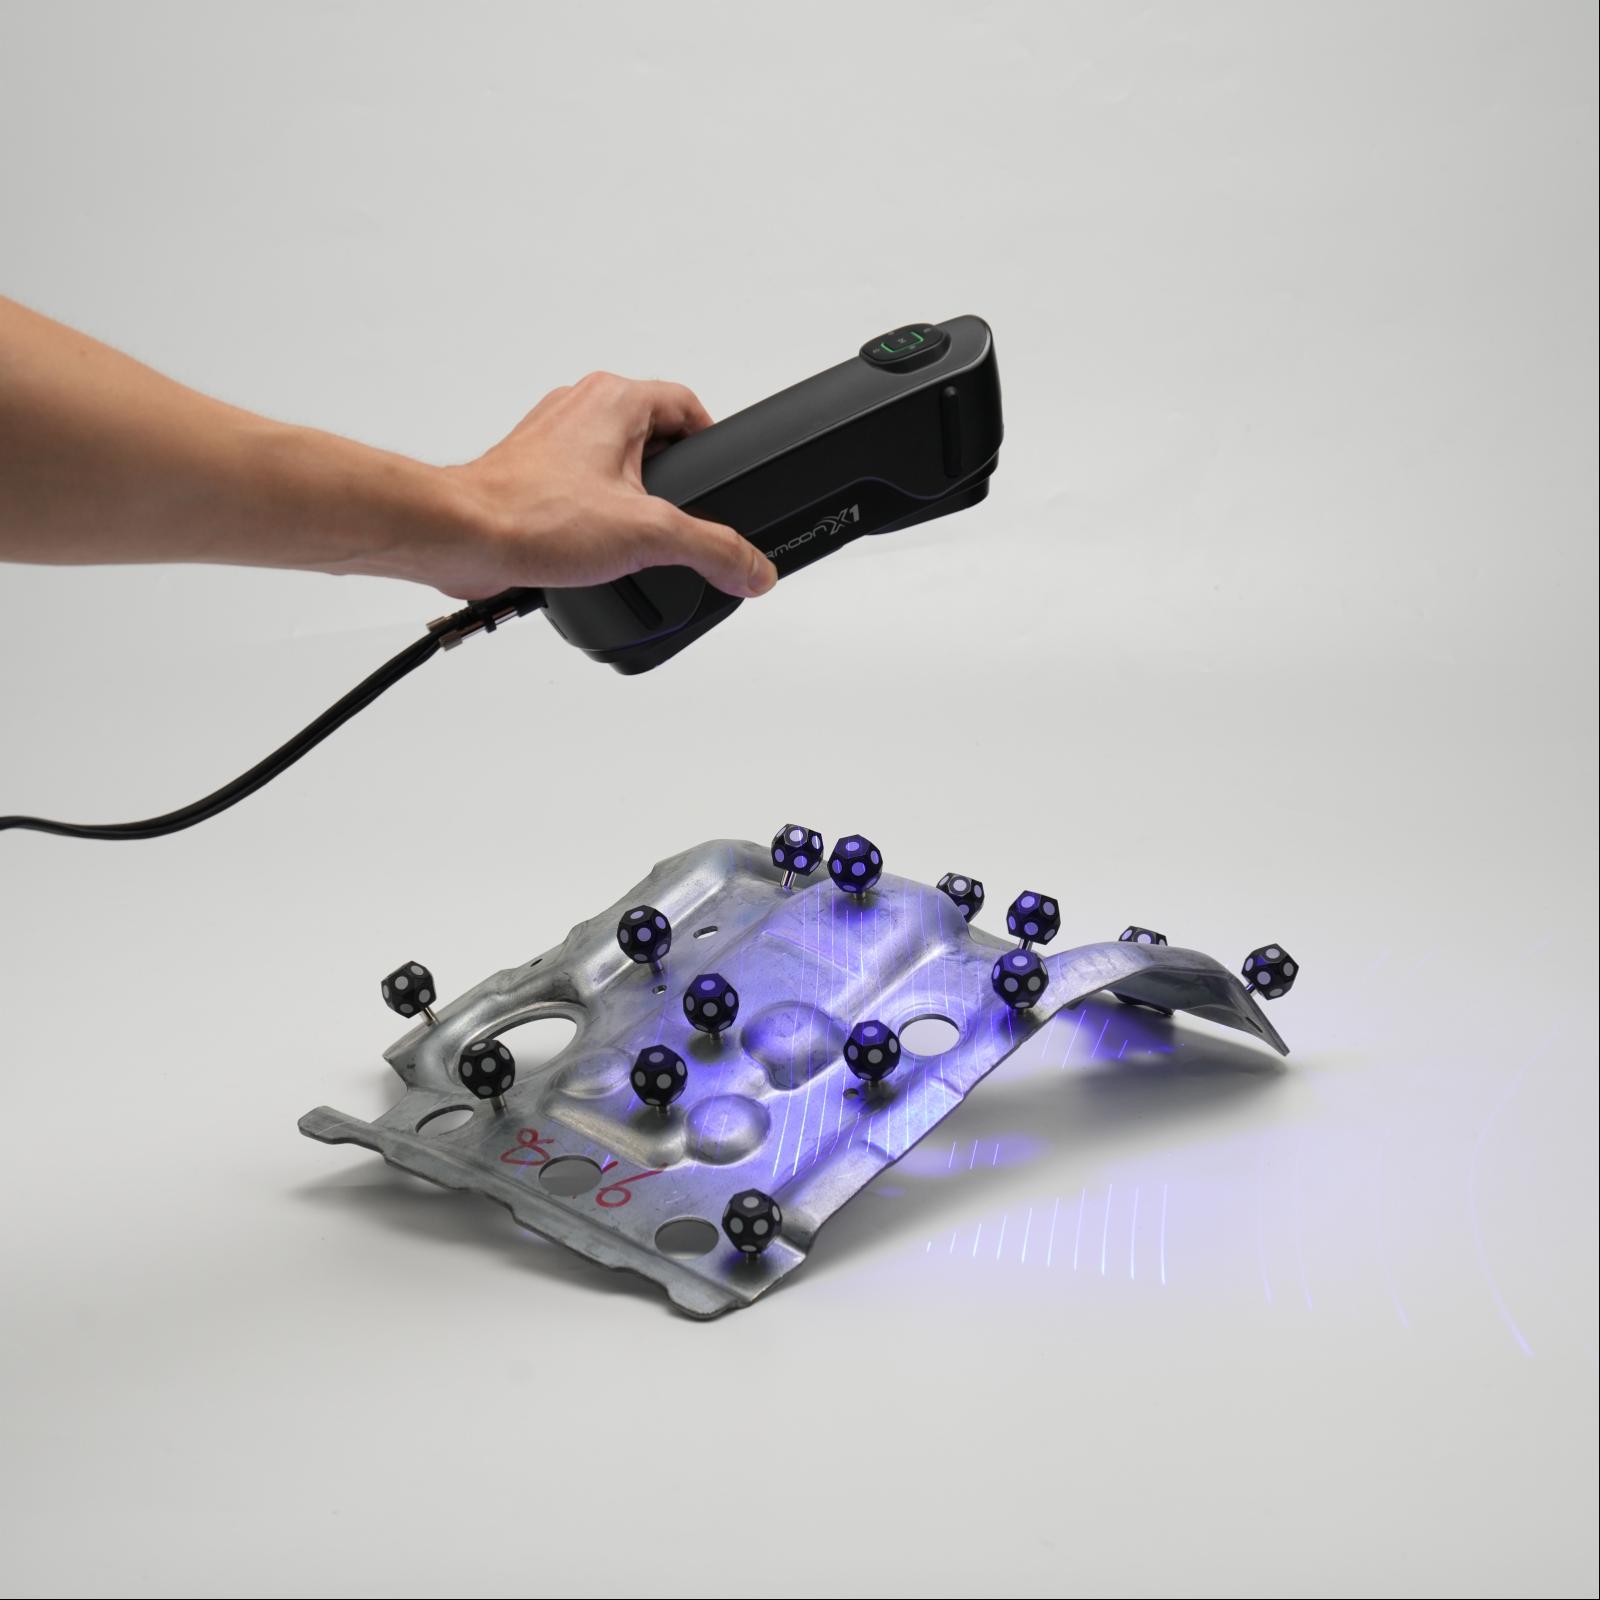 In practice: Over a dozen magnetic marker balls attached to a metal sheet-metal part for tracking assistance |
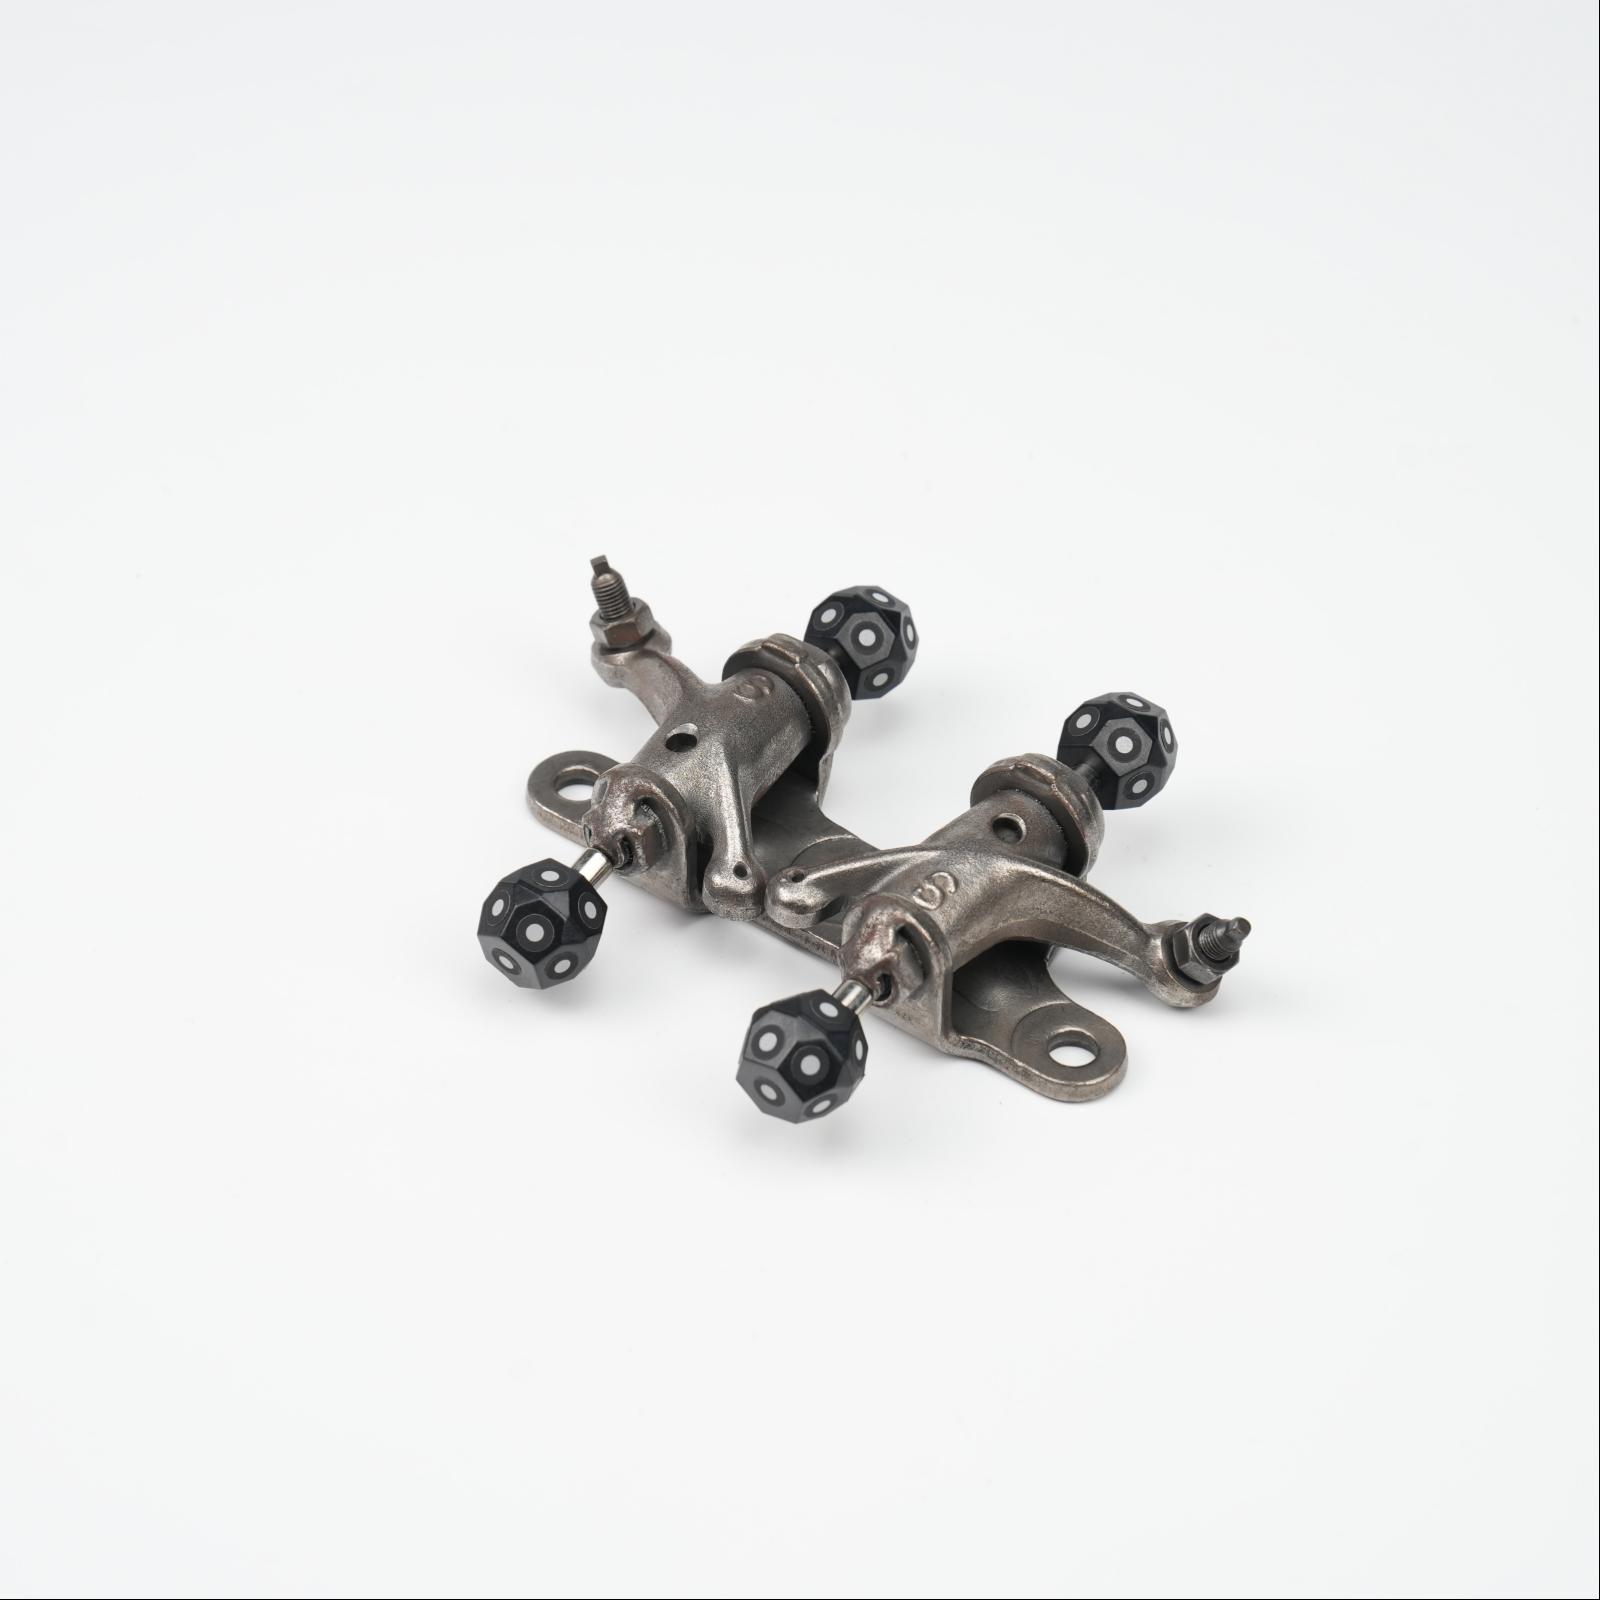 In practice: Multiple magnetic marker balls installed on a metal casting to provide multi-angle reference |

2. Choosing the Right Marker Ball
The marker ball features a 13-faced design, with highly reflective marker points evenly distributed across its 13 faces, recognizable by the scanner from multiple angles to assist multi-angle tracking. Two sizes are available: 3 mm for small-to-medium fine scanning, and 6 mm for large-format rapid alignment; the two can be used together. Packaged 10 per box, with magnetic quick-mount, reusable, and no need for repeated sticking and peeling.
¶ 3. Spacing and Quantity
Arrange a sufficient number of marker balls randomly and irregularly according to the object's size and shape, to avoid insufficient marker points mid-operation. To ensure smooth and complete scanning, during continuous alignment each pair of adjacent frames must share 4 or more common points (the reflective points on the marker ball sphere). The spacing of marker balls can be judged by the field of view of different scanners ('field of view' refers to the total area the scanner can capture at a fixed distance).
- Raptor series:Cross-line mode 60–100 mm, parallel-line mode 20–50 mm.
- Sermoon S1:Cross-line and single-line mode 80–150 mm, parallel-line mode 30–70 mm.
¶ Precautions for Using Marker Balls
¶ 1. Avoid Special Locations
| Place marker balls on flat or large-curvature surfaces, avoiding excessive bending of the reflective points on the sphere. Avoid locations on the workpiece that have features (such as holes, engraved text, etc.) so as not to cover features and prevent scanning. Do not place marker balls at right angles or edges either, otherwise bulges or dents may appear at the marker point fill. |
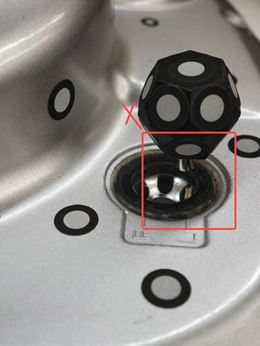 |

2. Avoid Damage
Never squeeze, wipe, or fold the marker ball sphere, as this may damage the integrity and effectiveness of the reflective marker point area.
¶ 3. Mind the Magnetic Attachment Surface and Strong-Magnet Safety
Mind the Magnetic Attachment Surface and Strong-Magnet Safety:
|

4. Mind the Sequence of Spraying and Marker Placement (if applicable)
If the object requires spraying (application of developer powder), be sure to complete the spraying first, then arrange the marker balls / marker points.
¶ 5. Choose a Rigid Material as the Carrier (e.g., when placed around the object)
If you need to place marker balls around the object (e.g., on a turntable or desktop) to assist scanning, choose a rigid, non-deformable material (hard plastic board, metal plate, rigid turntable, etc.) and avoid soft materials (cloth, felt, foam pad, soft rubber mat). Soft materials easily deform under pressure or gravity, causing relative position shift of the marker balls and affecting accuracy.
¶ Marker Ball Recognition Interface During Scanning
During scanning, use the 3D scanner to capture the object surface from various angles. In the CrealityScan software's field of view, 4 or more marker points (reflective points on the marker ball sphere) should always appear;this indicates a valid arrangement.
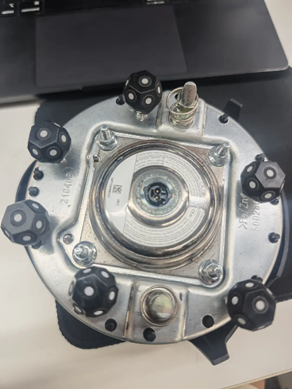
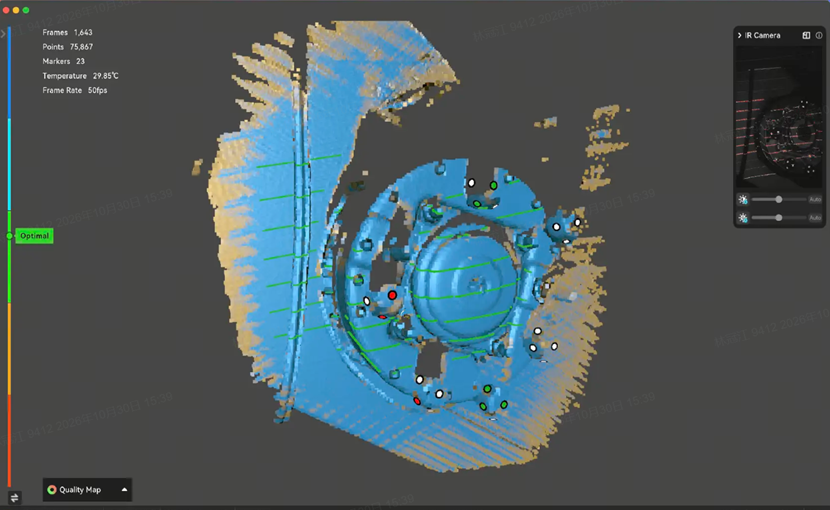
In the interface, the colors of marker points—green, blue, red, etc.—indicate the distance between the currently recognized marker points and the scanner, consistent with the color of the distance indicator bar. If the software keeps prompting "Insufficient marker points," pause scanning and add marker balls to the side lacking them; if enough marker balls are present but the prompt "Insufficient marker points" still appears, check the exposure settings and adjust to normal exposure (both overexposure and underexposure will prevent the scanner from recognizing marker points).
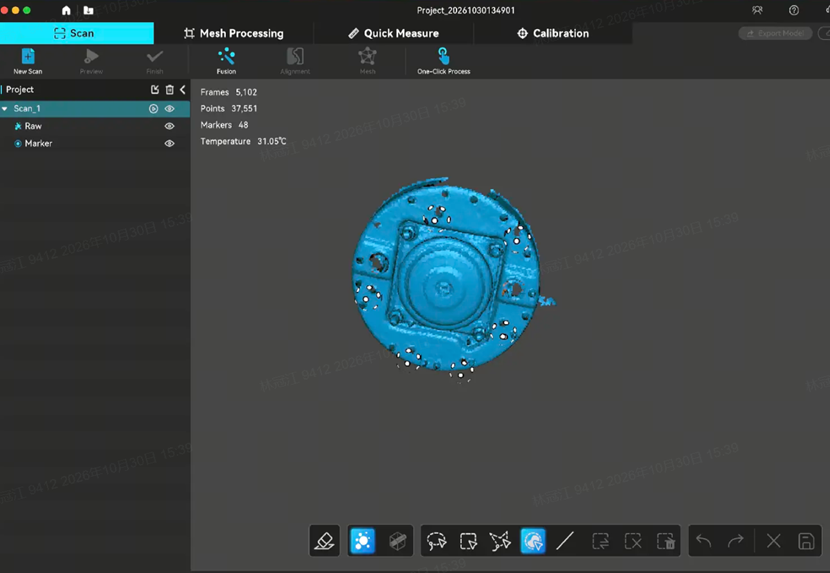
Enable the With Markers mode in CrealityScan; the project tree then shows the Marker layer