¶ Step One
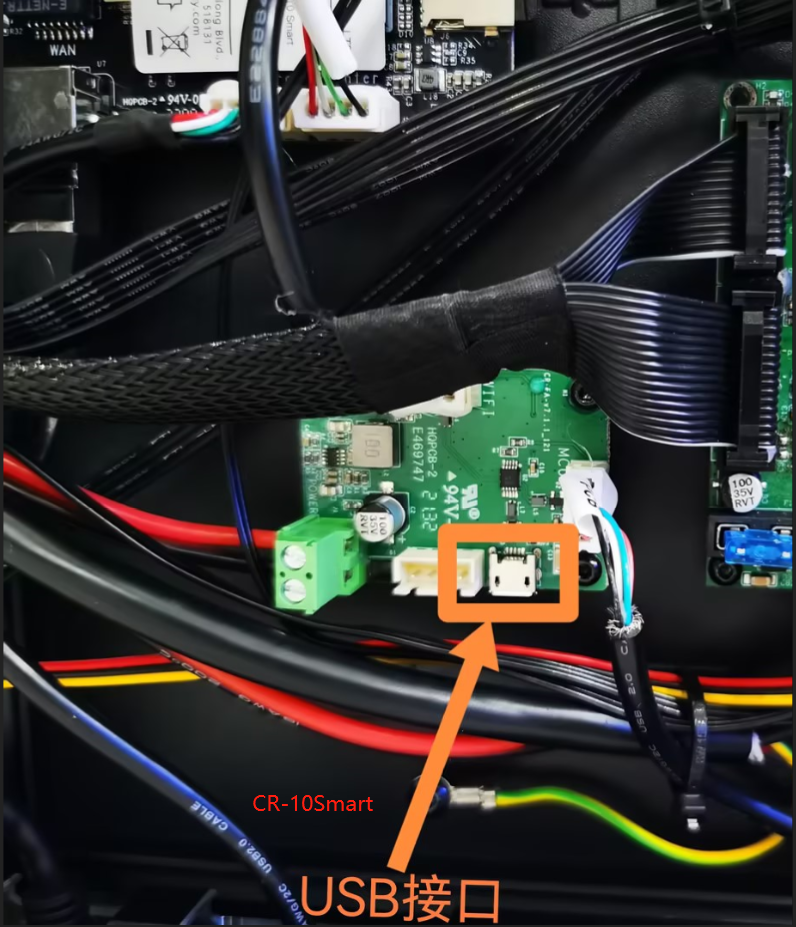
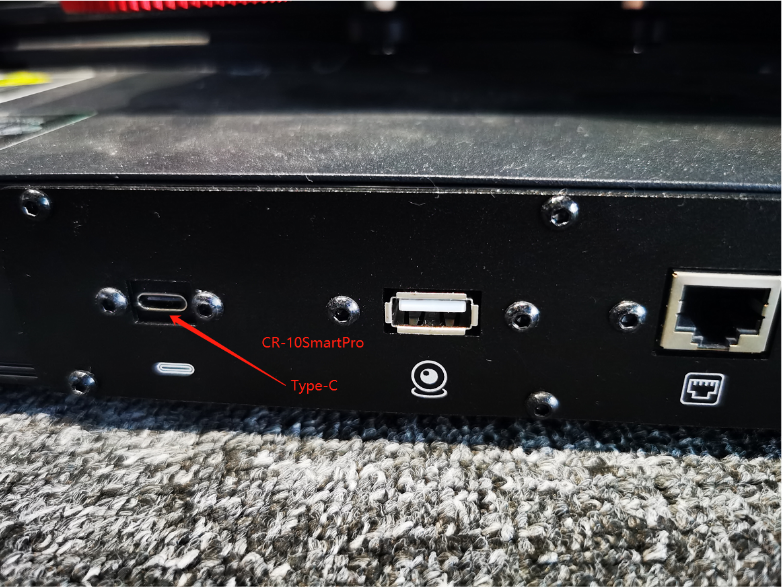
Disassemble the printer's bottom cover plate, check the model of its mainboard in order to better select the firmware of the lower computer for the sonic screen. Then, connect the sonic screen USB cable to the USB port as shown in the figure. (The CR-10 Smart Pro does not need to connect the USB because there is a Type-C interface outside the shell.)


¶ Step Two
Select the type of the mainboard corresponding to the sonic screen and export the firmware of the lower computer to the SD card.
¶ Step Three
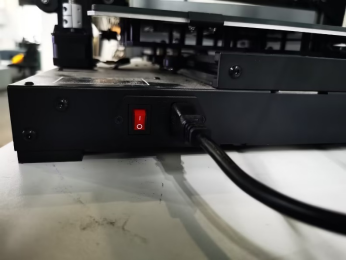
Insert the SD card into the printer and turn on the main power supply.

¶ Step Four
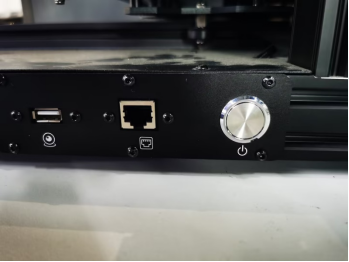
Hold down the side switch for at least 5 seconds and wait for the firmware to finish.

¶ Step Five
After programming the firmware, based on the sonic screen boot, you can connect the USB interface to the sonic screen and continue to complete the self-test steps.